
Maintaining the state of your Mongo container across updates.
TL;DR
For those who are familiar with the workings of MongoDB and Docker volumes and also for those who just want a quick snippet of docker-compose.yml for their project without a lot of in-depth details, here’s a compose file that will do the trick. Make a new directory named mongoDB and within it create a file named docker-compose.yml and put the following contents inside it:
services:
my-mongoDB:
image: mongo:latest
volumes:
- db-data:/data/db
- mongo-config:/data/configdb
volumes:
db-data:
mongo-config:
Save the file and run from the same directory:
This will start a mongoDB service with two volumes named db-data and mongo-config the next time a new version of monogDB comes along run:
Remove the current image docker rmi mongo download the new one docker pull mongo:latest and run:
None of your data will be lost as long as you don’t intentionally remove docker volumes for db-data and mongo-config. You might want to add services for your front-end web server and other miscellaneous services along with just the my-mongoDB service, of course.
What did we do?
Well, I can just tell you where MongoDB expects volumes to be mounted and why I wrote the service this particular way. However, that would not help you write your own compose file for your own custom application. Maybe, you are not using MongoDB, but Mariadb or Postgres. Let’s take a step back and go and investigate a MongoDB container and understand the thought process behind how the compose file was written.
Let’s start with a clean slate Docker installation. No running container, no user-defined networks, no volumes. Let’s run a MongoDB container using CLI:
Now if we list containers, volumes and networks as shown below, we will see some new members:
CONTAINER ID IMAGE COMMAND CREATED STATUS PORTS NAMES
f22758a73ba0 mongo:latest "docker-entrypoint.s…" 9 seconds ago Up 7 seconds 27017/tcp mydb
$ docker volume ls
DRIVER VOLUME NAME
local c5f99e7d82894c1a1def4c48edfdf43220eebf6b92fcd49a15c0cafe0325d369
local daa36a6f496075ef30baf99b6af9f6b6cfb9c60e96ced88c102e27381c243233
$ docker network ls
NETWORK ID NAME DRIVER SCOPE
c41b287f67ab bridge bridge local
a49b31643fa9 host host local
a69138357c76 none null local
Nothing new has been added to the networks section (only the defaults are shown), but two new volumes have been created with long hashes as their name.
The new container is named mydb and is exposing port 27017. This is where a Mongo client may connect and read from or write to the database. Let’s inspect this container further:
...
"Mounts": [
{
"Type": "volume",
"Name": "daa36a6f496075ef30baf99b6af9f6b6cfb9c60e96ced88c102e27381c243233",
"Source": "/var/lib/docker/volumes/daa36a6f496075ef30baf99b6af9f6b6cfb9c60e96ced88c102e273
81c243233/_data",
"Destination": "/data/configdb",
"Driver": "local",
"Mode": "",
"RW": true,
"Propagation": ""
},
{
"Type": "volume",
"Name": "c5f99e7d82894c1a1def4c48edfdf43220eebf6b92fcd49a15c0cafe0325d369",
"Source": "/var/lib/docker/volumes/c5f99e7d82894c1a1def4c48edfdf43220eebf6b92fcd49a15c0cafe
0325
d369/_data",
"Destination": "/data/db",
"Driver": "local",
"Mode": "",
"RW": true,
"Propagation": ""
}
],
...
Inside that long JSON output that would result after running the inspect command, you will notice that there are two mounts. These are the Docker volumes we listed earlier being mounted inside the container. The mount points are /data/configdb and /data/db.
Upon removing the container:
The volumes are still intact, and you can still see them listed (docker volumes ls). So any information stored by the MongoDB container is safe with us. However, if we try to run MongoDB container yet again.
And then list the volumes (docker volume ls) you will notice that two new volumes are created and mounted. The information we may have retained in the older volumes is not being used. We need to circumvent this problem by naming volumes ourselves and then mounting them inside the container at their respective mount points. This way, when a new replacement MongoDB container is spun up and asks for volumes with particular names docker will gracefully mount the older volumes instead of creating new ones.
To achieve this we refer to the docker-compose.yml file mentioned in the TL;DR section and it makes a little more sense to us now.
Connecting to MongoDB
You may not have a front-end application ready just yet. If you want you can still connect to the MongoDB server, create a new database within it, and add a few key value pairs. It is not typical SQL database, but rather a key-value store of sorts. To see this in action, install MongoDB Compass which is a client program you can run on your desktop or laptop to connect to the database server.
You don’t need to do this for production purposes, containers on the same network can talk to one another, but for the sake of experimentation, let’s expose the port 27017,which is the default port on which the MongoDB server listens. To do this modify your docker-compose.yml file as shown:
services:
my-mongoDB:
image: mongo:latest
ports:
- 27017:27017
volumes:
- db-data:/data/db
- mongo-config:/data/configdb
volumes:
db-data:
mongo-config:
Bring the deployment up again by running, this will recreate the deployment if you already have one running:
The next thing you want to do is open MongoDB Compass on your local machine and connect to the Docker Host. This maybe the address localhost:27017 if you are running Mongo container on your local machine. If it is running elsewhere, use the IP address or domain name of that machine with the same port number.
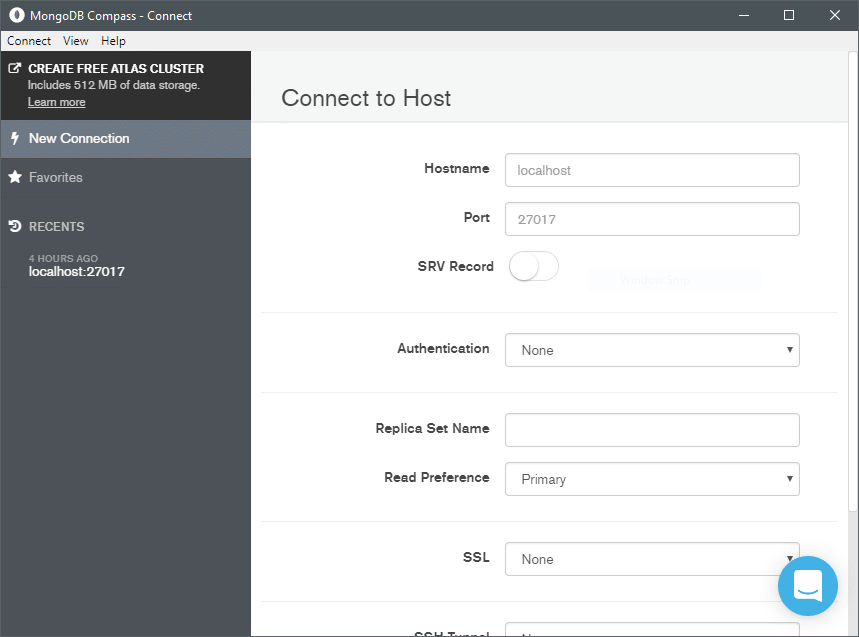
Click connect from the bottom most corner and you will be connected to the Database.
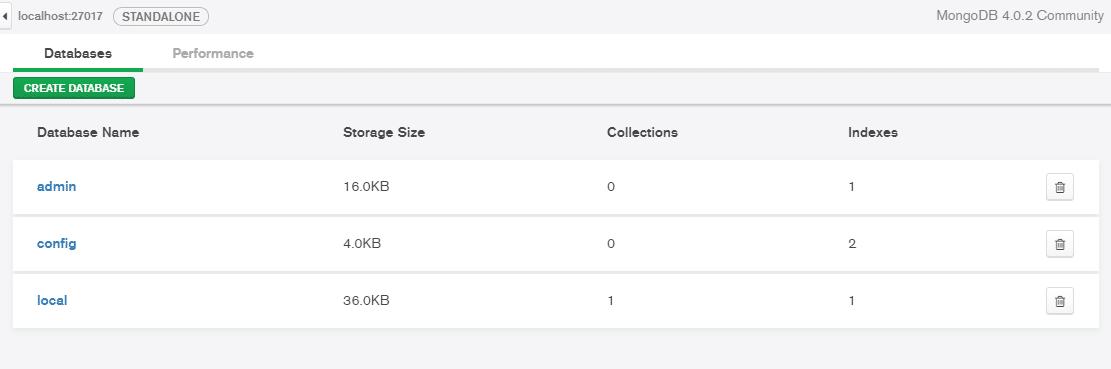
Lets create a new database and call it MyDatabase and within it MyCollection.

Inside MyDatabase>MyCollection click on Insert Document. Here we can add a few dummy data:

You can now try to bring down the deployment, and get rid of ephemeral containers. Bring it back again with newer containers and you will notice that the data we created is still there.
Conclusion
Here we saw how to run and use MongoDB container for your application. Still there’s much that has been left unsaid, for example, securing the Database with a password, querying data and scaling the database.
You can learn more about it here or peruse the docs at your leisure here.