
In this write-up, we will deploy our desired web application with NGINX and Docker.
How to Deploy a Web-Based Application with NGINX and Docker?
To deploy a web application, first, create a “main.go” file for the Go application and paste the provided code:
import (
"fmt"
"net/http"
"github.com/gorilla/mux")
func main() {
r := mux.NewRouter()
r.HandleFunc("/", func(w http.ResponseWriter, r *http.Request) {
fmt.Fprintf(w, "<h1>This my testing Web application. Try /linux and /linux/marco\n</h1>")
})
r.HandleFunc("/linux", func(w http.ResponseWriter, r *http.Request) {
fmt.Fprintf(w, "<h1>Welcome to my Homepage\n</h1>")
})
r.HandleFunc("/linux/{name}", func(w http.ResponseWriter, r *http.Request) {
vars := mux.Vars(r)
title := vars["name"]
fmt.Fprintf(w, "<h1>Hi..! It's Marco, %s!\n</h1>", title)
})
http.ListenAndServe(":80", r)
}
Then, create another file named “nginx-proxy-compose” with the “.yaml” extension and add the following snippet of code that is used to store the Docker Compose configuration for the NGINX proxy:
services:
nginx-proxy:
restart: always
image: jwilder/nginx-proxy
ports:
- "80:80"
- "443:443"
volumes:
- "/etc/nginx/vhost.d"
- "/usr/share/nginx/html"
- "/var/run/docker.sock:/tmp/docker.sock:ro"
- "/etc/nginx/certs"
letsencrypt-nginx-proxy-companion:
restart: always
image: jrcs/letsencrypt-nginx-proxy-companion
volumes:
- "/var/run/docker.sock:/var/run/docker.sock:ro"
volumes_from:
- "nginx-proxy"
In the above-provided code:
- We define two Docker containers, the first one is “nginx-proxy” and the second is “letsencrypt-nginx-proxy-companion”.
- “nginx-proxy” contains the “jwilder/nginx-proxy” image and an “80:80” port for mapping HTTP as well HTTPS ports. Volumes are provided that will be available to the container to continue the NGINX-related data.
- “letsencrypt-nginx-proxy-companion” container, define the image name and configure access to Docker’s socket with volume.
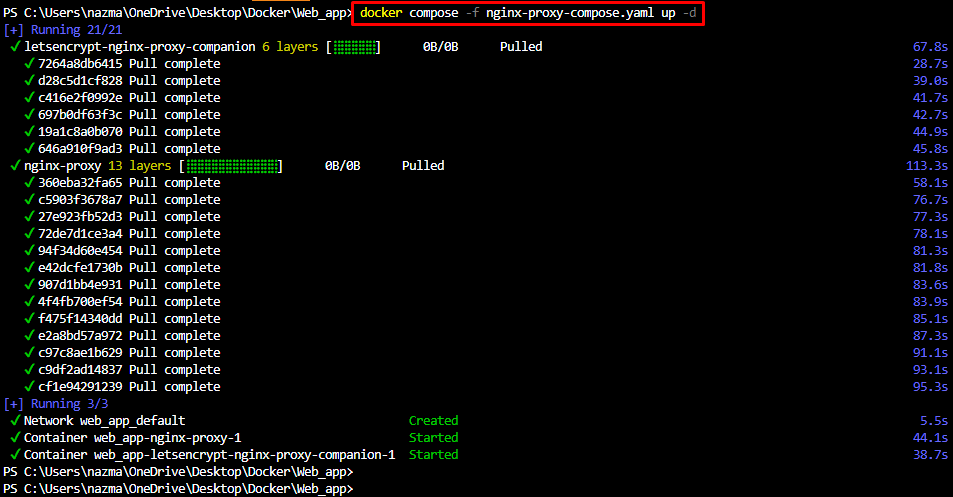
Next, execute the provided command to deploy the “nginx-proxy”:
Here:
- “-f” flag is used to pass the custom named file to the “docker compose” command.
- “nbnix-proxy-compose.yaml” is our input file.
- “up” command is used to run the containers.
- “-d” flag is known as detached mode and instructs the “docker compose” to execute the container in the background:
Afterward, create a Dockerfile for dockerizing the Go web application and add the following lines of code:
RUN apk --no-cache add gcc g++ make git
WORKDIR /go/src/app
COPY . .
RUN go mod init webserver
RUN go mod tidy
RUN GOOS=linux go build -ldflags="-s -w" -o ./bin/web-app ./main.go
FROM alpine:3.17
RUN apk --no-cache add ca-certificates
WORKDIR /usr/bin
COPY --from=build /go/src/app/bin /go/bin
EXPOSE 80
ENTRYPOINT /go/bin/web-app --port 80
In the above-provide code block, there are two stages, and the first stage uses:
- “FROM” instructions hold the “golang:alpine” as base images that have pre-installed Go on Alpine.
- “RUN” instruction includes the essential compilation tools for the Go application that will be installed at run time.
- “WORKDIR” instruction is utilized for setting up the current working directory.
- “COPY” instructions for copying the file and directory into the container.
In the second stage:
- “alpine:3.17” built-in image is used as the base image.
- Then, define run-time instruction and set the current working directory.
- “EXPOSE” instruction contains the port number on which the application will be run.
Next, save the Docker compose configuration for our Go application into the “go-compose.yaml” file and paste the following lines of code:
services:
go-web-app:
restart: always
build:
dockerfile: Dockerfile
context: .
environment:
- VIRTUAL_HOST=localhost
- LETSENCRYPT_HOST=localhost
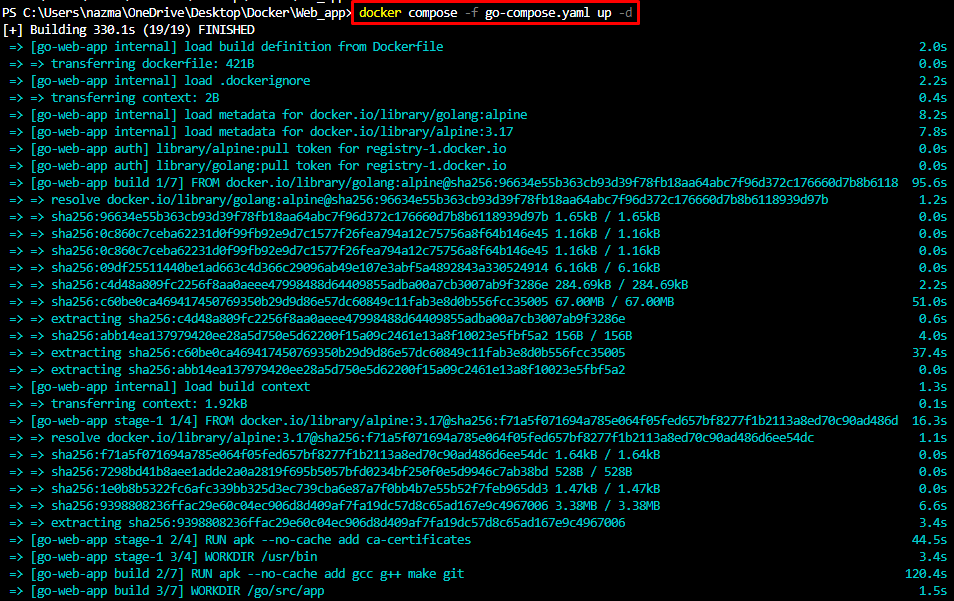
Now, execute the “docker compose” command to run our Go web application in the background:
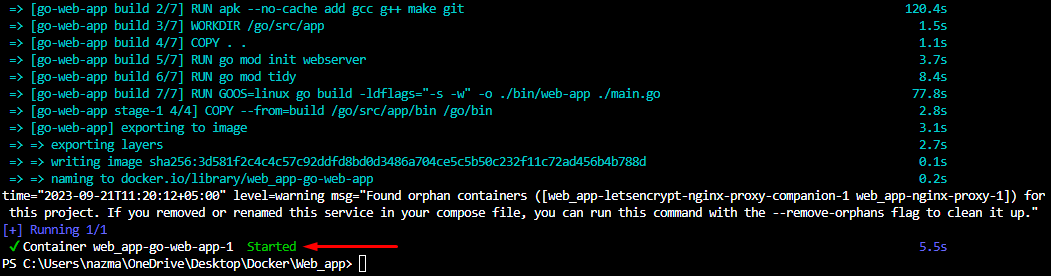
After completing the all required installations that are defined in the Dockerfile, it will show you the below-highlighted message “Started” which means that the container has been built and a particular application has been started:
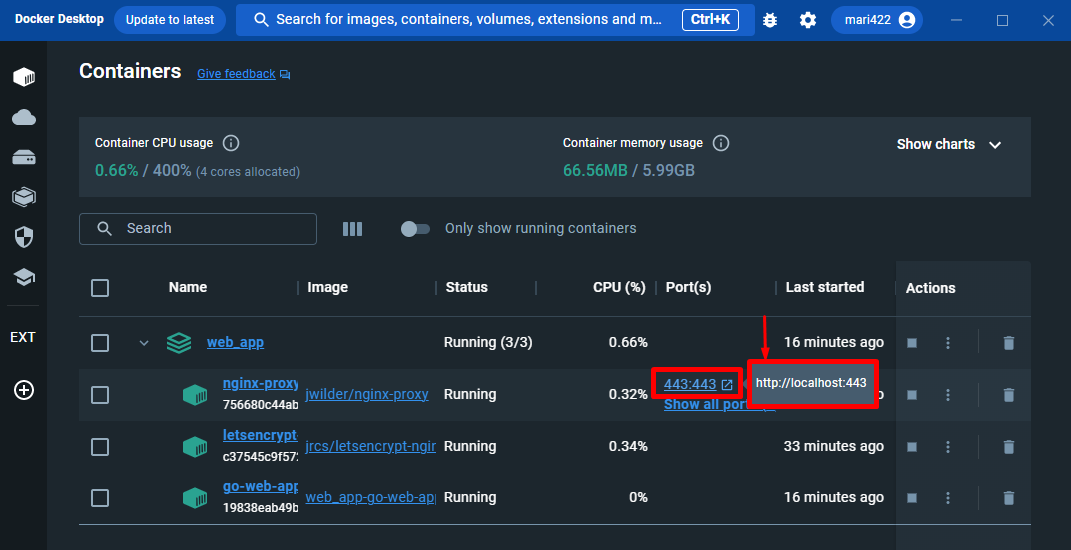
Then, move toward “Docker Desktop” and click on the specified port and run it on your provided domain:
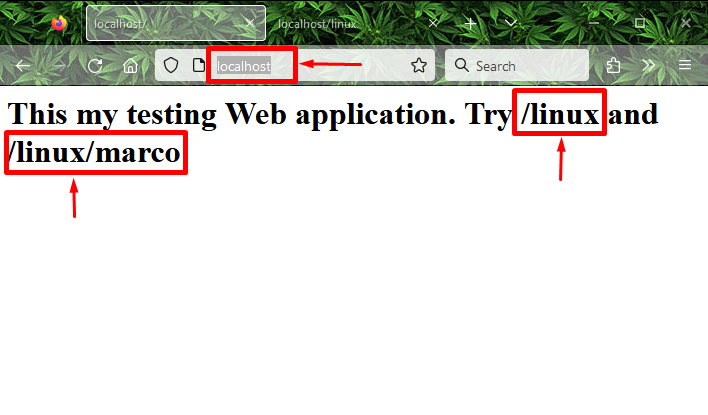
After doing so, open your default browser, navigate to the “https://<domain-name/>” and access the home page of Go web applications. As you can see in the following screenshot, if you want to access your other pages then define them with the “/” route with the domain name:
For instance, move to “https://localhost/linux”, it will shore the following message on the screen that we have previously defined in the code:

That’s it! We have demonstrated the method for deploying a web application with NGINX and Docker.
Conclusion
To deploy a web application with NGINX and Docker, first, create your desired web application file, for instance, “main.go”, then create “Nginx-proxy-compose.yaml” and use the “docker compose” command. This blog described the easiest way to deploy a web application with NGINX and Docker.