Example 1
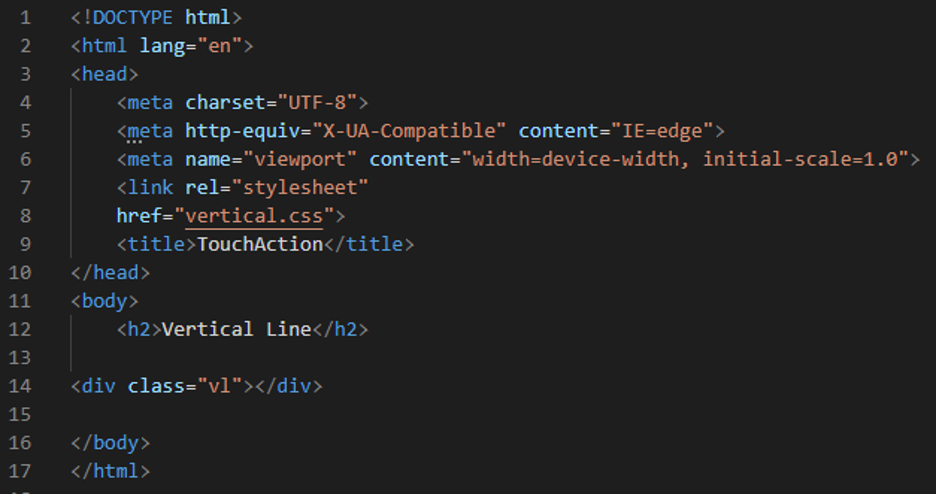
We are using Visual Studio Code in generating a new file. The blank file opens, and we must choose a language. We are doing HTML code first, so we are choosing the HTML language. After this, the produced file is an HTML file. We don’t need to give a file extension when saving it. Now, put the basic HTML tags (or you may put the “!” mark for automatically generating these tags). If you put “!” and then press “Enter”, you will get all the HTML’s fundamental tags immediately. In the body, you can see that there is a heading and a div container. The “v1” is the name of the div container. We also link this HTML file with the CSS by utilizing the “link” tag in the “head” of this HTML code.
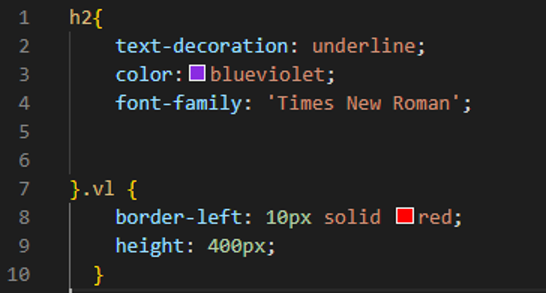
We are decorating the heading and utilizing the “text-decoration” property and setting it to “underline”. So, by using this property the heading will be underlined. We also use the “color” property which sets the color of the text of the heading and set it to “blue-violet”. In the next line, we have the “font-family” property which we set as “Times New Roman”. Then, we place the name of the div container which is “v1” and draw the vertical line in this div container. We can draw the vertical line using the “border” property.
So, we are utilizing this property “border-left” property which helps us in drawing a vertical line. As it is the “border-left” property, we have to set the “width”, “type” and “color” for this property to: “10px” in its “width”, “solid” in “type”, and “red” in “color”. It will render a vertical line on the screen of 10px width and in red. We also set the “height” of this vertical line as “400px”. Now, we are going to produce the output of this code by clicking the right mouse button and then selecting “open in default browser”. Or, you may use the shortcut which is “ALT+B” for getting the output.
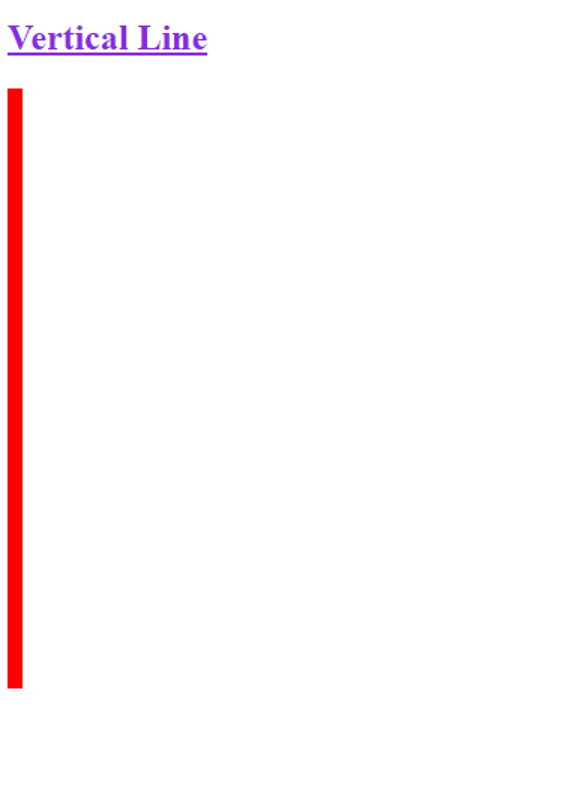
The output is shown below. You can see the vertical line. This line is rendered on the left side as we have used the “border-left” property for drawing this vertical line.
Example 2
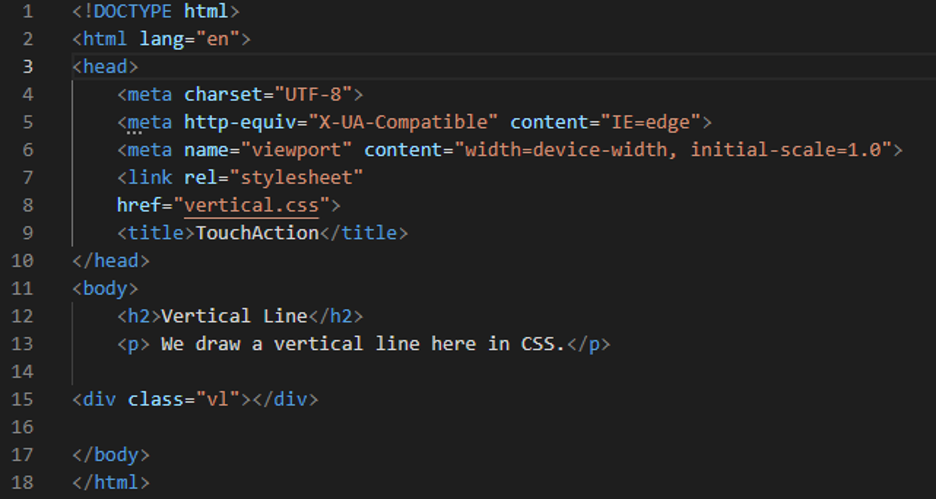
In example 2, we add a paragraph in the above HTML code. Now, we have a heading, a paragraph, and a div container in this HTML code. After this, we are proceeding to the CSS file for generating the CSS code.
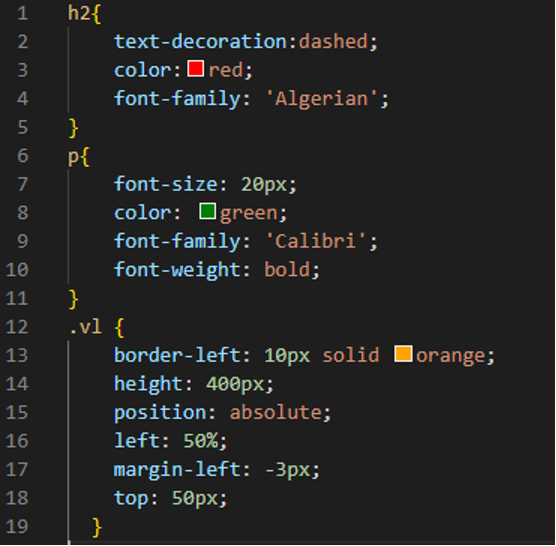
Decorate the heading a little bit by applying the “text-decoration” property and setting it to “dashed” and using “red” as the value of the “color” property. The “Algerian” is used as the “font-family”. Now, apply some styling to the paragraph and set its “font-size” to “20px”. We utilize “green” as the value of the “color” property. Also, utilize “Calibri” as a “font-family”. The “bold” keyword is utilized here as the “font-weight”.
Use the div named “v1” and put the “border-left” property. This property helps in drawing a vertical line inside the div container. The “width” of the vertical line is “10px”. This line appears in “solid” type because we set “solid” as the type of the border property. The color of the vertical line is “orange”. The “height” determines the height of the line which we set as “400px”. The “position” of the vertical line is “absolute”. We set the “left” to “50%” so that this vertical line will appear on the 50% left side mean in the center. The “margin-left” is “-3px”. This property is used for defining the space outside the object on the left side. We also set the “top” of the vertical line as the “50px”.
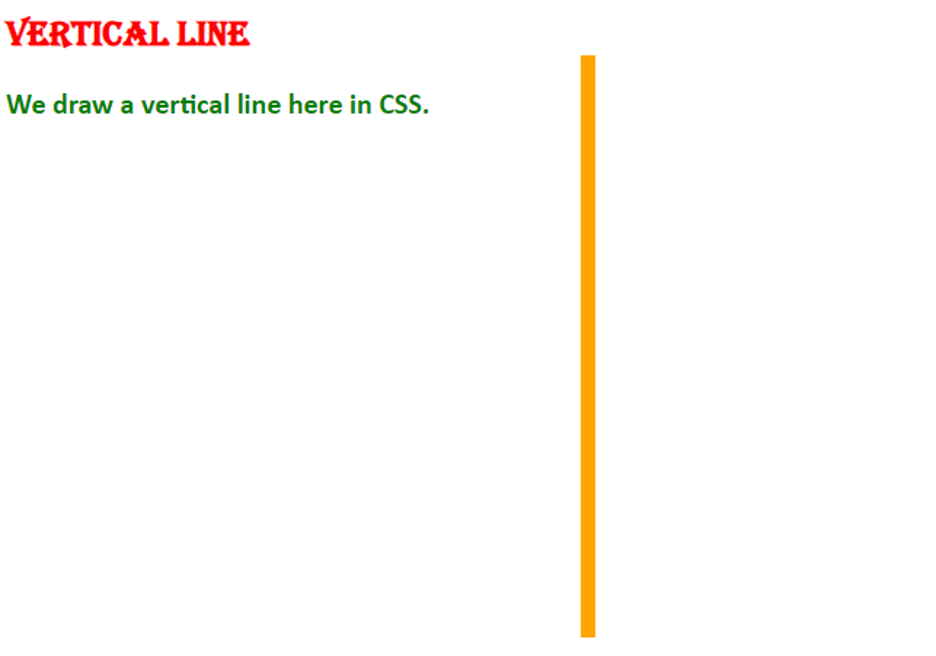
The vertical line appears at 50% left side of the output screen because we set this value in the CSS and we have utilized the “border-left” property for drawing this line.
Example 3
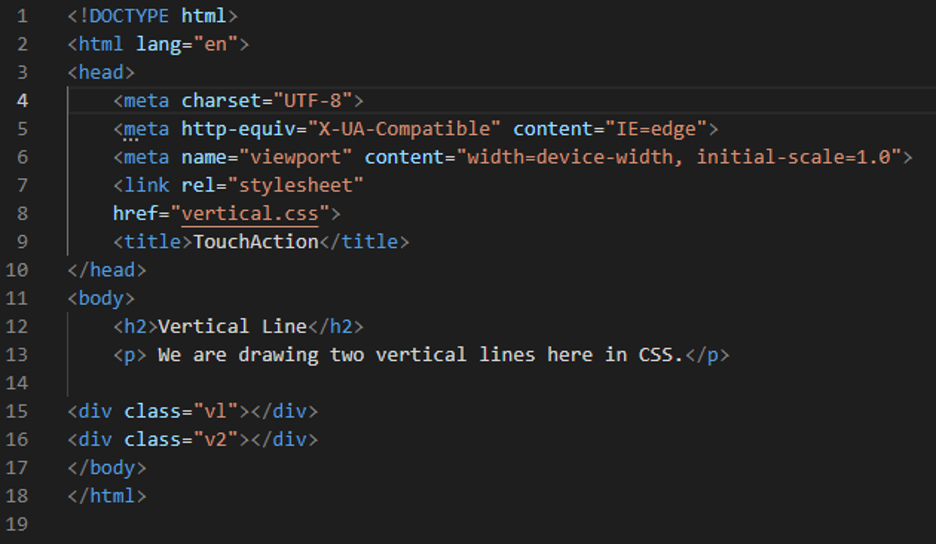
Now, we are going to draw two vertical lines. So, we put two different div containers in this HTML code. We will use each div for drawing vertical lines separately. The heading and the paragraph tags are the same as above and we just change the text which is written in the paragraph tags.
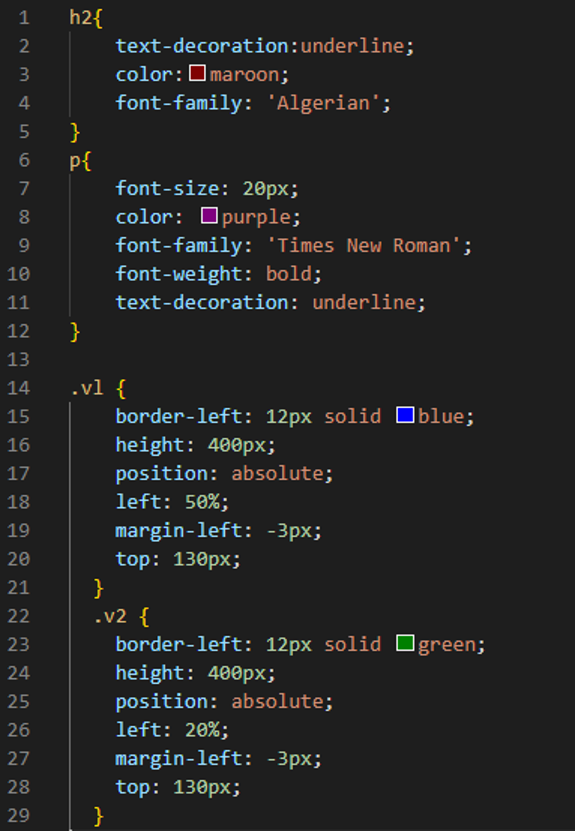
In this case, the “font-family” is “Algerian” for the heading. Set the “font-size” of the paragraph to “20px” and apply more styling to it. For the “color”, we utilize the “purple”. Also, use “Times New Roman” as a “font-family”. The “bold” keyword is used as the “font-weight”. We also “underline” the paragraph’s text using “text-decoration”. We use the “border-left” property on the div named “v1.” This attribute allows a vertical line to be drawn within the div container. The vertical line’s “width” is “12px” and the line is “solid” in appearance since the type of the border property is “solid”. In this case, the vertical line is colored “blue”. The line’s height specifies in the “height”, which we put to “400px”. The vertical line’s “position” is “absolute”. We set the “left” to “50 percent,” thus this vertical line will show on the 50 percent left side, which is in the middle. The “-3px” is the “margin-left.” The “top” here is “130px”.
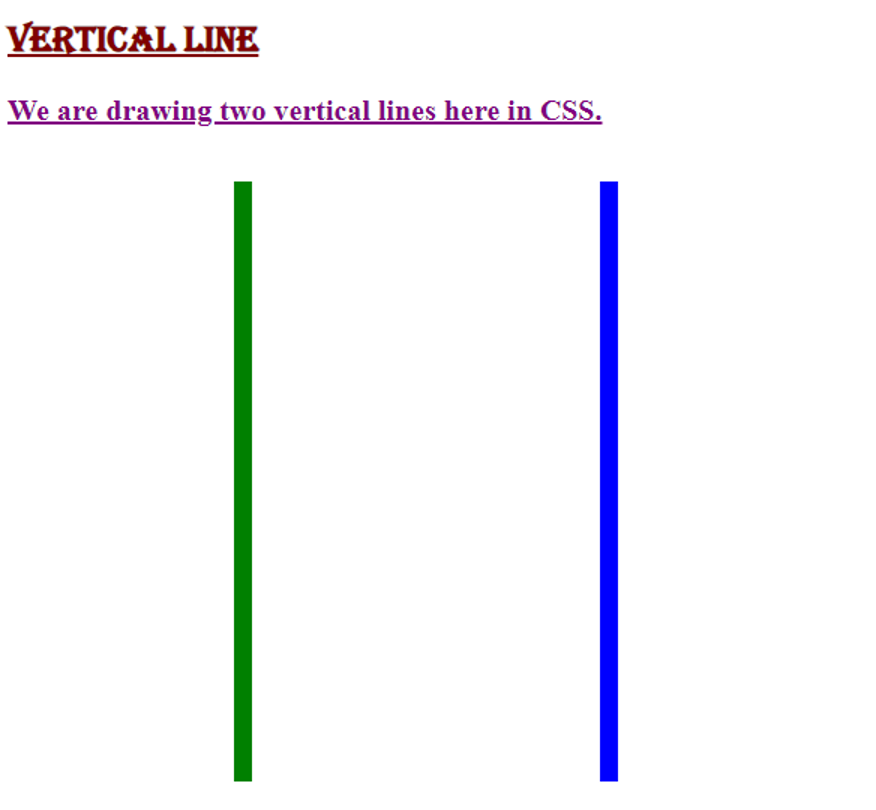
Now, we again use the same properties for the second div in creating another vertical line in the second div. We set the “border-left” property to “12px solid green” and the “height” for this line is the same as the first vertical line which is “400px”. We set its “left” property to “20%” and this line will appear at 20% on the left side. The “margin-left” and the “top” is the same as the first vertical line.
We can see that two vertical lines render on the output screen. Both are rendered in a different position in the output as we set this position in the CSS code.
Example 4
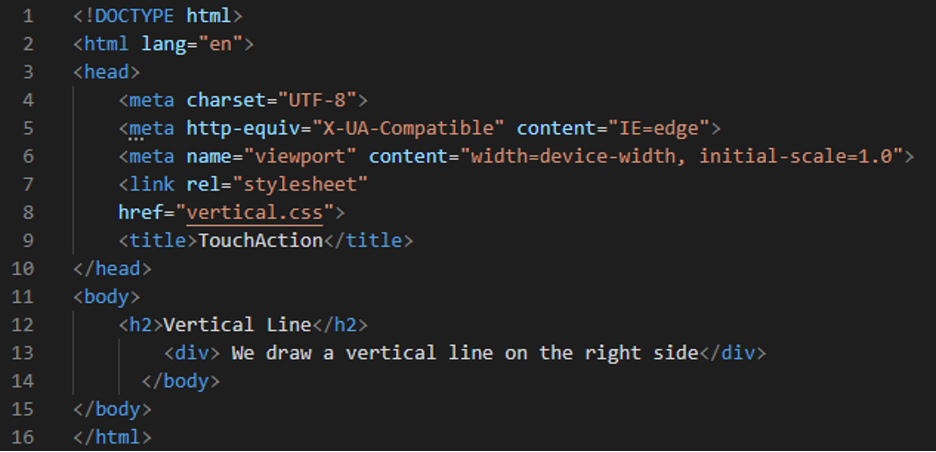
We put a heading and a div in the body and we also write some text in the div container. We will also draw a vertical line in CSS and link both files.
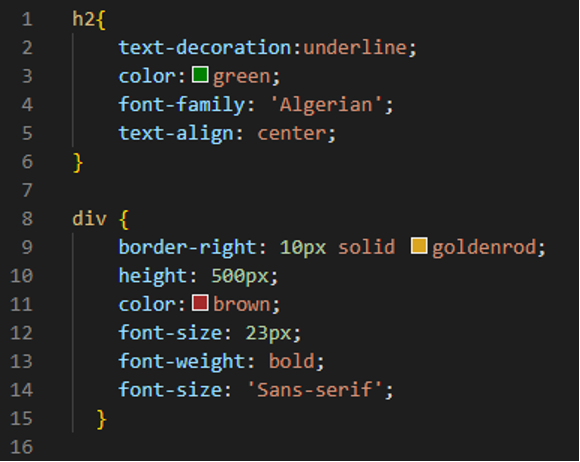
Adjust the “text-decoration” property to “underline” and “green” as the “color” to add additional flair to the header. The heading’s “font-family” is “Algerian” in this example and it is aligned in the “center”. On the div, we utilize the “border-right” attribute. Within the div container, this attribute allows a vertical line to be drawn. The “width” of the vertical line is “10px” and the line appears “solid” since the border property’s type is “solid”. The vertical line is colored “goldenrod” in this code. The “height” indicates the line’s height, which we adjusted to “500px”. We use the color “brown” for the “color”. Alter the “font-size” of the text to “23px” and add further decoration to it. The “bold” keyword is utilized as the “font-weight” here. Additionally, as a “font-family,” use “Sans-serif”.
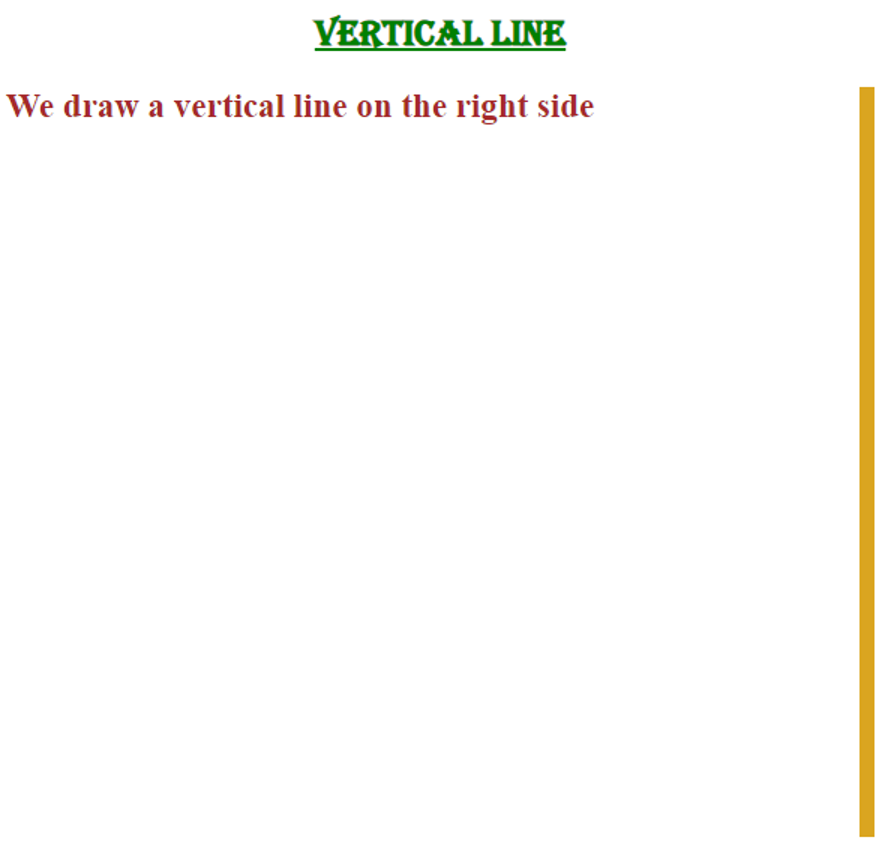
In this screenshot, the vertical line is rendered on the right side of the output screen because we have utilized the “border-right” property in this example.
Conclusion
The aim of presenting this guide is to help you understand the “vertical line” in CSS. We’ve gone over this notion in detail and have given you several examples of how we’ve drawn this vertical line in CSS. We have explained that we have utilized the “border-left” or “border-right” property for rendering this vertical line in the output screen. We’ve written here about how to render vertical lines. We’ve used four distinct examples here, and, we have given the output in this guide.

