Example 1
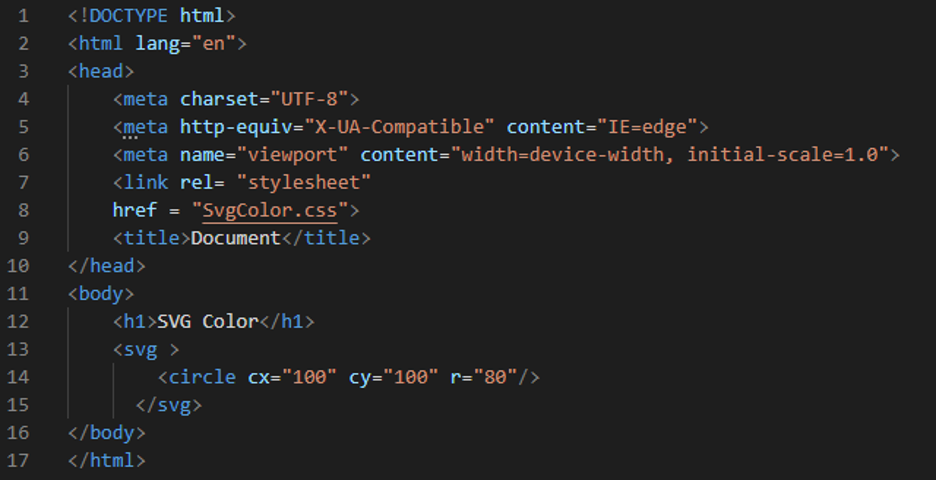
To start writing HTML, open Visual Studio Code and create a new file and choose HTML as the language. The file has been created, and all that remains is to append the “!” mark in this empty file which is created here to obtain the basic tags. After, pressing “Enter” causes all of the HTML’s basic tags to appear in the file. The body is where we begin the coding process. We place a heading and the “svg” tag. This “svg” tag is used here for defining the container for the SVG image. We put the “circle” inside the “svg” tag for creating an SVG circle. And then close the “svg” tag. Now, we are creating the CSS file and starting coding in the CSS file to apply color to this SVG circle. We also link the CSS file to this current HTML file by utilizing the “link” tag in the “head.”
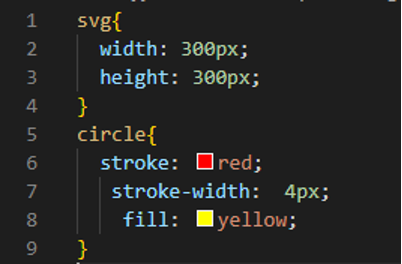
Here is the CSS code in which we set the “width” of the “svg” as “300px” and the “height” of this “svg” is “300px”. We are using “stroke” here because when we have to add some border to this “svg” circle. We set the “stroke” value as “red.” We also set its width using the “stroke-width,” and we set this “stroke-width” to “4px”. Now, we are coloring this svg circle with the help of the “fill” property of CSS. We use this “fill” property when we have] to color any SVG graphic. Here we have the svg circle, and we are adding color to this svg circle, so we use the “fill” property. We set this “fill” property value as “yellow.”
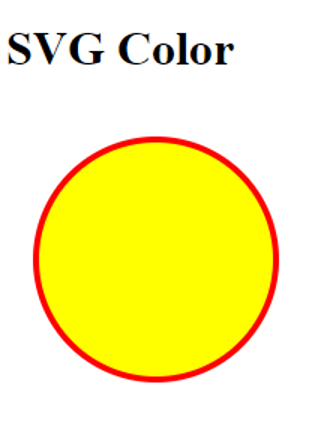
You can see the circle in the output; the color of this svg circle is yellow because we added this color using the “fill” property in CSS, and the border of this svg circle is in red color because we used the “stroke” property in CSS code.
Example 2
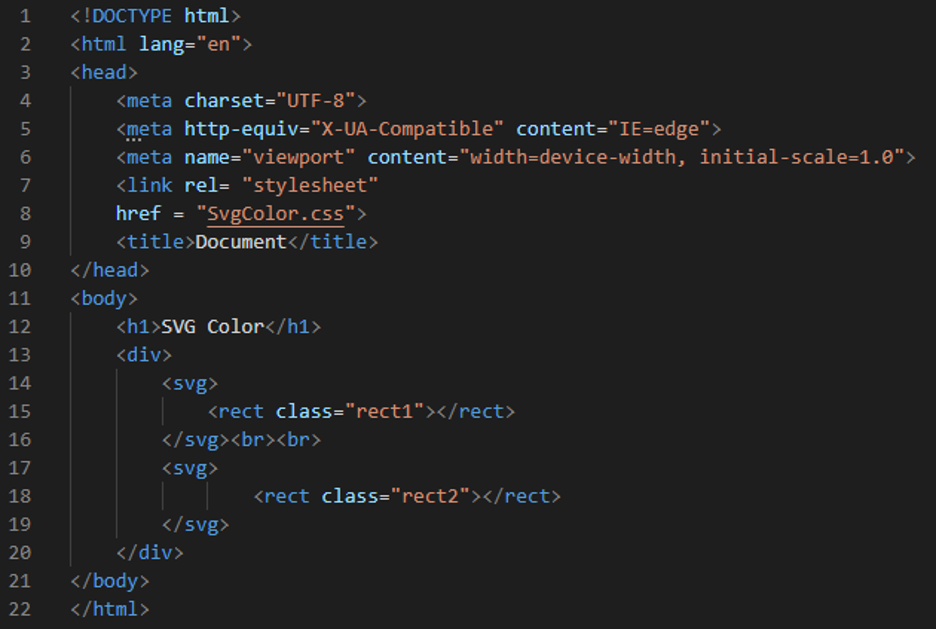
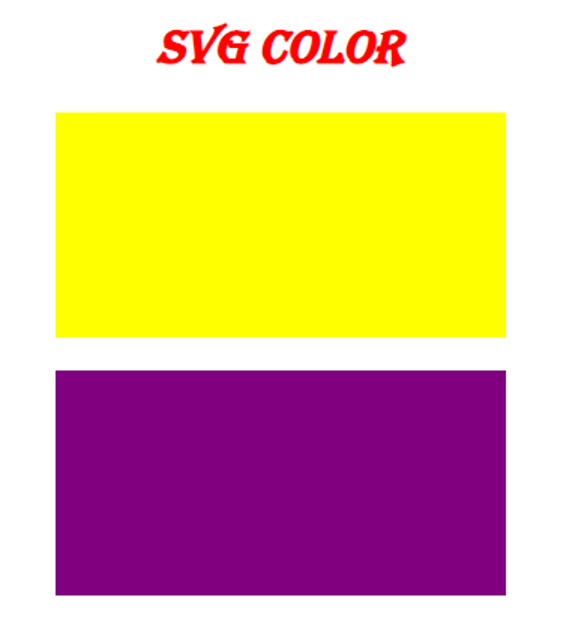
We are creating two rectangle svgs here by placing the “div,” and inside this “div,” we have two different “svgs.” We use “rect” for creating a rectangle. Here we use two rect with the names “rect1” and “rect2” inside the svg and then close the “div” here. Now, we will apply different colors to these rectangle svgs using the CSS properties.
We align all the “body” elements to the “center.” Then, we apply the “red” color to the heading, and “Algerian” we use as the “font-family.” We also style this heading to “italic.” The “height” of the first “rect1” svg is “300px,” and the “width” we are using here is “500px”. We “fill” this rectangle with “yellow” as it is the svg shape, so we use “fill” here. Then we set the same height and width to the next svg rectangle and “fill” this rectangle with “purple.”

There are two svg rectangles in the output. We use the CSS properties for coloring these svg rectangles. Both rectangles are svgs.
Example 3
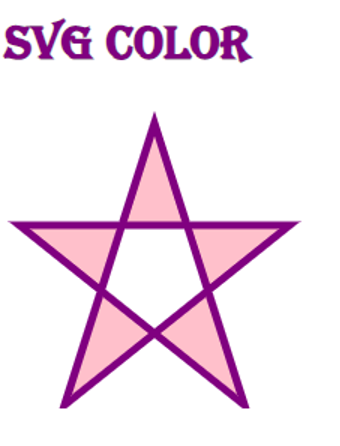
In this code, we are creating an svg polygon, so we use the “svg” tag and create a “polygon” here by defining the points of the polygon and then closing the “svg” tag.

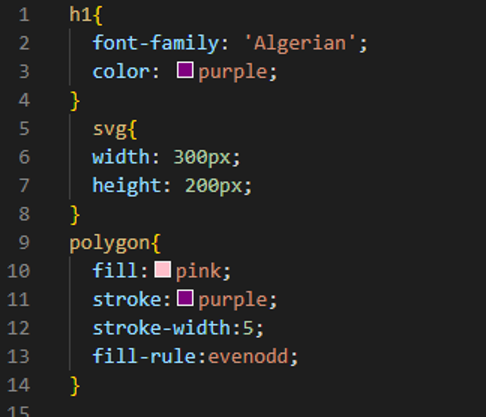
We are utilizing the “Algerian” font and “purple” color for the heading. We set the “svg” “width” and “height” as “300px” and “200px,” respectively. Then we use the “fill” property. We set this “fill” to “pink” so the polygon color will appear “pink.” We also put some borders for this polygon, so we are using “stroke” to give the color of the border, which we set as “purple.” We set the width of this border by utilizing the “stroke-width” property and set it to “5”. Then we use the “fill-rule,” which is used for determining the inside part of the polygon, and set it to “even-odd.”
Here, you see a star which is also called a polygon. This polygon is the svg polygon, and we color this svg polygon here in this example using the “fill” property.
Example 4
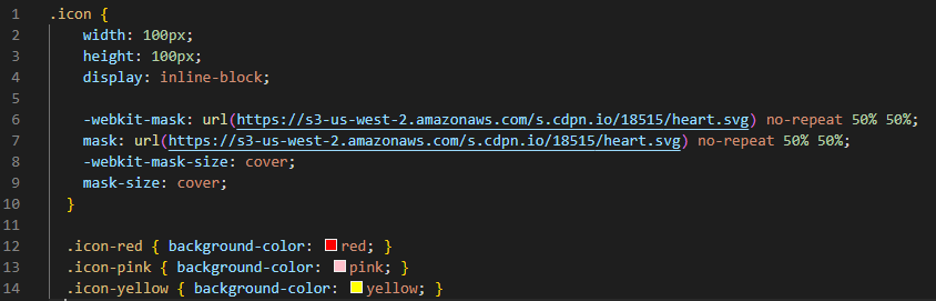
We are going to generate three different icons here, so we are using the “i” tag in this HTML file. We give different names to each icon, so; we will set a different color for each SVG icon.
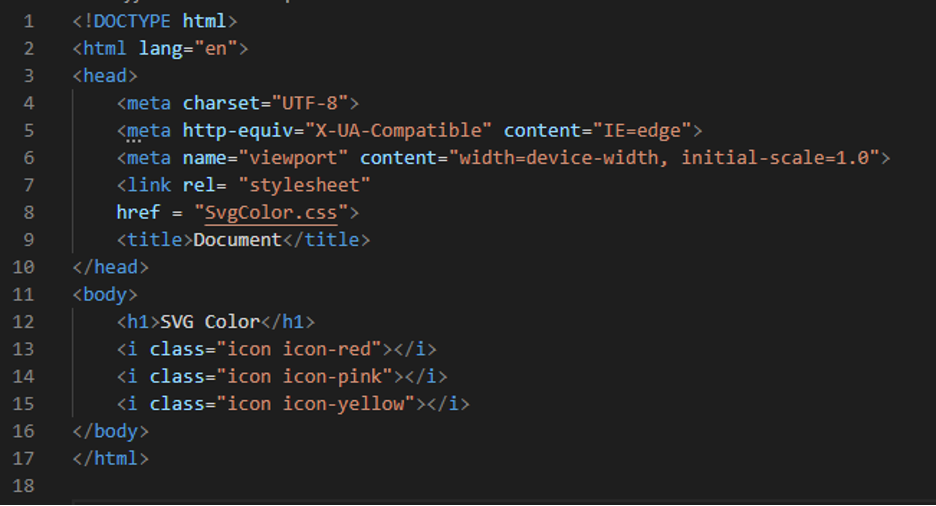
We first set the “icon,” “width,” and “height,” and both are set as “100px”. We also set these icons in one line, so we use the “display” property and set it to “inline-block.” Now, in the “WebKit-mask,” we give the “url” of the SVG image and set the “WebKit-mask-size” to “cover.” Also, the “mask-size” is “cover” here. Then we are going to apply colors to these svg icons with the help of the “background-color” property. We set “red” for the first SVG icon, “pink” as the “background color” for the second SVG icon, and “yellow” color for the third SVG icon.
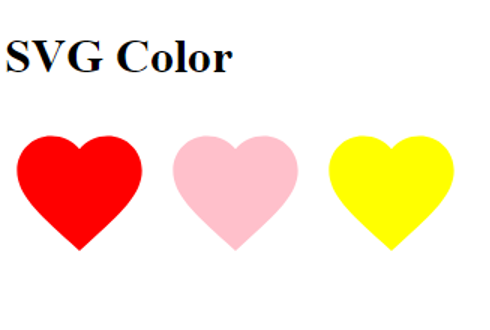
All three svgs icons appear in different colors because we set these colors in CSS by applying the background-color property to all these icons separately.
Example 5
Here, we are using the “XML” version and then give the path of the SVG icon here, and then we will change the color of this icon on hovering, and this will be done in the CSS code.

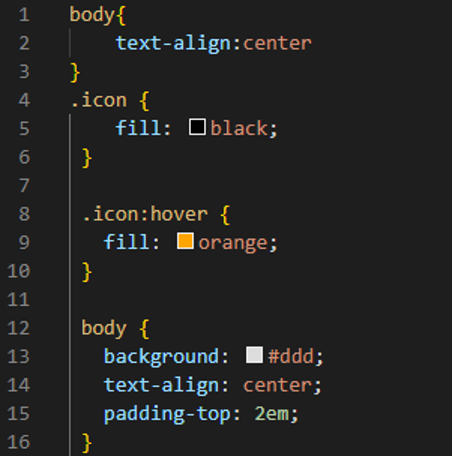
We set the color of this icon by using the “fill” property, as it is the svg icon, so that’s why we are using “fill” here. We set it “black.” This icon will appear in black. We also use “hover” with this “icon” and set “fill” “orange,” so when we hover the mouse over this SVG icon, the color of this will change to “orange,” as we have set “orange” here in the “fill” of “hover.” The “text-align” sets to “center,” and the “padding” we are using here is “2em”.
The first output shows before hovering, and you can notice that the color of this SVG icon appears in black, which we have set in the CSS code, but when we hover over this SVG icon, its color changes, and you can see this in the next output.
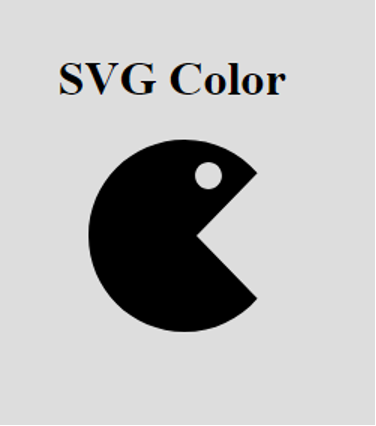
In this second output, the color of the SVG icon renders “orange” because we set “orange” as “fill” when we hover over this SVG icon in CSS.
Conclusion
This tutorial was created to assist you in understanding the CSS properties, which allows us to color the SVG. This tutorial has covered this concept in great depth. We have presented five different examples here in which we design different SVGs and then color those SVGs, and we have changed the color of different SVGs icons. We have provided the outputs of all these codes in this tutorial. We have utilized two properties here for applying color to the SVGs, which were “fill” and “background-color” properties, and explained them in detail here. After carefully following this tutorial, I hope you’ll be able to color SVGs by using these properties in CSS.