In HTML, various attributes are used to uniquely identify the element, such as “class” and “id” attributes. You can also assign more than one name to a class in an element or create subclasses inside the elements. These are mostly utilized for pointing to another class in a style sheet. More specifically, CSS classes and subclasses assist in defining a group of HTML elements to apply unique formatting and styling to the selected elements with the help of the properties.
This blog will demonstrate:
What are CSS Classes & SubClasses?
A CSS “class” is an attribute utilized for specifying a collection of HTML elements so that specific styles and formatting can be applied to all those components. When users detect or develop reusable design patterns that connect to a parent class, another class can be easily created using the term “subclass”. After that, you can relocate and reuse things in multiple places without disrupting styles or changing the selectors using subclasses rather than selectors.
How to Access CSS Classes & SubClasses?
To access CSS classes and subclasses, follow the below stated procedure.
Step 1: Make a “div” Container
First, create a “div” container with the help of the “<div>” element. Then, add a “class” attribute inside the div opening tag and assign a particular name to the class.
Step 2: Create a Table
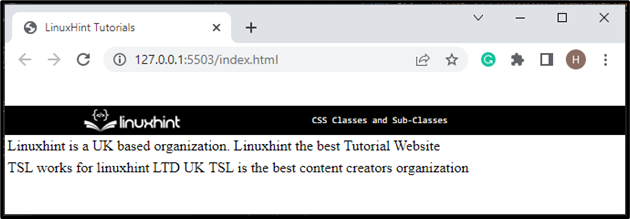
Next, utilize the “<table>” tag for creating a table. Also, assign a class inside the <table> tag, known as its subclass. Then, create rows in the table with the help of “<tr>” and use the “<td>” to add the table data:
<table class="content">
<tr>
<td >Linuxhint is a UK based organization.</td>
<td>Linuxhint the best Tutorial Website</td>
</tr>
</table>
</div>
Output
Step 3: Create Another div Container
Now, create another div container and add a class by following the same method.
Step 4: Make Another Table
Utilize the “<table>” tag for creating another tag:
<table class="content">
<tr>
<td> TSL works for linuxhint LTD UK</td>
<td>TSL is the best content creators organization</td>
</tr>
</table>
</div>
Output
Step 5: Style “main-div” Class
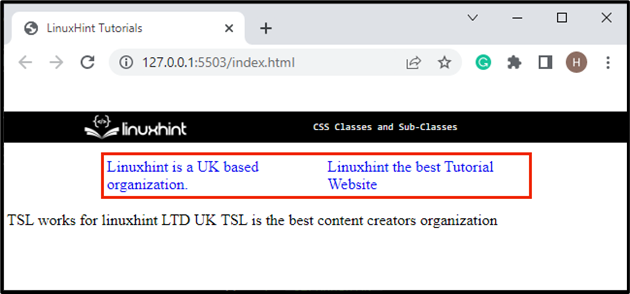
Now, access the main class attribute and apply the below-listed properties:
border:3px solid rgb(240, 38, 2);
margin: 10px 100px;
}
Here:
- “border” property defines a boundary around the defined element.
- “margin” is utilized for adding space outside of the defined boundary.
Step 6: Style Class & Subclass
In this stated step, access both the main class and subclass with the help of their name and attribute selector as “.main-div” and “.content”:
color:rgb(8, 12, 240);
}
After accessing the class and subclass, apply the “color” property to set the color to the added text.
Output
Step 7: Style “second-div” Class
Access the other main class by utilizing the same procedure of the main div:
border:3px solid blue;
margin: 10px 100px;
}
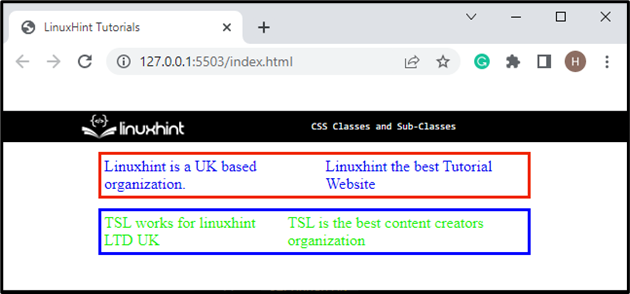
Then, apply the “border” and “margin” properties to it.
Step 8: Style “content” Subclass
Now, access the other subclass and apply the “color” CSS property to specify the color to added text:
color:rgb(27, 240, 7);
}
It can be noticed that the CSS classes and their relevant subclasses have been styled successfully:
That was all about the usage of the CSS classes and subclasses.
Conclusion
To access CSS classes and subclasses, first, create a div container with the help of “<div>” and insert a class with a specific name. Then, make another element in between the container as we have created a table by using the “<table>” tag and add a class inside the table tag with a particular name. After that, access class and subclass in CSS and apply CSS properties for styling. This post has stated about CSS classes and subclasses.


