This article will illustrate how to create a Docker private registry.
How to Create a Private Docker Registry?
To create a private registry, users must log in to Docker’s official registry, “DockerHub”. Then, pull the official “registry” image that will be used to create Docker private registry.
To create the Docker private registry, utilize the provided instructions.
Step 1: Search Official “registry” Image
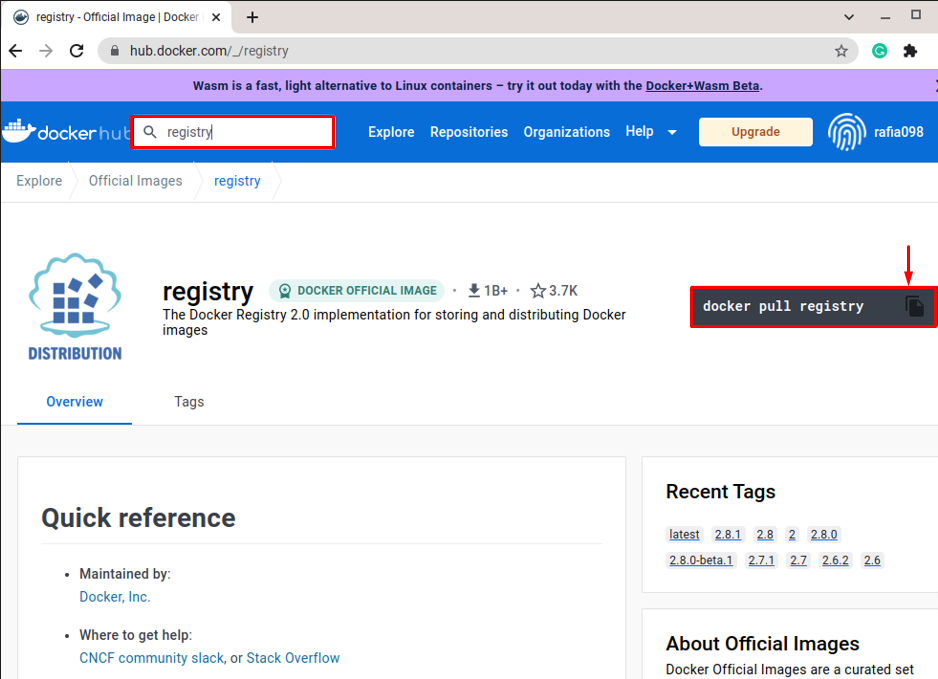
First, log in to Docker Hub official registry, then search for “registry” to open the official registry image:
Step 2: Pull the “registry” Image From Docker Hub
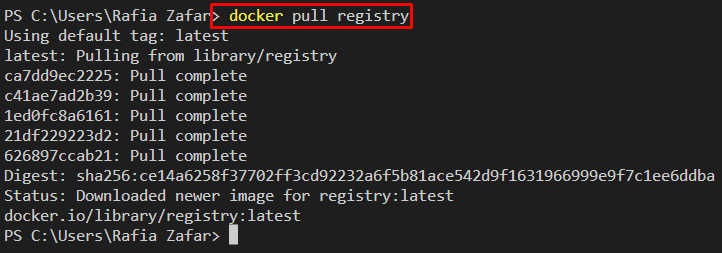
Next, open the terminal on your system and pull the “registry” image using the “docker pull registry” command:
Step 3: Create a Private Registry
Create a private registry by executing the registry image using the provided command. Here, we have specified the port “5000” for the private registry, and “–name” is used to define the container name:
Step 4: Pull Image From Docker Hub
Next, pull any image from the Docker Hub official registry. For instance, we have pulled the “alpine” image:
Step 5: Create Target Image
Next, create a target image through the source image. For instance, we will use an “alpine” image as a source image to create a new target image. This image will be pushed on Docker private registry.
To do so, use the “docker tag <source-image> source-registry/<target-image>” command as follows:
For verification, list down all Docker images:
Here, you can see we have successfully created the target image:
Step 6: Push Image to Private Registry
Now, push the target image to the newly created Docker private registry through “docker push” command:
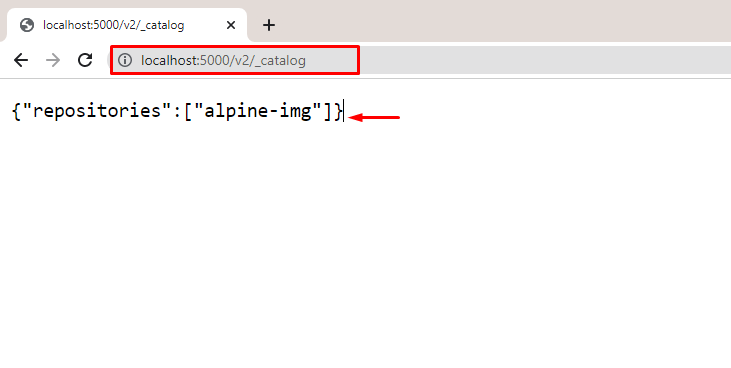
Visit the private registry catalog using “localhost:5000/v2/_catalog” URL on browser:
From the above output, you can see that we have successfully pushed the target image to the newly created private Docker registry.
Conclusion
To create a private Docker registry, first, log in to the “Docker Hub” official registry, and pull the official “registry” image using the “docker pull registry” command. After that, create a private registry using the “docker run -d -p <port no> –restart always –name registry registry:tag” command. Next, pull any image from Docker Hub, tag the image, or recreate the image with a specific name. Then, push the newly created or tagged image to your Docker private registry. This blog has illustrated how to create a Docker private registry.


