This write-up will demonstrate:
- What are Custom Tags for HTML?
- What are the Naming Rules for Custom Tags?
- Examples for Valid and Invalid Custom Tags
- How to Create Custom Tags for HTML?
What are Custom Tags for HTML?
Custom attributes are specifically designed by developers or users and are not included in the standard HTML5 elements. Custom tags specify additional or personal content in the user-defined tags. These tags work similarly to HTML built-in tags. Moreover, to specify the custom tag in the HTML document, users must follow the naming rules.
What are the Naming Rules for Custom Tags?
There are various naming rules defined for creating the custom tag. Some of them are listed below:
- A custom tag always starts with a small letter.
- Users can add numeric values from(1 to 9) in the custom tag.
- At least one (-) hyphen must be added to the custom tag.
- Users cannot enter the capital letter in a custom tag.
- Users can also use any kind of emoji in the custom tag.
- Users can not create self-closing or inline custom tags in the HTML.
Examples for Valid and Invalid Custom Tags
The following table shows examples related to the valid and invalid custom tags:
| Valid Custom Tags | Invalid Custom Tags |
|---|---|
| <my-tag></my-tag> | <TAG> |
| <s-1></s-1> | <my_tag> |
| <div-element> </div-element> | <Div-Element> |
| <valid-123></valid-123> | <123-valid> |
| <start></start> | <start/> |
How to Create Custom Tags for HTML?
To create custom tags in HTML, go through the below-given instructions.
Step 1: Create Custom Tag
First, create a custom tag by following the naming rules. For instance, we have created the “” element in HTML. Then, add text in between the custom tags.
Step 2: Create Button
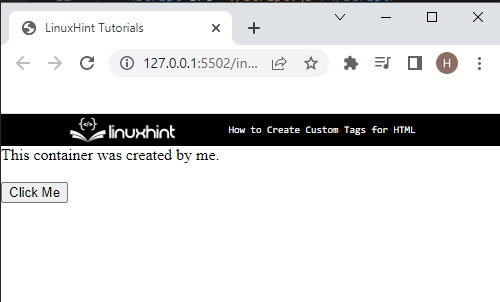
Create a button with the help of “<button>” inside the custom tag:
Here, you can see that the custom tag has been created successfully and also displays the button element:
Step 3: Style Custom Element
Users can also style the custom container by accessing it in CSS using the relevant tag name. For instance, we have accessed the custom container using the created tag “my-tag”. After that, apply the below-coded properties on the custom tag:
display:block;
border: 4px solid green;
margin: 30px 15px;
padding: 30px;
background-color: rgb(238, 181, 96);
}
Here:
- “display” property is utilized to specify how to display an element. The display is set as a “block” to display the element in a new line.
- “border” is used to define a boundary around the element.
- “margin” allocates a space around the element boundary.
- “padding” defines a space inside the boundary of an element.
- “background-color” is utilized for specifying the color at the element’s backside.
Output
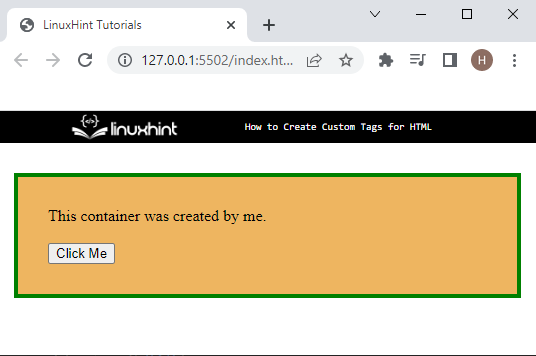
It can be observed that we have effectively created and styled the custom element or tag.
Conclusion
To create a custom tag, users are restricted through following the naming rules. To create a custom tag, first, specify the tag according to rules such as “<my-tag> Some content </my-tag>”. Then, access the tag in CSS using the tag name and apply the CSS properties for styling. This tutorial has taught you the easiest method for creating a custom tag for HTML.