Docker images are the starting point and essential component of the Docker forum for building and deploying the application in containers. Docker also provides us with thousands of Docker images in the official registry. The developers can utilize these images to create custom images to containerize their applications, programs, or software.
This article will demonstrate how to create a custom image to dockerize the program or application.
How to Create Custom Docker Image?
To create the custom Docker image, first, create the Dockerfile that defines the essential instructions to containerize the program. After that, create a new custom image or container template using Docker “build” command. For the illustration, follow the provided instruction.
Step 1: Make Dockerfile
First, create the file named “Dockerfile” to define the instruction to create the custom container’s snapshot or image. For instance, we have used the following instructions to deploy the Python program in the container:
-
- “FROM” is utilized to allocate the base image for the container.
- “RUN” statement is used to run the command. For instance, we have used the “update” command, the “install” command to install Python3, and the “rm” command to remove extra or unused dependencies automatically.
- “CMD” command is used to define executables for the container. For this purpose, we have defined the Python program/code:
RUN apt-get update && apt-get install -y --no-install-recommends \
&& apt-get install -y python3 \
&& rm -rf /var/lib/apt/lists/*
CMD python3 -c "print('Welcome to Python Tutorial in Docker')"
Step 2: Make Custom Docker Image
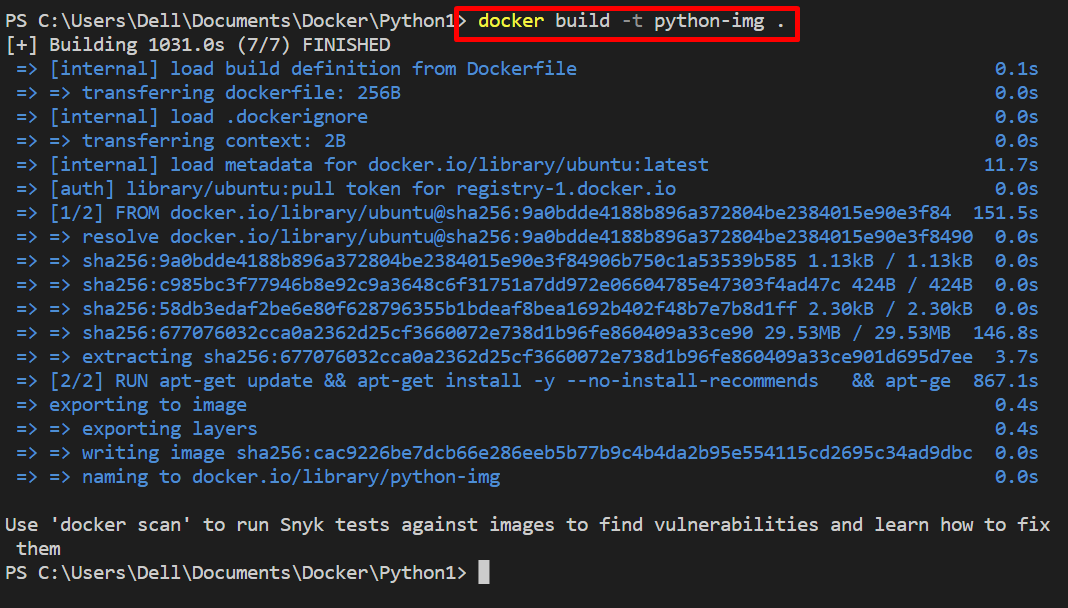
Make or generate the custom image from instruction defined in Dockerfile using the provided command. The “-t” option specifies the image tag or name:
Step 3: Run the Image
After that, execute the image to deploy the application or program in the container. For this purpose, utilize the “docker run <image>” command. Here, the “-i” option is used to operate the container in interactive mode, and the “-t” option is used to assign the TTY-pseudo terminal to the container:
For the verification, list down the images and check if the custom image has been created or not:
You can see that the custom image was successfully created.
Conclusion
To create the custom image in Docker to containerize the program or application, first, create the file named “Dockerfile” which defines the essential instructions to create the container’s snapshot. Then, create the custom snapshot or image for the container through the “docker build -t <image-name> .” command. This blog has demonstrated how to create a custom Docker image.


