This article elaborates on the complete procedure to create a preset in Tailwind.
How to Create a “Preset” in Tailwind?
Tailwind “Presets” are considered the regular configuration objects that specify the same configuration as specified in the “tailwind.config.js” configuration file. The “preset” file is not created by default however it can be created by following the below-given steps:
Step 1: Create a “Preset” File
First, create a “preset.js” file in the Tailwind project and add all the desired configuration options such as extensions, theme overrides, adding plugins, and much more:
module.exports = {
theme: {
colors: {
blue: {
light: '#85d7ff',
DEFAULT: '#1fb6ff',
dark: '#009eeb',
},
pink: {
light: '#ff7ce5',
DEFAULT: '#ff49db',
dark: '#ff16d1',
},
gray: {
darkest: '#1f2d3d',
dark: '#3c4858',
DEFAULT: '#c0ccda',
light: '#e0e6ed',
lightest: '#f9fafc',
}
},
fontFamily: {
sans: ['Graphik', 'sans-serif'],
},
Press “Ctrl+S” to save the above file.
Step 2: Edit the “tailwind.config.js” File
Next, navigate to the “tailwind.config.js” configuration file, specify the name of the template paths as well as specify the “preset.js” file with the “presets” keyword:
content: [
"./index.html",
"./src/**/*.{js,ts,jsx,tsx}",
],
presets: [
('preset.js')
]
}
Press “Ctrl+S” to save the file.
Step 3: Run the Application
Now, run the existing “vite-project” in the development server by entering the following command:
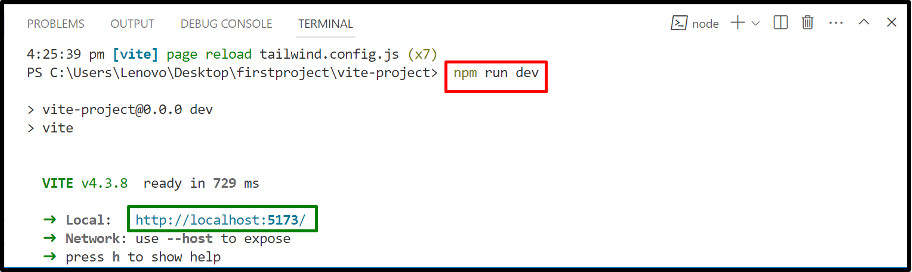
Lastly, click on the “localhost” link to show the output.
Output
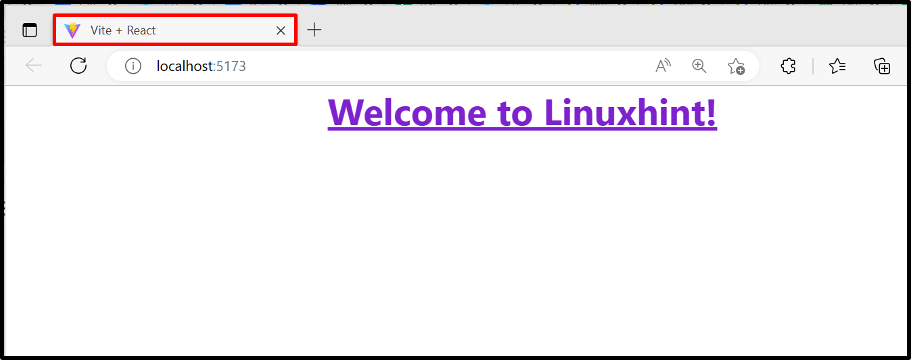
As seen, the output returns a vite project with “Tailwind CSS” styling.
Conclusion
In Tailwind, create a “preset” file in the project and specify all the configurations of the “tailwind.config.js” file in it. After that, specify the “preset.js” file in the “tailwind.config.js” file with the help of the “preset” keyword. The newly created “preset.js” file will embed all the custom CSS on the specified template same as the “tailwind.config.js” file. This article demonstrated the complete procedure to create a preset in Tailwind.