
Dell and Apple are both entirely different brands. Their functionalities, specifications, port variety, and connectivity devices are different. If you want to connect these devices, you must put in some additional effort. The selection of the right compatible port and adapter is important if you want to connect your MacBook to Dell Monitor without any hassle. Read this guide to learn the steps to connect a Dell monitor with a MacBook.
Ports Present in Different MacBooks
Different versions of the MacBook are available on the market, each with its specifications. Port types you get on various MacBooks are listed below:
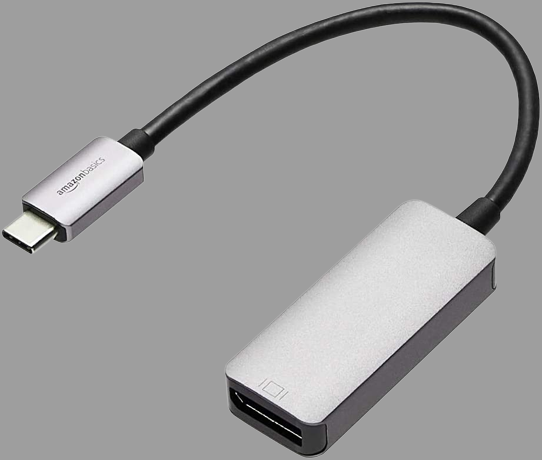
1: USB-C Port
If your MacBook Pro has 2016 or newer model configurations, then you will only have a Thunderbolt 3 port which also allows the USB-C port support. However, if you have a 2021 MacBook Pro model, an upgraded version of Thunderbolt will be provided, i.e., Thunderbolt 4. For this, your Dell monitor must have a USB-C port present in it. If it’s not, then use a USB C- to HDMI adapter.
2: HDMI
The MacBook models which come with HDMI ports, range from 2012 to 2015. HDMI port is important because it prevents you from various troubles. You can build a direct connection using HDMI if your Dell monitor has an HDMI port.
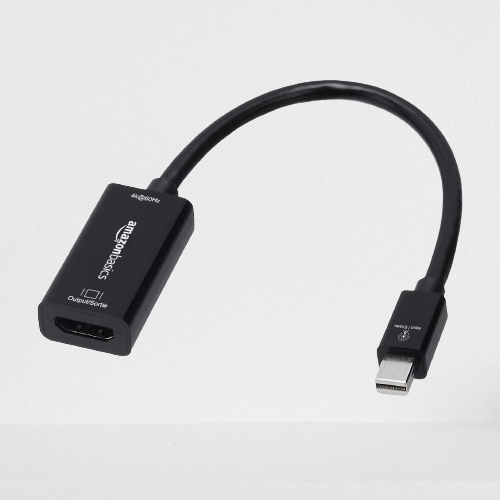
3: Mini DisplayPort
At last, we have a mini display port. This port is present in older MacBook models ranging from 2008-2015. The problem with this port is that its corresponding port isn’t in most of the Dell monitors. However, if you come across such a situation, then the easiest thing to do is use a Mini DisplayPort to HDMI adapter.
Methods to Connect Dell Laptop with MacBook
We have 3 methods to connect a Dell monitor to a MacBook, which is mentioned below:
1: Direct Plug-in
This method is handy when you don’t want to put in some additional effort. If you have a Dell monitor which offers a variety of connecting ports, then always connect the cable to the HDMI port. If your laptop’s input compatibility isn’t an issue, then you must consider this method.
Step 1: The first step that you need to perform is to figure out the input port of your MacBook. It must be USB-C, HDMI, or Mini DisplayPort. For each option, you will need to have a corresponding port as well.
Step 2: The next step is to connect one end of the cable to your monitor while the other end to your MacBook port. If you are using an HDMI port, then one part of the cable should be connected with your source (i.e., laptop) and the other with your display (i.e., a monitor).
If you are using Mini DisplayPort to Display Port cable, the larger connector should be connected to your monitor while the other end should be connected to your laptop.
Step 3: Power ON your MacBook, and you will see the display.
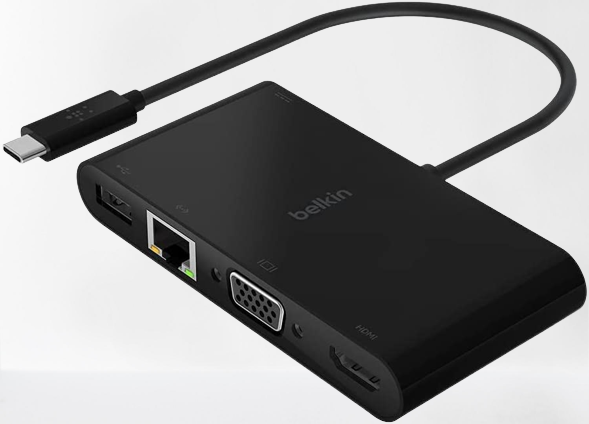
2: Using an Adapter
You can use a video adapter if your Dell monitor doesn’t support input compatibility with your MacBook.
Step 1: The first step is to plug the cable into the monitor. You will have VGA, HDMI, DVI, and other options available. You can use any option but avoid using VGA if you don’t want to compromise picture quality.
Step 2: The next step is to connect the other end of the wire with a video adapter.
Step 3: The video adapter should be connected to your laptop, and you will now be able to see a display.
Conclusion
Connecting a Dell monitor with a MacBook isn’t much of a demanding task. You just need to find out the correct connecting ports and adapters. In this article, we have mentioned the adapters to use while connecting the Dell monitor to a MacBook. Besides this, follow each step with great care.