Docker containers are one of the core parts of the Docker platform that are utilized to build, deploy, and ship applications and services. These containers use OS level of virtualization and provide an isolated environment. Docker containers are similar to containers in real life. These containers encapsulate all the project packages, configuration settings, and source code. This feature of the Docker container makes it easy for developers to test and share the application and service on any system.
This write-up will discuss:
- How do Containers Communicate With Each Other?
- How to Enable Communication Between Docker Containers Using a Network?
- How to Enable Communication Between Docker Containers Using Shared Volume?
- Conclusion
How do Containers Communicate With Each Other?
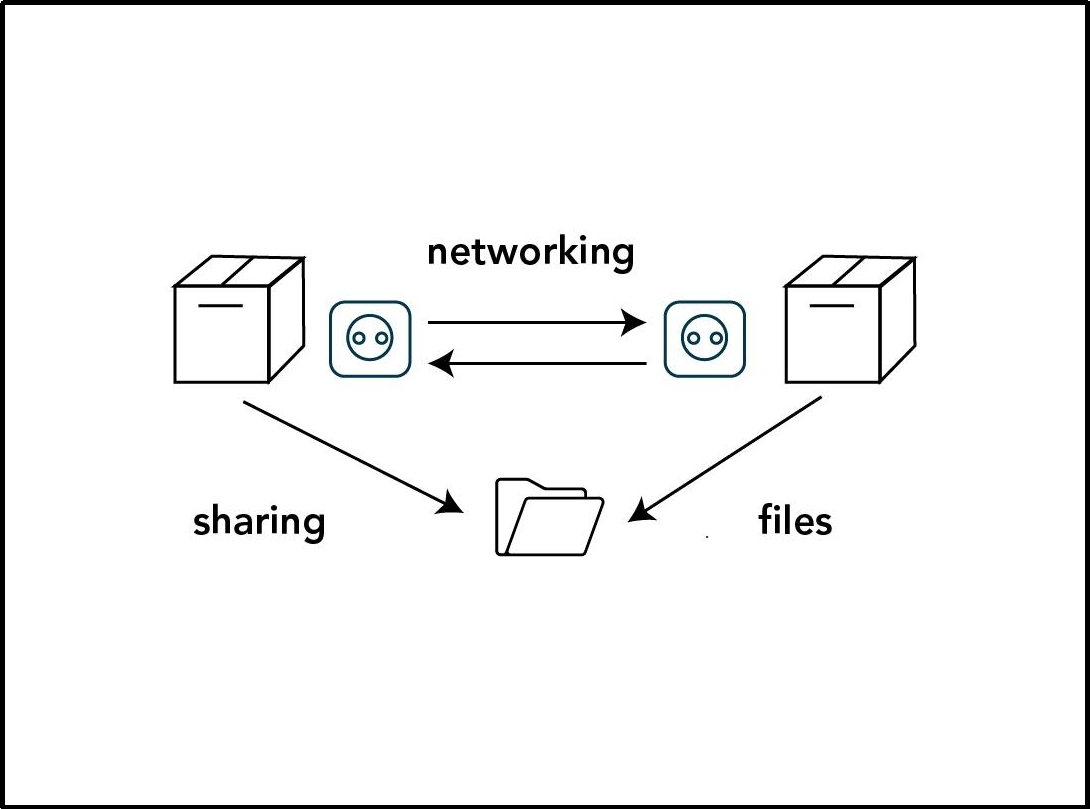
Docker containers provide an isolated environment for containerized applications. Sometimes, some services or applications are interdependent on other services. When these services are executed in different containers, they must communicate to share data. To enable communication between two containers, the following approaches can be used:
- Communication Through Network: In network communication, the containers can communicate and share data with each other through IP addresses.
- Communication Through Shared Volume: In shared volume communication, Docker containers use shared volume (File System) to share and read the data. If one container is writing some file in a shared volume, another container can easily access and read that file:
How to Enable Communication Between Docker Containers Using a Network?
To enable communication between containers using networking, follow the listed instructions:
- Create and Start First Container
- Create and Start Second Container
- Enable Communication Between Docker Containers
Create and Start the First Container
For illustration, we will containerize a simple HTML webpage and this page will be accessible through a second container. To create and start the first container that encapsulates a simple HTML webpage, go through the following steps.
Step 1: Create a Program File
First, create an “index.html” file and paste the below snippet into the file:
Step 2: Make Dockerfile
Next, create another file named “Dockerfile” without any file extension. After that, paste the following commands into the file:
COPY index.html /usr/share/nginx/html/index.html
ENTRYPOINT ["nginx", "-g", "daemon off;"]
In the above-given snippet:
- “FROM” defines the container base image.
- “COPY” copies the source file to the container’s specified path.
- “ENTRYPOINT” command defines the container executable points.
Step 3: Generate the Container Image
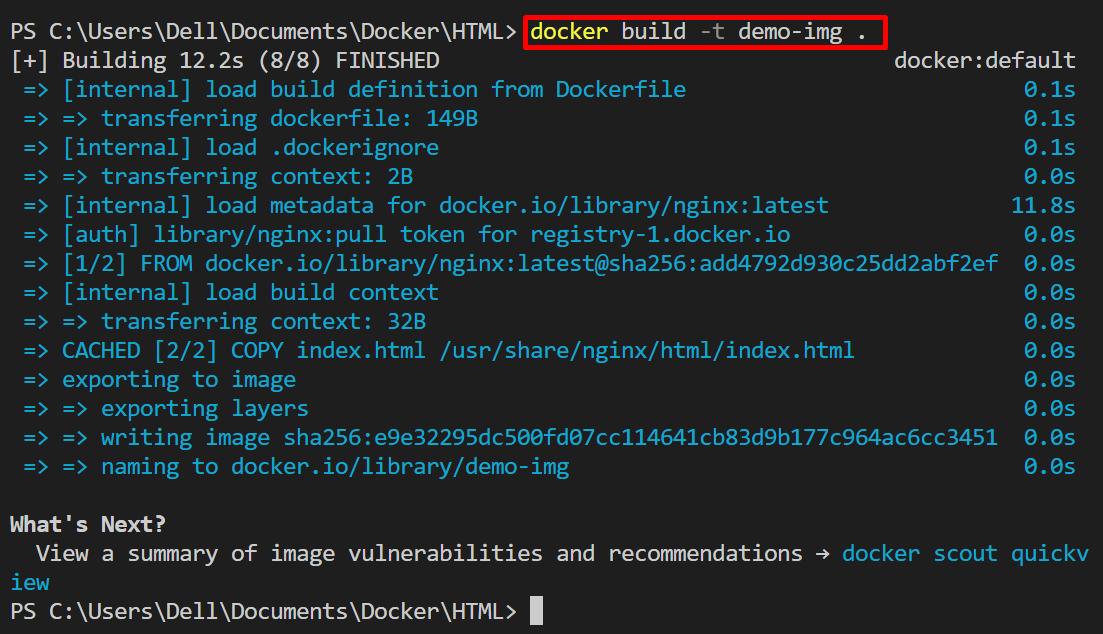
Now, generate the container image that will instruct the container on how to containerize the application. To do so, use the given command:
Step 4: Create and Execute the Container
Run the above-created container snapshot to build and fire up the container. In the below command, the “-p” option defines the container exposed port, “–name” sets the suitable name for the container and “-d” executes the container in detached mode:
For verification, check the list of running container using “docker ps”:
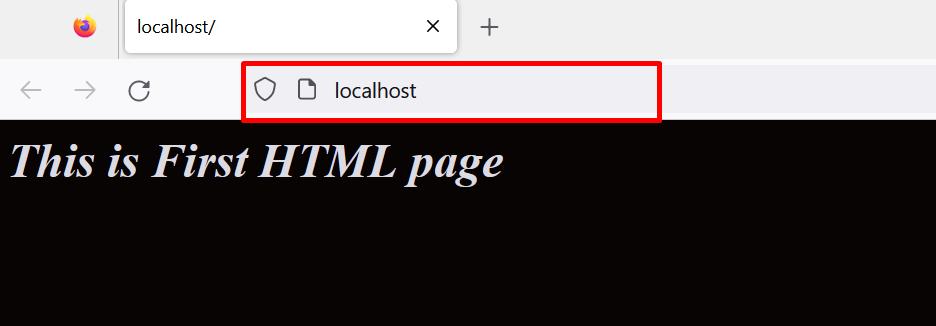
Now, navigate to the “http://localhost:80” port and verify whether the webpage is executing in a container or not. The output shows that we have successfully started container one:
Create and Start the Second Container
For demonstration, we will run the nginx service in the second container. This container will access the “cont-1” webpage from its shell. To run the second container, go through the following steps.
Step 1: Download nginx Image
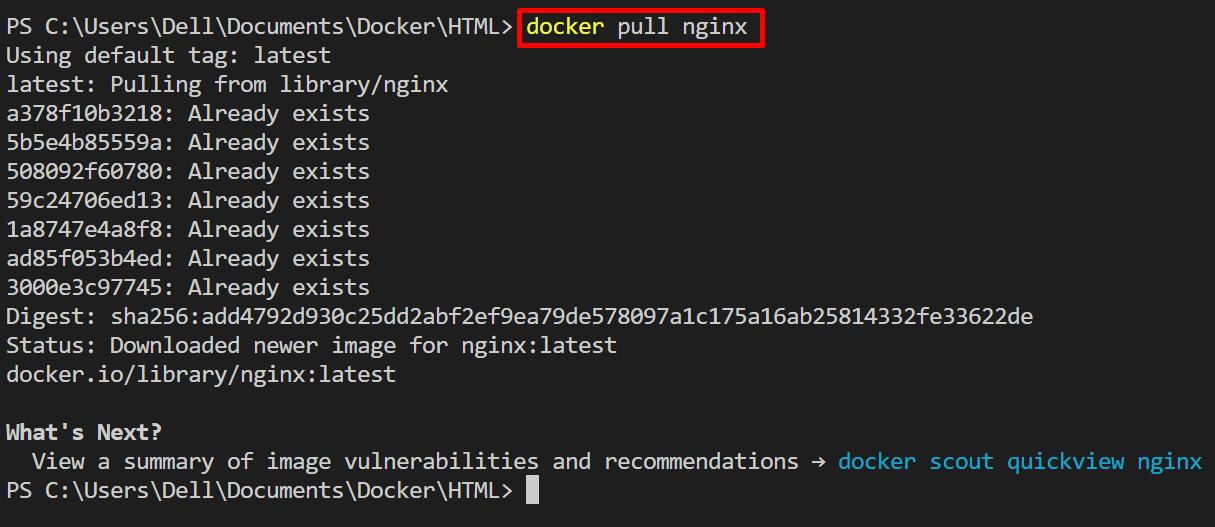
Pull the nginx image from the official registry (Docker hub) using the “docker pull” command:
Step 2: Start the Second Container
Next, start the second container using the “docker run” command and read the container build context from above-pulled image:
For verification, again list down all running containers using “docker ps” command:
The above output indicates that both containers are executing and ready to communicate with each other.
Enable Communication Between Docker Containers
To enable communication between Docker containers, first, find out the IP address of the container from which the second container will get a request, and share data. By default, containers usually use the “bridge” network. To check the container’s IP address, follow our linked article. After that, containers can communicate with each other through IP addresses.
For illustration, follow the following steps.
Step 1: Access the IP Address of First Container
To access the IP address of the Docker container, utilize the “docker inspect ” command. Users can also access the IP address only from the “docker inspect” command by utilizing the “–format” option as used in the below command:
Step 2: Open the Interactive Shell of the Second Container
Now, open the interactive shell of the second Docker container using “docker exec -it <container-name>
” command. Inside the interactive shell, the user can execute any command inside the container:
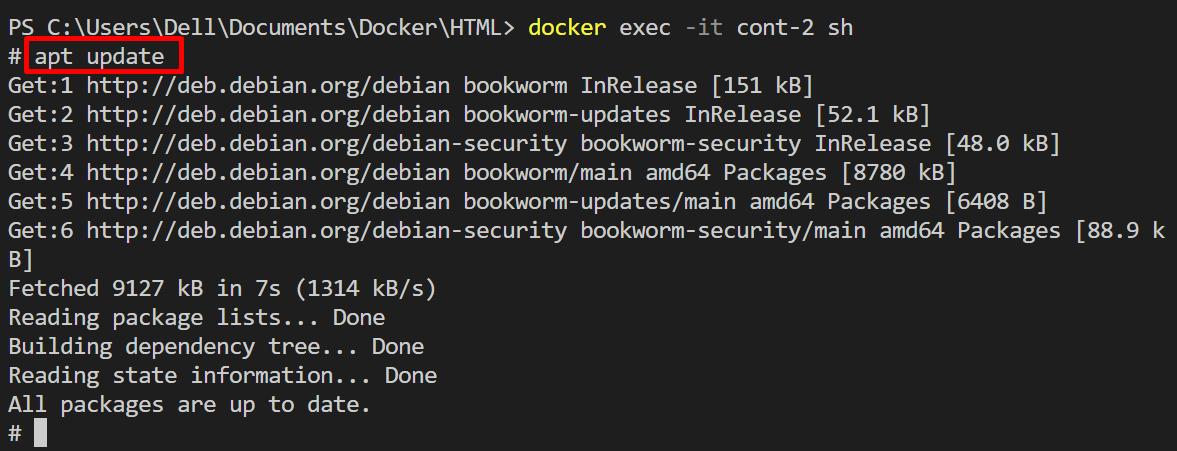
Step 3: Update the APT Repository
Update the APT repository of the container using the “apt update” command:
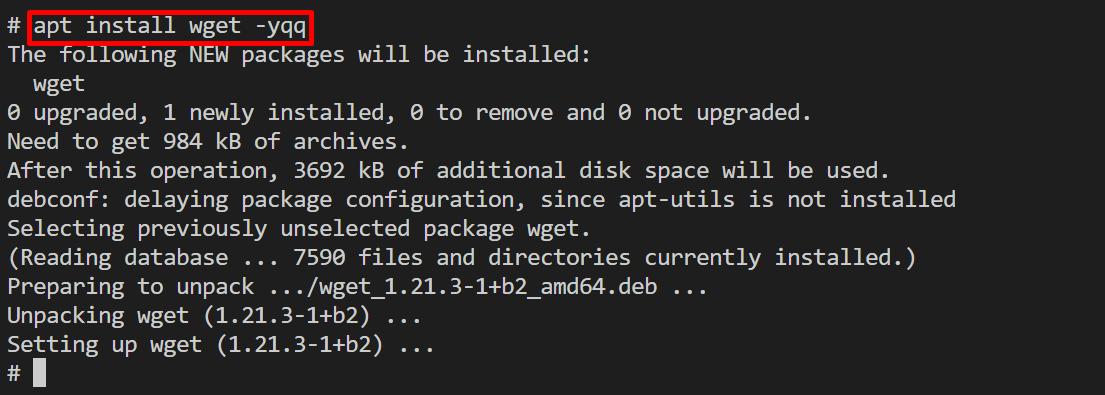
Step 4: Install wget Command
Now, to access the first container webpage, the user needs to install the “wget” command. For this purpose, run the below command in container shell:
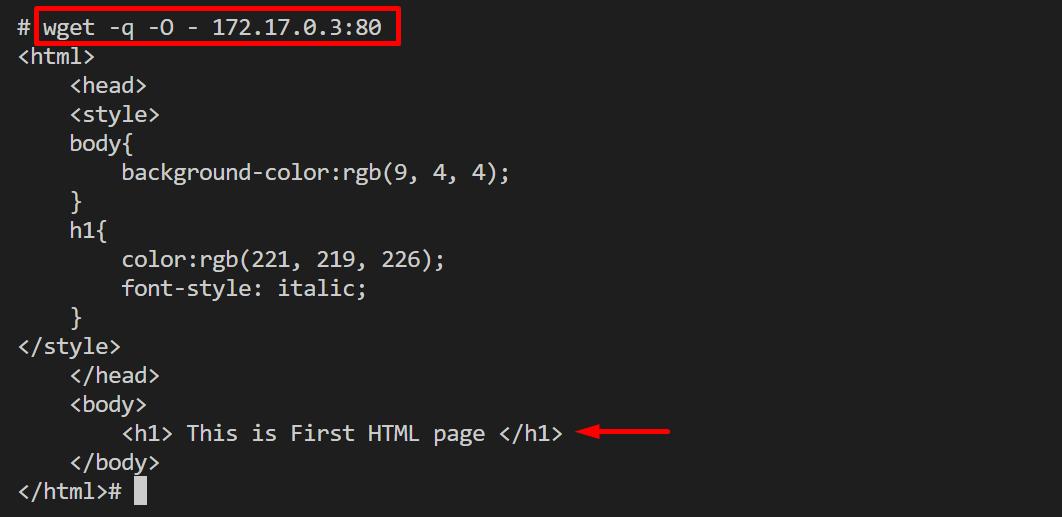
Step 5: Access First Container Service Through IP Address
Now, access the first container service which is the webpage in the second container shell using “wget <IP-address of container 1>” command:
The below output shows that we have successfully enabled the communication between “cont-1” and “cont-2”:
Alternatively, the user can use the “ping” command to access the “cont-1” service. To install the “ping” command, utilize the below command:
apt install iputils-ping
Now, ping the IP address of the first container and verify if the service is accessible or not:
That is all about communication between Docker containers through networking.
How to Enable Communication Between Docker Containers Using Shared Volume?
The second approach is straightforward. Use the single volume (File system) to store and read the data for different containers. If one container writes the data in the file, another container can easily read that data through a shared file system. In Docker, volume can be mounted in different ways. To mount the Docker volume with containers, follow our associate articles “Managing Docker Volume Using Docker Compose” and “Understanding Docker Volume”.
To use the shared volume for two different containers, follow the below demonstration.
Step 1: Create First Container and Mount the Shared Volume
First, create the first container using the image that is created in the first section of this article. Here, the “-v” option is used to mount the volume. For demonstration, we are mounting the current working directory as volume:
Step 2: Create a Second Container and Mount the Shared Volume
In a similar way, create a second container using the “nginx” image. In the second container, we are mounting the same working directory that is used in the above step as a volume:
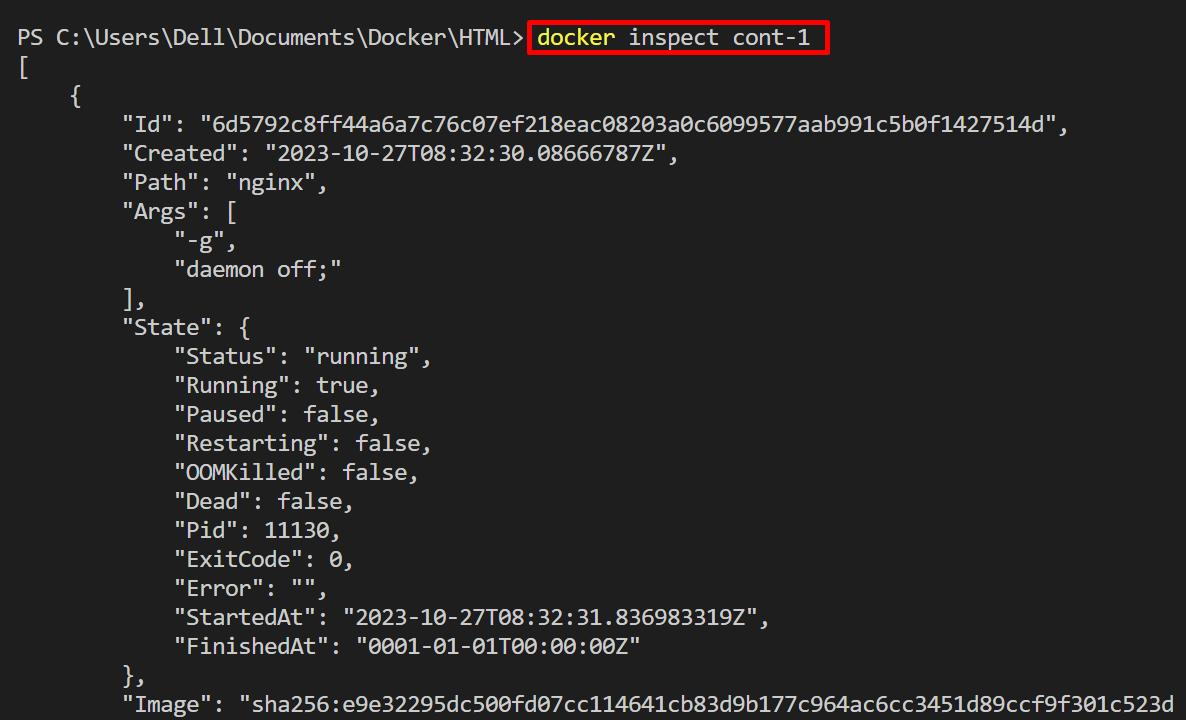
Step 3: Inspect the First Container
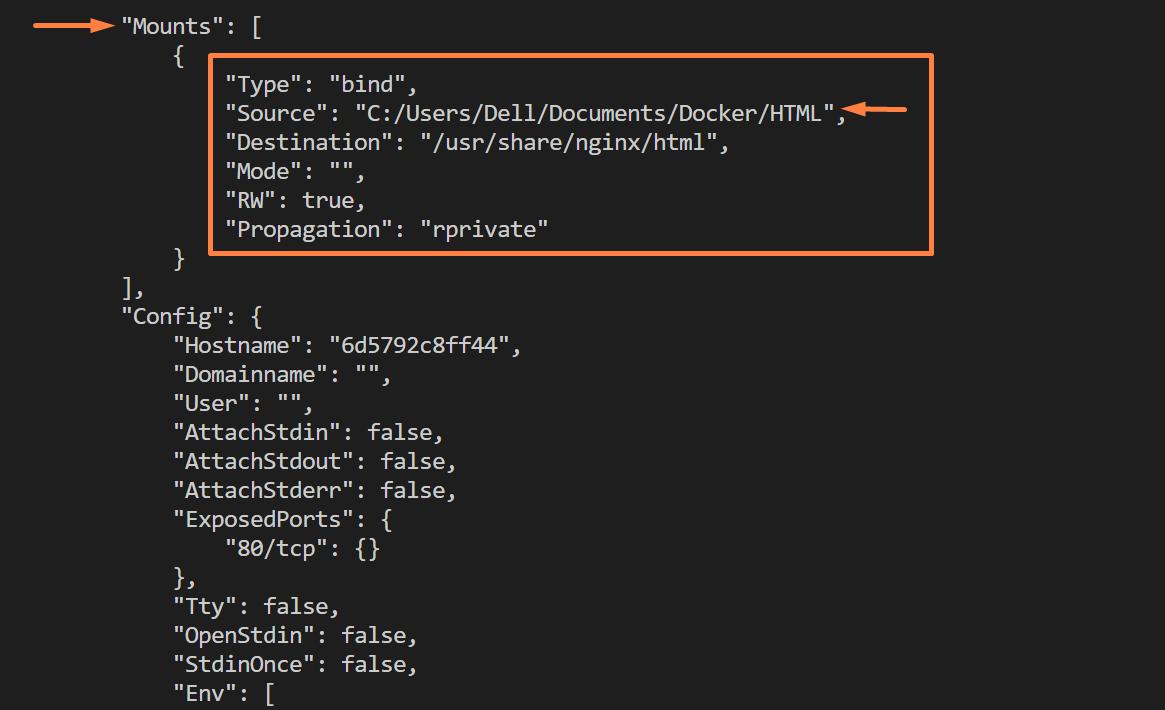
For verification, inspect the first container and check if the shared volume is mounted or not:
The below output shows that we have successfully mounted the shared volume to “cont-1”:
Step 4: Inspect the Second Container
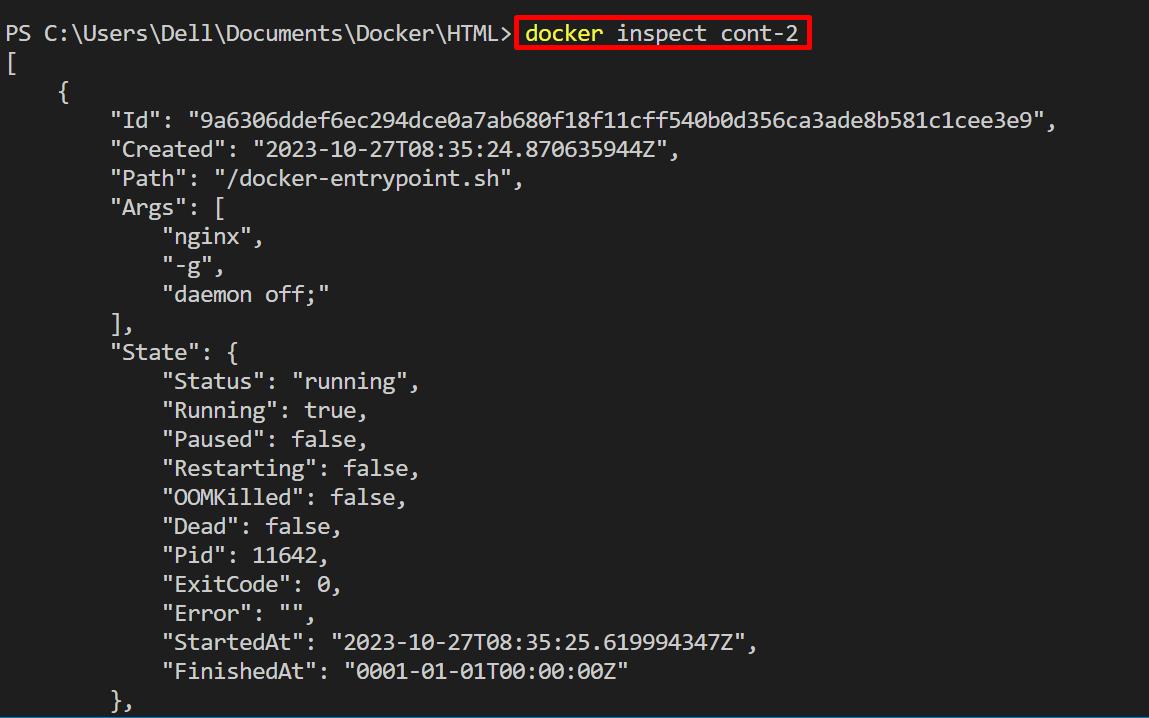
Now, inspect the second container using the “docker inspect <cont-name>” command:
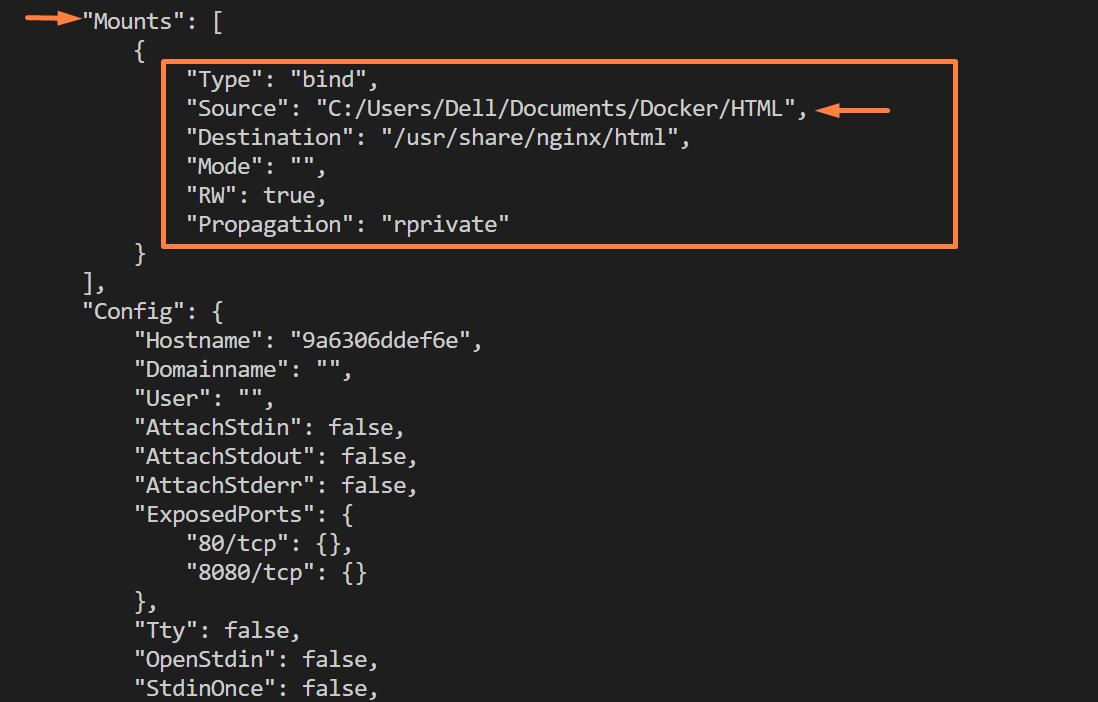
Here, the output is showing the same result as we have mounted a single volume with two different containers. Now, these two containers share a single volume source. So, these containers can easily share files and data with each other:
That is all about communication between containers.
Conclusion
Communication between containers can be done through “Networking” and “Shared File System”. In network communication, the containers can communicate and share data with each other through IP addresses. However, in shared volume communication, Docker containers use shared volume (File System) to share and read the data. If one container is writing some file in a shared volume, another container can easily access and read that file. This blog has demonstrated how to enable communication between containers.

