This post will explain the method for clicking through the div to underlying the elements in CSS.
How to Click Through div to Underlying Elements in CSS?
To click through a div to underlying elements in CSS, first, create a main div with a particular name and add an “<a>” element for defining the hyperlink, which is utilized for linking from one page to another. Then, insert an “<a>” tag following the same procedure and specify a class name.
Step 1: Create a div Container
First, utilize the “<div>” element for creating a “div” container in an HTML file. Then, specify an “id” inside the “div” opening tag with a particular value.
Step 2: Create Nested div Container
Next, make another div container in the first container by following the same procedure.
Step 3: Insert Heading
After that, utilize the HTML heading tag to add a heading. In this scenario, the “<h1>” heading tag is used.
Step 4: Add an Element for Underlying Elements
Now, insert an “<a>” element to link one page with another. To do so, add the “href” attribute inside the “<a>” tag and set the value of this attribute to assign the website link:
<div class="root">
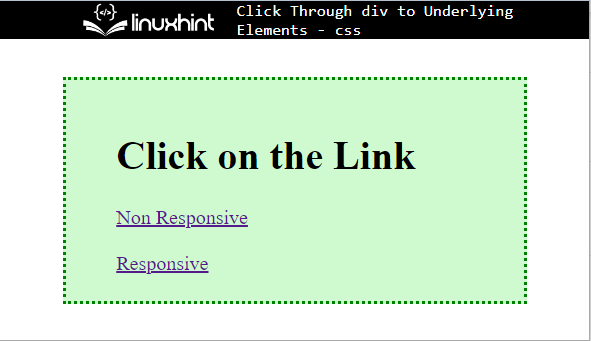
<h1> Click on the Link</h1>
<a href="https://linuxhint.com">Non Responsive</a>
<br><br>
<a href="https://linuxhint.com" class="child">Responsive</a>
</div>
</div>
Output

Step 5: Style Main div Container
Access the main div with the help of the attribute selector and name as “.main-content”:
margin:30px 50px;
border: 3px dotted green;
padding: 20px 40px;
background-color:rgb(207, 250, 207);
}
Now, apply the above given CSS properties:
- “margin” is used for specifying the space around the element’s boundary.
- “border” determines the border outside the defined element.
- “padding” allocates the space inside the defined boundary.
- “background-color” deployed for setting the color at the element’s backside.
As a result, the main container will be styled as follows:
Step 6: Apply “pointer-events” Property
Now, access the nested container using the class name as “.root”:
pointer-events: none;
}
Then, apply the “pointer-events” to manage the HTML components that react to mouse and touch events. In this scenario, the value of “pointer-events” is set as “none”, which means the element does not react to pointer-events:
Step 7: Access the Child Class
Now, access the “<a>” tag with the class name as “.child”. Then, apply the “pointer-events” property and set the value as “auto”:
pointer-events: auto;
}
The “auto” value is utilized for reacting to pointer events like click.
Output

That’s all about clicking through div to underlying elements in CSS.
Conclusion
To click through div to underlying elements, first, make a main div with a particular name and add a class or id attribute. Then, insert the “<a>” element and add the class attribute as a child. After that, access the div and apply the “pointer-events” with the value none. Next, access the child attribute and apply “pointer-events” with the value “auto”. This write-up has demonstrated the method for clicking through div to underlying elements.