These Docker components take up much of the system space and may affect the system’s performance. To free system space and to improve the Docker performance, the user may want to clear the Docker cache.
This blog will discuss the methods to clear the Docker cache on Windows.
- How to Clear Docker’s Cache From Docker Desktop on Windows?
- How to Clear Docker’s Cache From Docker CLI on Windows?
How to Clear Docker’s Cache From Docker Desktop on Windows?
To clear the Docker cache from the Docker Desktop application, go through the provided steps.
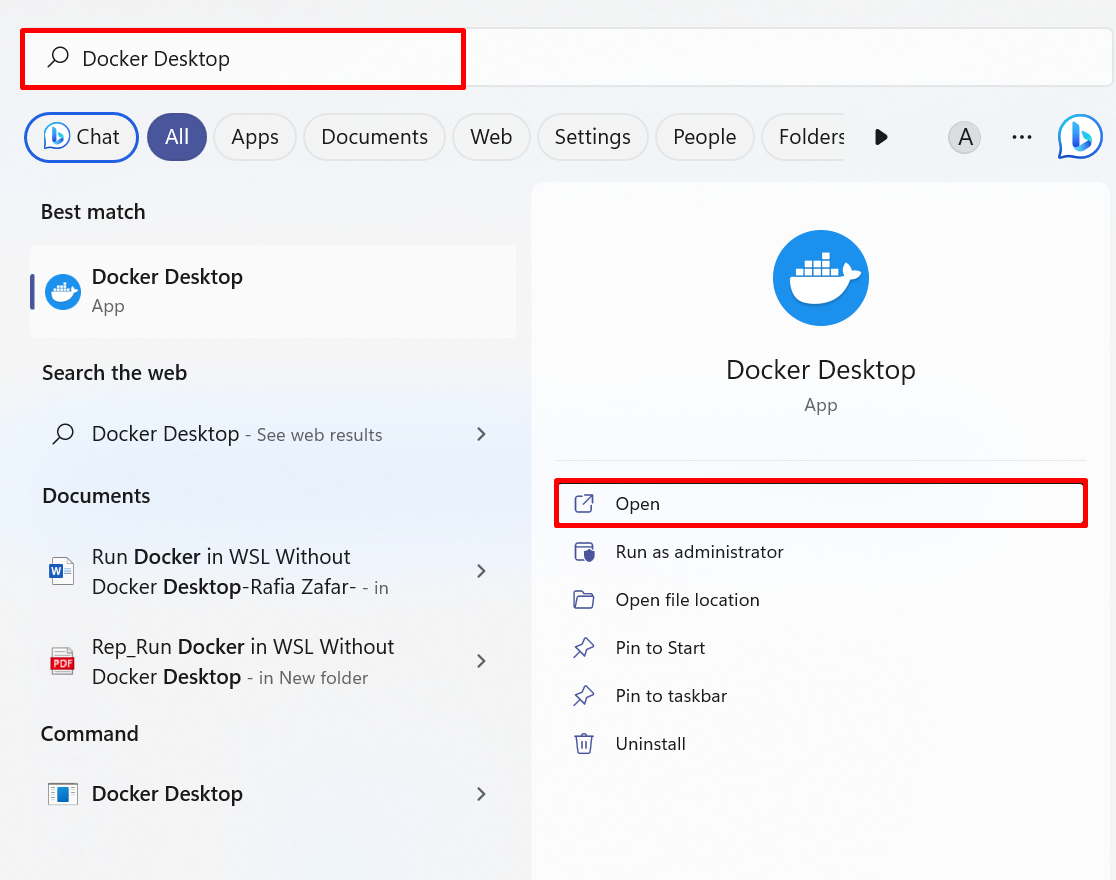
Step 1: Launch Docker Desktop
First, launch the Docker Desktop application from the Windows Start menu:
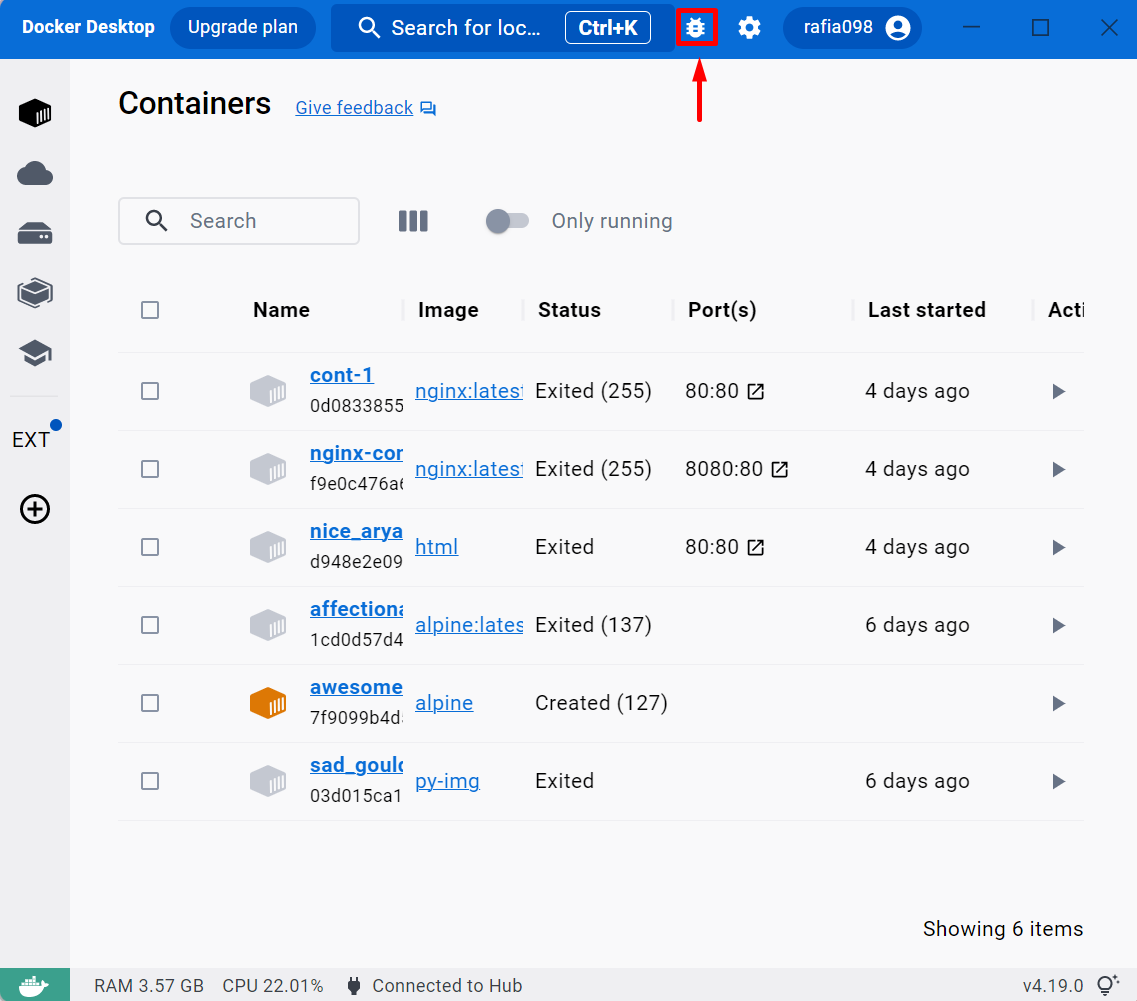
Step 2: Open Troubleshoot Settings
Next, click on the below highlighted “bug” icon to open troubleshooting options:
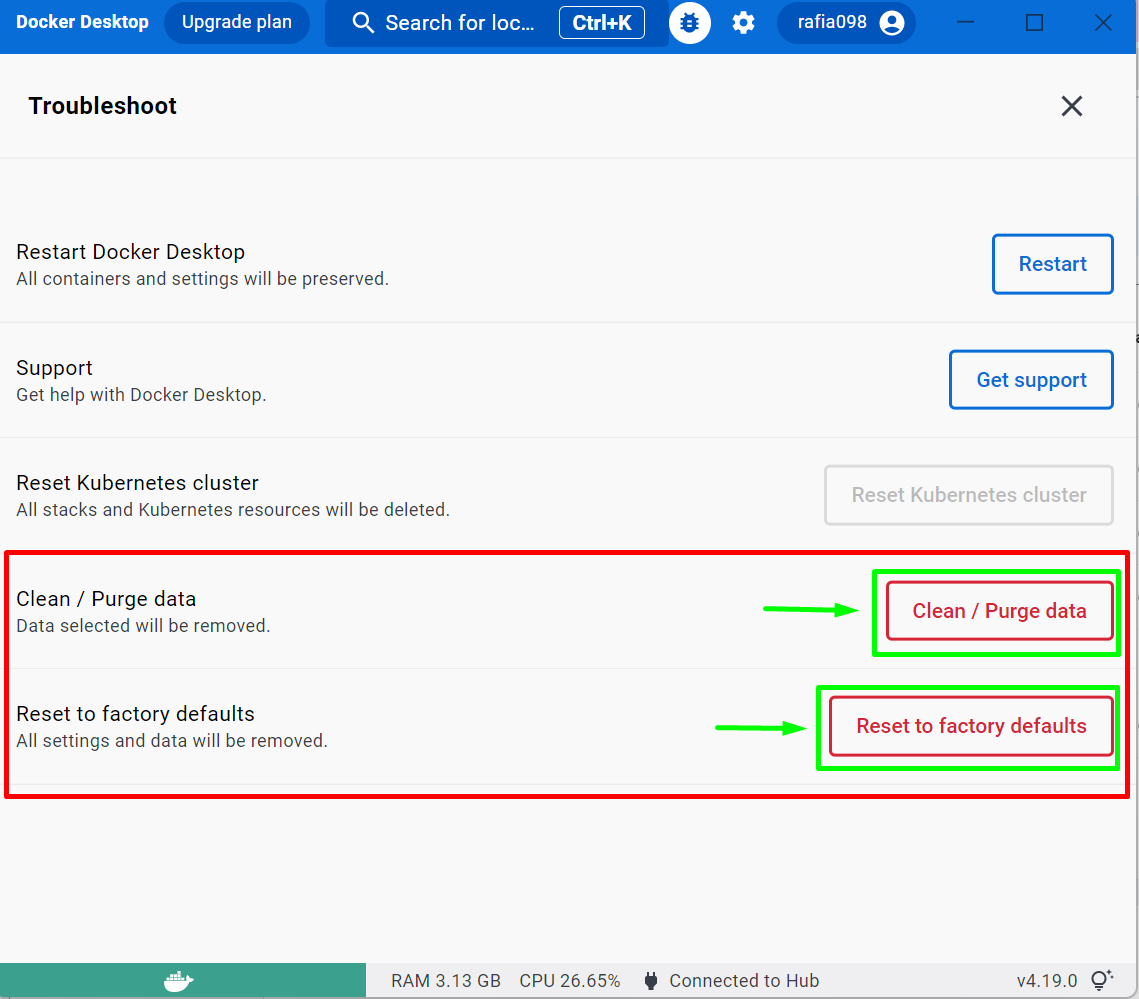
Step 3: Clear Docker Cache
To clear the Docker cache, two options are available. One is the “Clean/ Purge data” option which will completely delete all the Docker configuration settings. The second is the “Reset to factory defaults” option that will remove all the Docker containers, images, volume, and network:
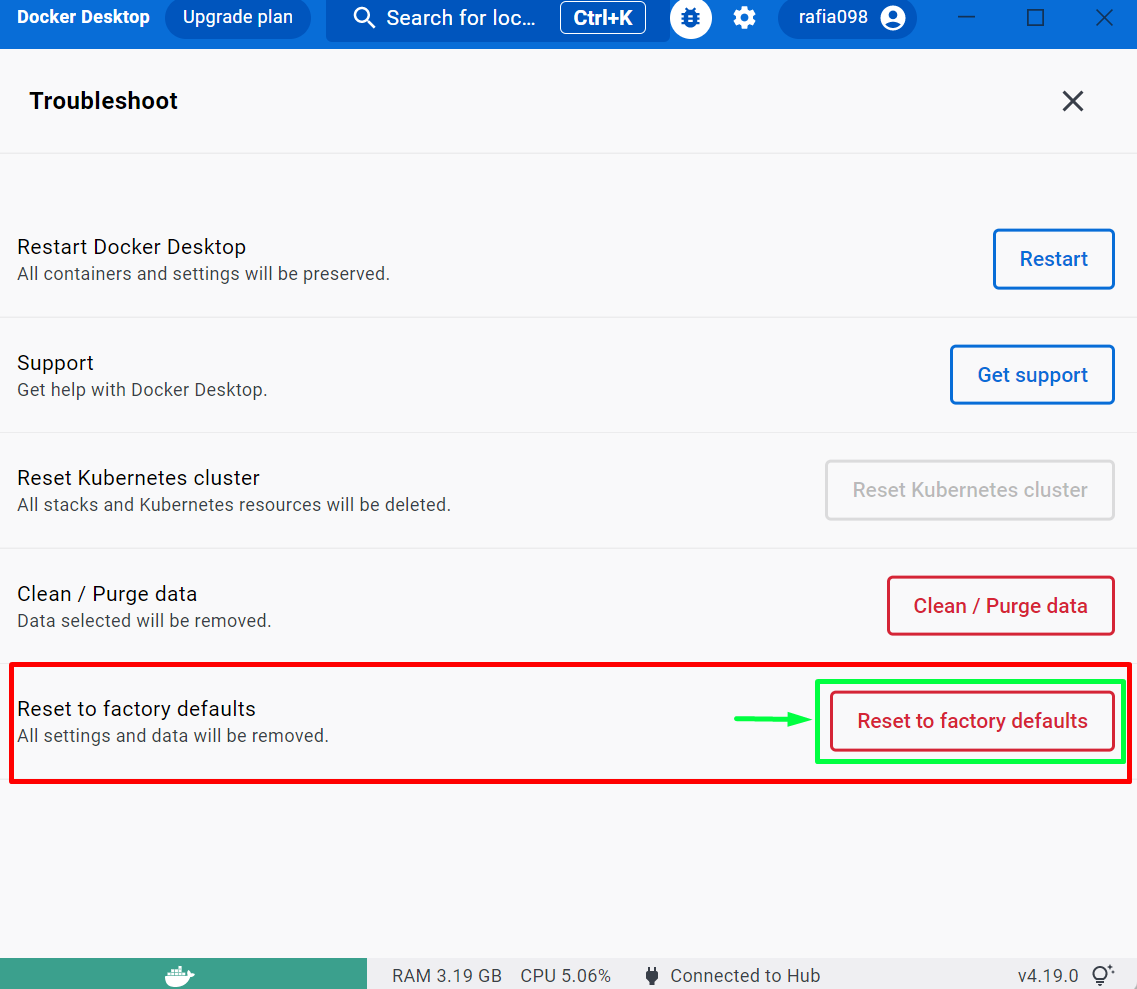
Click on the “Reset to factory defaults” settings to factory reset the Docker:
Next, click on the “Yes, reset anyway” button to reset the Docker cache:

Note: The Docker factory reset will completely remove all the Docker containers, images, and volume. Therefore, users must create a backup of data for later use.
How to Clear Docker’s Cache From Docker CLI on Windows?
The Docker CLI tool allows users to utilize the Docker commands on Windows OS. The Docker CLI also has more control over Docker components. To clear the Docker cache from Docker CLI, the user can remove all the Docker containers or simply use the “docker system prune” command.
For demonstration, go through the given instruction.
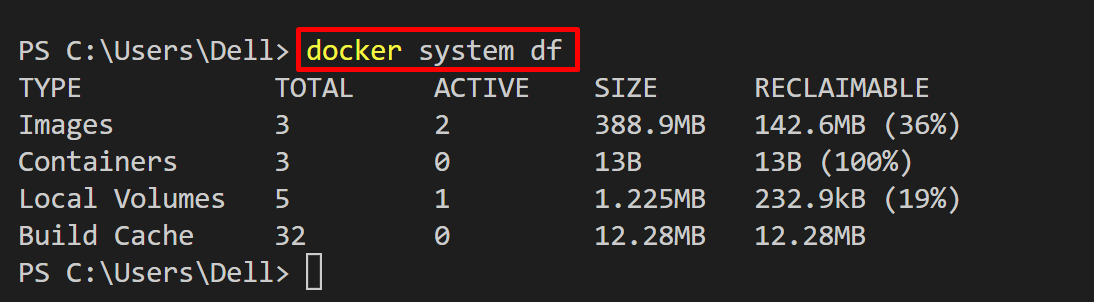
Step 1: Check Docker Disk Usage
First, check the Docker disk usage using the “docker system df” command:
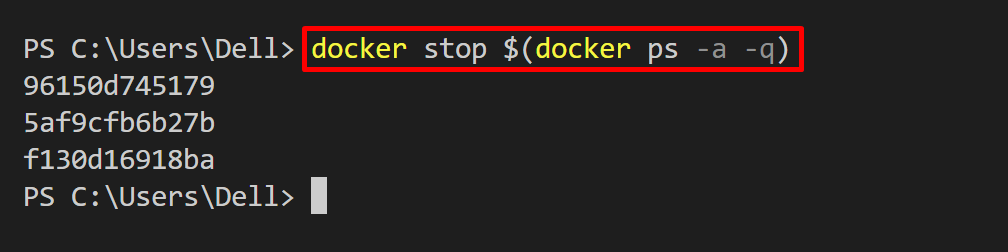
Step 2: Stop All Container
Next, stop all the running containers using the provided command:
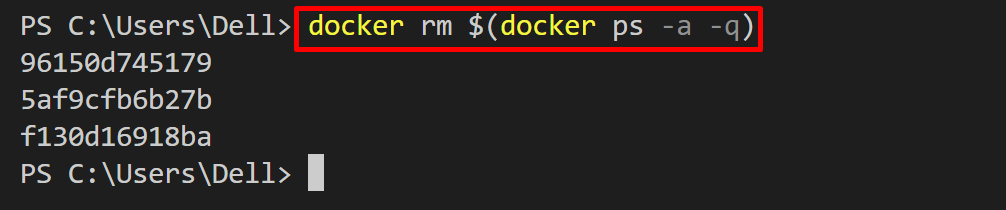
Step 3: Remove all Docker Container
To remove the Docker containers, utilize the “docker rm” command:
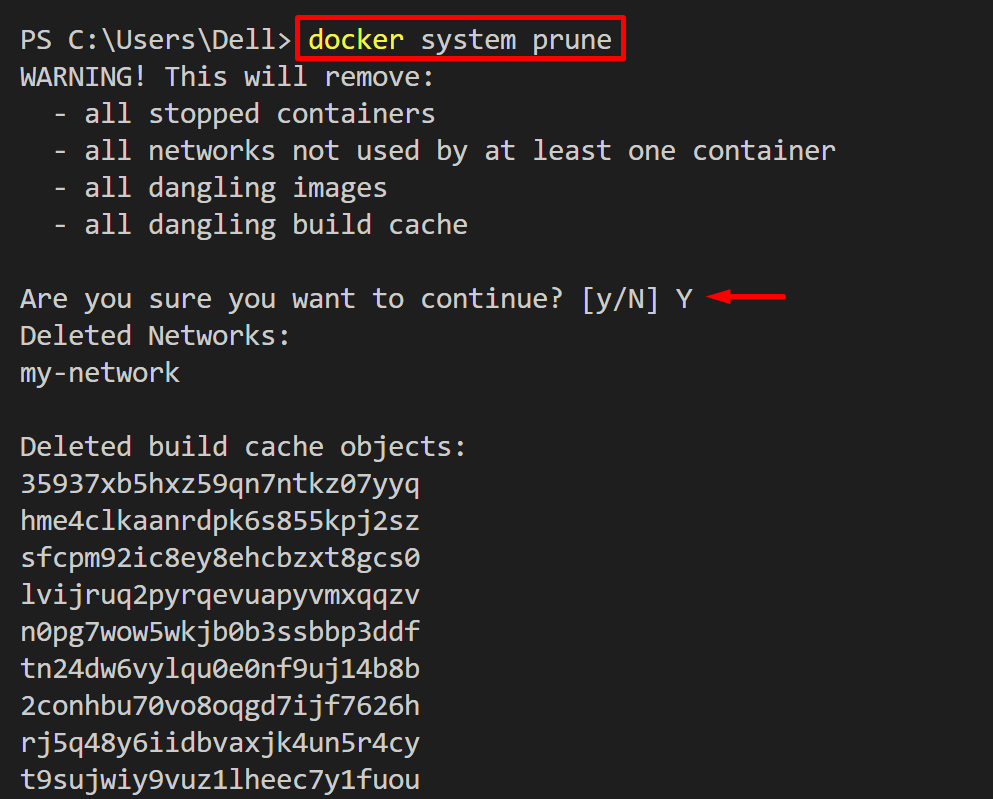
Remove Dangling Containers, Images, and Network
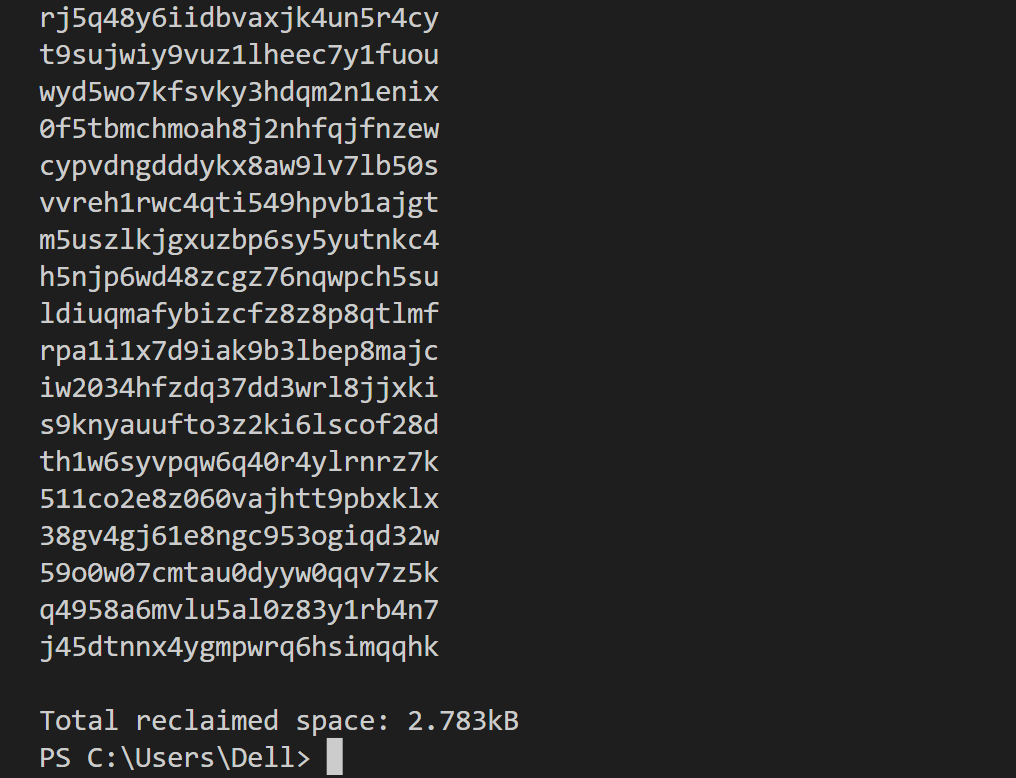
In order to completely remove dangling, unused Docker components such as containers, images, and networks simply use the “docker system prune” command. In order to remove Docker volume as well, utilize the “-v” option along with the command:
That’s all about removing the Docker cache on Windows.
Conclusion
Clearing the Docker cache can free up the Docker disk space and increase the system’s performance. But this can also remove the essential containers and images. To clear the Docker cache from the Docker Desktop application, first, open the troubleshooting options. Then, factory reset the Docker. In order to remove dangling components from the command line, simply use the “docker system prune” command. This post has provided the methods to clear the Docker cache.