This post will provide a beginner guide to building Docker images.
A Beginner’s Guide to Building Docker Images
To create a basic Docker image to execute a small program, go through the below-given instructions.
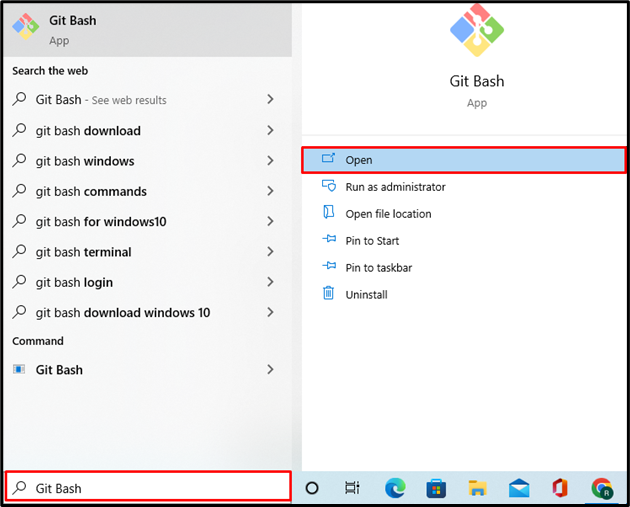
Step 1: Open Terminal
Open your favorite terminal from the Windows Start menu. For instance, we will utilize the “Git Bash” terminal:
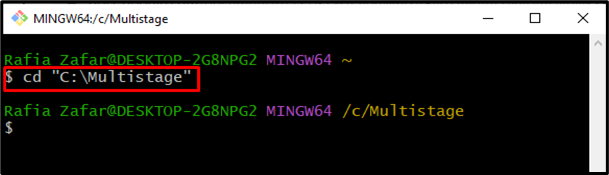
Step 2: Open the Project Directory
Open the project directory with the help of the “cd” command:
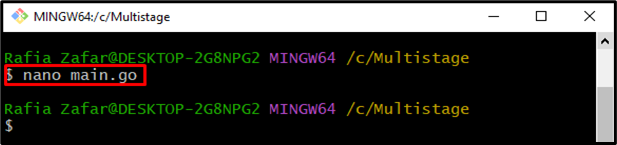
Step 3: Create and Open Program File
Next, create and open a simple project file “main.go” with the help of the nano text editor:
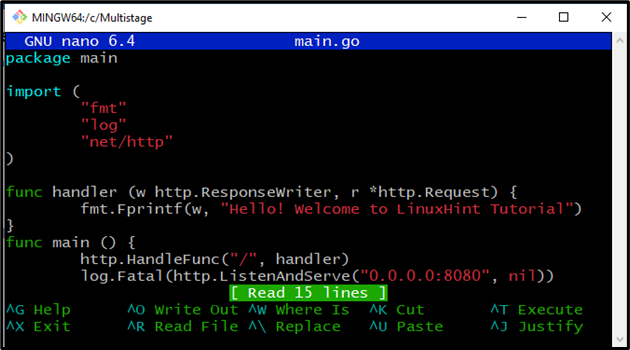
Paste the following program in the “main.go” file. The provided code is a simple “golang” program to print “Hello! Welcome to LinuxHint Tutorial”:
import (
"fmt"
"log"
"net/http"
)
func handler (w http.ResponseWriter, r *http.Request) {
fmt.Fprintf(w, "Hello! Welcome to LinuxHint Tutorial")
}
func main () {
http.HandleFunc("/", handler)
log.Fatal(http.ListenAndServe("0.0.0.0:8080", nil))
}
Press “CTRL+O” to save the changes and “CTRL+X” to exit.
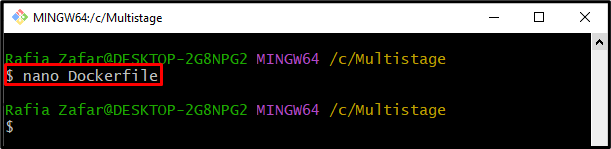
Step 4: Create DockerFile
Next, create and open a new Dockerfile using the Nano text editor:
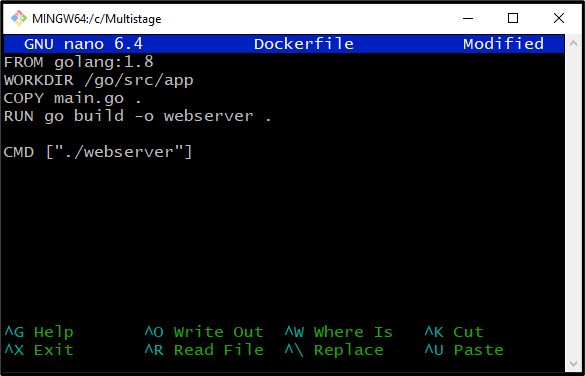
Paste the below-mentioned instructions that will use to run the container to execute the “main.go” program:
WORKDIR /go/src/app
COPY main.go .
RUN go build -o webserver .
CMD ["./webserver"]
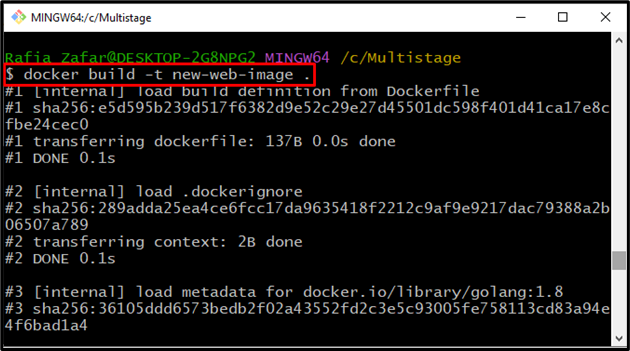
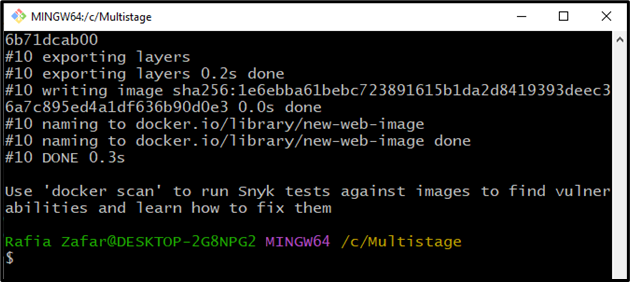
Step 5: Build Docker Image
Now, build a new Docker image by utilizing the “docker build -t <image-name>” command. Here, the “-t” flag is added to tag the image name, and the “.” is used to access the Dockerfile:
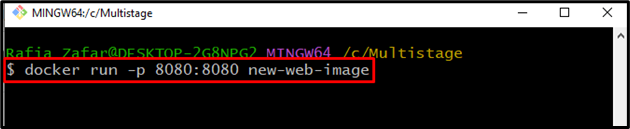
Step 6: Run Docker Image
Lastly, execute the Docker image to run the container. In the given command, the”-p” option is used to specify the port number where the “main.go” program will be executed:
Open the browser and visit the local host URL “http:\\localhost:8080”:
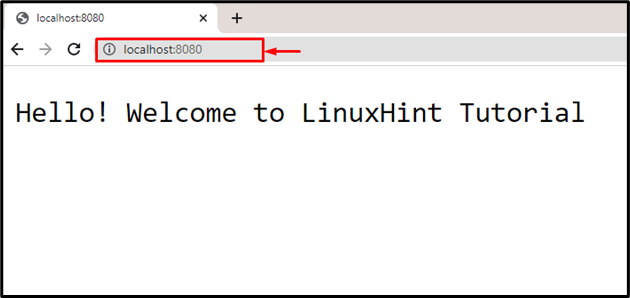
From the above output, it can be observed that we have successfully deployed the simple project by building the Docker image.
Conclusion
To build a simple Docker image for beginners, first, create the simple Dockerfile and open it.
Specify the basic instructions to run the project. After that, build the new Docker image by utilizing the “docker build -t <image-name> .” command. To run the Docker image to process the container, use the “docker run <image-name>” command. We have provided a beginner’s guide to building Docker images.