How to Apply Comic Sans MS Font Style Using CSS?
Cosmic Sans font is not built-in/installed in most systems. Then don’t worry, this article covers the installation process and then applying font to HTML elements using CSS:
Step 1: Install Comic Sans MS Font
To download the “Comic Sans MS” font go to the “font-family” website or any other website like “Google Fonts”, “DaFont”, “UrbanFonts”, “Font Space”, “Font Squirrel”, “Fontesk”, or “Font Bundles”.
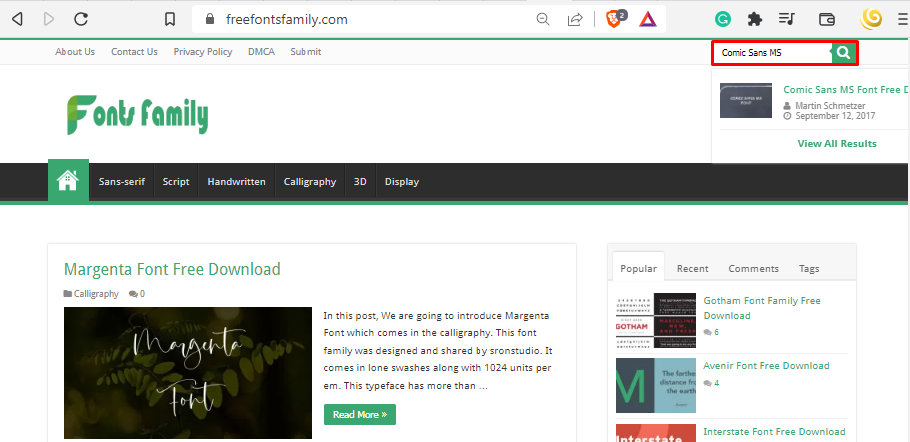
After opening the “font-family” website, insert the font name and click on the search button:

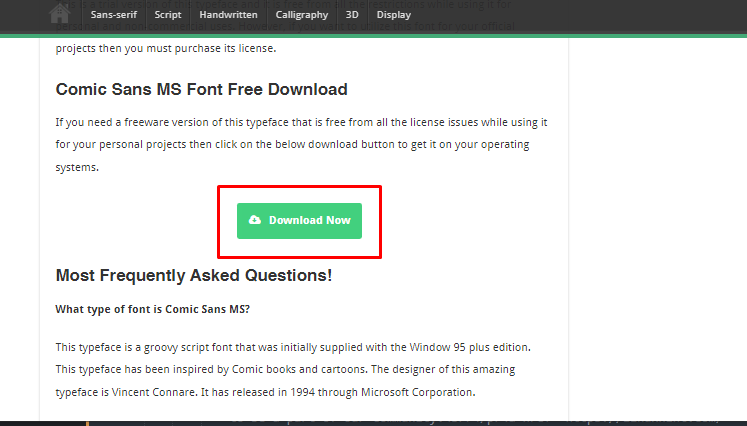
After that, scroll down the page and click on the download button:

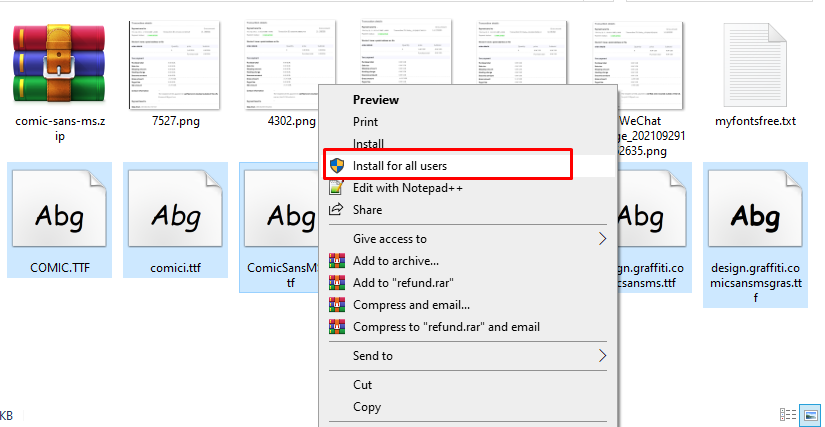
After downloading the font, extract the “.zip” font file and then install all font files:
After clicking on the “Install for all users” option, all available variations of the font get installed on the system.
Step 2: Apply Comic Sans MS Font Style Using CSS
First, select the HTML element to which the font style is going to apply. Then, use the CSS property of “font-family” that sets the font. For instance, create a div and assign it a class of “Comicfont”.
Next, select the “Comicfont” class and use CSS “font-family” property to set the “Comic Sans MS” font to that div. Also, set the color and alignment for that div:
color: seagreen;
font-family: Comic Sans MS;
text-align: center;
}
After executing the above code, the output looks like this:
The output confirms that the “Comic Sans MS” font has been applied to the element of the selected div.
Conclusion
To apply Comic Sans MS font, select the div HTML element and then apply CSS “font-family” property. Give it a value of “Comic Sans MS” that makes the font apply to that div element. This article has demonstrated how to apply the Cosmic Sans MS font style.


