
Apache Tomcat or simply Tomcat is a popular open-source implementation of the Java Servlet and Java Server Pages technologies developed by the Apache Foundation to serve as a web server for applications written in the Java programming language.
In this tutorial, I will walk you through the basics of Apache Tomcat, from installing the Java Development Kit to deploying a simple Java Application.
NOTE: We will cover the Apache Tomcat installation for both Windows and Linux systems.
Let’s get started:
How to Install Tomcat on Windows (Windows Server 2022 Preview)
Tomcat can run on Windows and Unix-based systems. Let’s start by setting up Apache Tomcat on Windows.
Installing Java JDK
Tomcat requires that you have Java runtime installed on your system. You can set up either the Java Development Kit or the Java Runtime Environment.
We will use the Amazon Corretto JDK for this tutorial because it is a free, open-source, installed Windows installer package.
First, launch your browser and navigate to the resource page below:
https://docs.aws.amazon.com/corretto/latest/corretto-11-ug/downloads-list.html
Select and download the installer package for your Windows system.

NOTE: If you wish to use Amazon Corretto 16, you must have a 64-bit Windows system because, at the time of writing this tutorial, Corretto 16 does not offer an x86 Windows installer.
Once downloaded, launch the installer to begin the installation process.
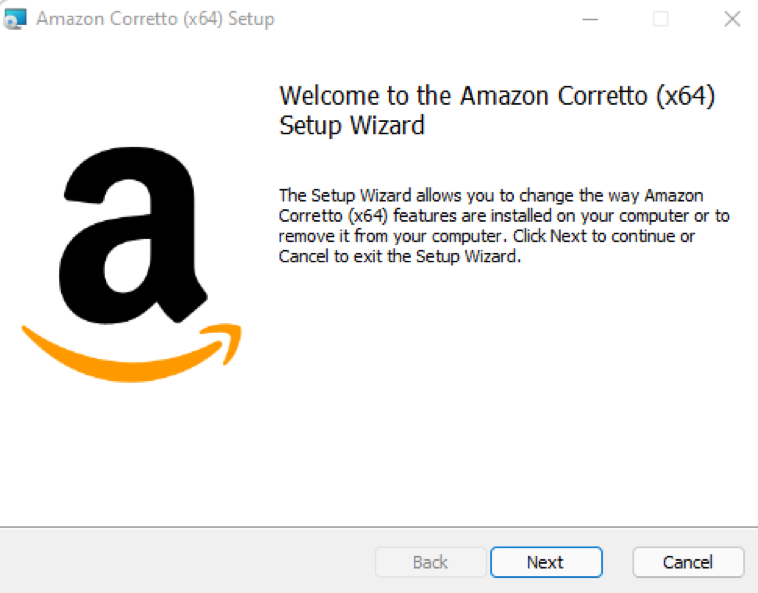
Since the installation process is very straightforward, you can accept the default options provided in the installer and complete the installation.
Once completed, open the command prompt and enter the command below to verify that you have Java successfully installed.
If installed, you should see an output similar to the one shown below:
OpenJDK Runtime Environment Corretto-11.0.12.7.1 (build 11.0.12+7-LTS)
OpenJDK 64-Bit Server VM Corretto-11.0.12.7.1 (build 11.0.12+7-LTS, mixed mode)
Installing Apache Tomcat
Now that we have Java installed, we can set up Apache Tomcat. In this guide, we will use Tomcat 10.
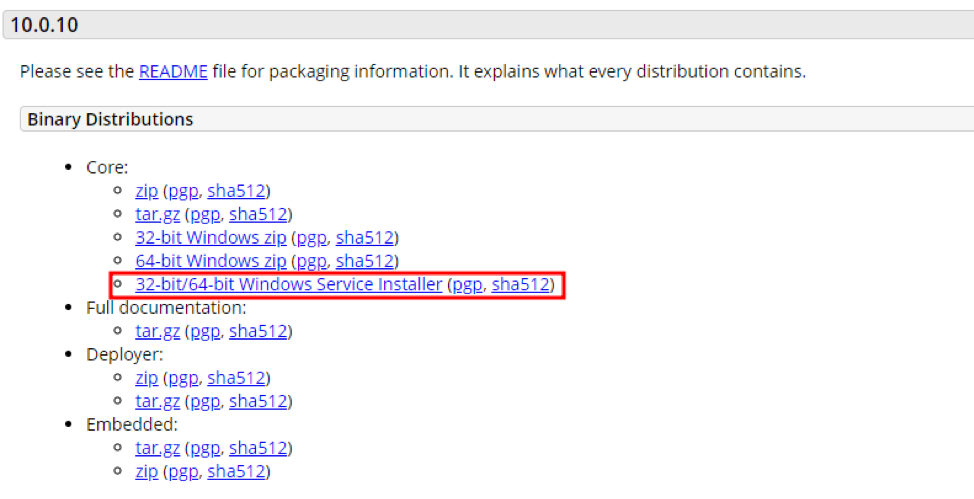
Open your browser and navigate to the resource page provided below:
https://tomcat.apache.org/download-10.cgi
Select the 32/64-bit installer, which will give you an MSI package that will walk you through the installation process.
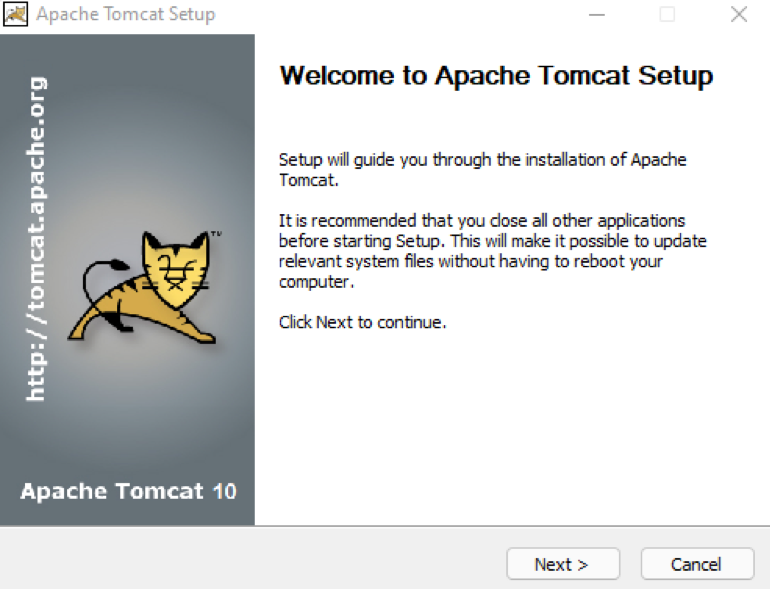
Launch the installer and follow the instructions provided.
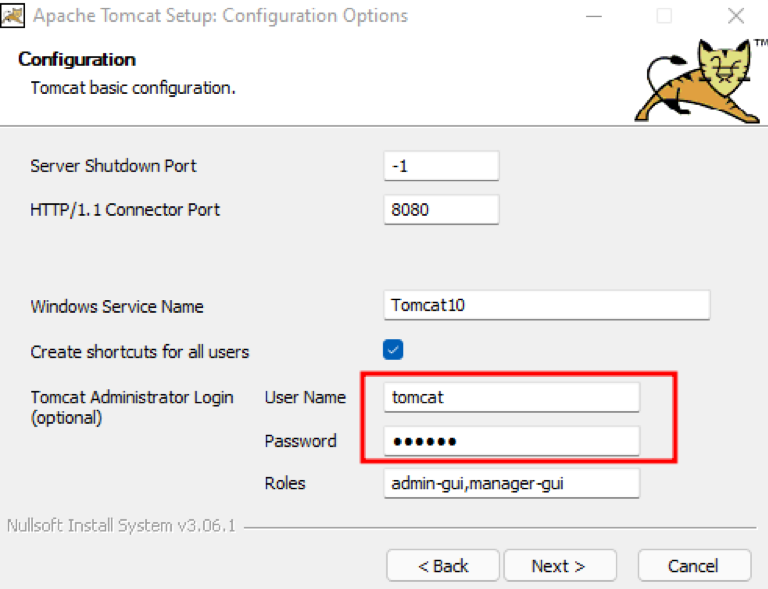
Ensure to set up the Tomcat service and the user for the Tomcat server management:
Once the installation process completes, start tomcat service from the installer:
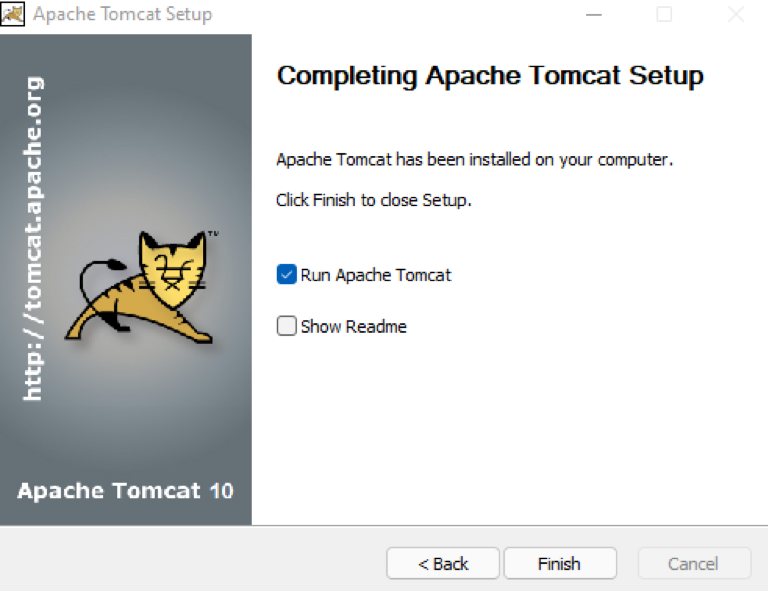
You can also use Windows service manager to start the service. To verify Tomcat is running, open your browser and navigate to:
You should see the default apache tomcat page:

How to Install Tomcat on Linux (Debian 11)
If you’re a Linux user, use the steps in this section to install Apache Tomcat. I’ve tested the instructions in this guide on Debian 11, and they will work on any Debian-based system.
Installing Java JDK
As we did in the previous section, we will set up Java JDK using the Amazon Corretto.
NOTE: Debian 11 comes with OpenJDK 11 preinstalled. Before installing Amazon Corretto, ensure you do not have Java already installed.
You can verify this by using the command:
Here’s an example output of Java 11 installed on Debian 11:
OpenJDK Runtime Environment (build 11.0.12+7-post-Debian-2)
OpenJDK 64-Bit Server VM (build 11.0.12+7-post-Debian-2, mixed mode, sharing)
If you don’t have Java installed, open the terminal and enter the command below:
Next, use wget to download the .deb package, as shown in the command below:
Once downloaded, use dpkg to install using the command:
Installing Apache Tomcat
To install Tomcat10 on your Linux system, open the terminal and download the package using the command:
Next, uncompress the package as:
To start apache Tomcat, navigate to the bin directory as:
Next, use the startup script as:
The command above should launch the Apache Tomcat server with a message as:
Using CATALINA_TMPDIR: /home/debian/apache-tomcat-10.0.10/temp
Using JRE_HOME: /usr
Using CLASSPATH: /home/debian/apache-tomcat-10.0.10/bin/bootstrap.jar:/home/debian/apache-tomcat-10.0.10/bin/tomcat-juli.jar
Using CATALINA_OPTS:
Tomcat started.
How to Use the Tomcat Manager
The Tomcat manager allows you to manage the Tomcat server from the web interface. However, you must have the tomcat manager users set up during the installation (Windows). On Linux, edit the tomcat-users.xml file in the root tomcat directory.
nano conf/tomcat-users.xml
Add the entry for the Tomcat manager as:
xmlns:<strong>xsi</strong>="http://www.w3.org/2001/XMLSchema-instance"
xsi:<strong>schemaLocation</strong>="http://tomcat.apache.org/xml tomcat-users.xsd"
<strong>version</strong>="1.0">
<user <strong>username</strong>="tomcat" <strong>password</strong>="tomcat" <strong>roles</strong>="manager-gui,admin-gui"/>
Save and close the file. Restart tomcat using the scripts as:
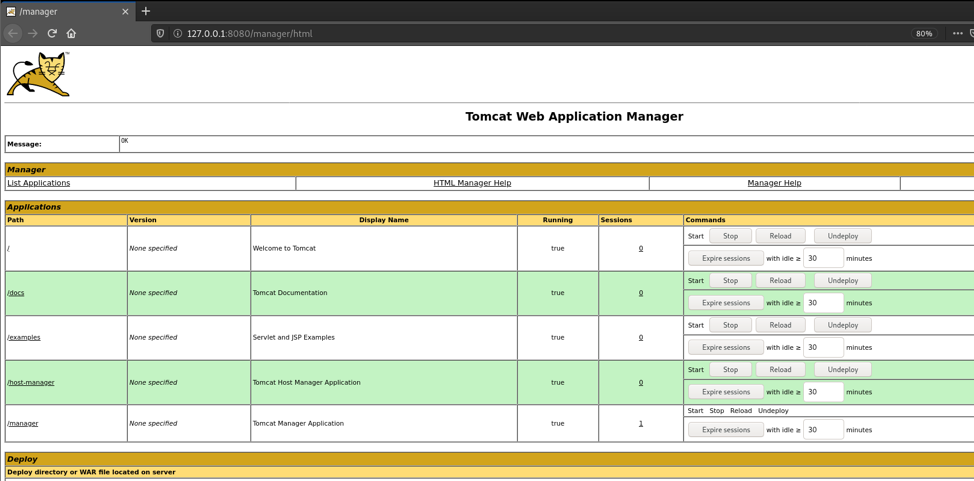
Finally, access the manager using the address http://127.0.0.1:8080/manager
Enter the username and password you configured in the tomcat-users.xml file. Once authenticated, you should see a tomcat manager window similar to the one shown below:
Deploying a WAR File
The primary purpose of setting up an Apache Tomcat server is to run Java applications. Although there are various ways to deploy a WAR file to Tomcat, the most popular is to use the Tomcat manager.
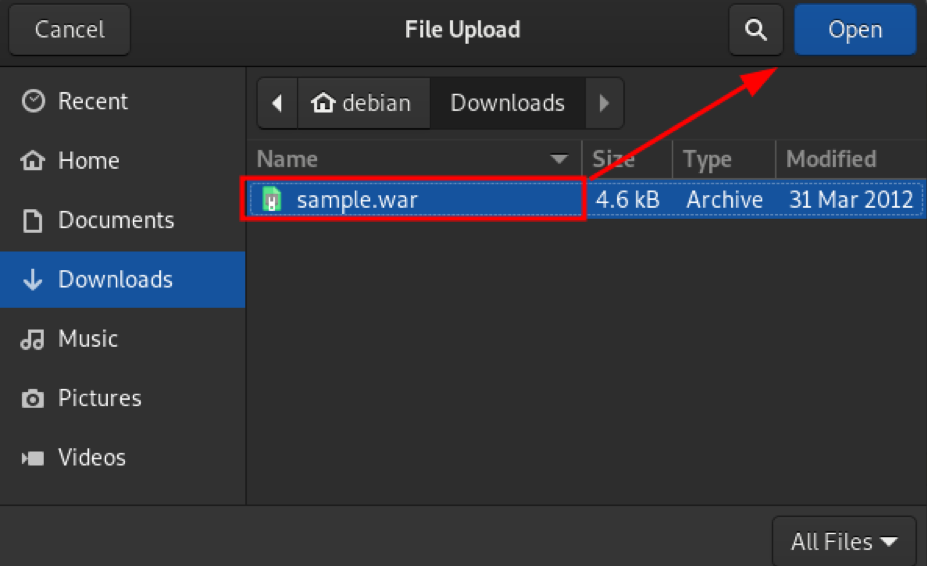
To do this, launch the terminal and download the sample WAR file from Apache. Enter the command:
Next, open the browser and navigate to the Tomcat manager.
Enter the credentials and navigate to the deploy section.
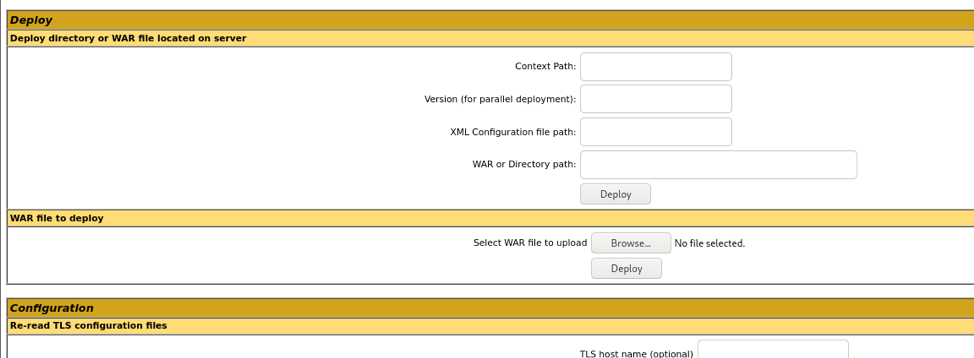
Under “WAR files to deploy,” click on Browse and navigate to the location of the downloaded WAR file.
Finally, click deploy to deploy the application. Once deployed, you should have the application in the list of apps with the address to access it.
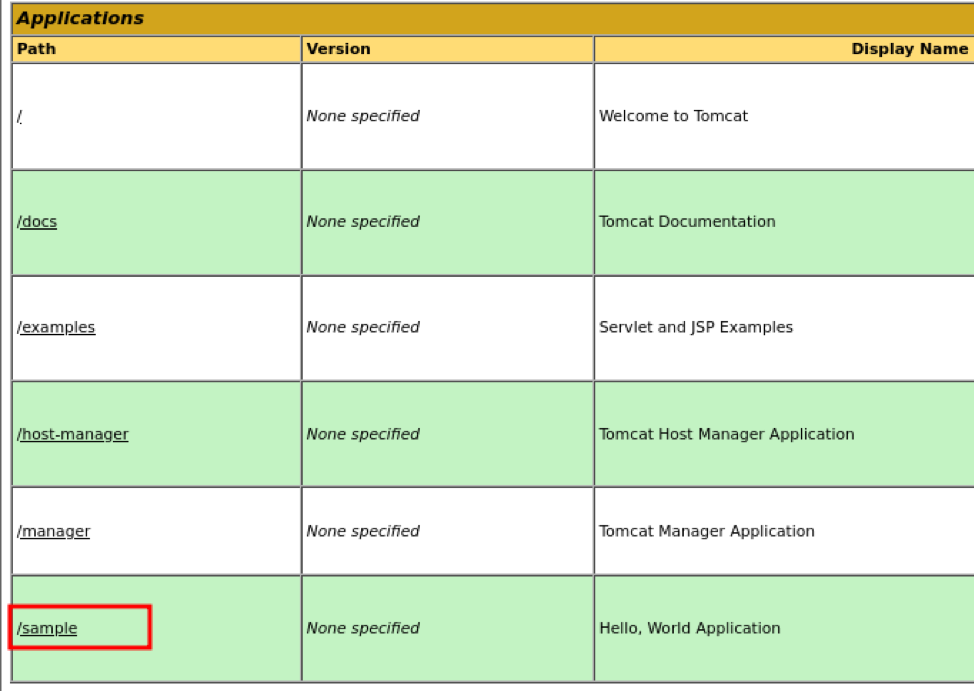
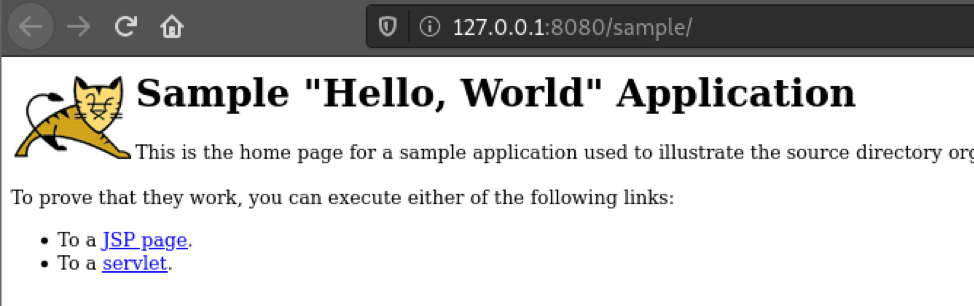
You can also navigate to the application using the address http://127.0.0.1:8080/sample
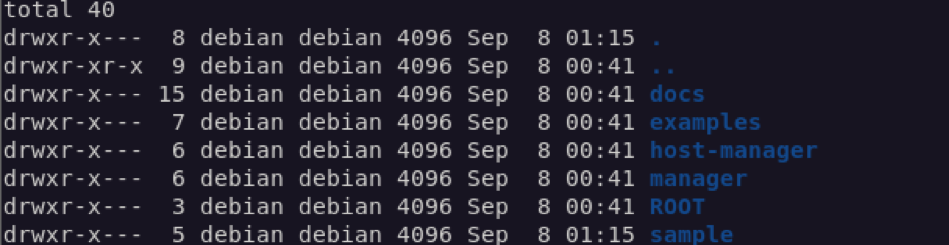
Tomcat deploys the application in the webapps directory. You can view the available applications by listing the directories.
Conclusion
This guide has shown you how to get started with Apache Tomcat, including installation, configuration, and management.
Thank you for reading, and check out our other Tomcat tutorials to learn more.