This tutorial will demonstrate the method for adding space between HTML elements using CSS properties.
How to Add/Insert Space Between HTML Elements Only Using CSS?
To add space between HTML elements only using CSS, utilize the “<span>” element to add data to the HTML page. Then, access the element and apply “display” with the values “grid”, “grid-template-rows/column”, and “grid-gap” CSS properties.
To do so, follow the mentioned procedure.
Step 1: Make a div Container
First, utilize the “<div>” element to make a div container in the HTML page. Furthermore, insert a class attribute and specify a name for the class element for later use.
Step 2: Create Nested div Container
Next, create another div container by following the same procedure.
Step 3: Add Data Using “span” Element
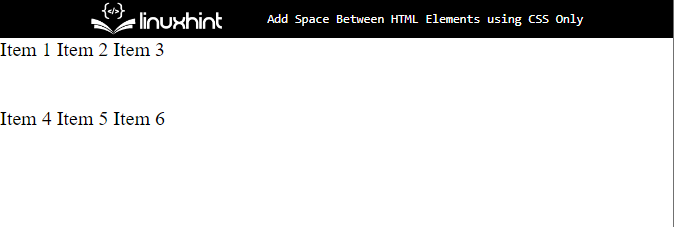
After that, use the “<span>” element in between the nested div container to insert data:
Step 4: Style “div” Container
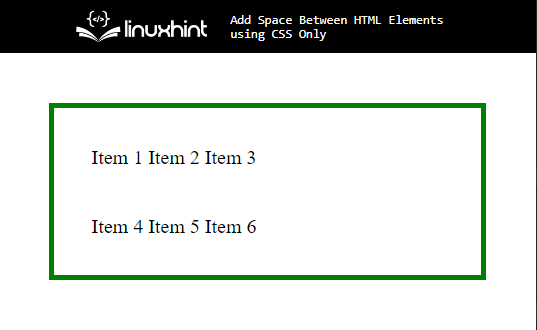
Access the main div container with the help of the class name as “.main”:
border: 4px solid green;
padding: 30px;
margin: 40px;
}
Then, apply the following properties:
- “border” property is used for specifying the boundary around the element.
- “padding” allocates space outer side of the element in a defined border.
- “margin” determines the space in an HTML page around the defined border.
Output
Step 5: Style “span” Container
Now, access the “span” container and apply the CSS properties mentioned in the below code block:
border: 3px groove blue;
background-color:rgb(240, 224, 137);
text-align: center;
}
Here:
- “background-color” property defines the color at the backside of the element.
- “text-align” is utilized for setting the alignment of the text in the defined element.

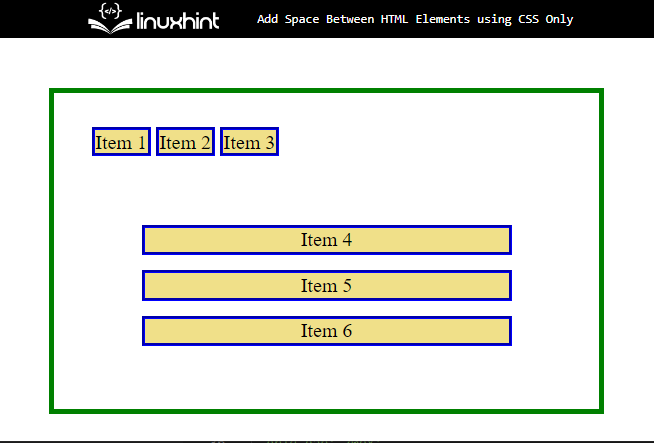
Step 6: Add Space Between Elements in Column
Now, utilize the “id” selector “#” and the value of the” id” to access the container. Then, apply the below-stated properties to add space between the elements:
display: grid;
margin: 20px 40px;
grid-template-columns: repeat(auto-fill, auto);
grid-gap: 14px;
}
Here:
- “display” property determines the display behavior of the access element. To do so, the value of this property is set as “grid”. CSS grid layout defines a multi-dimensional grid system to CSS.
- “grid-template-columns” allocates the number and size of columns inside the grid container.
- “grid-gap” adds space between elements which only works on grid items.
Step 7: Add Space Between Elements in Rows
Now, access the inner div container with the help of the id value and apply the CSS properties:
display: grid;
margin: 20px 40px;
grid-template-rows: repeat(auto-fill, auto);
grid-gap: 20px;
}
Then, apply the “display”, “margin”, “grid-gap”, and “grid-template-rows” properties. The “grid-template-rows” define the height and number of the rows in a stated layout of the grid:
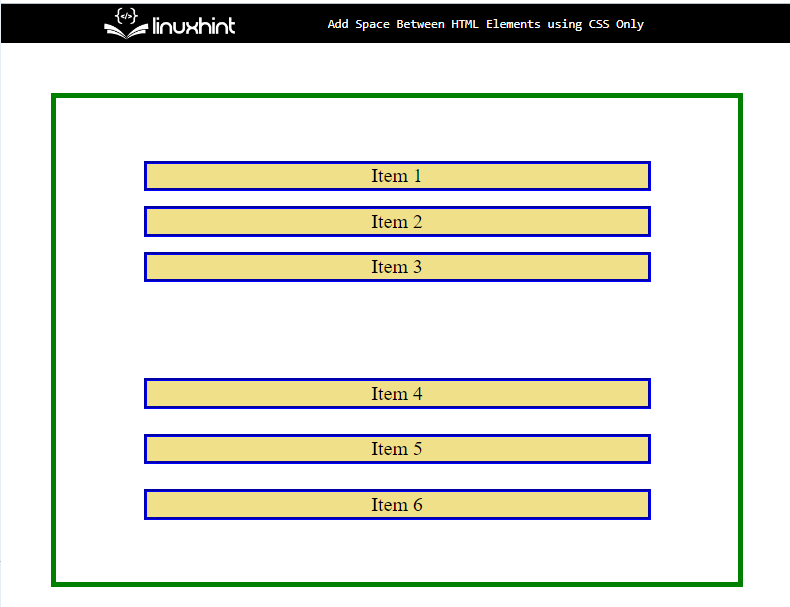
You have learned about adding space between HTML elements with only CSS properties.
Conclusion
To add the space between HTML elements only using CSS, utilize the “<span>” element to add data to the HTML page. Then, access the element and apply “display” with the values “grid”, “grid-template-rows/column”, and “grid-gap” CSS properties being used. This write-up has explained the procedure for adding space between HTML elements only using CSS.