How do we Add an Image From a Folder in HTML?
In HTML, the purpose of <img> tag is to add an image in a webpage. The src attribute of this tag specifies the path of the image. The image path has two cases. In case of absolute path, you need to give the complete path where the relative path represents the location of the image with respect to the HTML file where it is being embedded.
The syntax of the <img> tag is described below:
Syntax
The primary component is the src attribute where the path of the file will be provided. As discussed earlier, the path could be relative or absolute.
Let’s add an image to HTML document from the folder:
Code
<html lang="en">
<head>
<title>First Document</title>
<link rel="stylesheet" href="style.css">
</head>
<body>
<h1>HTML img Tag</h1>
<img src="img/for.jpg" alt="forest" height="300px" width="500px">
<p style="font-size: 23px;">
This image is inserted from a folder into the HTML page.
</p>
</body>
</html>
In this code, we use <img> tag to insert an image in the HTML page and use src attribute to specify the path of the image.
Output
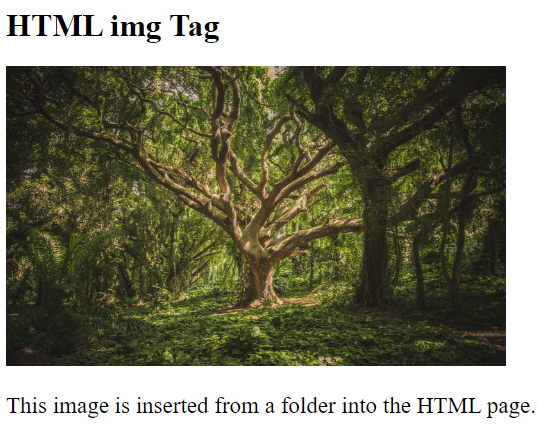
The output shows that the image is successfully inserted into the HTML page from a folder.
That’s it! You have learned to add an image from a folder to the HTML document.
Conclusion
In HTML, the <img> tag is used to add an image from the folder to the HTML document. The image path is specified by the src attribute of <img> tag. To specify the path, firstly write the folder name, then a backslash “/” and lastly, write the image name with its extension. In this article, we have provided the information regarding the process of adding an image in HTML from a folder.

