Sometimes, while configuring the Kali Nethunter on the Android device, users may face difficulties in installing any package, or updating the repository and users are unable to upgrade Kali’s packages.
This post will demonstrate:
How to Fix the “Update && Upgrade” Command Error in Kali Linux on Android?
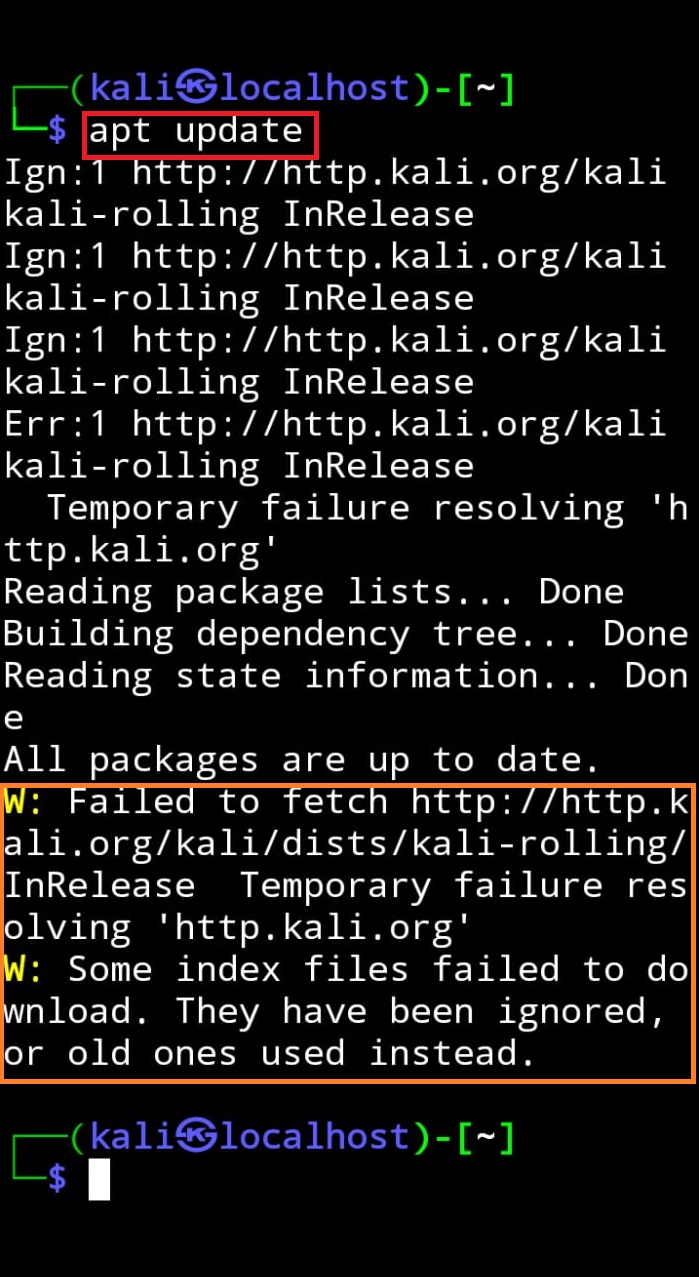
Sometimes while updating or upgrading Kali’s repository, the user may face the error “Failed to fetch InRelease” error on the system as shown below:
The above-shown error occurs on Kali Android due to various reasons such as if Kali fails to access the source repository for updating and upgrading the packages, if the user has a poor internet connection, or if Kali is unable to access the device’s internet.
To fix the “Update and Upgrade” command error in Kali Linux on Android, follow the below step-by-step demonstration.
Step 1: Launch Kali
To launch Kali on Android, first launch the “Termux” terminal. After that, execute the “nh” command to open Kali’s terminal:
Step 2: Open “/etc/apt” Directory
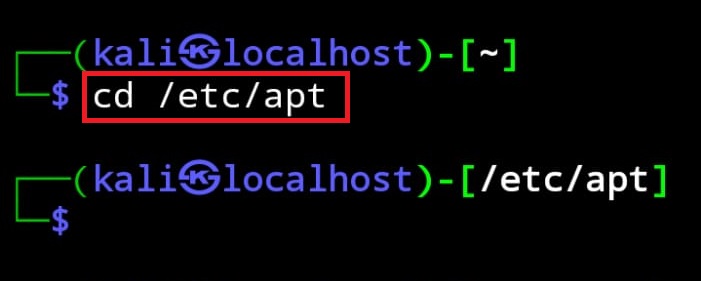
In the next step, navigate to Kali’s “/etc/apt” directory through the “cd” command:
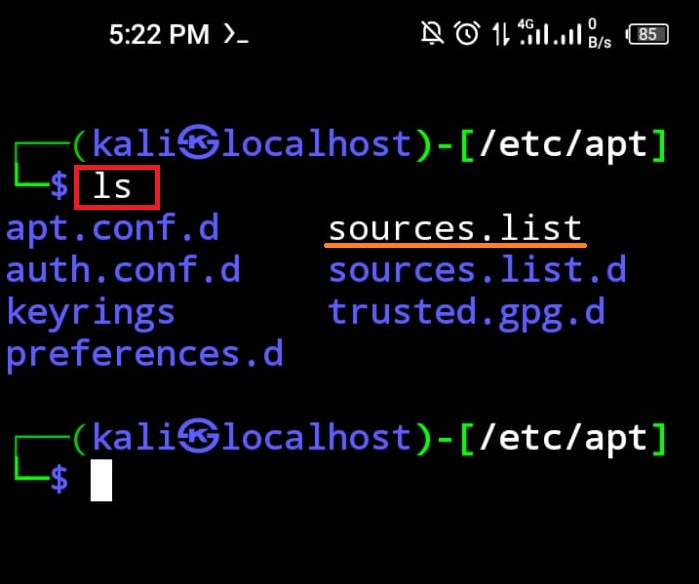
List down the files and folder of a current directory using the “ls” command:
Here, the user can view the “sources.list” file. This file contains the source URL from where Kali Linux updates, upgrades, and installs the packages and tools. If the Kali source repository URL is missing or commented in the “sources.list” file, then the process is unable to find a source to update and upgrade Kali’s packages and shows the error:
Step 3: Update Sources.list File
To fix the update and upgrade command error, open the “sources.list” file in the nano text editor using the below command:
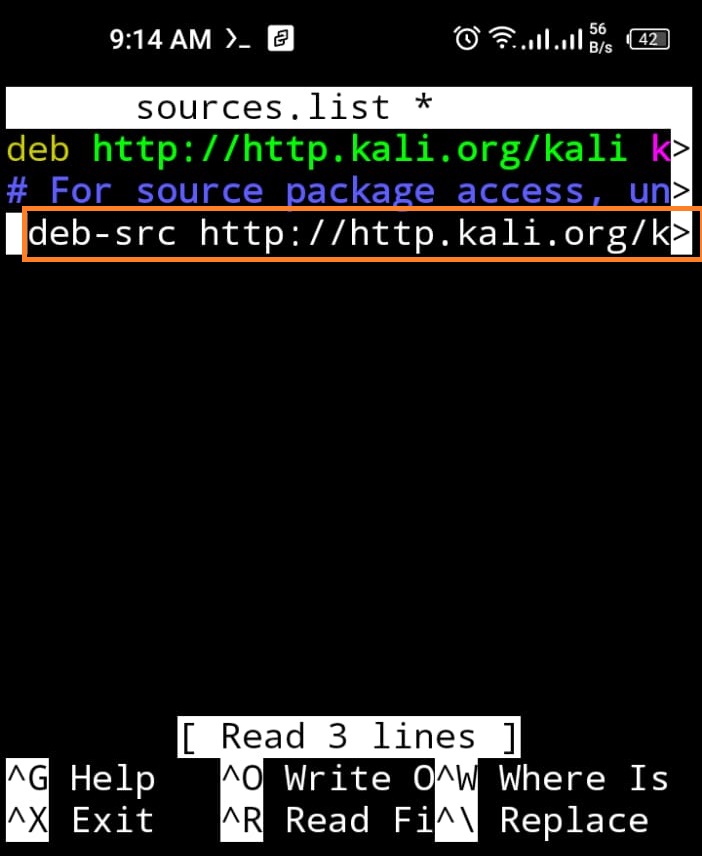
After that, uncomment the following lines from the file. If the file does not contain any source, paste the below snippet into the file:
deb-src http://http.kali.org/kali kali-rolling main contrib non-free non-free-firmware
After that, save the changes using “CTRL+S” and exit the editor using “CTRL+X”.
Step 4: Open the “/etc/” directory
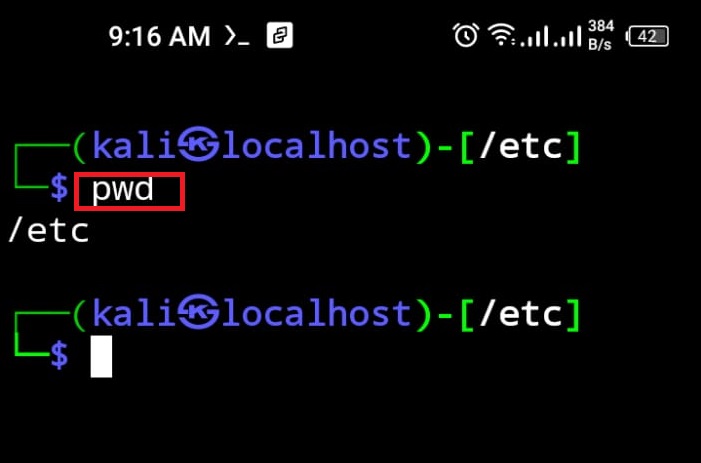
Next, open the “/etc” directory using the “cd /etc” command:
To check the currently open directory, utilize the “pwd” command:
Step 5: Update “resolv.conf” File
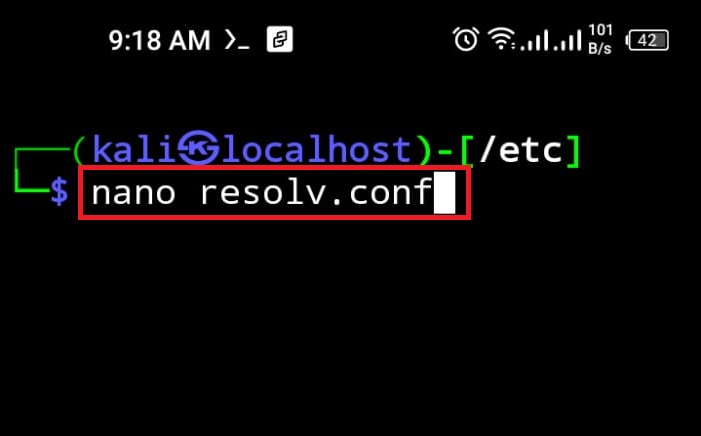
If Kali on Android is unable to access the device’s internet, then the update and upgrade command error can occur. To fix the stated error and to access the internet in Kali on Android, open the “resolv.conf” file in nano editor:
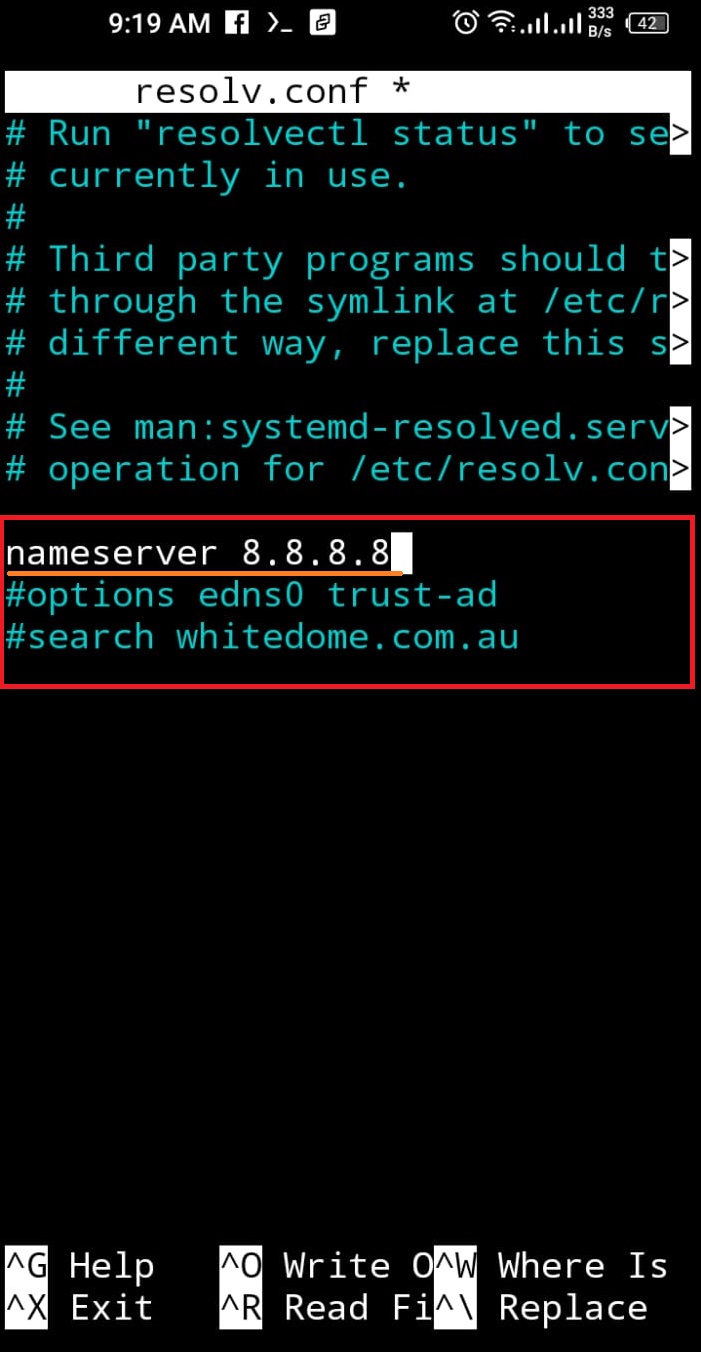
After that, change the below-pointed lines and set the nameserver as “8.8.8.8”. After that, comment on the other two lines by putting “#” in the start:
To save the changes, hit the “CTRL+S” and exit the editor by utilizing the “CTRL+X” key.
Step 6: Run Update Command
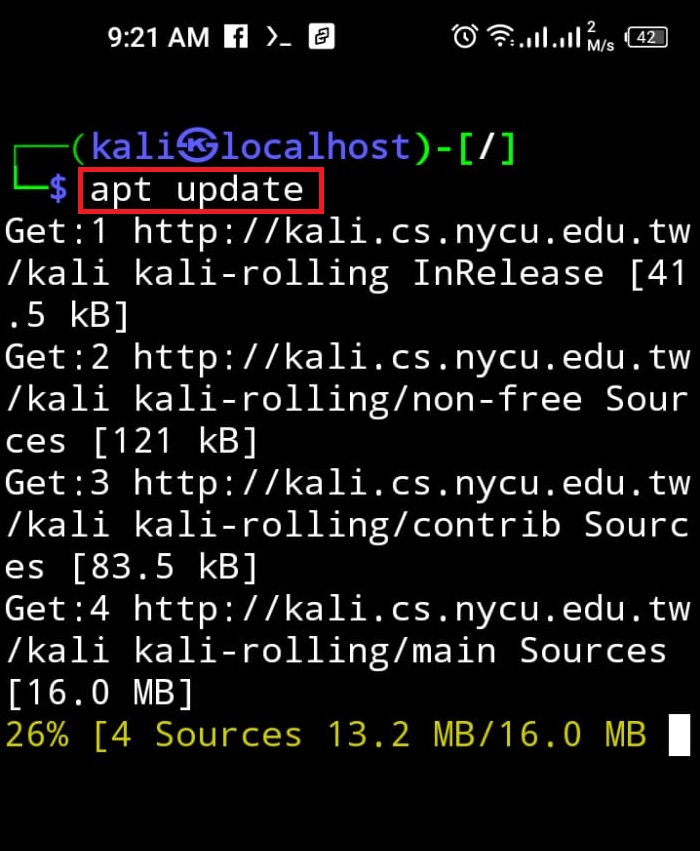
After updating the “sources.list” and “resolv.conf” files, run the “apt update” command and check if the specified error is resolved or not:
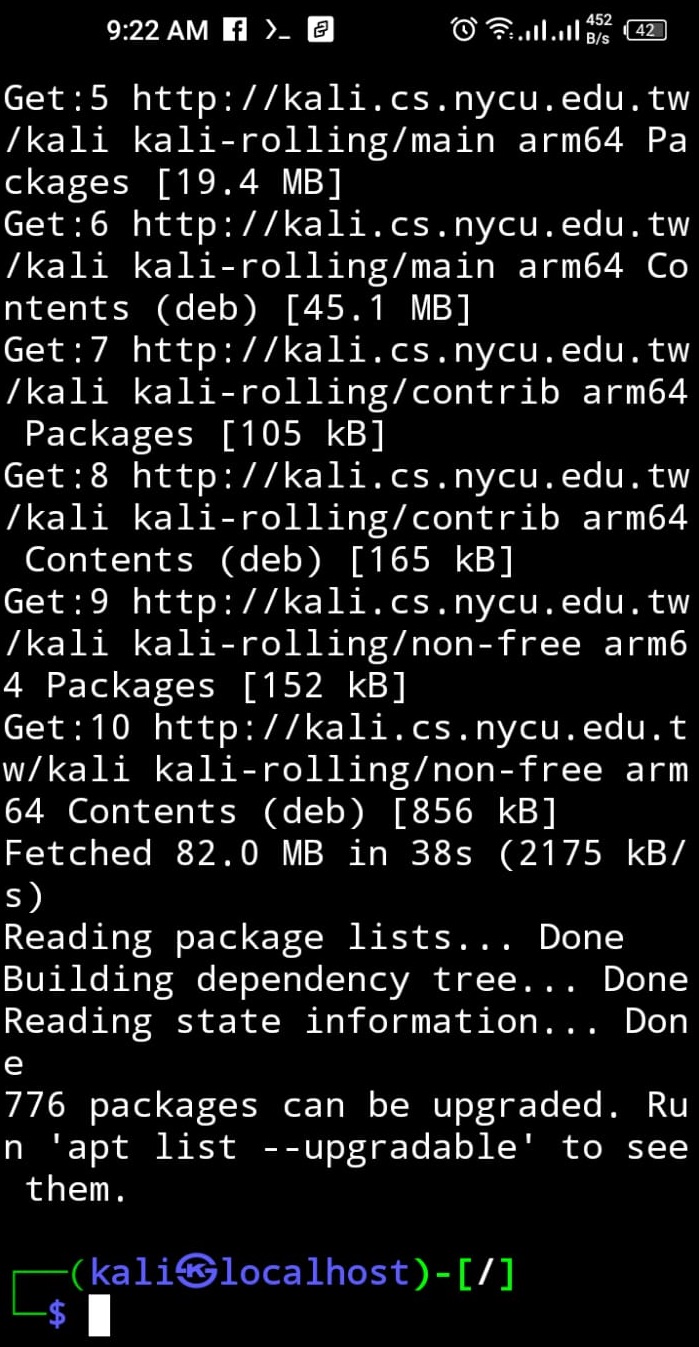
The below output shows that we have effectively fixed the update command error:
Here, Kali’s repository is effectively updated without showing any errors:
Step 7: Run Upgrade Command
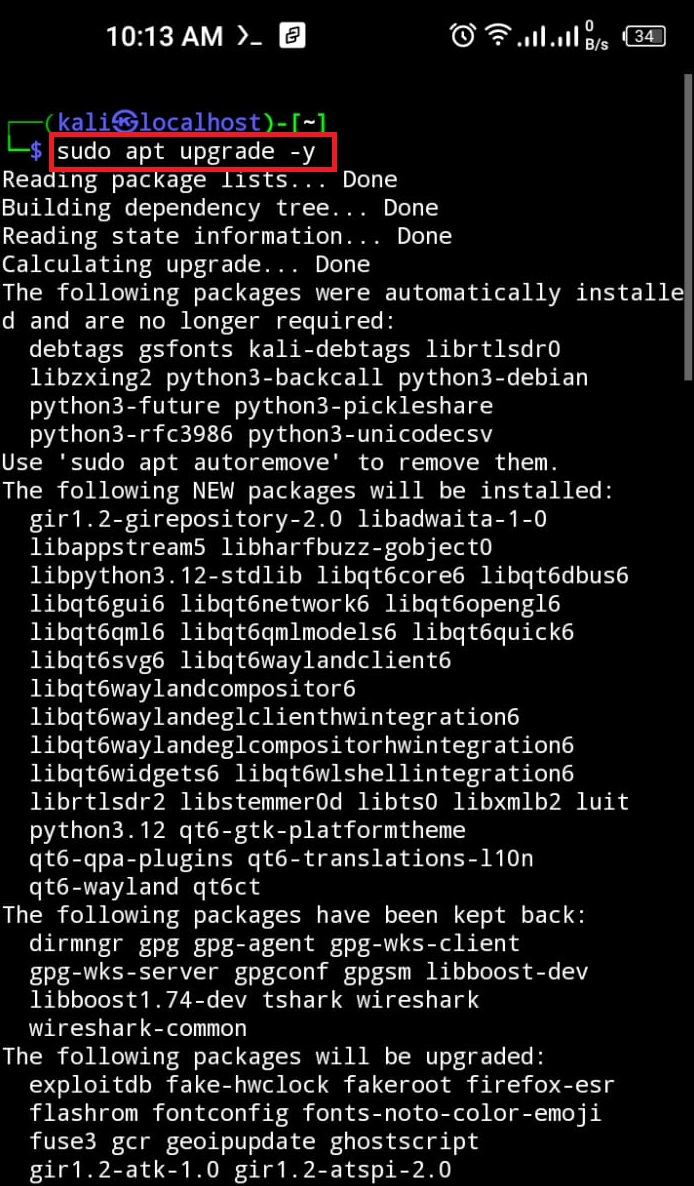
Lastly, run the upgrade of Kali packages using the “apt upgrade” command with “sudo” user privileges:
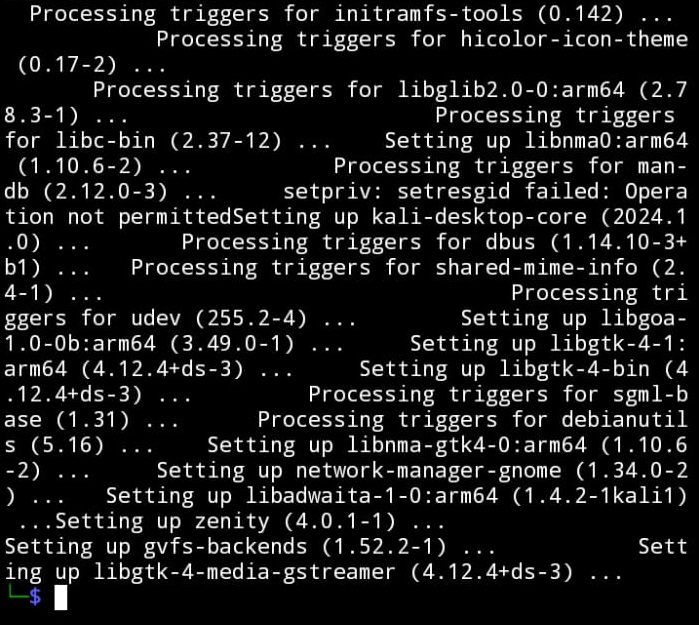
Here, you can see we have successfully upgraded the Kali’s packages:
Step 8: Exit Kali Nethunter
To exit the Kali terminal interface from Android, utilize the “exit” command:
We have covered the technique to fix the “update && upgrade” command error in Kali Linux on Android.
Conclusion
While running Kali Linux on Android, the user may face errors in executing the “apt update” and “apt upgrade” commands. It is due to Kali being unable to access the source repository or Kali not having access to the device’s internet. To fix the stated errors, make sure the “/etc/apt/sources.list” file has a source URL from where Kali can update, upgrade, and install the package. After that, check the “/etc/resolv.conf” file and enable access to the internet for Kali by modifying the “nameserver” address. This post has illustrated the technique to fix the “update && upgrade” command error in Kali on Android.

