In this article, we will show you how to upgrade Portainer (installed on your Docker Host) to the latest version.
Topic of Contents:
- Checking the Currently Installed Version Number of Portainer
- Stopping the Portainer Docker Container
- Removing the Portainer Docker Container
- Downloading the Latest Version of the Portainer Docker Image
- Upgrading Portainer to the Latest Version
- Checking If Portainer Is Upgraded to the Latest Version
- Conclusion
Checking the Currently Installed Version Number of Portainer
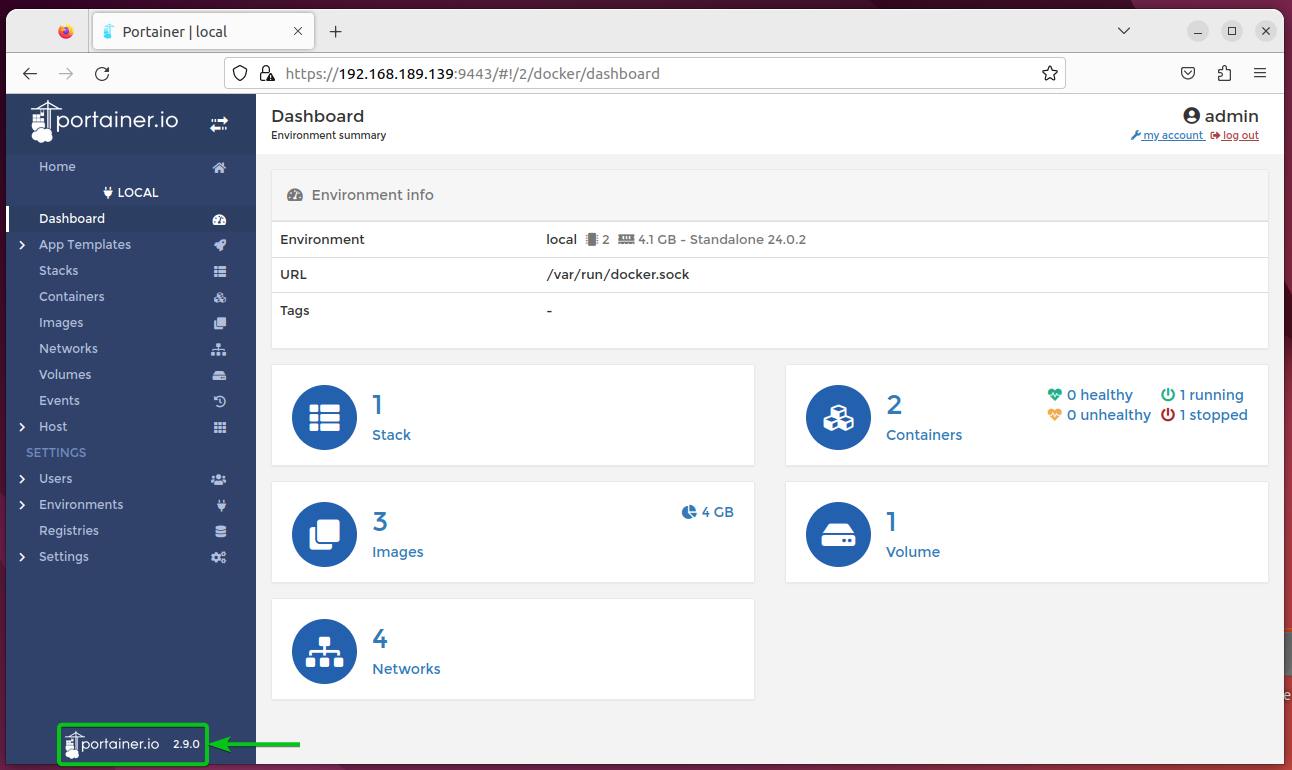
To find the version of the installed Portainer on your Docker Host, visit the Portainer web UI from a web browser and log in to your Portainer account.
The version number should be printed on the left-bottom corner of the Portainer Web UI. In our case, we have Portainer 2.9.0 installed on our Docker host.
Stopping the Portainer Docker Container
Before Portainer can be upgraded, you must stop the Portainer Docker container with the following command:
Removing the Portainer Docker Container
The older Portainer Docker container also needs to be removed to replace it with a new and updated one.
To remove the Portainer Docker container, run the following command:
Downloading the Latest Version of the Portainer Docker Image
You need to download the latest version of the Portainer Community Edition (CE) or Portainer Enterprise Edition (EE) Docker image.
To download the latest version of the Portainer Community Edition (CE) Docker image, run the following command:
To download the latest version of the Portainer Enterprise Edition (EE) Docker image, run the following command:
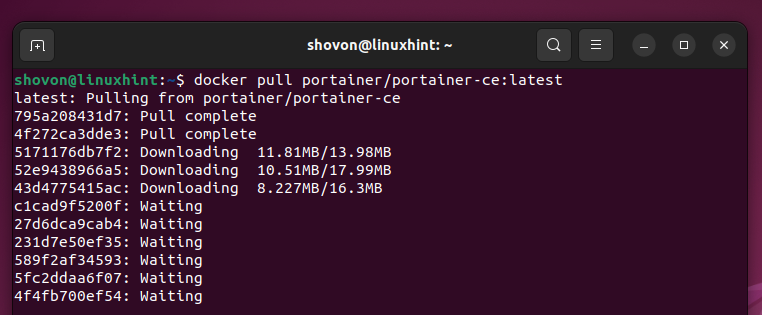
The latest version of the Portainer Docker image is being downloaded. It takes a while to complete.
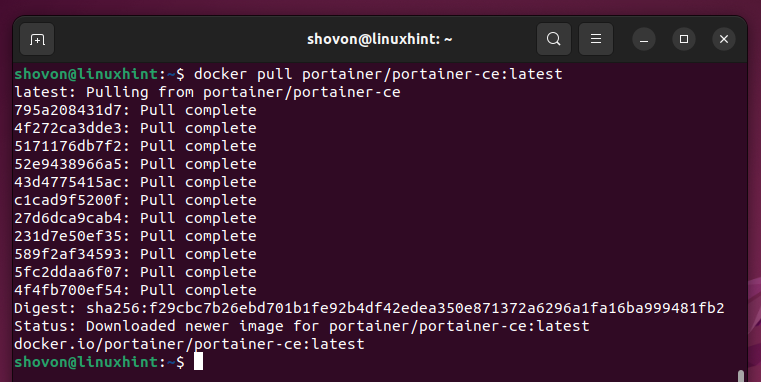
At this point, the latest version of the Portainer Docker image should be downloaded.
Upgrading Portainer to the Latest Version
To create a Portainer Docker container using the latest Portainer Community Edition (CE) Docker image, run the following command:
To create a Portainer Docker container using the latest Portainer Enterprise Edition (EE) Docker image, run the following command:
NOTE: Here, the “-v portainer_data:/data” mounts the “portainer_data” volume to the “/data” directory of the upgraded Portainer Docker container. When you remove the old Portainer Docker container, the “portainer_data” volume retains the data of the Portainer container. The newer Portainer container will use it as well.
If you’re using a directory path of your Docker host instead of a Docker volume to store the data of Portainer, replace “-v portainer_data:/data” in the previous commands with “-v /docker-host/portainer/data/directory:/data”. Here, the “/docker-host/portainer/data/directory” is the directory path of the Docker host where you store the old Portainer data.
A new Portainer Docker container that uses the latest Portainer Docker image should be created.
Checking If Portainer Is Upgraded to the Latest Version
To verify if Portainer is upgraded to the latest version, visit the Portainer web UI from a web browser and check the version number at the bottom-left corner. As you can see, we are running Portainer 2.19.1 which is the latest version of Portainer at the time of this writing.
Conclusion
In this article, we showed you how to upgrade the Portainer Docker web UI to the latest version on your Docker host.


