These days, Windows XP is not supported by the Microsoft community and Microsoft does not release any official installation source. But still, some Windows XP lovers want to use it on earlier versions of Windows such as Windows 10 and 11 for playing classic or old-school games, student projects, or for testing purposes.
This post will cover how to install Windows XP ISO in VirtualBox through the following outline:
- Prerequisites
- How to Install Windows XP ISO in VirtualBox?
- Additional Windows XP VM Settings?
- Conclusion
Prerequisites
To install and use Windows XP on the system, the user needs to fulfill the following pre-requirements:
- Hardware Virtualization Supported System: To run the Windows XP machine on the system, the user must have the system that supports the hardware virtualization and this feature must be enabled. To enable or check Hardware virtualization on the system, go through our associated “Enable VT-x/VT-d/AMD-v Hardware Virtualization Feature” article.
- Download Windows XP ISO Image: As Microsoft officially does not support any Windows XP installer, users need to download the Windows XP ISO image from any online source. However, we do not give an authenticity guarantee for any online source. Here are some trusted websites that provide the Windows XP ISO image:
Internet Archive
Softlay
ISORIVER
Download Windows XP ISO from any of the above-mentioned sources and let’s dive into the installation process:
How to Install Windows XP ISO in Virtualbox?
The VirtualBox is a hypervisor platform that enables us to extend our system to run the virtual machine on the system. To install the Windows XP virtual machine on the system, follow the below-listed steps.
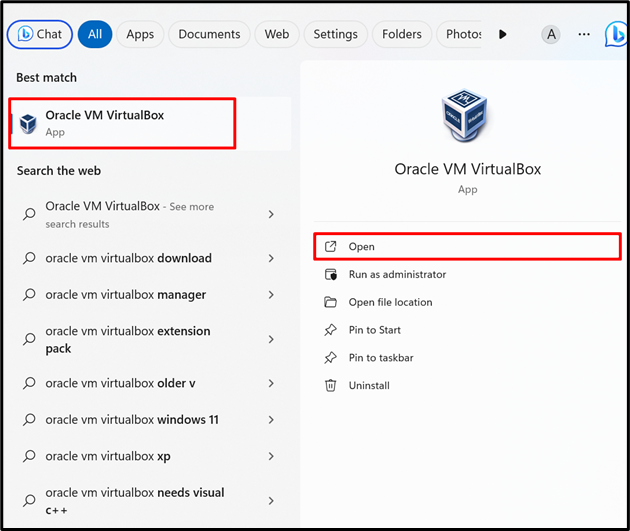
Step 1: Launch VirtualBox
First, launch the Oracle VirtualBox via the Windows “Startup” menu:
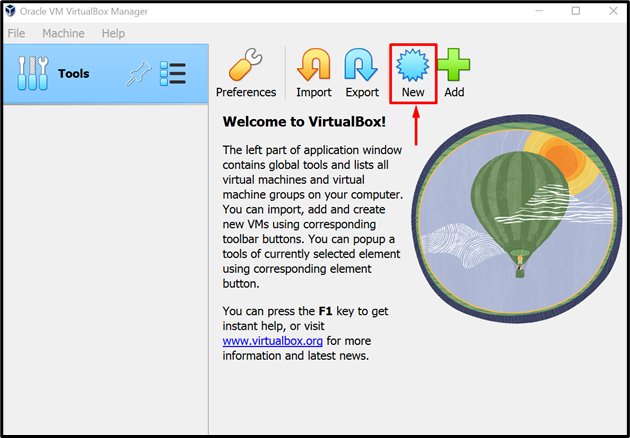
Step 2: Create a New Virtual Machine
Click on the below highlighted “New” icon:
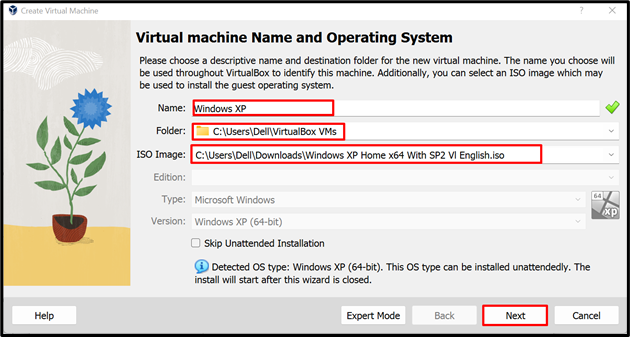
Step 3: Provide Windows XP ISO Image
Set the name of the virtual machine, specify the path where its data will be stored, and also select the Windows XP ISO file:
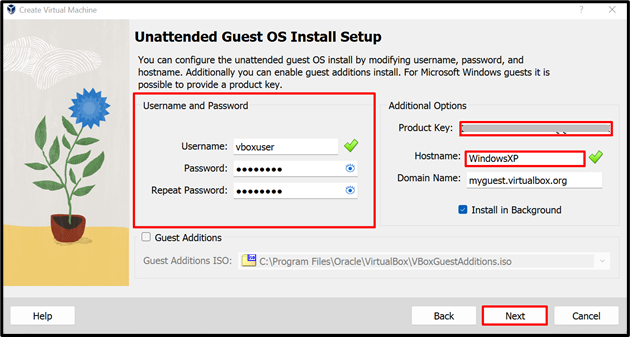
Step 4: Add Guest OS
Set the unattended guest to install Windows XP without a registered user. By default, “vboxuser” is the username of the unattended guest OS(change the username and password according to your preferences). Then, press the “Next”:
Step 5: Configure Essential Settings
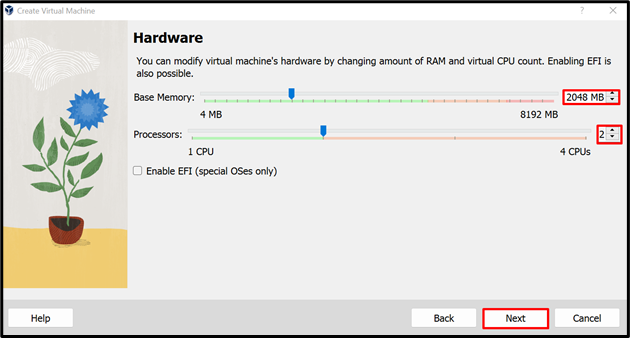
Allocate the virtual memory and processors to Windows XP OS. We have assigned 2GB RAM and 2 processors. To proceed further, hit the “Next” button:
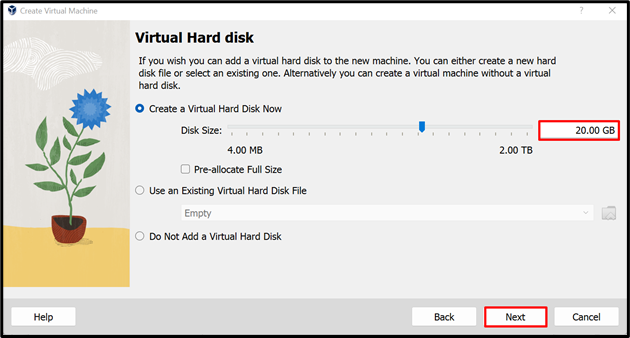
Now, allocate the Hard disk virtual storage for Windows XP OS. For instance, we have set “20GB” of Hard Disk storage:
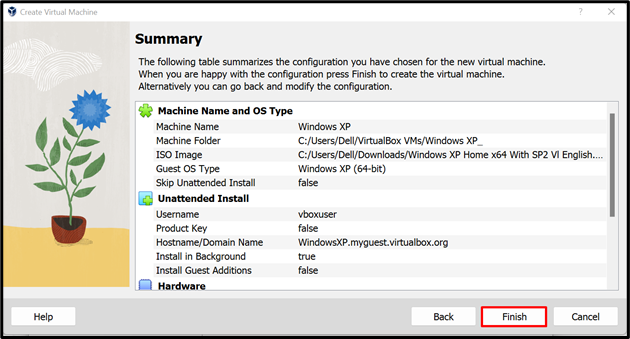
Review the short summary of basic configurations and press the “Finish” button:
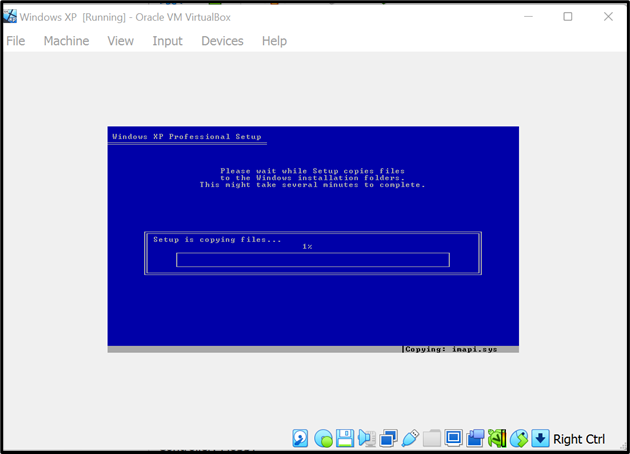
After creating the VM, the installation process of Windows XP will automatically start:
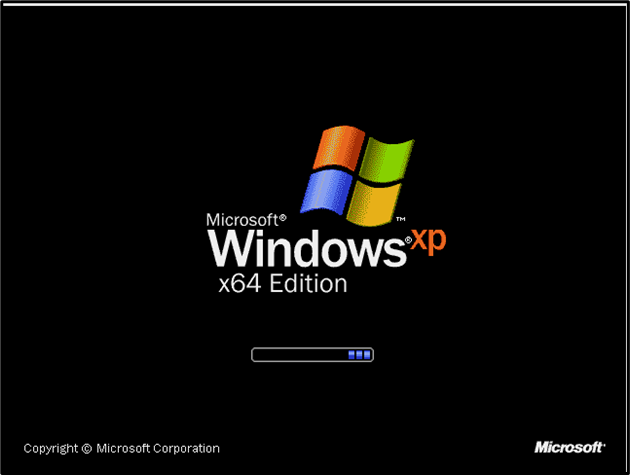
Here, Windows XP is restarting in the Virtual machine:
Step 6: Add Product Key
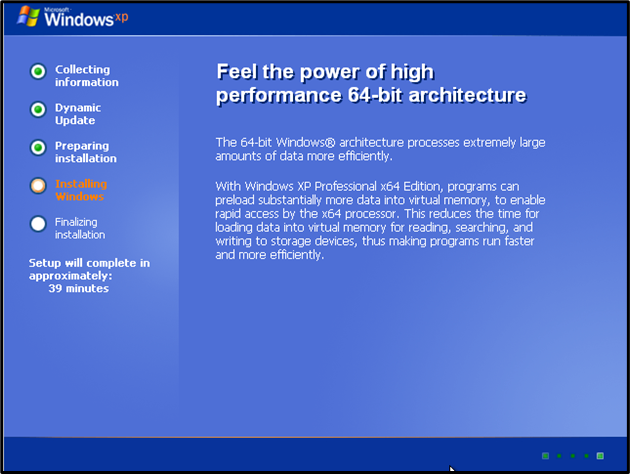
After restarting the Windows XP OS, the installation process will be started. This will take some time to gather the information and set up the OS in the VM:
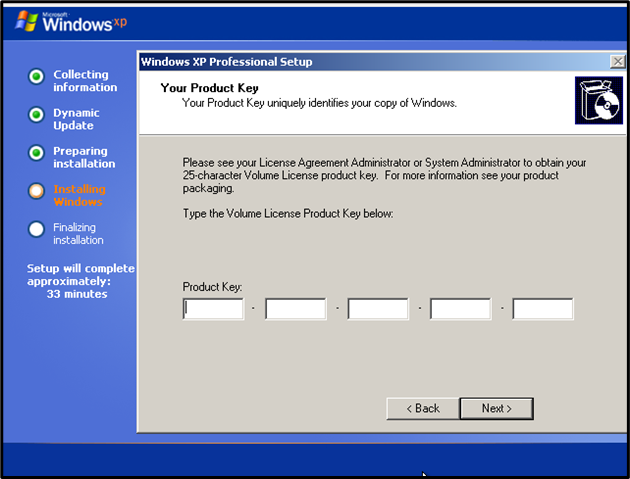
To activate Windows XP in the VM, the user needs to provide a valid Product key. After adding the product key, hit “Next” to proceed:
The Windows XP legal product key is also available on the sources from where Windows XP ISO is downloaded. Many online sources also provide product keys free of cost.
Step 7: Set Time Zone
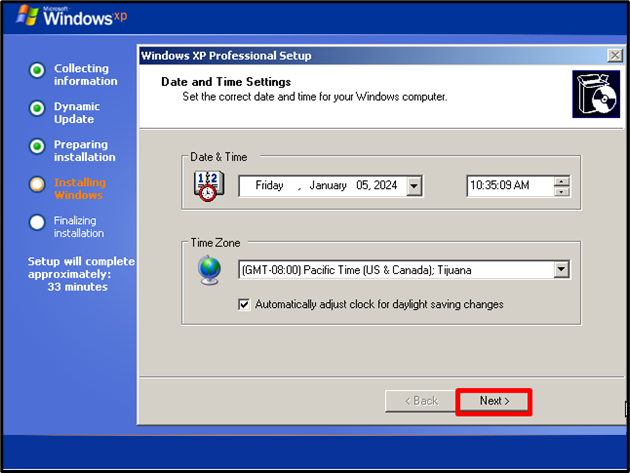
Set the time zone according to your region from the “Time Zone” drop-down menu. The time and date will automatically be set according to the selected time zone. After that, press the “Next” button:
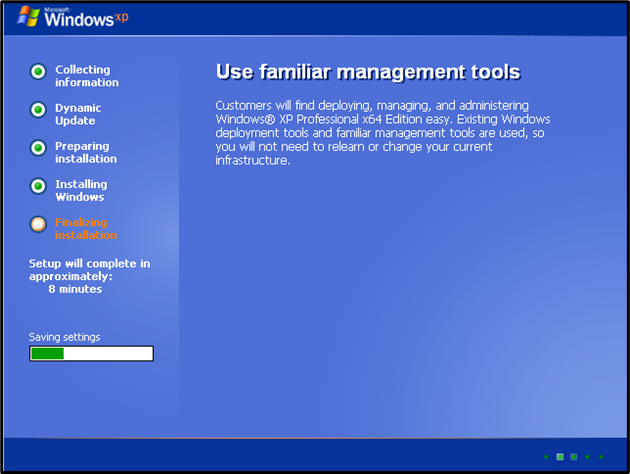
Upon doing so, the “Finalizing installation” process will be started to save the settings and reboot the Windows XP:
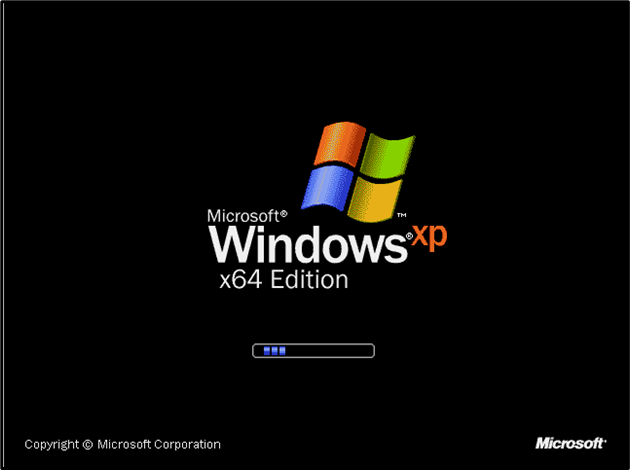
Here, the Windows XP boot is loaded and restarts the Windows in the virtual machine:
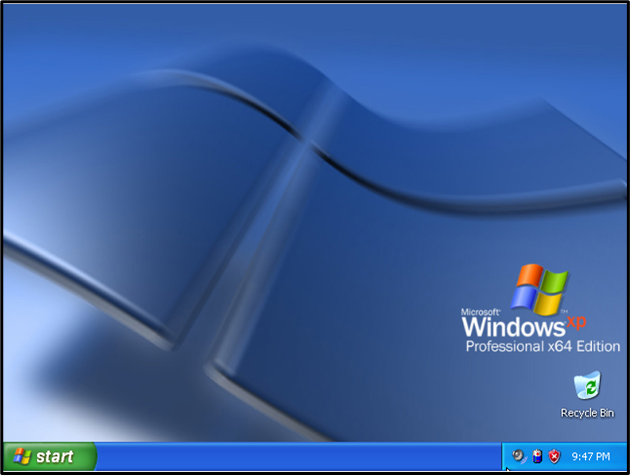
The below output indicates that we have successfully set up and installed Windows XP in VirtualBox:
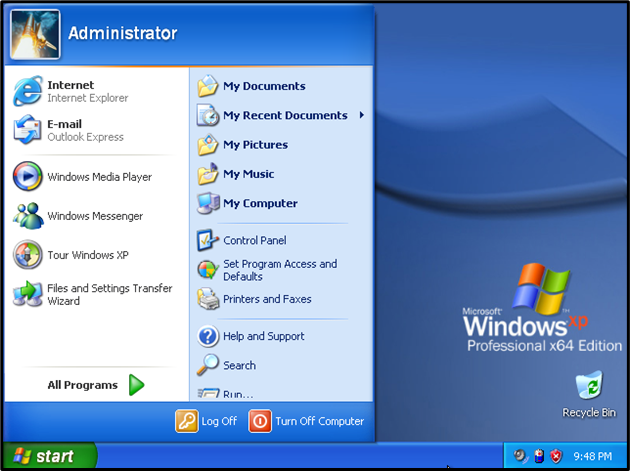
To open the Start menu of Windows XP, hit the green-colored “start” button. From the Start menu, the user can access the Windows XP programs, local directories, and Power buttons of the system:
Additional Windows XP VM Settings?
Sometimes, users want to change the virtual machine’s basic settings. To view or access the Windows XP machine settings, go through the following instructions:
Turn Off Windows XP
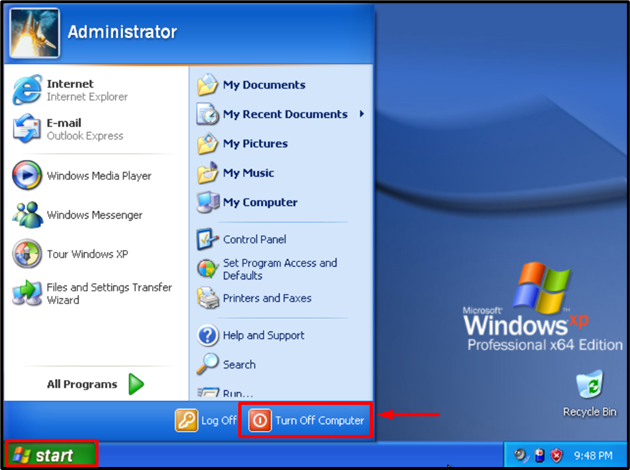
To change the basic hardware settings of a Windows XP virtual machine, first turn off the system by hitting the “Turn Off Computer” power button from the Start menu:
Open General Settings
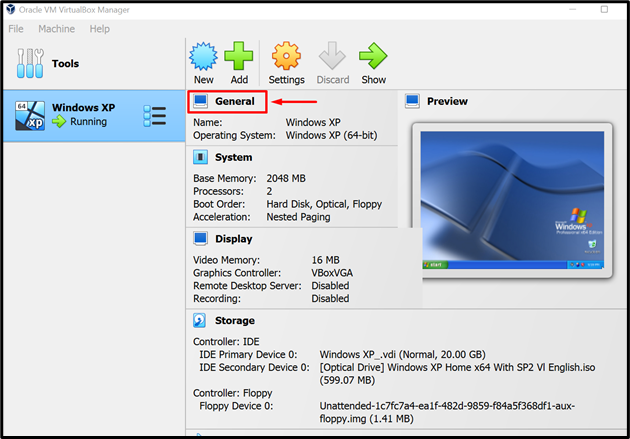
From the VirtualBox main page, click on the Windows XP machine, and hit “General” to open the general settings:
Check the System Settings
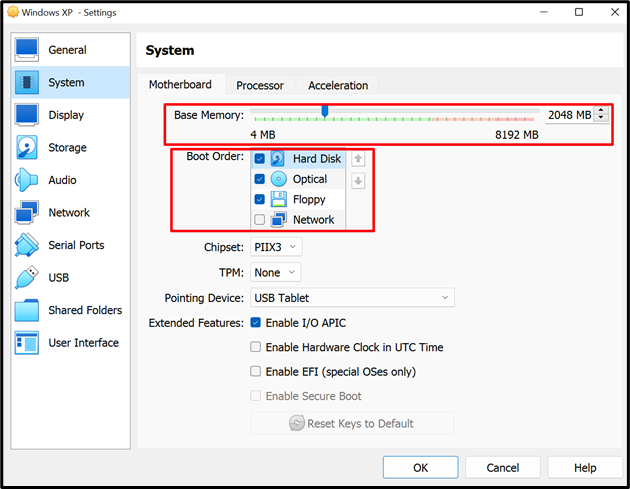
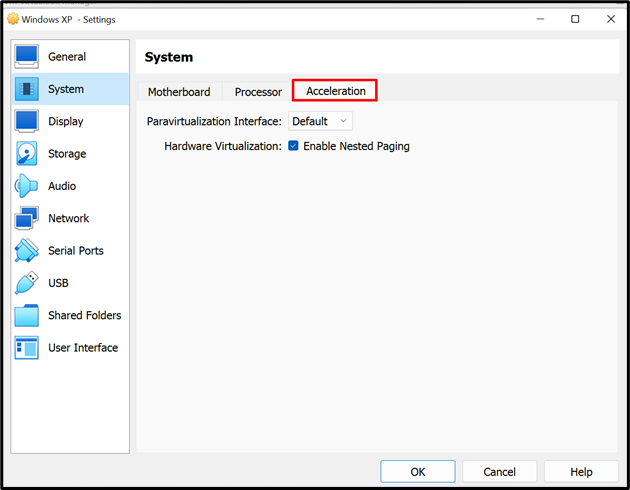
To check the basic System setting, press the “System” option from the main menu. Then, the user can view the system settings in the right pane. Here, the user can configure the basic Motherboard, Processor, and Acceleration settings.
From the “Motherboard” menu, set the Virtual Ram, Boot order, external communicating devices, and many more:
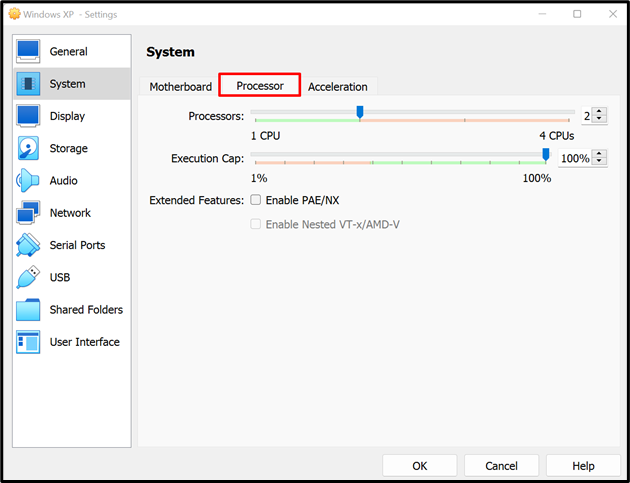
Under the “Processor” menu, the user can change the allocated processors, and enable the extended features:
The Hardware acceleration settings can be managed from the “Acceleration” menu:
View Storage Options
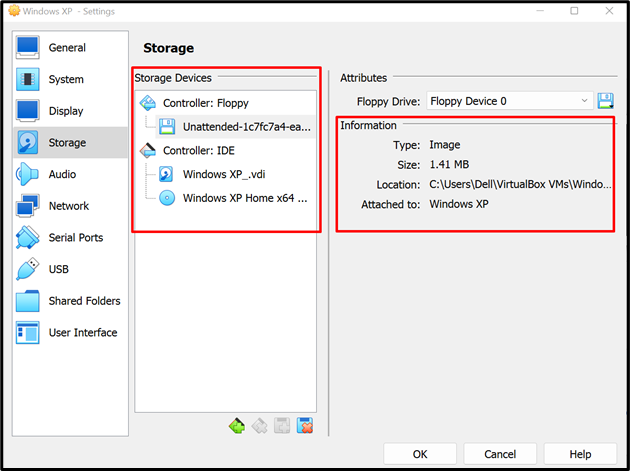
To view the location where Windows XP data is mounted, or to change the storage option according to your desire, navigate to the “Storage” settings:
Configure Network Settings
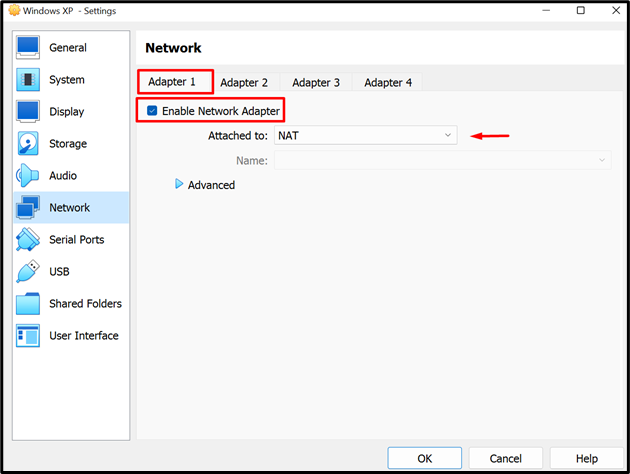
To use the system’s internet connection and to enable network accessibility on the Windows XP virtual machine, in “Network” settings, go to the “Adapter1” menu, mark the below pointed “Enable Network Adapter” checkbox, and choose the “NAT” mapping from the “Attached to” drop menu:
The user can also set other settings such as Audio settings, Display settings, ports, and many more.
Here, we have covered how to install Windows XP ISO on a virtual machine to execute the Windows XP operating system.
Conclusion
The Windows XP ISO image is available from many online sources so first download the Windows XP ISO image on the system. Launch the VirtualBox, create a new machine, and provide the machine name and ISO file. Create the unattended guest OS, and allocate the memory, hard disk storage, and number of processors to the Windows XP machine. After creating the machine, provide the legal product key, set the Time Zone, and complete the Windows XP installation process. This will install the Windows XP OS on a virtual machine. We have covered how to install Windows XP ISO in VirtualBox.

