OpenVPN is extremely powerful and extensible with strong security features. It also offers cross platform support which allows you to access the VPN service in a wide variety of devices. Due to its versatility, OpenVPN is a popular choice for creating secure and private communication channels.
In this tutorial, we will show you how you can quickly and efficiently setup an OpenVPN server using the Docker containers.
Requirements:
In order to follow along with this tutorial, ensure that you have the following:
- Installed Docker Engine on your host machine (version 23 and above is recommended)
- Sufficient permissions to run the Docker and Docker commands
- Network access to download the images from the Docker Hub
With the given requirements met, we can proceed with the tutorial.
What Is DockOvpn?
At the time of writing this tutorial, the official OpenVPN image has been deprecated and it no longer receives support. Hence, we will use the DockOvpn which is an out-of-the-box dockerized OpenVPN server. It is extremely easy to configure and run on your system.
Pull the DockOvpn Image
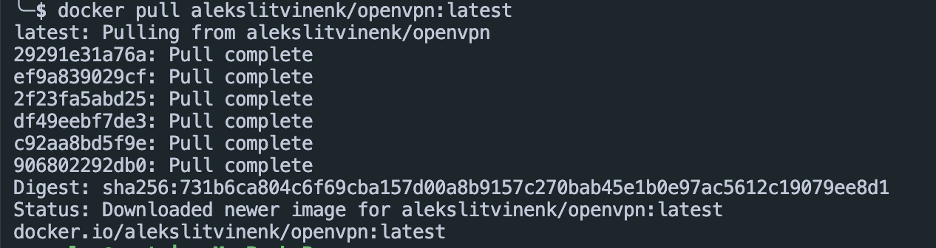
Let start with pulling the DockOvpn image from the Docker Hub. We can run the “docker pull” command as follows:
Run the OpenVPN Container
Once we have the image downloaded, we can proceed and run the OpenVPN container using the “docker run” command.
The command is as follows:
-p 1194:1194/udp -p 80:8080/tcp \
-e HOST_ADDR=$(curl -s https://api.ipify.org) \
--name dockovpn alekslitvinenk/openvpn
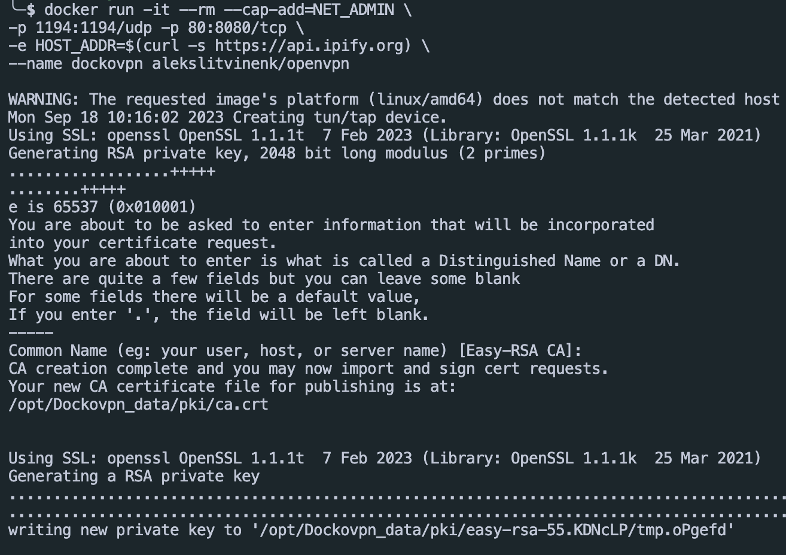
The previous command should start the OpenVPN server and bind the specific ports which allows you to access the server.
The next step is for you to download the configuration file. You can head to the http://localhost or http://<your_server_ip> address. This will download a file that ends in “.ovpn” and close the HTTP server.

Connect to the Server
To connect to the VPN server, you can use either of the supported clients or using the OpenVPN client.
Start by installing the client:
Connect to the server with the following command:
Replace the previous path to the path of the config file that you downloaded in the previous step.
This reads the configuration and connects to the VPN server.

Conclusion
In this tutorial, we covered how you can quickly install and run an OpenVPN server using the DockOpvn and Docker containers.