Using Conda, we can create, manage, and switch between isolated environments containing different versions of Python and packages. You will often find it in the world of data science and statistical computing for its ability to manage the dependencies. It also provides a simplistic way to install and distribute the code.
In this tutorial, we will learn how to install and run the Conda environment in a Docker container using the official Anaconda distributions.
Docker is a free and open-source platform where we as developers can build, ship, and run the distributed applications in nearly any environment.
Download the Anaconda Image
Before running the Conda environment, we can start by searching for the image using the following command:
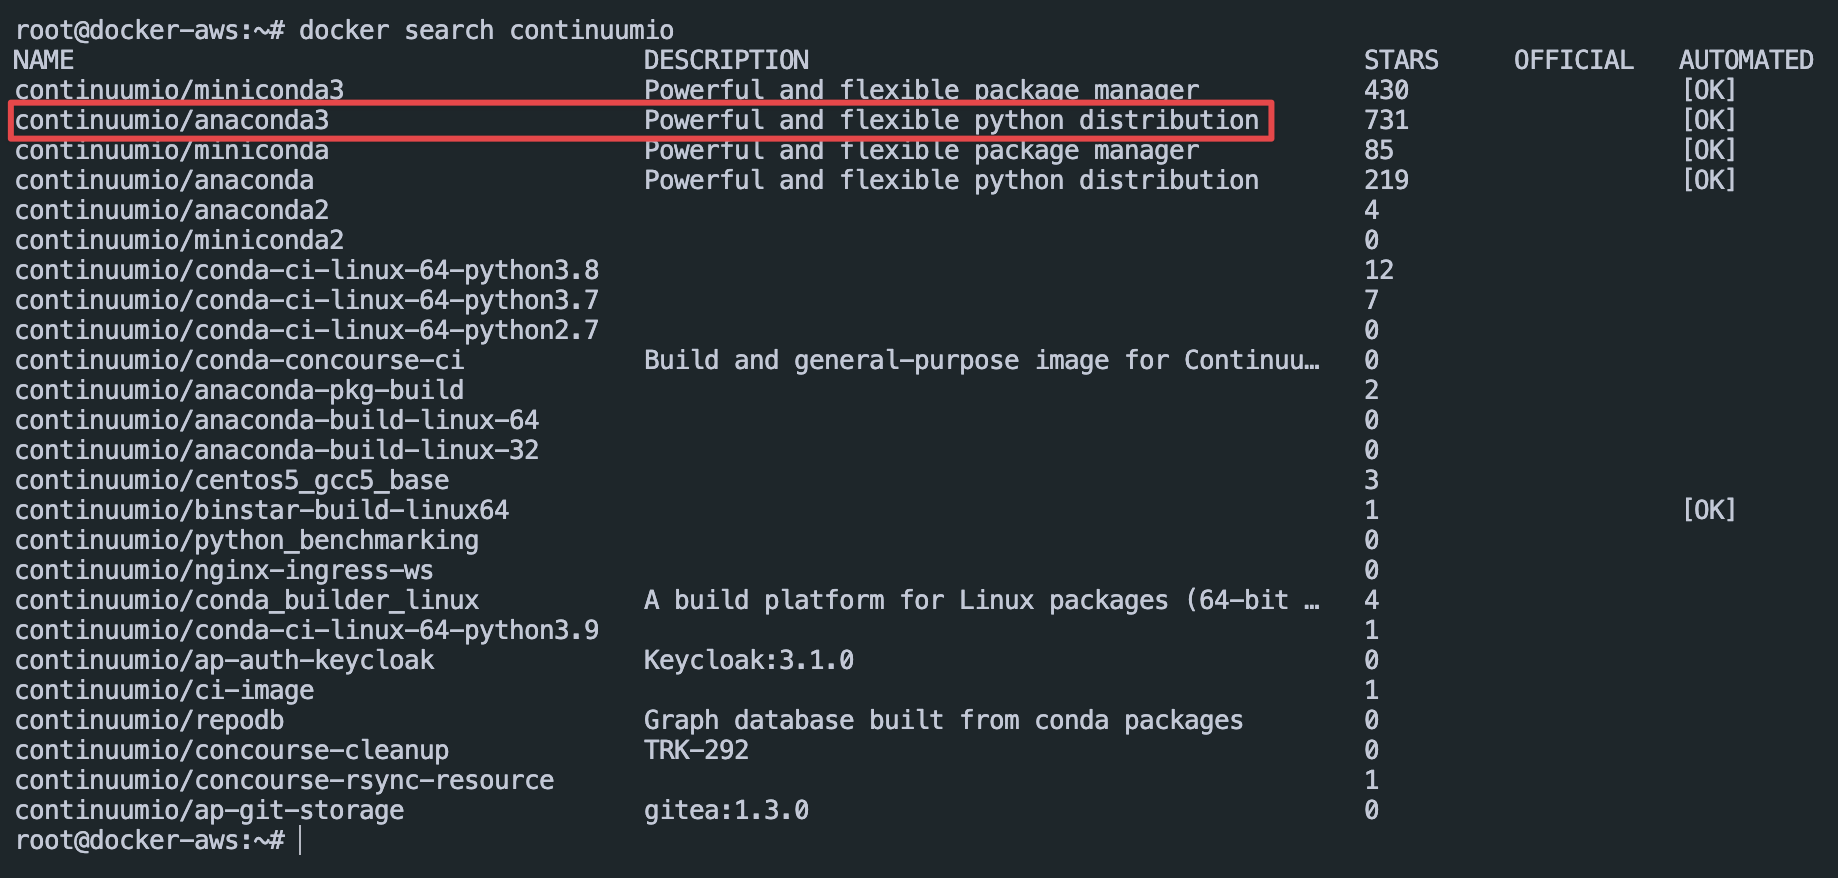
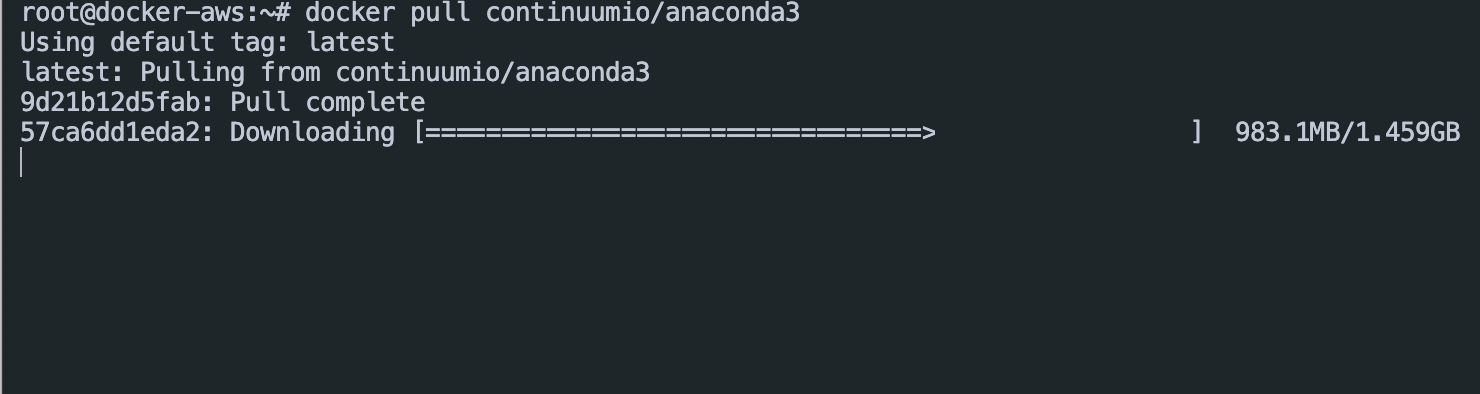
Once you locate the image that you wish to download, run the following command to download the image:
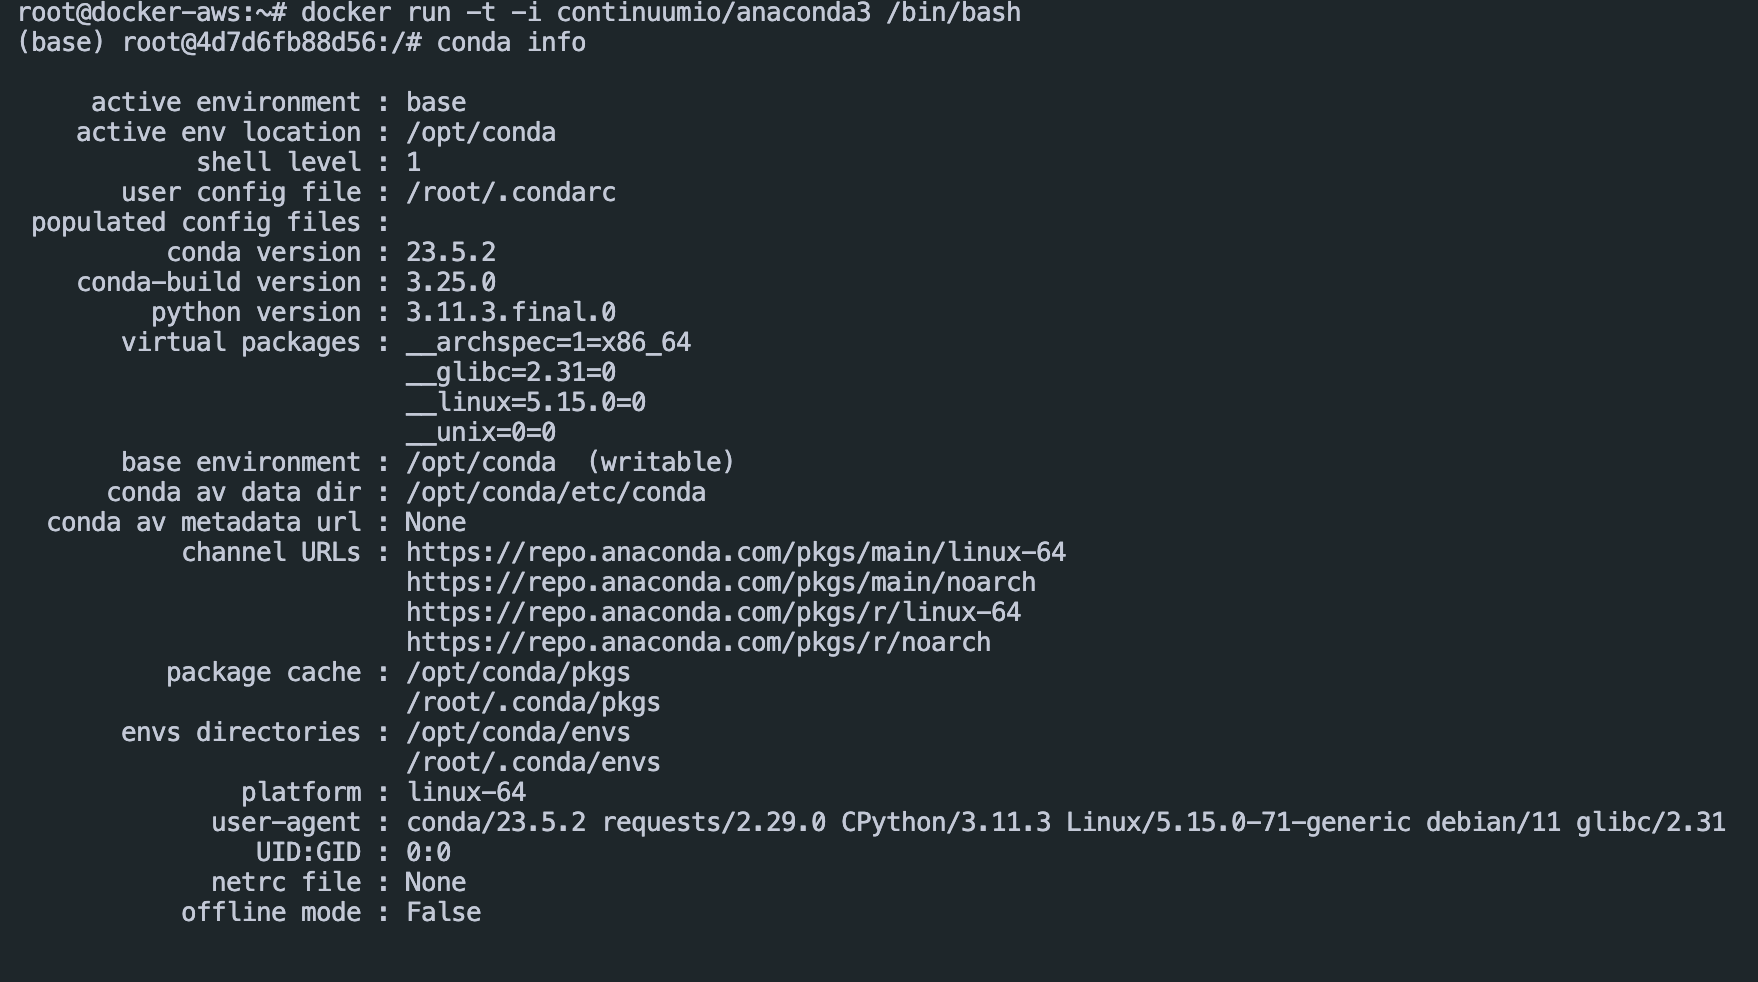
Once downloaded, run the following command to start a new container using the image:
The command should create a new container using the “anaconda3” image and drop you into a new shell.
This gives you a direct access to the container where the Conda tool is already available.
Finally, you can test the container by running the following command:
To install and launch the Jupyter Notebook, execute the following command from the host machine:
-c "/opt/conda/bin/conda install jupyter -y --quiet && mkdir \
/opt/notebooks && /opt/conda/bin/jupyter notebook \
--notebook-dir=/opt/notebooks --ip='*' --port=8888 \
--no-browser --allow-root"
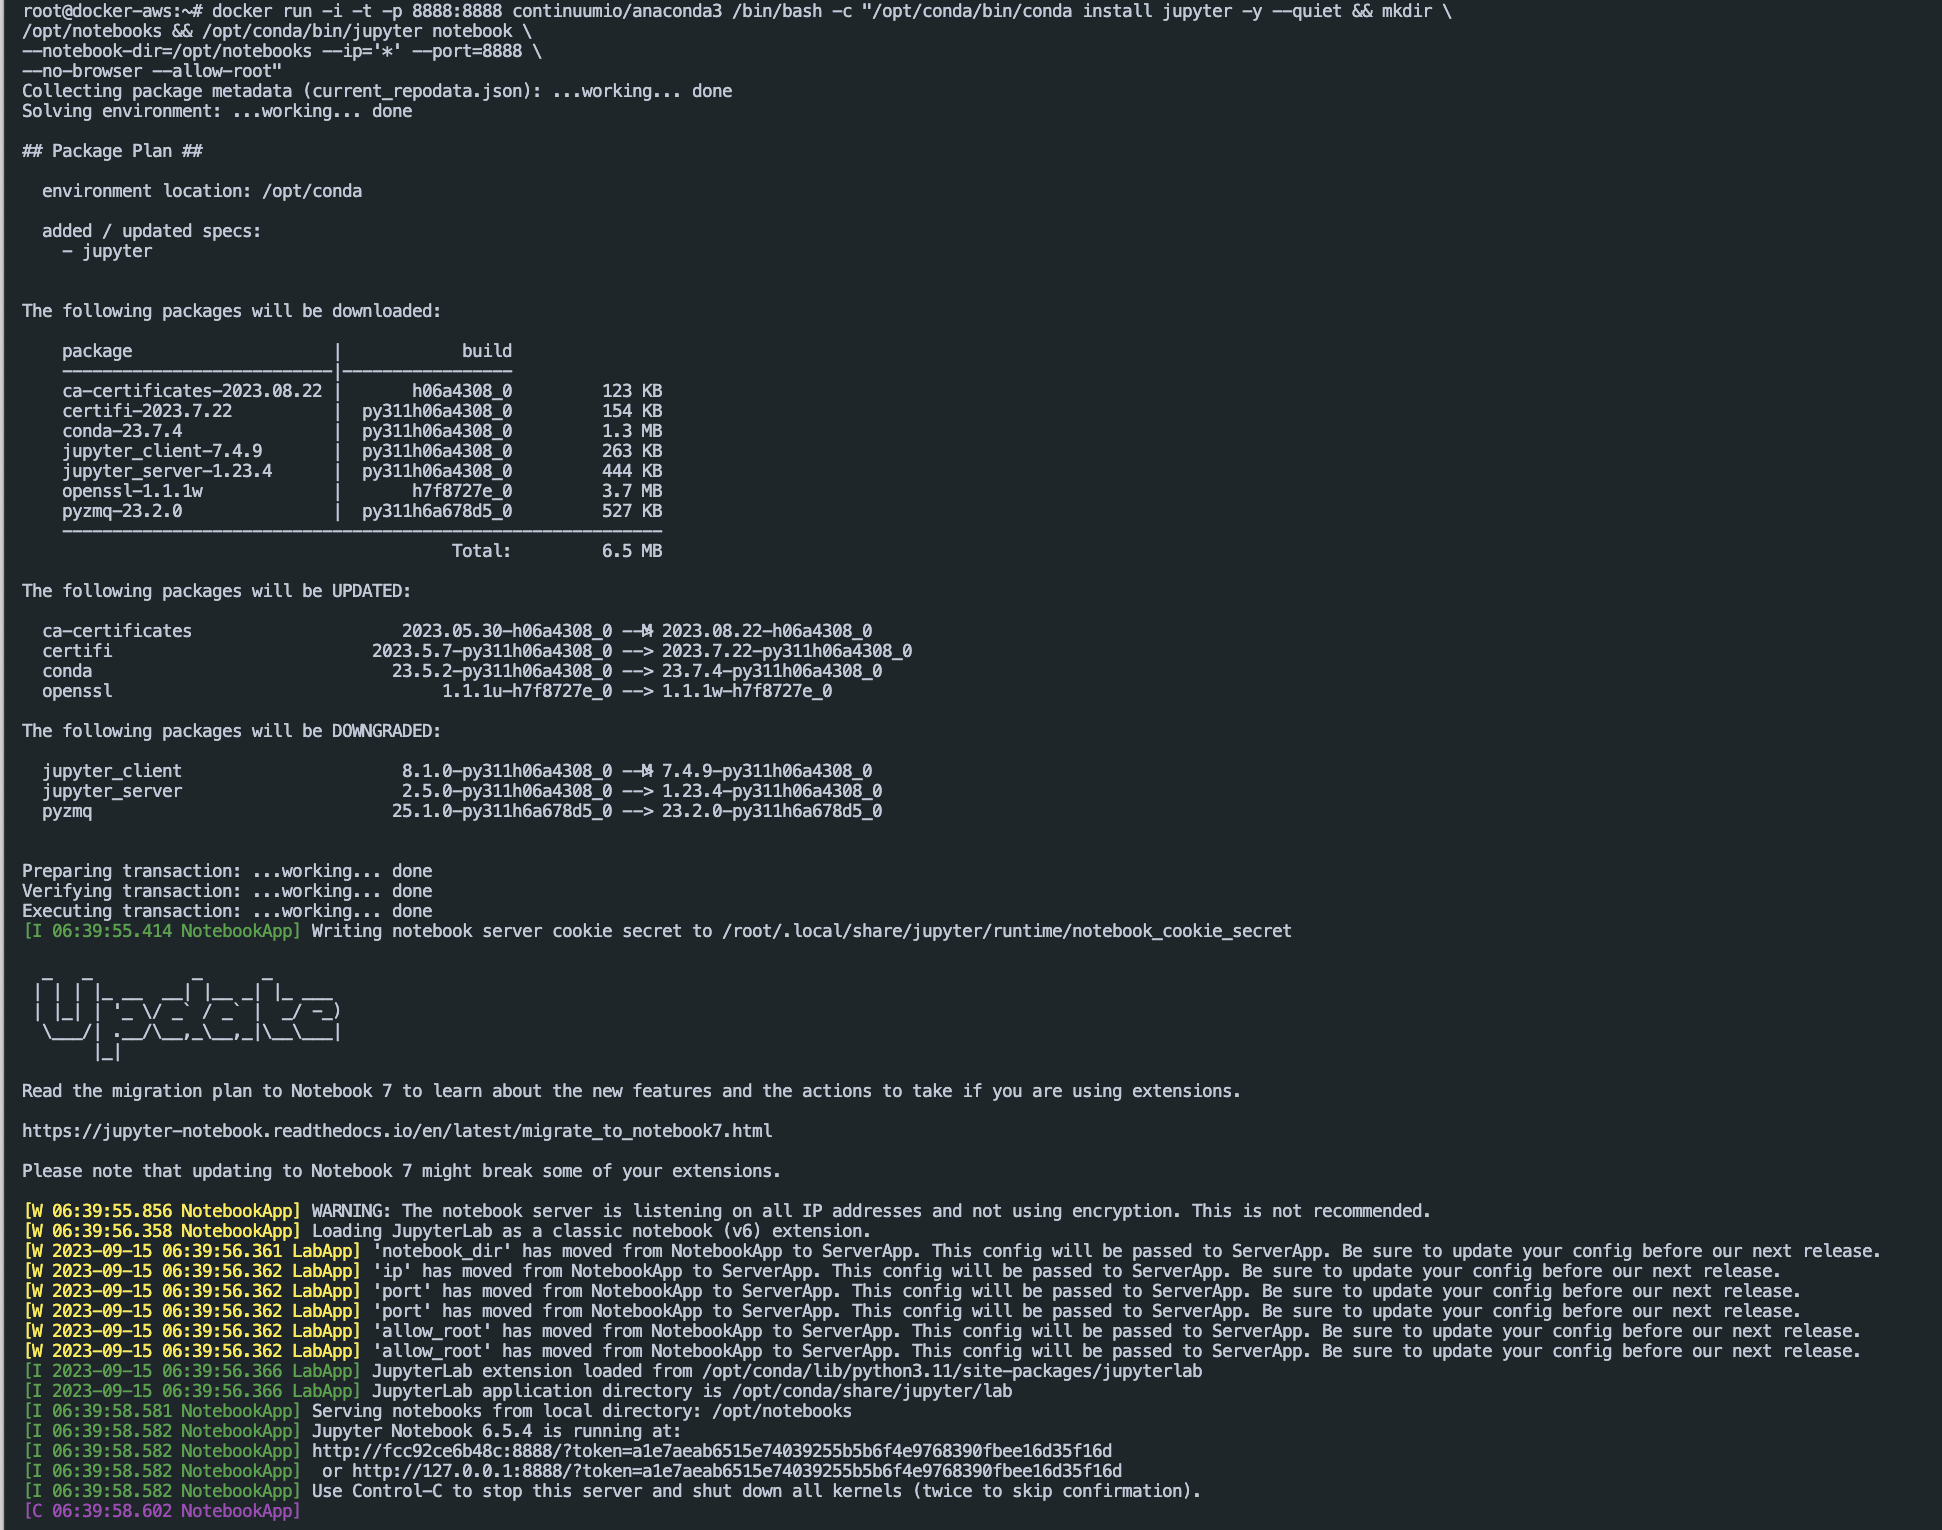
To access the Jupyter Notebook, open http://localhost:8888 in your browser or open http://<DOCKER-MACHINE-IP>:8888 if you are using a Docker Machine VM.
Conclusion
In this tutorial, we learned how to quickly configure the Anaconda environment in a Docker container using the Docker Anaconda3 image.