Docker is a famous tool for creating and handling containers that are separate environments to run applications. Docker provides several commands to import and load images, which are templates for creating containers. The “docker import” and “docker load” commands allow developers to create custom images from scratch, restore images from backups, transfer images between hosts, and share custom images with other developers.
This article will explain:
- Primary Difference Between Docker Import and Load?
- How to Utilize the “docker import” Command?
- How to Utilize the “docker load” Command?
Primary Difference Between Docker Import and Load?
The “docker import” command creates a new image from a file or a URL that contains a snapshot of a container’s filesystem. The file or URL argument can be a local file path or a remote URL that points to a tar archive. It can be used to create an image from a tar archive that contains the files and directories of a container. It is useful when users want to create an image from an existing container’s filesystem, without preserving any metadata or history.
On the other hand, the “docker load” command loads an image from a tar archive that was previously saved using the “docker save” command. It can be utilized to restore an image that was exported using docker save. It is helpful when users want to load an image or a repository that was previously saved using docker save, preserving all the metadata and history.
How to Utilize the “docker import” Command?
Check out the provided steps to see how to utilize the “docker import” command:
Step 1: List All Docker Images
First, display all the available Docker images via the below-listed command:

In the above output, all the Docker images can be seen.
Step 2: Import Image from Local File
Then, utilize the “docker import” command along with the local file path or URL that contains the image content of the image that needs to be created:
Here:
- “hello-world_image.docker” is the local file in our system.
- “new-image” is the name of the new image that will be created from the local file.

This command has created a new image named “new-image” from the local “hello-world_image.docker” file.
Step 3: Verification
To verify whether the image has been created from the local file, list all Docker images:
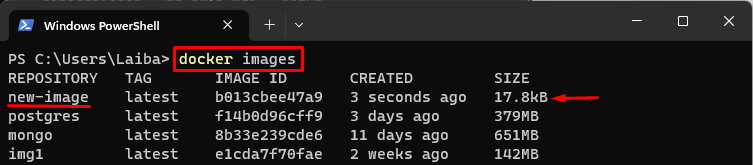
It can be seen that the “new-image” has been created successfully.
How to Utilize the “docker load” Command?
To find out how the “docker load” command works, look at the following steps:
Step 1: Display Docker Images
First, list all the Docker images with the help of the below-listed command:
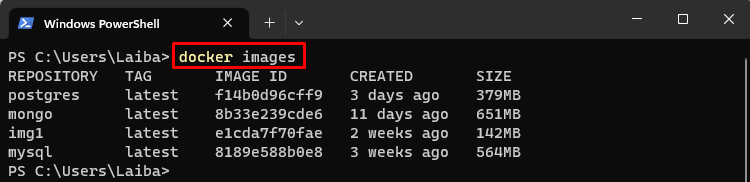
The above output has displayed all Docker images.
Step 2: Load the Image From the Archive File
Then, use the “docker load” command along with the “-i” option and the archive file’s name from where the particular Docker image needs to be loaded:
Here, the “-i” option is utilized to specify the input file, i.e., “my-alpine.tar”.

This command has loaded the “alpine” image from the archive “my-alpine.tar” file.
Step 3: Verification
Finally, display all Docker images to ensure that the specific image has been loaded from the archive file:
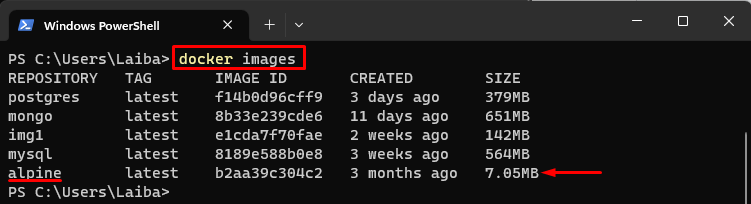
In the above output, the “alpine” image can be seen.
Conclusion
The “docker import” creates a new image from a file or a URL that contains a snapshot of a container’s filesystem. It does not preserve any metadata or history of the container’s filesystem. In contrast, the “docker load” loads an image or a repository from a tar archive that was previously saved using “docker save”. It preserves all the metadata and history of the image or repository.