This write-up will illustrate the procedure to create MySQL Database with Docker.
How to Create MySQL Database with Docker?
To create a MySQL database with Docker, follow the below-provided steps:
- Pull MySQL Image from Docker Hub
- Build and Run MySQL container
- Access MySQL container
- Connect to MySQL database
- Create a Database using the “CREATE DATABASE <database-name>;” command
- Create a new table in the database
- Insert values in the table
- Select data from the database
Step 1: Pull MySQL Image from Docker Hub
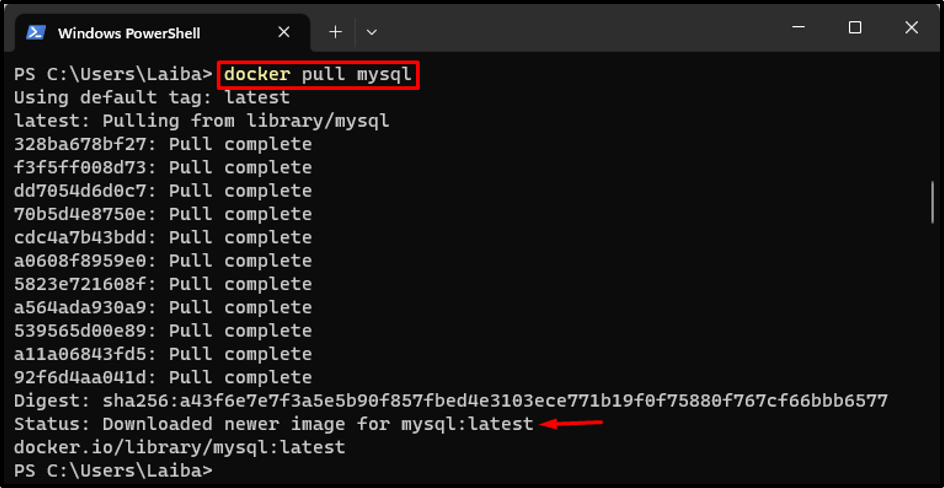
First, pull MySQL from Docker Hub to the local system by executing the provided command in Windows PowerShell:
According to the above image, the latest version of MySQL image has been downloaded.
Step 2: Build and Run MySQL Container
Then, create and run the MySQL container using the MySQL image through the “docker run -d –name <cont-name> -e MYSQL_ROOT_PASSWORD=<password> <image-name>” command:
Here:
- The “-d” flag is used to run the container in detached mode.
- The “–name” option defines the name for the container i.e., “mySql-cont”.
- The “-e MYSQL_ROOT_PASSWORD” specifies the root password to “mysql123”.
- The “mysql:latest” is the latest MySQL Docker image to use for the container:
The above-executed command has started a “mySql-cont” container by executing the latest version of MySQL in the background.
Step 3: View Running MySQL Container
Write out the below-listed command to verify whether the MySQL container is running or not:
In the above output, the “mySql-cont” container is running successfully.
Step 4: Access MySQL Container
After that, use the “docker exec -it” command with the container name to open the Bash shell inside the running MySQL container:
The above-stated command has opened the Bash shell and now users can execute MySQL commands within the running MySQL container.
Step 5: Connect to MySQL Database
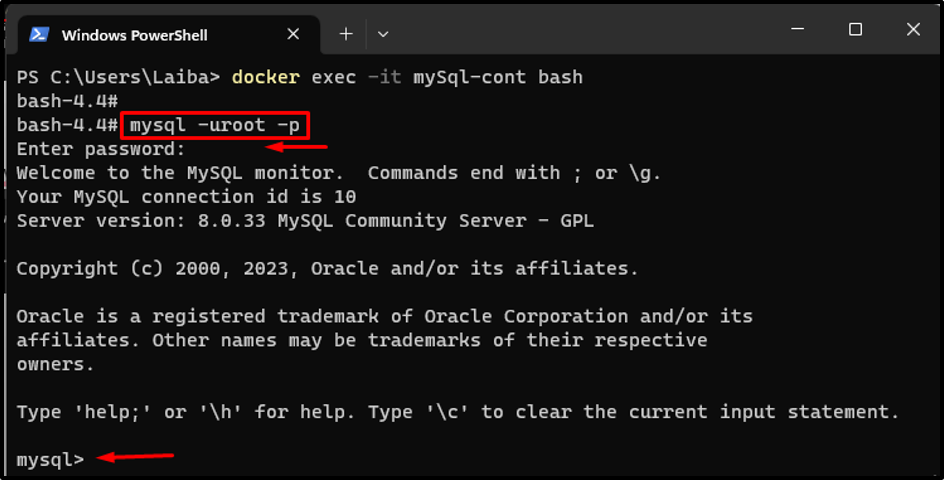
Next, connect to the MySQL database as the root user via the following command and enter the password in an interactive mode:
The output shows that the MySQL shell has been started.
Step 6: Create a Database in MySQL
To create a database in MySQL, execute the “CREATE DATABASE <database-name>;” command:
The above command has created a new database named “TestDB”.
Step 7: Verify Created Database
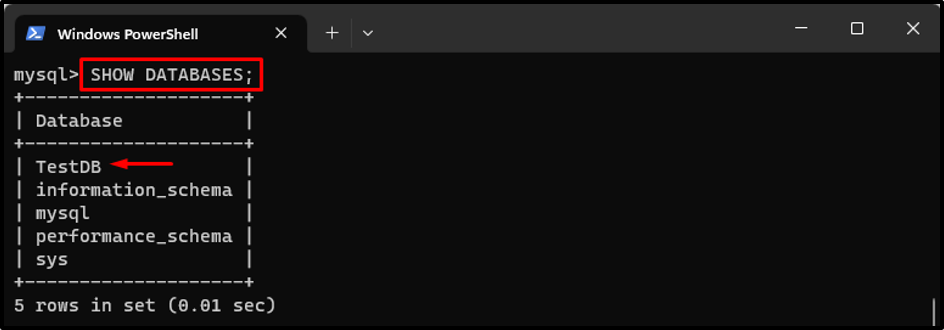
Run the given-provided command to verify whether the new database has been created or not:
According to the above output, the “TestDB” database has been created successfully.
Step 8: Select Database
Now, select the newly created database using the “USE <database-name>;” command:
In this way, the “Database changed” message is displayed in the terminal.
Step 9: Create New Table in Database
To create a new table in the current database, use the “CREATE TABLE table_name (column1 <datatype>, column2 <datatype>, column3 <datatype> );” command:
This command has created a new table named “Student” with some columns.
Step 10: Insert Values in Table
Then, utilize the “INSERT INTO <table-name> VALUE (value1, value2, value3, …);” command to insert some values in the table:
The above shows that new values have been inserted in the table.
Step 11: Select Data from the Database
To select data from a specific table, execute the “SELECT * FROM <table-name>” command:
The above output has displayed the data from the “Student” table.
Bonus Tip: Delete the Database
To delete a database, utilize the “DROP DATABASE <database-name>” command:
This command has deleted a “TestDB” database.
Conclusion
To create a MySQL database with Docker, first, pull the MySQL Image from Docker Hub. Next, build and run the MySQL container using the “docker run -d –name <cont-name> -e MYSQL_ROOT_PASSWORD=<password> <image-name>” command. Then, access the MySQL container and connect to the MySQL database. After that, create a Database using the “CREATE DATABASE <database-name>;” command. Furthermore, users can create a new table in the database, insert values in the table and select data from the database.


