This blog will illustrate the method to set up Postgres using Docker in Windows.
How to Install and Connect Postgres Using Docker on Windows?
The Docker platform supports numerous tools for project development, and PostgreSql is one of them. To install and connect PostgreSQL, first, pull the “postgres” Docker official image, and create and run the container through the pulled image. After that, install “pgAdmin4” and connect the Postgres Docker container to pgAdmin4.
For the proper guideline, utilize the listed steps.
Step 1: Pull “postgres” Docker Official Image
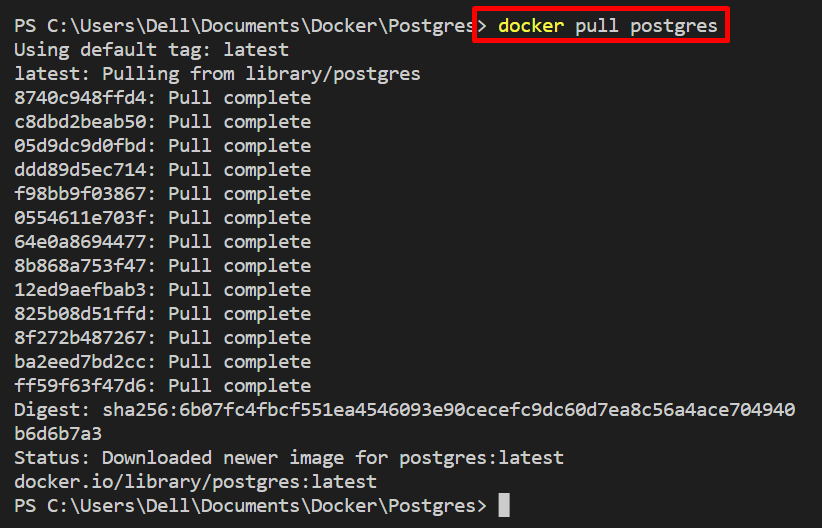
First, pull the “postgres” official Postgres image from the Docker Hub registry:
Step 2: Create and Run Container
Next, execute the pulled “postgres” image to create and start the Docker container:
In the above command:
- “–name” is utilized to define the container’s name.
- “-e” is used to specify the environment variables, such as username and password.
- “-p” allocated the exposing port for the container.
- “-v” defines or allocates the volume or file system for the container.
- “-d” runs the container as backend services or in detached mode.
- “postgres” is a Docker image used to install Postgres:
Step 3: Install “pgAdmin4” Using Docker Image
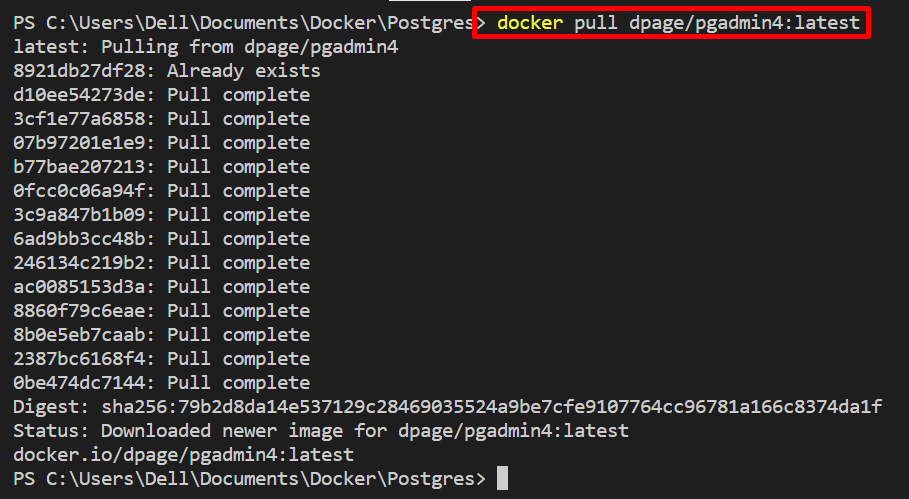
In the next step, pull the Docker image to install pgAdmin4. The “pgAdmin4” is a GUI version of PostgreSQL. For doing so, we have pulled the “dpage/pgadmin4:latest” image:
Step 4: Access PgAdmin4
Now, run the pulled image to create and execute the container to access pgAdmin4. To run the “dpage/pgadmin4” image in the container, set the email and password as specified in the below command:
Step 5: Provide User Credentials for PgAdmin4
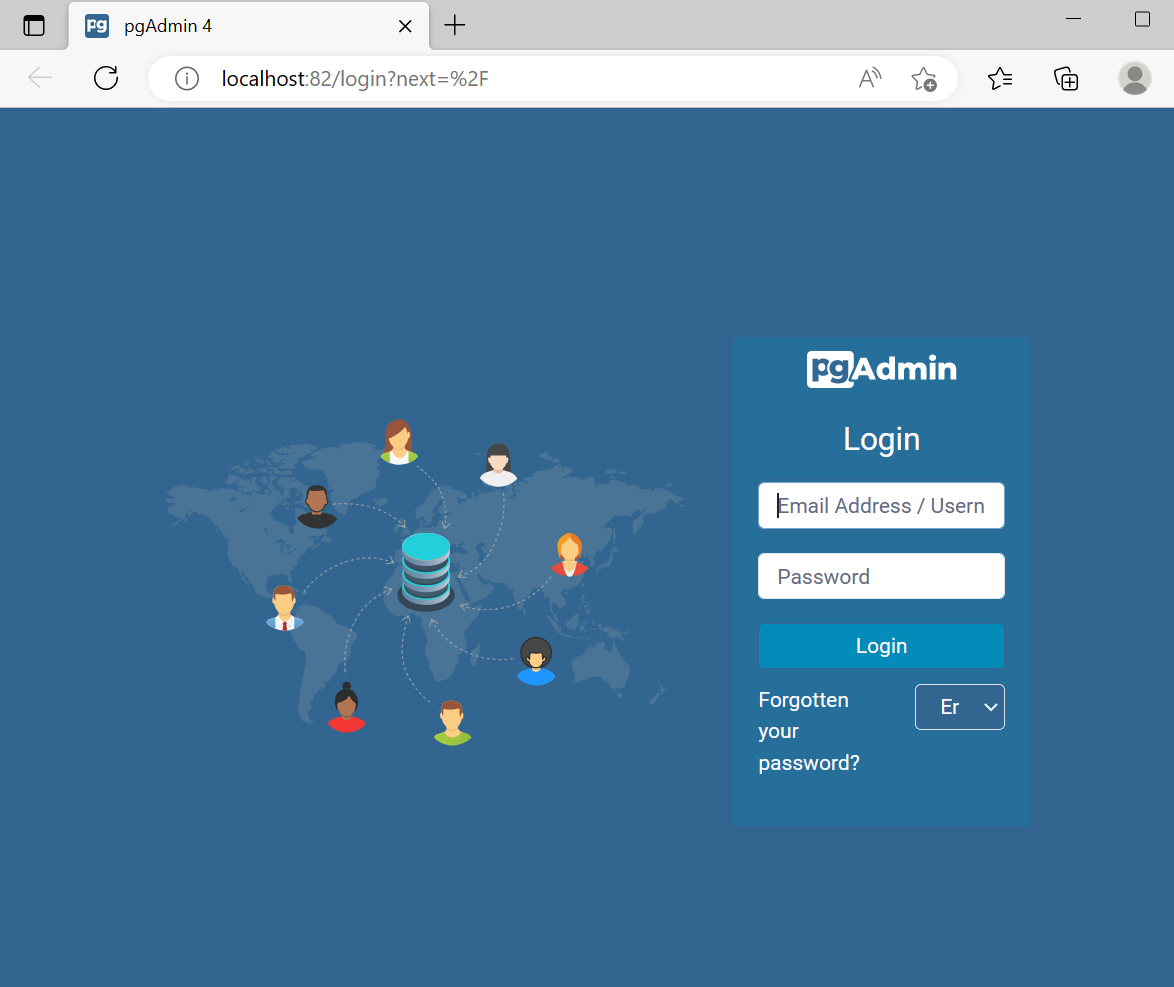
Next, access the pgAdmin4 on the specified port of localhost. For instance, we visited “localhost:82”. Provide the login credential that you have set in the previous step:
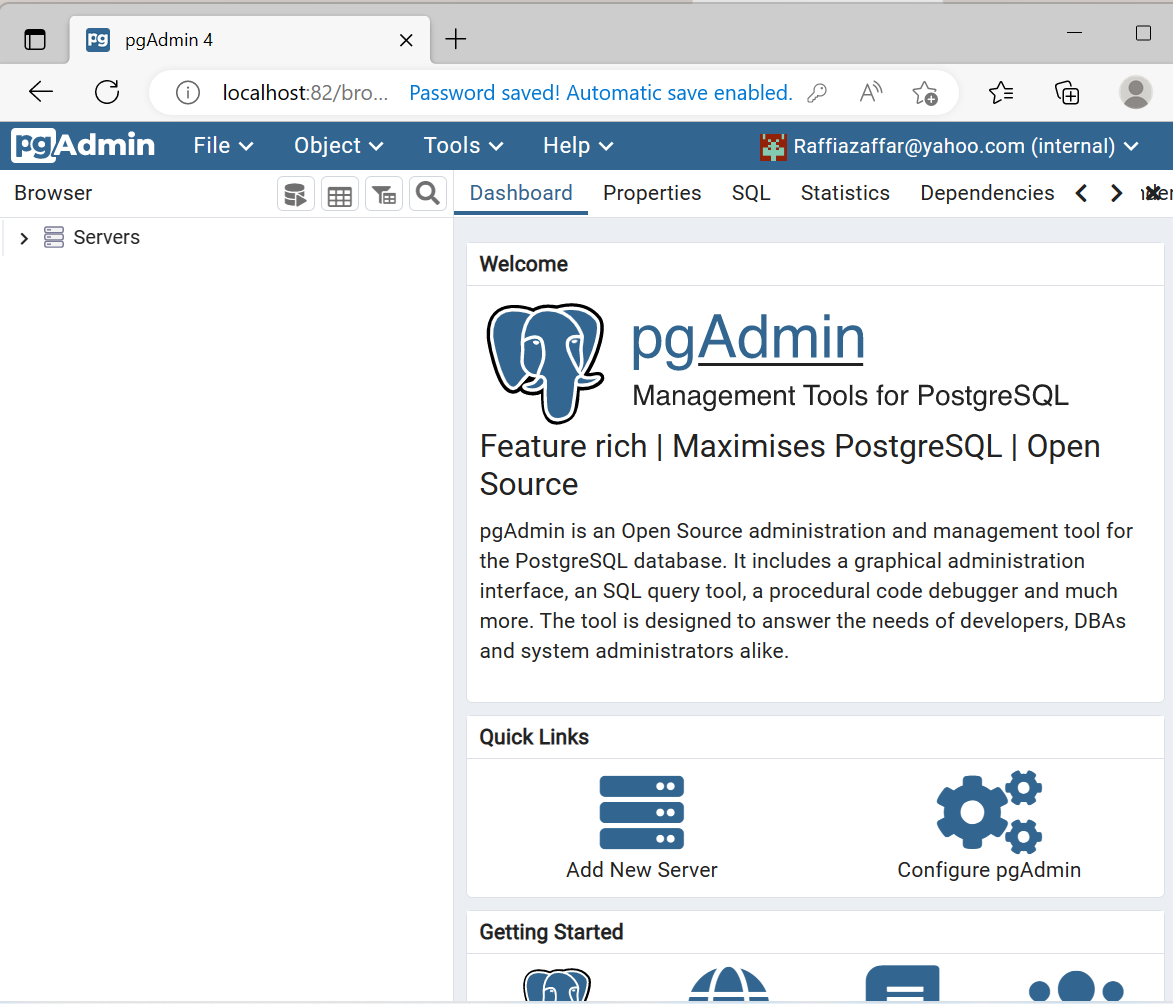
It can be observed that we have successfully installed and accessed the pgAdmin4 using Docker:
Step 6: Inspect the Postgres Container
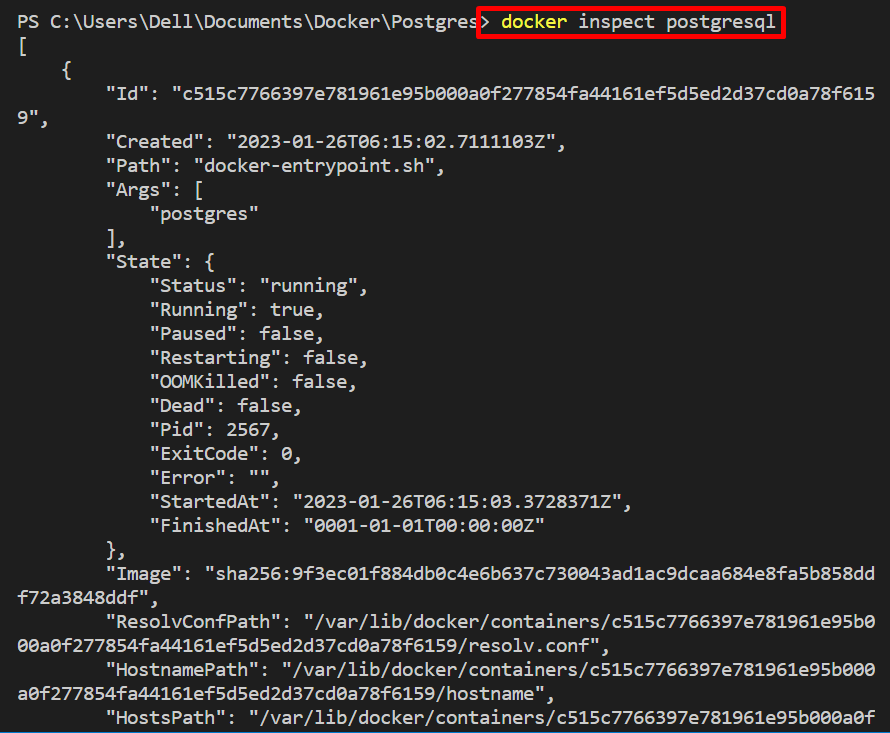
Inspect the Postgres container through the “docker inspect <container-name>” command. In our scenario, we have inspected the “postgresql” container that was created by the “postgres” image:
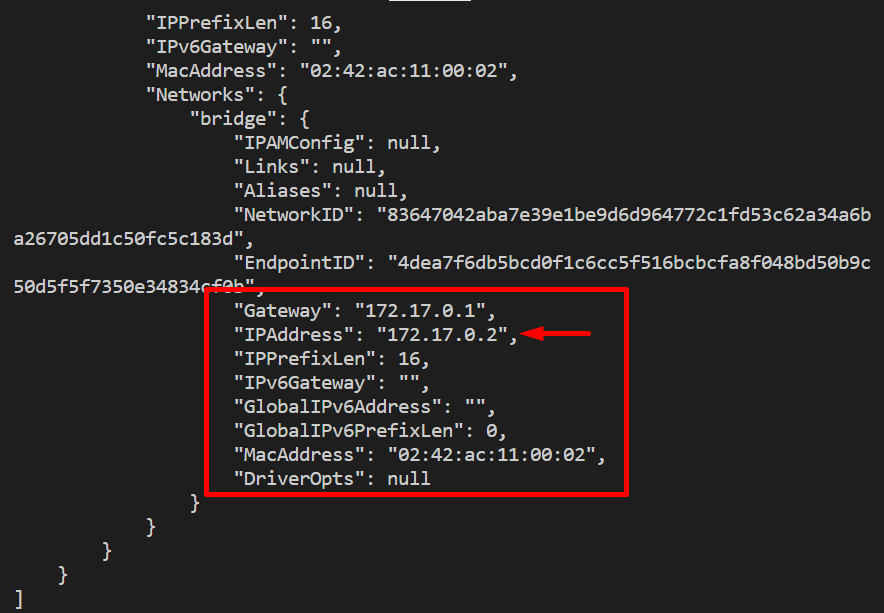
Note the environment variable (username/password) you have set while creating the container and the host or ip address of the container are shown below:
Step 7: Connect pgAdmin4 to Docker Postgres Instance
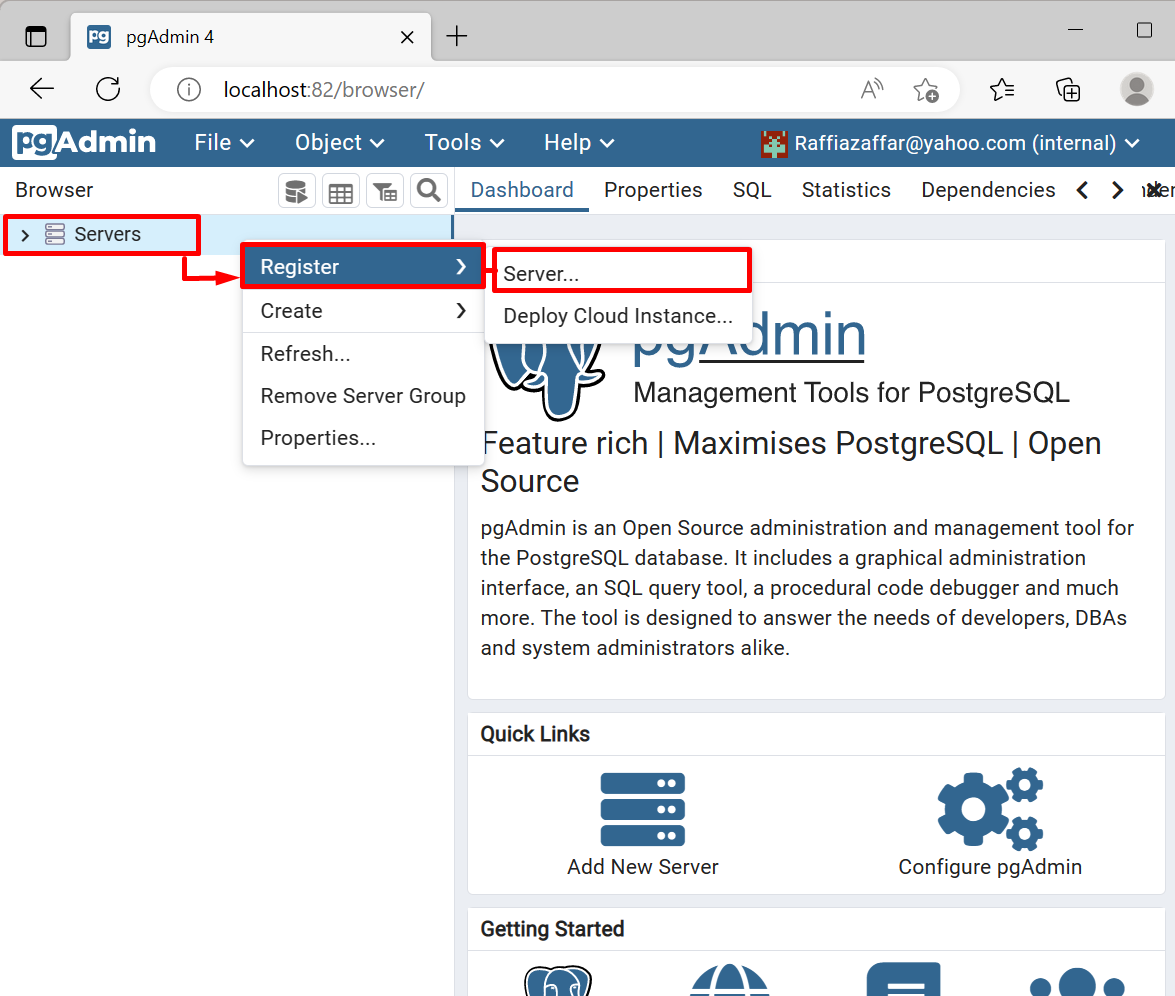
Now, connect the pgAdmin4 to the Docker Postgres container “postgresql”. For this purpose, first, add a new server for Postgres by right-clicking on the “Server”, then click on “Register” to register the new server:
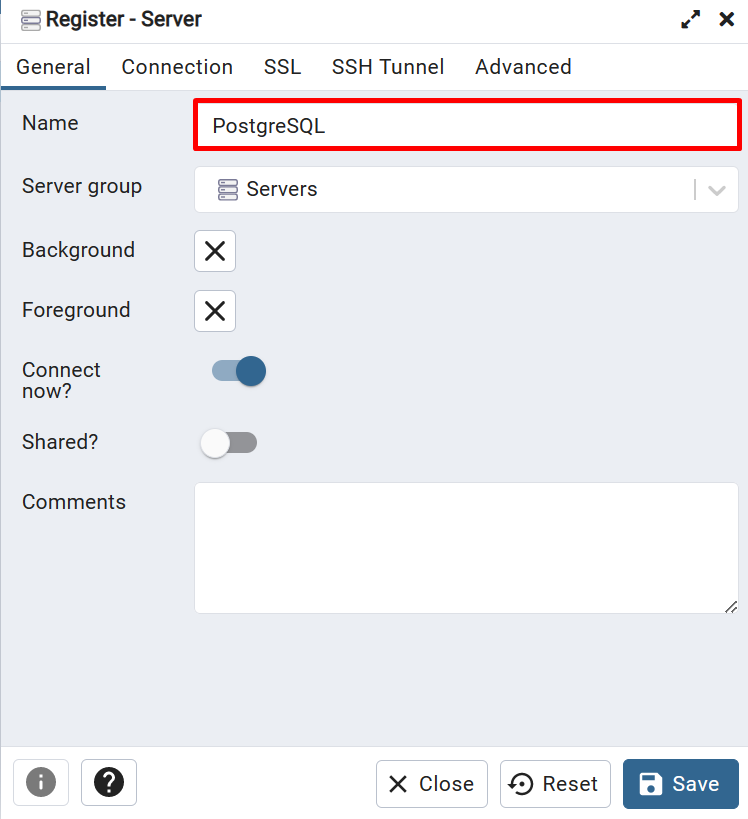
Set the name for the server. For instance, we have utilized “PostgreSQL”:
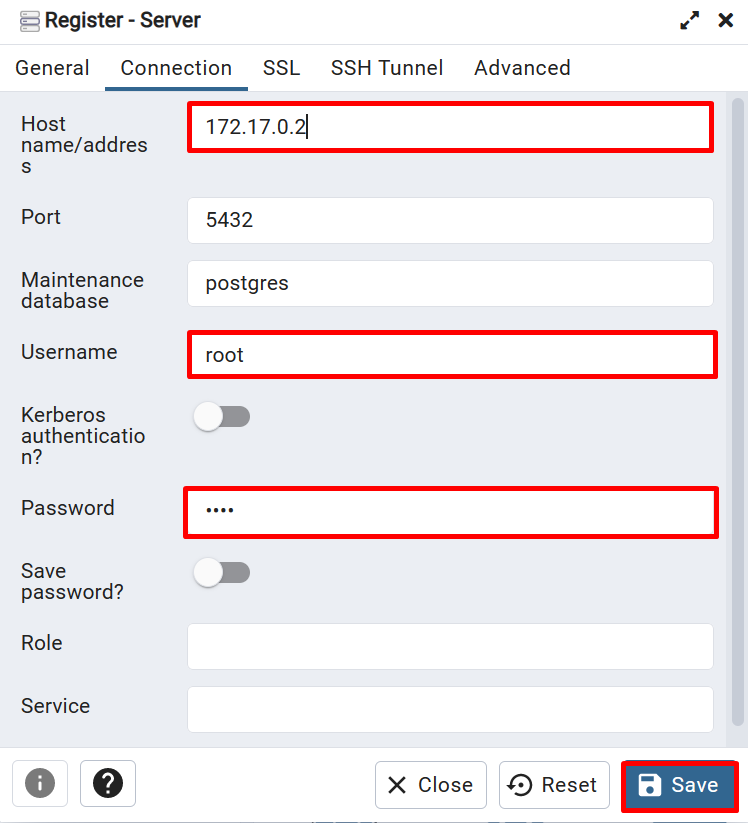
After that, move to the “Connection” menu, and place the Postgres container ip address, port, username, and password. Then, hit the “Save” button:
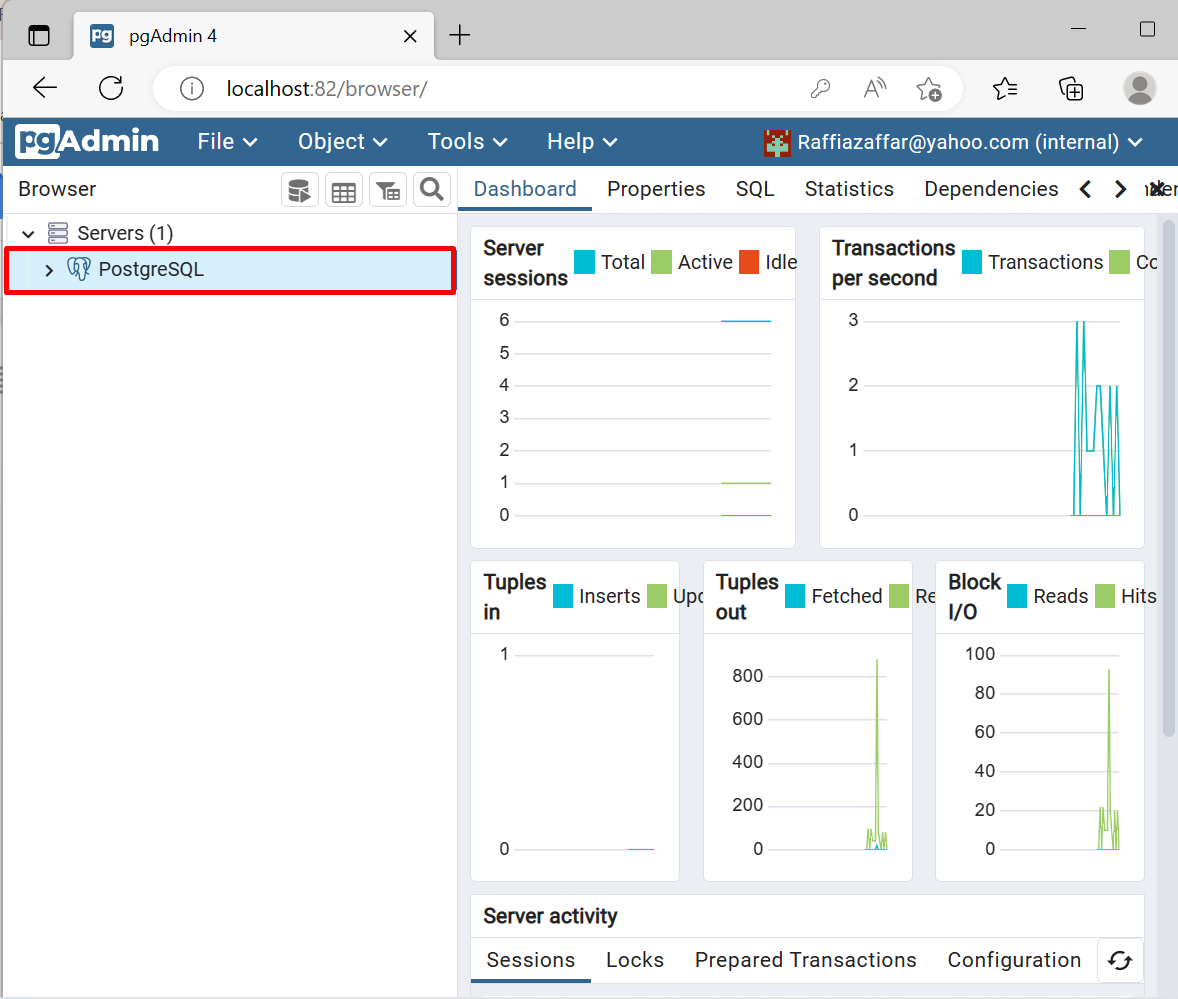
Here, you can see we have connected the postgres container instance with pgAdmin4 to access and use PostgreSQL:
That’s all! We have explained how to set up Postgres using Docker image on Windows.
Conclusion
To install the PostgreSQL database, pull the Docker image “postgres” from the official Docker Hub registry. Then, execute the image to containerize and install PostgreSQL. After that, install the pgAdmin4 through the “dpage/pgadmin4:latest” image and connect the Postgres container instance to pgAdmin4. This write-up has illustrated how to set up Postgres using a Docker image on Windows.

