This post will demonstrate a method for making an element fade in and fade out effect in HTML.
How to Make/Create an Element Fade in and Fade out in HTML?
To make/create an element fade in and then fade out, follow the given procedure.
Step 1: Create an HTML Page
First, create a “div” container by utilizing the “<div>” tag and assigning it an “id” attribute. Next, create another container in between the first “div” element as follows:
Step 2: Apply CSS for Styling
Now, access the “div” container with the help of the “id” selector “#” and the name “main-div”. Then, apply the below listed CSS properties:
width:200px;
height: 200px;
margin: 50px 150px;
background-image:url(/background image.png);
background-size:cover;
animation: fadeinout 5s linear forwards;
}
Here:
- The “width” property is utilized for specifying the element width.
- “height” is used to allocate the height to an element.
- “margin” defines the blank space outside of the element boundary.
- “background-image” property is utilized for setting background images for an element.
- “background-size” property is utilized for setting the size of the background element.
- “animation” is used to show the fade-in and fade-out effects. The “animation” is a shorthand property and specifies the “animation-name”, “duration”, and “animation-iteration-count”.
Output
Step 3: Apply Keyframe Rule on Animation Property
Next, apply the keyframe rule on animation by specifying the animation name and apply the “opacity” property to add fade-in and fade-out effects:
0%,100% { opacity: 0.1; }
50% { opacity: 1; }
}
The description of the above-specified properties is as follows:
- At “0%” and “100%” of the animation, “opacity” is set as “0.1”.
- At “50%” of the animation, the opacity level is set as “1”.
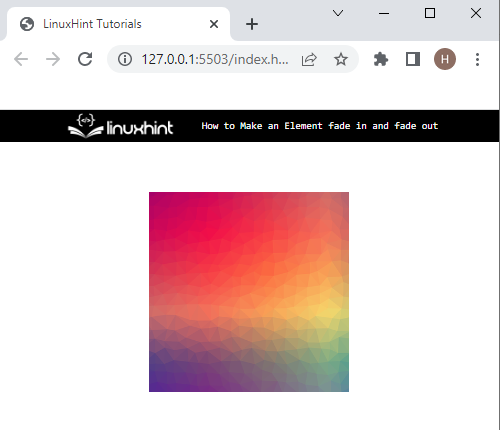
Output
It can be noticed that we have made the element fade in and then fade out in HTML.
Conclusion
To make an element fade in and fade out, first, create a container by using the “<div>” tag and assign it a “class” attribute. After that, access the element by class and apply the “animation” CSS property on it along with other properties such as “background-img” and “height”. Then, specify the “@keyframe” rules for animation and apply the “opacity” property to add fade-in and fade-out effects on elements. This post has explained the method for making the element fade in and fade out in HTML using CSS.