This post will briefly explain the method for adding the image from a URL.
How to Add an Image From a URL in HTML/CSS?
In HTML/CSS, two methods are available to add an image using the URL, which is listed below:
Method 1: Add Image by Using <img> Element
The “<img>” element is a single void element that has no child content and ending tag. The “src” and “alt” are two key attributes that are utilized inside the “<img>” tag.
Let’s look at the below-given instructions to add an image using the <img> element!
Step 1: Make a div Container
First, create a div container by utilizing the “<div>” tag. Then, insert the “class” attribute and assign a name to the class according to desire.
Step 2: Insert Heading
Next, use the required heading tag from “<h1>” to “<h6>” tag. For instance, we will utilize the <h2> tag and add the particular text as a heading inside the opening and closing tags.
Step 3: Add an Image Using URL
After that, add an “<img>” tag and insert the below-listed attributes inside the image tag:
- “src” attribute is used for adding the media file. For that purpose, launch your desired web browser and copy the desired image URL.
- Then, specify the URL as a value of the “src” attribute.
- Next, “alt” is utilized for adding a name for the image when it is not shown for some reason.
- “height” property specifies the element’s height according to the given value.
- “width” utilized for setting the width of the element:
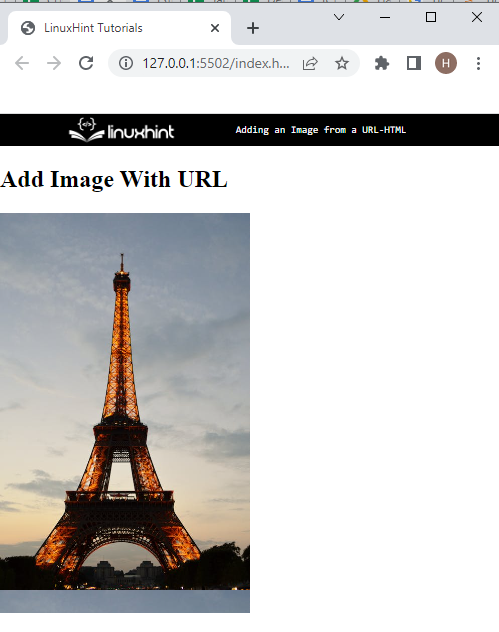
According to the below-given output, the specified image has been added successfully:
Method 2: Add Image Using CSS Properties in HTML
Developers can also add the image from a URL using the CSS “background-image” CSS. for this purpose, follow the below-given steps.
Step 1: Insert Heading
First, insert a heading text with the help of the <h2> opening and closing tag.
Step 2: Create div Container
Next, create a div container by utilizing the <div> tag and add a class attribute with its name:
<div class="img-container"></div>
Step 3: Access Container
Now, access the class through the dot selector “.” and the class name which was created previously.
Step 4: Add Image Using “background-image” CSS Property
After that, apply the below-listed CSS properties to add the image from a URL inside the class:
height: 400px;
width: 250px;
background-size:contain;
Background-image: url(https://images.pexels.com/photos/2260800/pexels-photo-2260800.jpeg?auto=compress&cs=tinysrgb&w=1260&h=750&dpr=1)
}
In the above-provided code:
- “height” property is used for setting the height of the element.
- “width” is used to specify the element’s width size.
- “background-size” is utilized for setting the background element size.
- “background-image” property adds an image at the element’s backside. For this corresponding purpose, the “url()” function is utilized for adding the image and pasting the URL of the image in the function “()”.
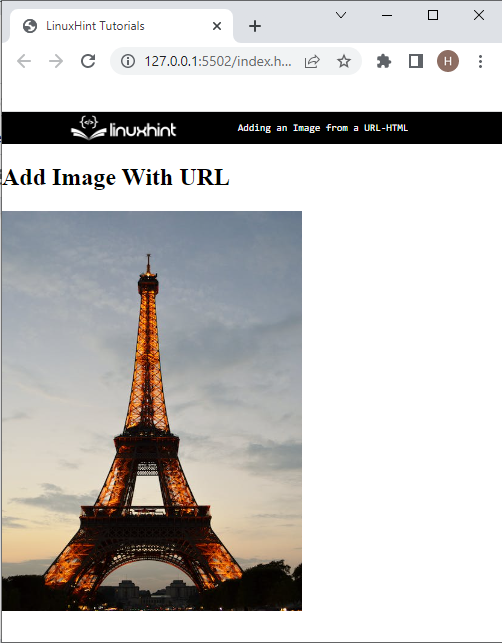
Output

You have learned about the different methods for adding images from a URL.
Conclusion
To add an image from a URL, developers can utilize the “<img>” tag. Then, insert the “src” attribute and assign the URL as the “src” value. Furthermore, the user can add an image from the URL by using the CSS “background-image” property. This write-up has stated the methods for adding the image from the URL in HTML/CSS.

