This post will explain:
How to Insert an Image in HTML?
The images in the HTML page can be attached in so many ways. However, the “<img>” tag is one of the majorly utilized elements to embed images.
If the user desires for adding an image to the HTML page, look at the provided instructions.
Step 1: Add Heading
First, add a heading using the “<h1>” tag. Then, add text between the specified heading tag.
Step 2: Add Image
Next, insert a “<img>” tag along with the following attributes:
- The “class” attribute is used to access the element by class name.
- The “src” attribute is utilized for adding the image path or URL.
- “width” specifies the size of the image horizontally.
- “height” allocates the height of the image:
The output shows that the image has been added successfully:
How to Fill CSS Image Size Without Stretch?
To fill the CSS image size without stretching it, try out the given instructions.
First, access the “<img>” element using “.cover” and apply the following CSS properties:
object-fit: cover;
width: 50px;
margin:20px;
height: 100px;
}
The description of the above-mentioned code is as follows:
- The “object-fit” property is utilized for specifying how the image should be resized to fit its container. For instance, we have set its value as “cover”.
- “width” specifies the size of the image width.
- “margin” allocates the space around the boundary of an element.
- “height” defines the image height in a container.
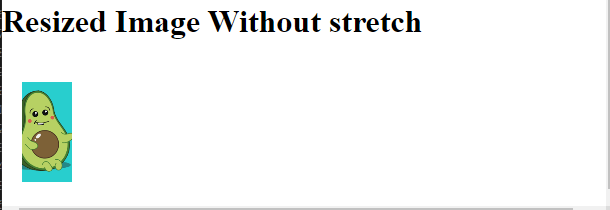
It can be observed that the image has been resized and filled without stretching:
That was all about filling the image without stretching.
Conclusion
To fill the image size without stretching, first, add an image with the help of the “<img>” tag along with the class attribute. Then, access the image using the class name and apply the “object-fit” CSS property as “cover”. Furthermore, apply other CSS properties for styling, such as “width”, “height”, and “margin”. This post has demonstrated the method for resizing and filling the image without stretching.


