Before fully adopting Pop!_OS and making changes to your system, you can use it in a virtual machine like VirtualBox. So, if you want to install Pop!_OS on VirtualBox, read this guide thoroughly.
How to Install Pop!_OS on VirtualBox
Before moving to the installation process, these are some prerequisites you should follow to install it properly:
Prerequisites to Install Pop!_OS
Your system must meet the following requirements to install Pop!_OS on Virtualbox:
- It should have VirtualBox installed
- Pop!_OS 22.04 ISO file (latest version of Pop!_OS)
- A 64-bit processor
- At least 16 GB of storage, 20 GB recommended
- Minimum 2 GB ram, 4 GB recommended
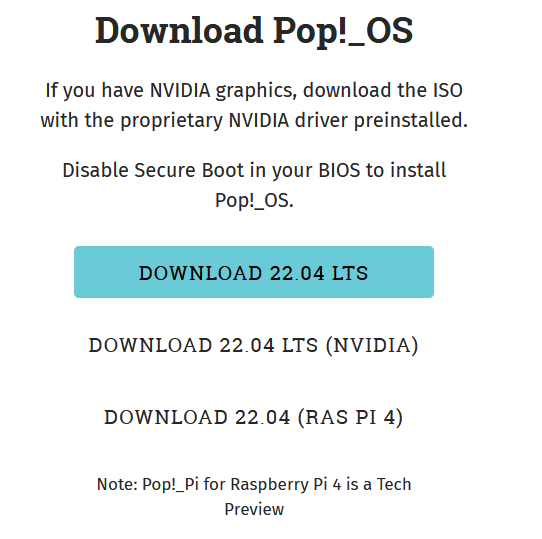
Go to the official website of Pop!_OS and click on download. The size of Pop!_OS 22.04 LTS will be around 2.5GB, so downloading may take some time.
Configuring the Pop!_OS
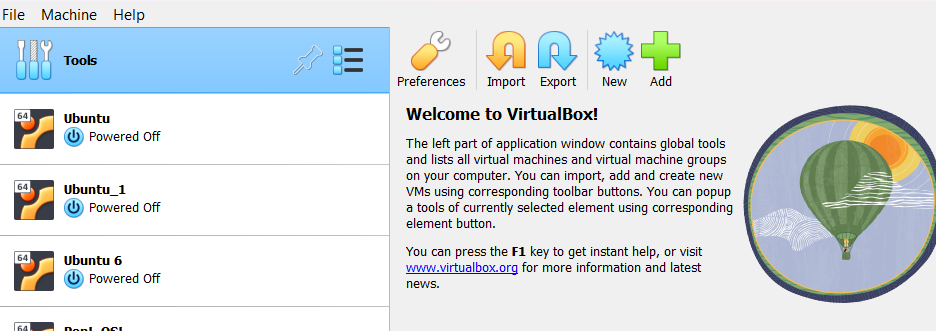
You can now start the Pop!_OS installation process by opening the virtual box and clicking on ‘new.’
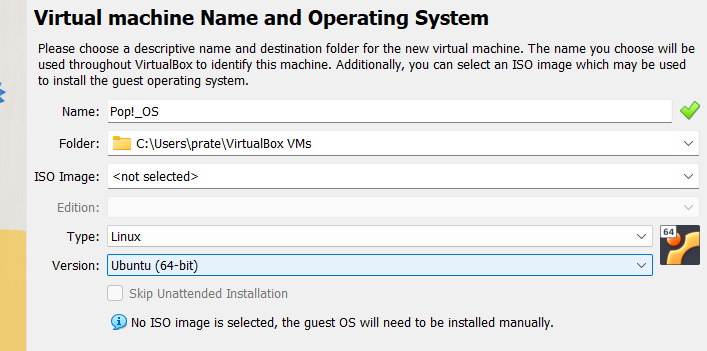
Here, enter the details about the operating system and you can take reference from the following image:
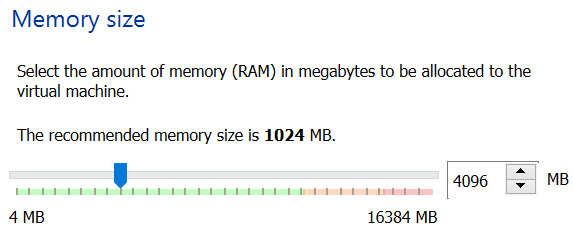
Specify the memory size of more than 4GB.
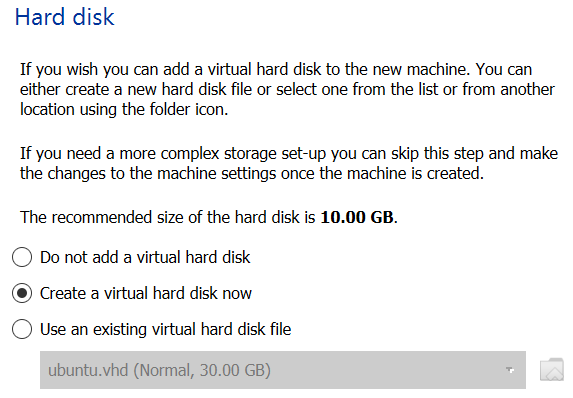
For creating a virtual hard drive, select ‘Create a virtual hard disk.’
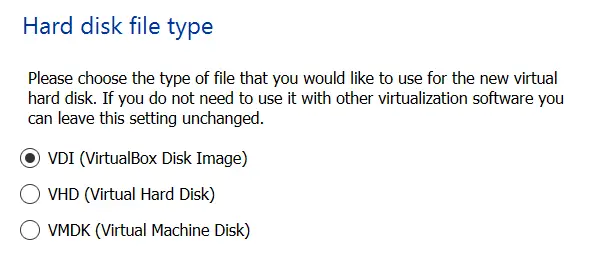
Select the ‘VirtualBox Disk Image (VDI)’ as a hard disk file.
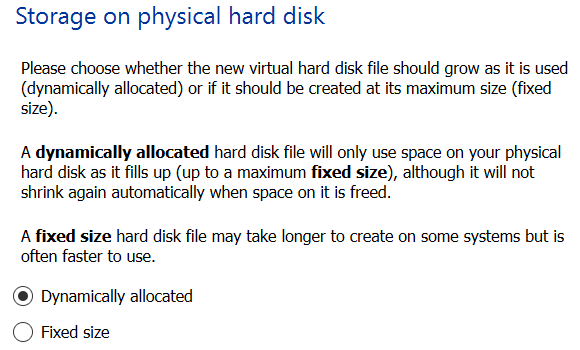
Dynamically allocated disks can increase or decrease in size as per the requirement and are faster to create. Although, fixed-sized discs are easier to use, you cannot alter their size after you have created them. So, here, we will choose ‘Dynamically allocate disk.’
Booting the Virtual Machine
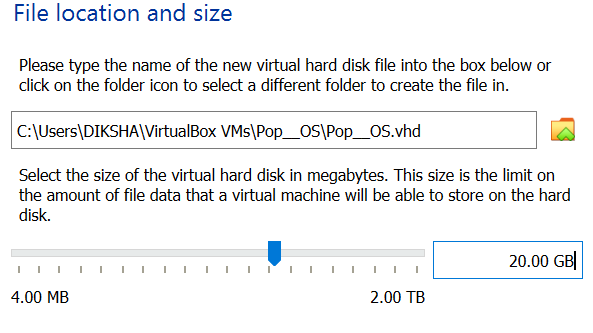
Please select the location of the file and specify its size. Pop!_OS needs at least 15 GB disk size. We recommend choosing a file size of 20 GB for a better experience. After doing this, click on ‘create.’
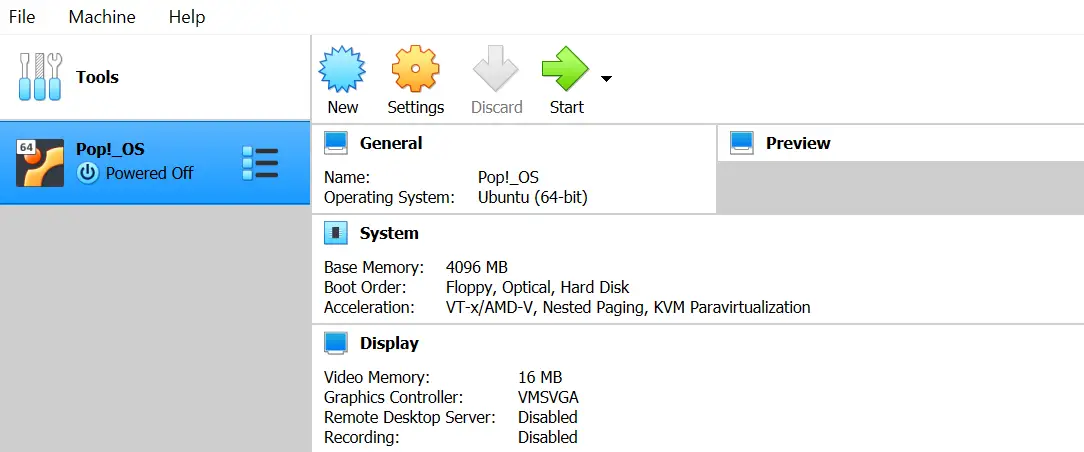
The new virtual machine was created successfully.
To install virtual disks, you must first load the VM by pressing the ‘Start’ button, as shown in the above image.
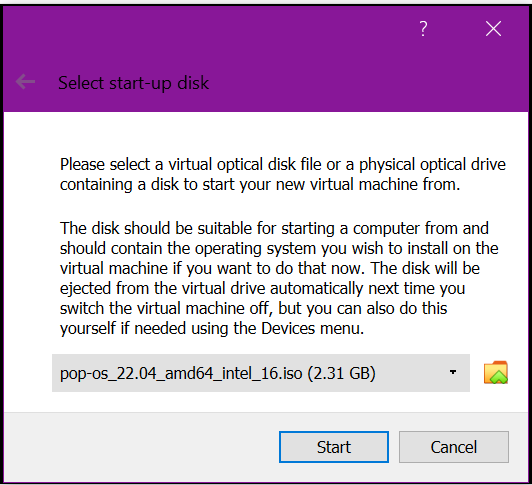
Doing that will open up a popup to provide the ISO image for the POP!_OS. You can browse for the ISO file downloaded earlier by clicking on the browse icon and pressing the ‘Start’ button after successfully locating the downloaded ISO file.
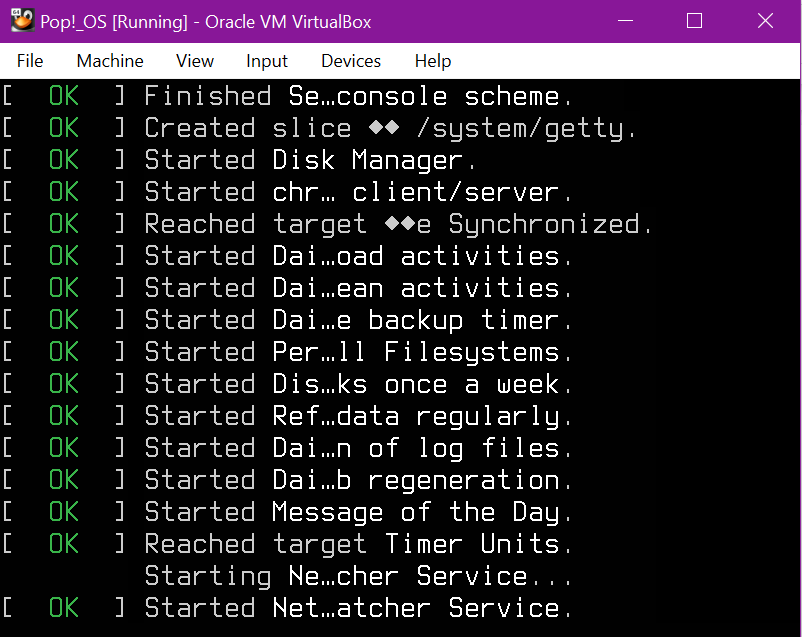
As soon as you do this, your VM will begin booting up and your screen will look like this. It may take 2-3 minutes for this to happen.
Installing Pop!_OS
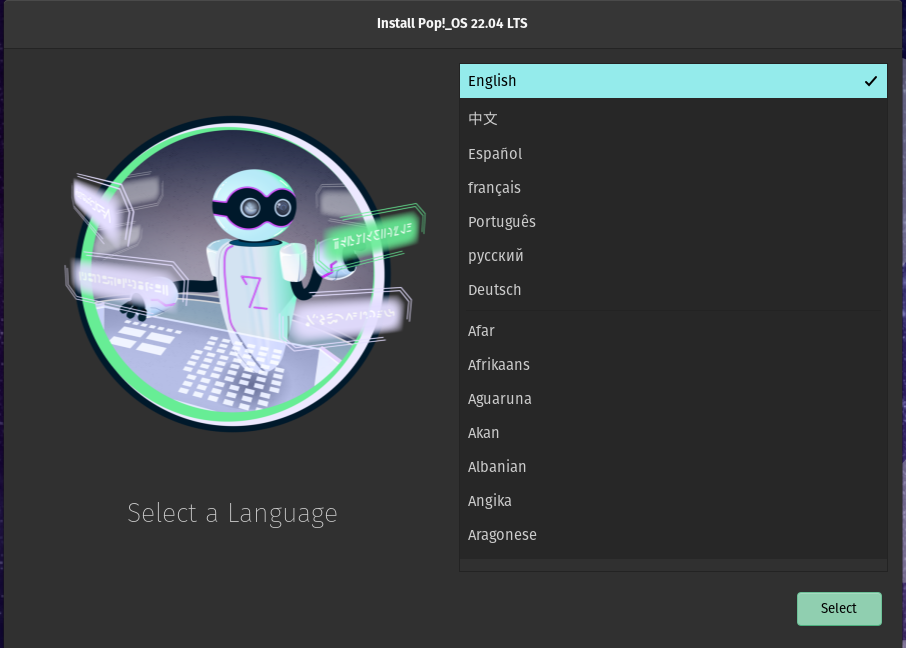
You will see the following installation screen after the initial boot-up.
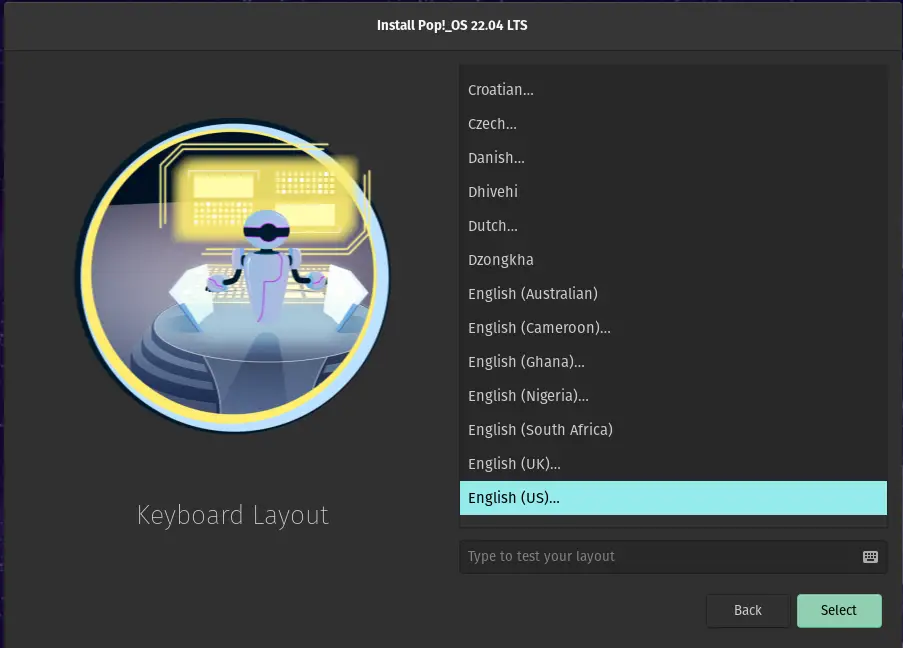
Choose your default language and proceed further by clicking on ‘Select.’
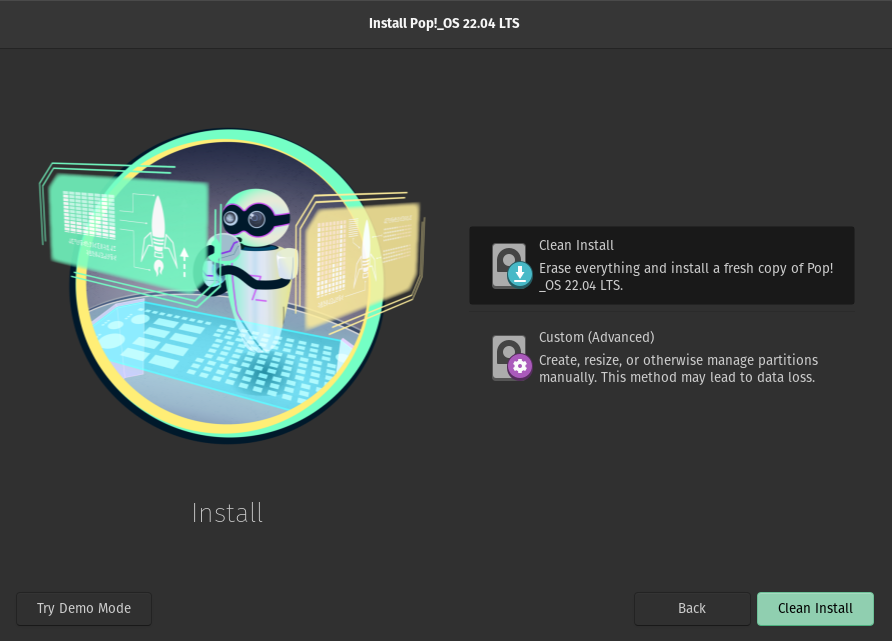
Click on ‘Clean Installation’ as an installation type. It erases all the files but because we are installing it in a VirtualBox, this option will only affect the 20 GB VDI hard disk we created earlier and will not interfere with or modify your host system files.
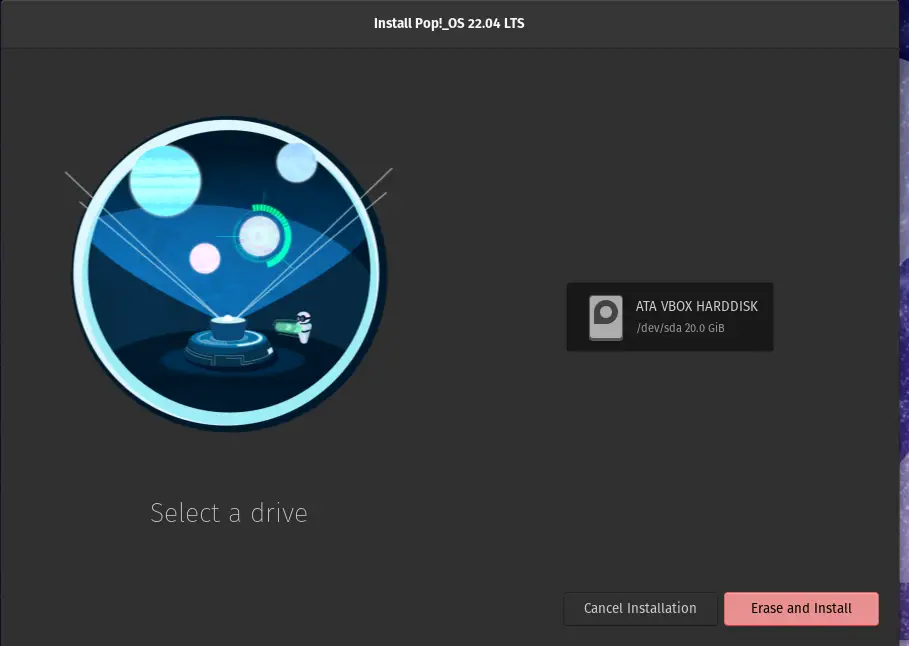
Select the available drive (/dev/sda) and proceed by clicking on ‘Erase and Install.’
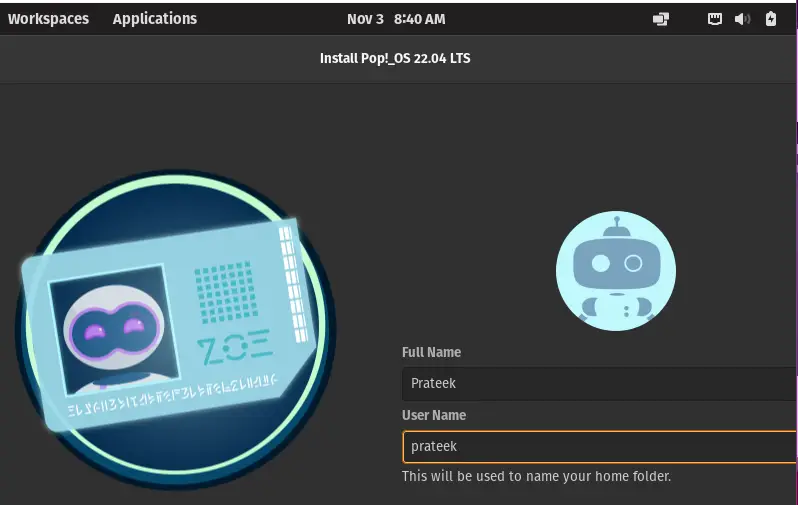
Now, give this machine a name. The username automatically fills up. You can also change this if you want.
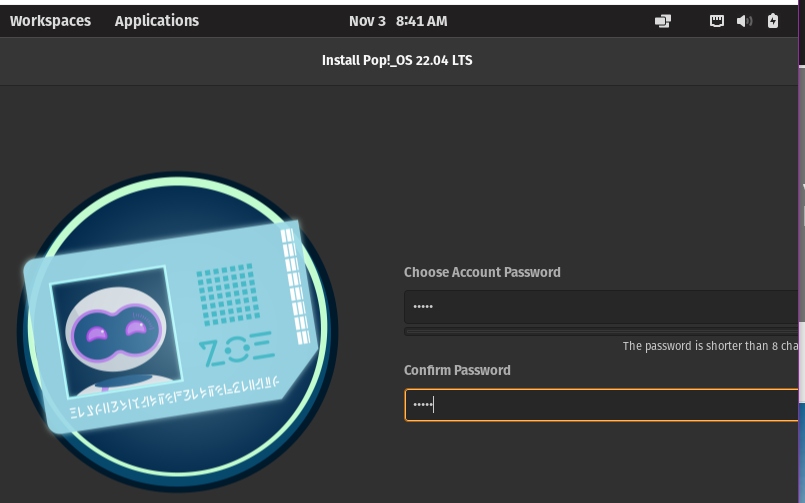
Choose a secure password for the machine and enter ‘next.’
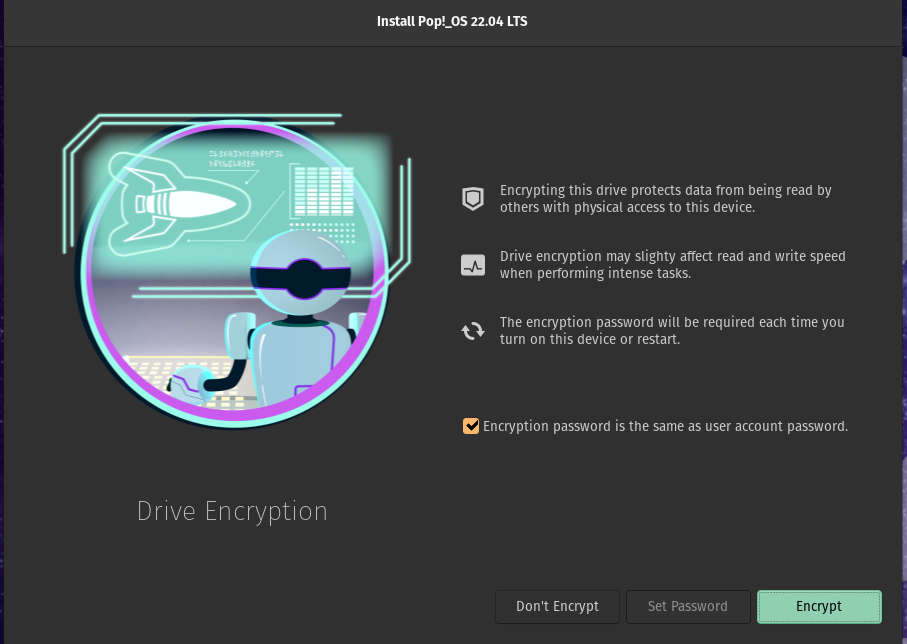
For drive encryption, we choose ‘encrypt’ for this drive. This way, whenever you access the machine, it will request the password.
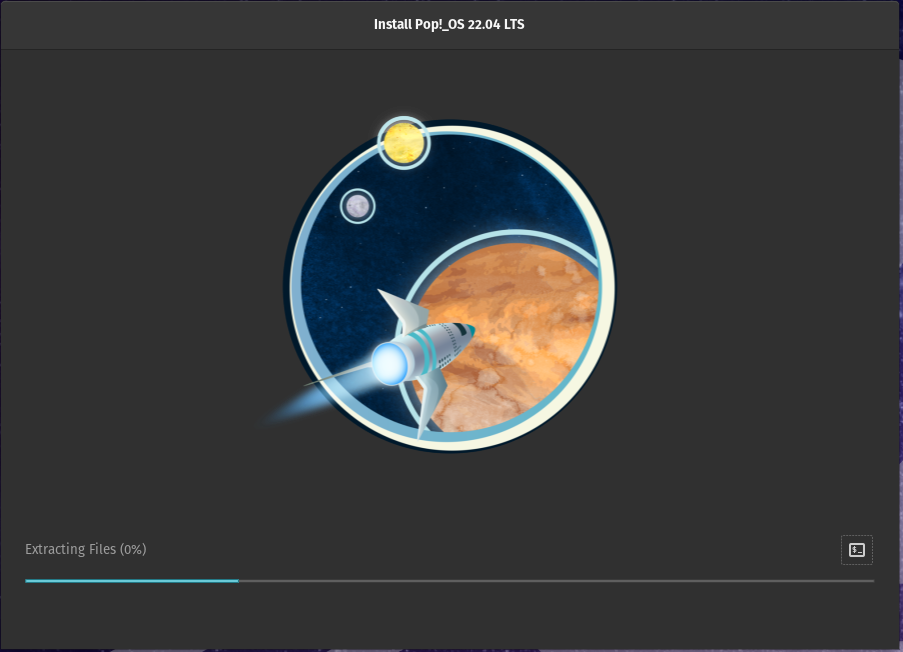
The process might take some time.
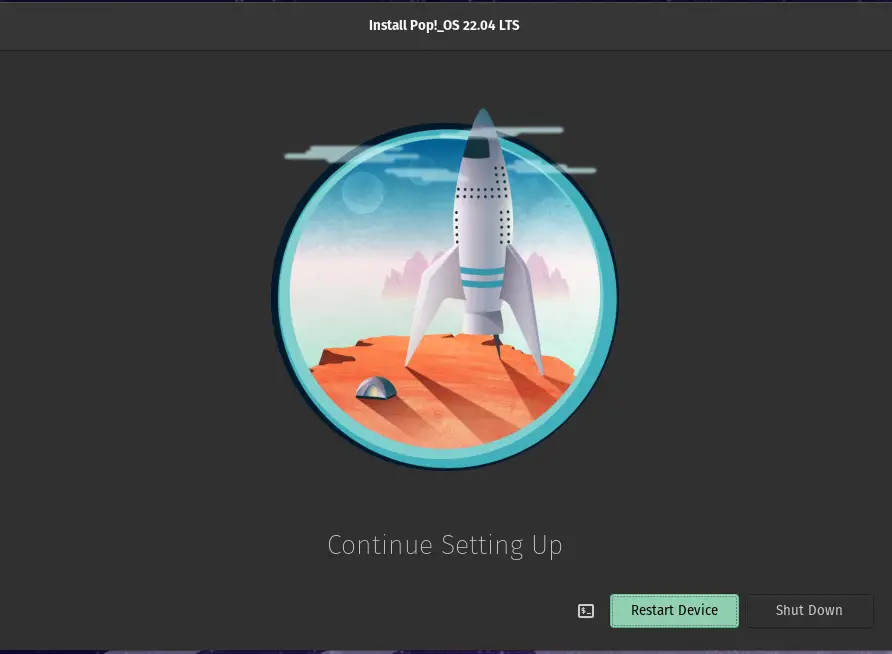
Your installation process is now complete. Click on ‘Restart’ to restart the device.
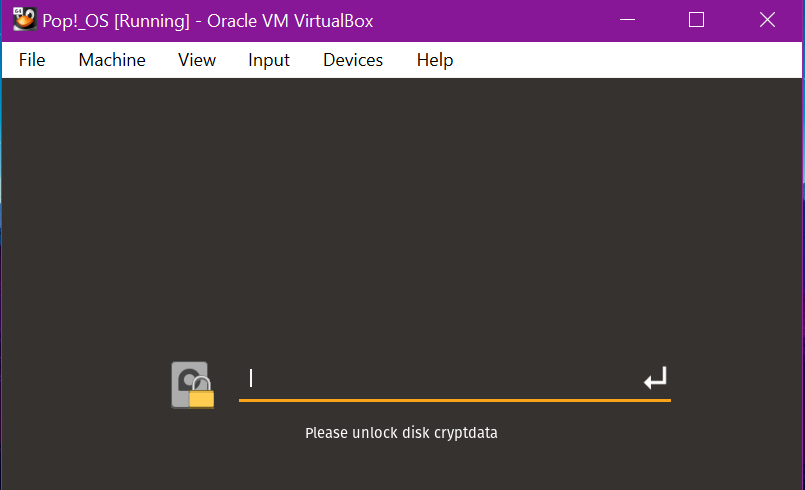
Unlock your drive by entering the password you chose before.
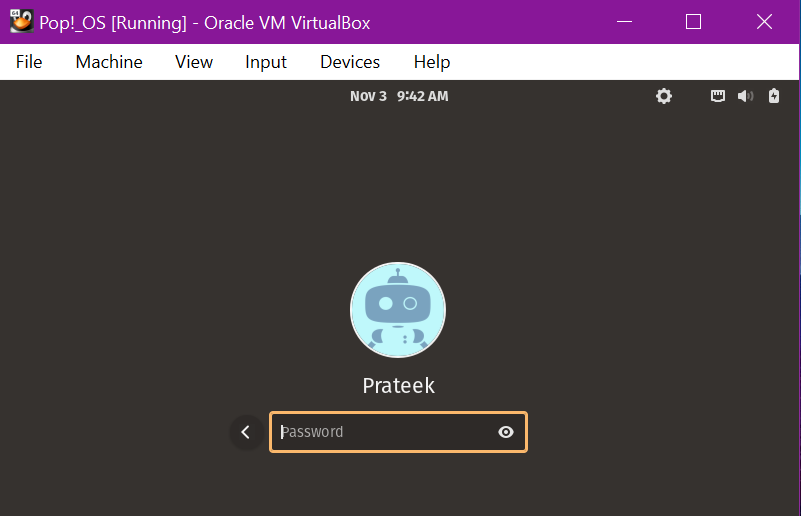
Now, login to your user account with the same password.
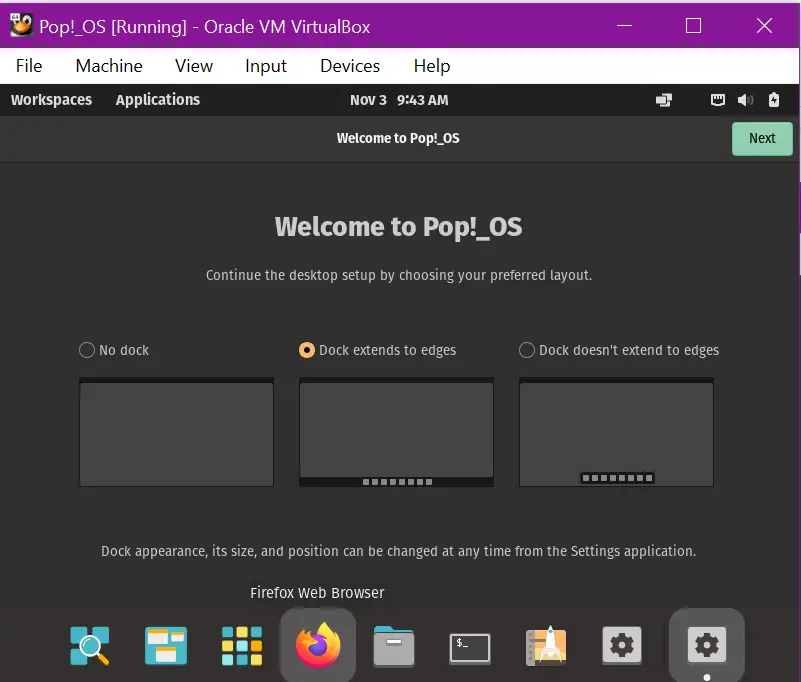
You have successfully installed the Pop!_Os in your VirtualBox. Read the instructions and keep pressing ‘Next’ to proceed until it finishes everything.
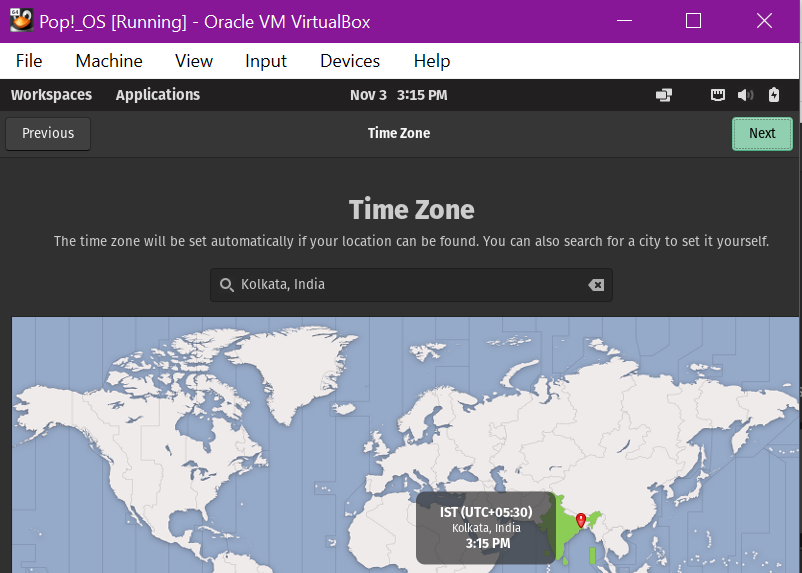
It automatically sets the time zone by detecting your location but you can also set it manually by entering your country and city.
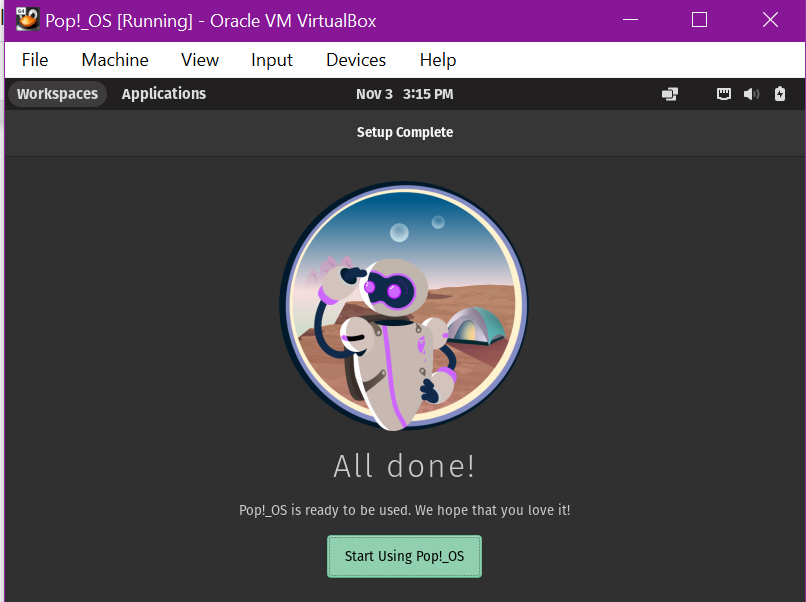
Click on ‘Start Using Pop!_OS.’
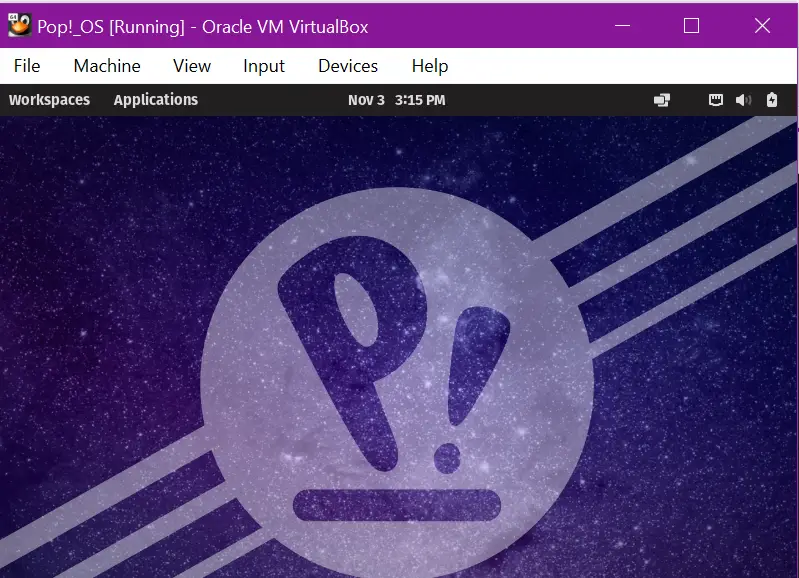
Now, you can use the Pop!_OS in your virtual machine.
Conclusion
This tutorial shows how to install the Pop!_OS operating system on VirtualBox. We have explained its brief information, basic requirements, and essential information for installing Pop!_OS quickly.

