Let’s get started.
Set the width of Input Fields
We all know that input fields have certain width by default, however, we can alter the width according to our desire as well. To alter the width of an input field, follow the code below.
HTML
Here we have created an input field.
CSS
width: 80%;
}
We are assigning the input field a width of 80%.
Note: The width of an input field can be specified in px, em, and percentage.
Output
The width of the input field has been altered according to our desire.
Add space inside the Input Fields
To enhance the space inside the input field, use the CSS padding property. Moreover, to add space outside the input field, when there are multiple input fields, adjust the margin of the input field.
CSS
width: 80%;
padding: 15px 20px;
margin: 9px 0px;
}
Besides giving the input field some width we have also given it some padding and margins.
Output
Space has been added inside and outside the input field.
As you can see in the above code, we have used type=text to style the input field. There are some other types as well on the basis of which you can style the input fields such as type=password (this will only style password fields), or type=number (this will only style number fields), etc.
Adding borders to Input Fields
You can adjust the size and color of input fields using the CSS border properties, moreover, to add more style such as rounded corners, use the border-radius property.
CSS
width: 80%;
padding: 15px 20px;
margin: 9px 0px;
border: 2px solid blue;
border-radius: 5px;
}
In the above code, we are assigning a border of 2px to the input fields along with a blue color. Moreover, to make the corners round we have set the border-radius to 5px.
Output
Border and border radius of the fields have been adjusted according to desire.
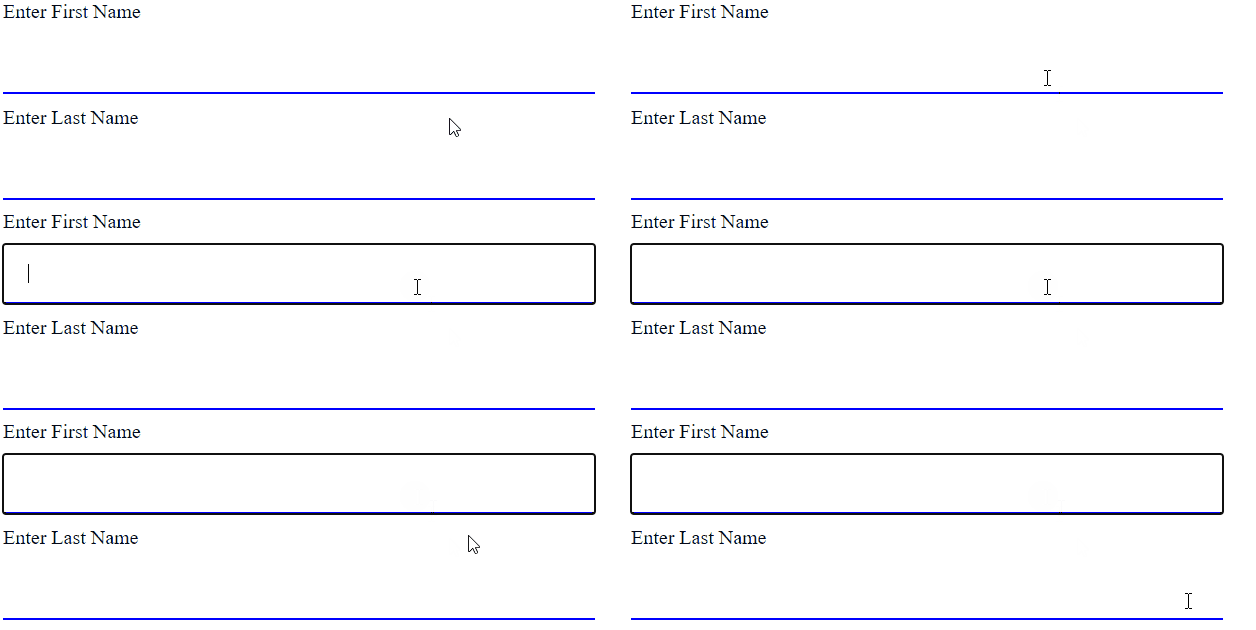
Another fun thing you can do is add the bottom border only, using the border-bottom property like this.
CSS
width: 80%;
padding: 15px 20px;
margin: 9px 0px;
border: none;
border-bottom: 2px solid blue;
}
Here we have set the border of the input fields to none, and assigned a bottom border of 2px.
Output
A bottom border has been added successfully.
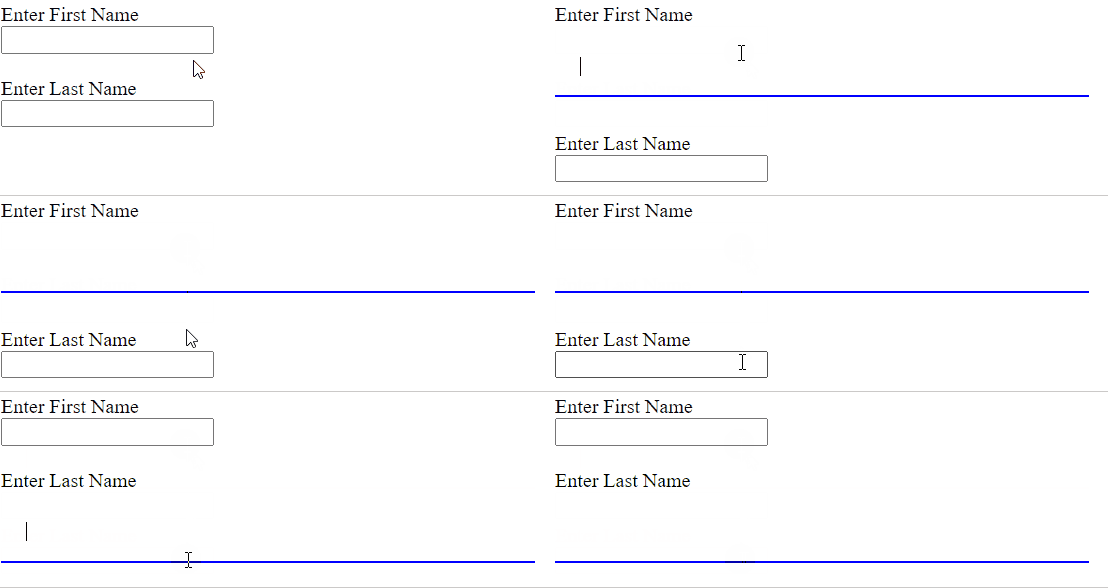
However, you have noticed that an outline has appeared when we focused on the input field. What if we want to remove that.
How to remove the outline of Input field using focus
To alter or set the styling when an input field is focused, you can use the “:focus” selector and to remove the outline on the focus of an input field, you can utilize the “outline” property and set its value to “none”.
CSS
outline: none;
}
Output
The outline was successfully removed.
Add color to Input Fields
By simply using the color properties such as color and background-color you can add color to text and background of input fields respectively.
CSS
width: 80%;
padding: 15px 20px;
margin: 9px 0px;
background-color: bisque;
color: blue;
}
In the above code, we are providing a bisque color to the background of input fields and blue color to the text.
Output
We have successfully provided some color to the background and text.
How to add styling on focus of Input Fields
You can add some border or background color or any CSS styling to the input fields on focus using the :focus state so every time the user clicks on the field, it is given a certain style.
CSS
background-color: skyblue;
}
The background color of the input field will change to skyblue when user clicks on it.
Output
Custom styling on focus is added to the input field successfully.
Adding an Image or Icon in the Input Field
To make your input fields more interesting you can add images or icons to them. Here is how you do it.
CSS
background-image: url('email.png');
background-position: 10px 6px;
background-size: 30px;
background-repeat: no-repeat;
padding: 12px 20px 12px 40px;
}
In the above code, we first added an email icon and adjusted its size and position inside the input field using various CSS properties.
Output
An email icon was added inside the input field successfully.
Add style to Menus
We often have to add menus in HTML forms, therefore, styling them is also necessary. This can be done by using some basic CSS properties. Here is an example.
HTML
In the above code, we have created a very basic menu.
CSS
width: 80%;
padding: 20px;
border: none;
border-radius: 5px;
background-color: lightgray;
}
option{
font-style: italic;
font-size: 20px;
}
Using some basic CSS properties such as border, border-radius, and background-color we have styled the menu. Moreover, we have also given some style to the options as well.
Output
The menu has been styled.
Adding style to buttons
Buttons are a crucial part of a form and these can aslo be designed using CSS properties. Here is an example.
HTML
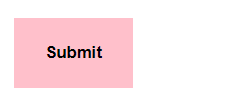
Here we have simply created a submit type input field.
CSS
background-color: pink;
font-weight: bold;
border: none;
padding: 20px 25px;
text-decoration: none;
margin: 6px 4px;
}
Using various CSS properties like background-color, font-weight, and padding, we have styled the button.
Output
The button has been styled.
Conclusion
Making your HTML form attractive is absolutely necessary and you can do so by giving style to different elements that are a part of the form such as input fields, menus, or buttons. You can use various CSS properties to style these elements like; width, background-color, color, border, border-radius and many more. Moreover, you can add icons or images inside input fields. All this and much more about styling forms in CSS is highlighted in this post.


