Method to connect Kali Linux to the wireless network
The goal of this tutorial is to illustrate how to allow and stop Wi-Fi on Kali Linux. This can be done through a GUI or the command line, and we will teach you how to accomplish both in this tutorial.
This will come in handy if you are having problems accessing a wireless router or intend to use Aircrack-ng to do some WiFi monitoring and cracking.
Method 1
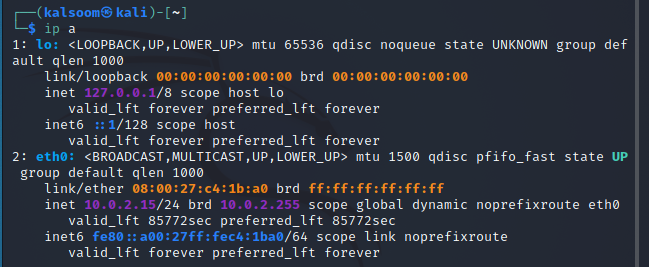
The first method is related to the implementation of the Kali Linux terminal. Start a terminal and type the IP an instruction to see your WiFi adapter’s label and connection facts and supposing you are already linked to a WiFi network.
The identifier of our WiFi connection in this example is eth0. Enter the following affixed command to turn off the WiFi connection.
Type the following attached command to reboot the device and activate WiFi. We also run the “IP a” command subsequently to see if the link is up or down.
Method 2
The Network Manager Text User Interface (nmtui) program gives you a text interface to handle Network Manager and configure your Kali Linux network. Because the nmtui tool controls Network Manager, we must first ensure that the NetworkManager service is present on our Kali Linux system.
Run the below-mentioned instruction on the terminal of Kali Linux.
As soon as the execution of the above-listed command ends, a graphical user interface will appear on your kali Linux window which shows these three options:
- Edit a connection
- Activate a connection
- Set system hostname
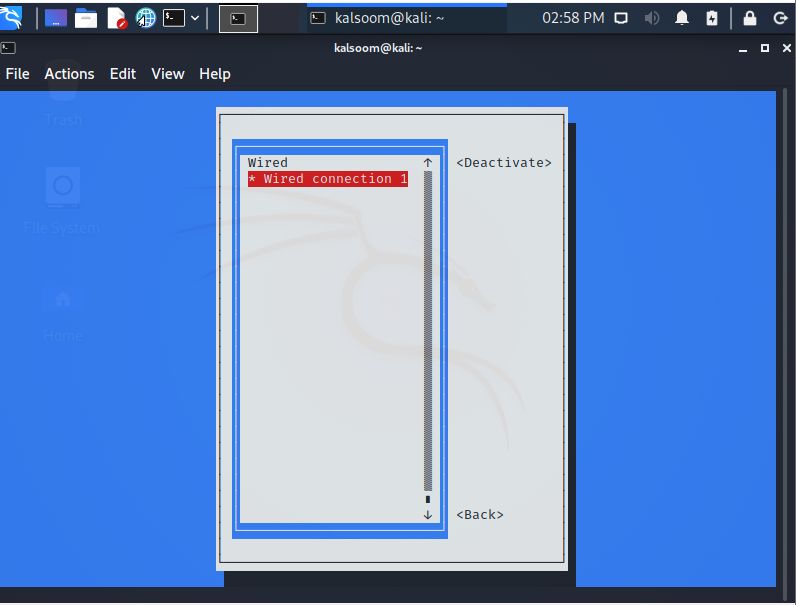
Press “OK” after selecting “Activate a connection.”
As soon as you select the “Activate a connection” option, you will view another screen. From here, you can build a wireless network.
Conclusion
This tutorial taught us how to permit and restrict Wi-Fi in Kali Linux using the GUI and command line. When your computer does not connect to a Wi-Fi network or doesn’t have access to the internet, use this as a troubleshooting option. I hope you find this article simple to follow on your Kali Linux system.


