This article will discuss the approaches to cope with the malfunctioned “XHCI USB host controller” in Windows 10.
How to Fix “XHCI USB host controller is not working” Issue in Windows 10?
To cope with the malfunctioning of the “XHCI USB host controller” in Windows 10, utilize the below-listed fixes:
- Run/Execute the “Hardware and Devices” Troubleshooter.
- Uninstall the “USB xHCI” Driver.
- Disable the “USB selective suspend setting”.
- Create and Assign a New Registry Value.
- Check For the Latest Windows Updates.
Fix 1: Run/Execute the “Hardware and Devices” Troubleshooter
As the faced limitation is related to the driver or hardware. Therefore, initiating this particular troubleshooter assists in diagnosing and identifying the encountered technical issues. Overview the following steps to carry out this approach.
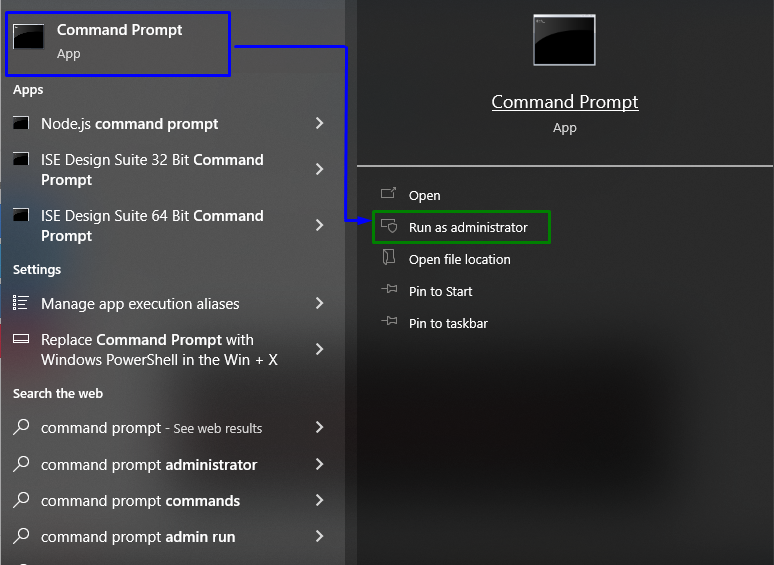
Step 1: Run “Command Prompt”
Firstly, open up the “Administrative Command Prompt”:
Step 2: Initiate/Execute the “Hardware and Devices” Troubleshooter
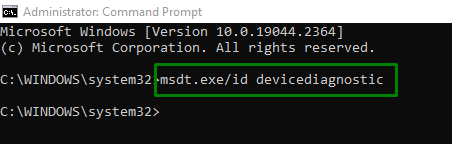
In the opened terminal, input the following command to detect and troubleshoot hardware issues:
In the following pop-up, trigger “Next” to initiate the troubleshooter:

The below-stated progress window signifies that the troubleshooting has been started:
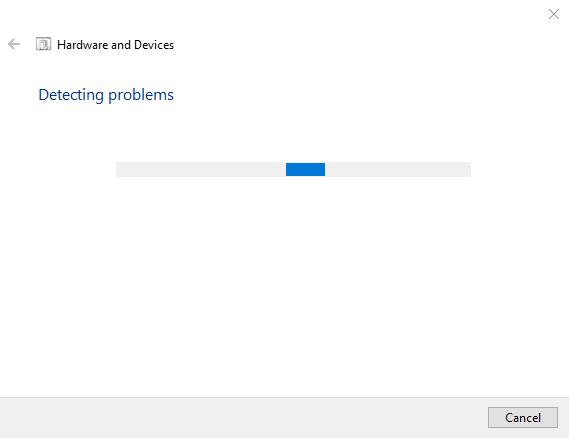
After the troubleshooting is finished, check if the discussed issue has vanished. Otherwise, head to the next solution.
Fix 2: Uninstall the “USB xHCI” Driver
By uninstalling the malfunctioned “xHCI” driver, the issue faced can be eliminated. Go through the below-listed steps to uninstall it.
Step 1: Switch to “Device Manager”
Firstly, press the “Windows + X” combined keys and opt for “Device Manager”:

Step 2: Uninstall the “USB xHCI” Driver
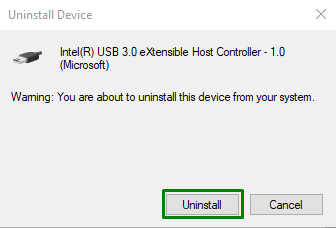
Here, extend the “Universal Serial Bus controllers“ option. Right-click on the pointed driver and hit “Uninstall device”:

In the below pop-up, press the highlighted button to confirm the uninstallation:
After the successful uninstallation, restart the system, and the issue with the discussed controller will likely sort out.
Fix 3: Disable the “USB selective suspend setting”
The “selective suspend” feature saves power by placing certain USB ports into “suspended” mode.
Therefore, disabling this functionality can assist in coping with the malfunctioned “XHCI USB host controller”. Apply the below-provided techniques to apply this approach.
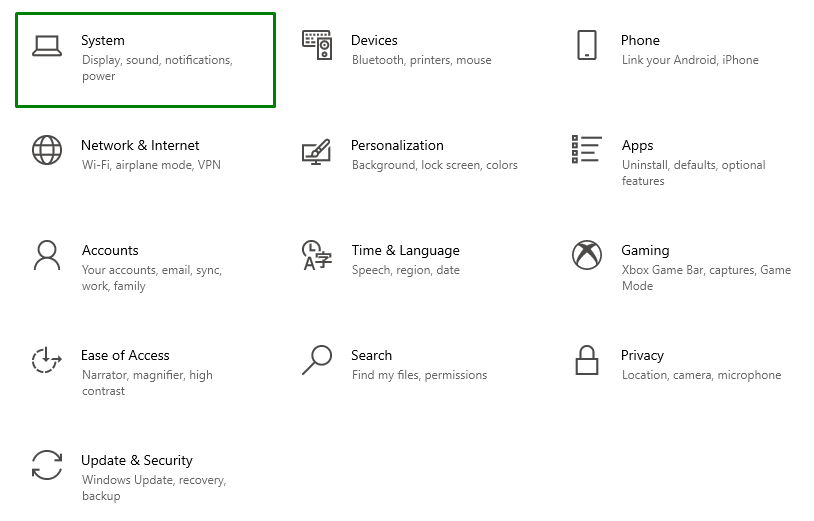
Step 1: Navigate to “System”
Firstly, open “Settings-> System”:
Step 2: Switch to “Additional power settings”
In the next step, trigger the highlighted option in the “Power & Sleep” settings:

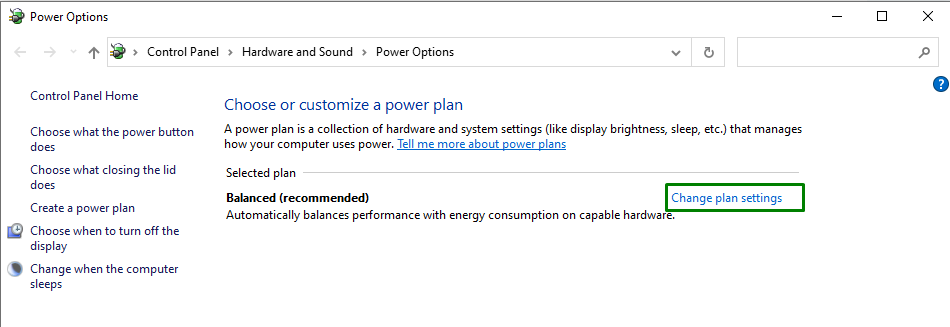
In the “Power Options”, click on the highlighted option to modify the plan settings:
Step 3: Switch to “change advanced power settings”
Now, switch to the pointed settings:

Step 4: Disable the “USB selective suspend setting”
Finally, disable the demonstrated “On battery” and “Plugged in” features in the stated settings by opting “Disabled” from the drop-down list:

After performing all the steps, observe if this approach made a difference. Else, move to the next fix.
Alternative Fix 4: Create and Assign a New Registry Value
The “USB selective suspend setting” can also be disabled via “Registry Editor” by creating and assigning a value.
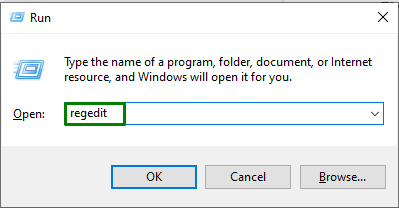
Step 1: Open “Registry Editor”
First of all, input “regedit” in the below-stated Run box to open “Registry Editor”:
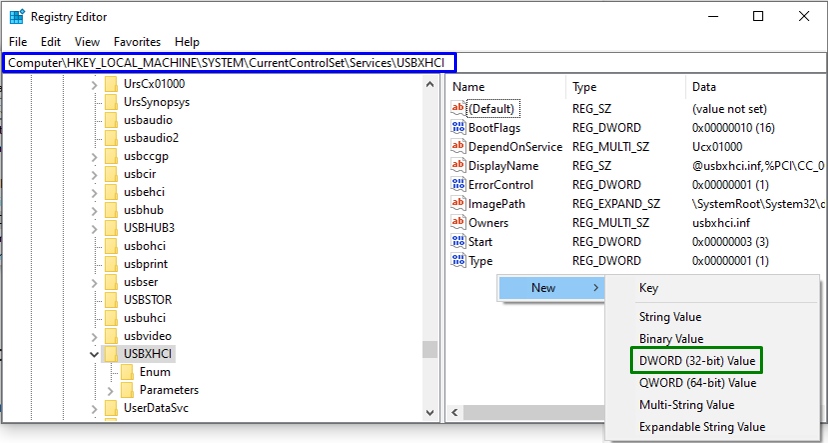
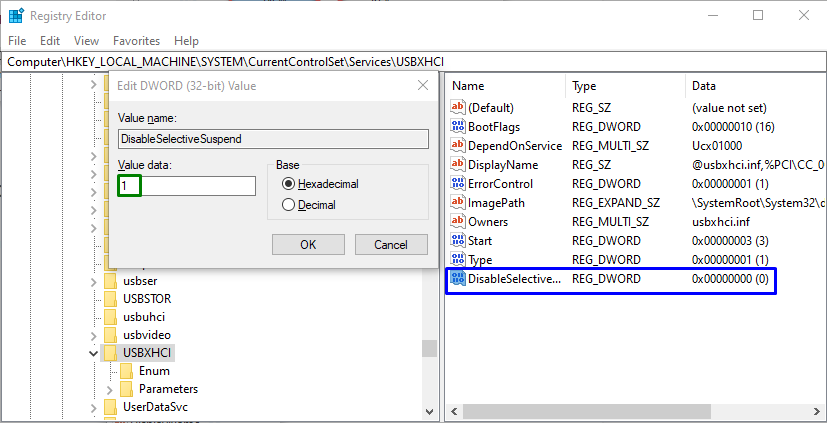
Step 2: Navigate to “USBXHCI” Directory
Now, follow the below-provided path to modify the value:
Step 3: Create and Assign a Value
Here, create a new DWORD value named “DisableSelectiveSuspend” by right-clicking on the right-pane and opting for “New-> DWORD (32-bit) Value”:
Finally, double click on the created value and allocate it the “Value data” as “1” to make the “DisableSelectiveSuspend” setting come into effect:
After the registry configuration is done, the discussed limitation will likely be figured out.
Fix 5: Check For Latest Windows Updates
If all of the above fixes make no difference, try updating the Windows to the latest version as the latest Windows updates cope with most of the faced Windows issues and abnormalities. Utilize the below-enlisted techniques to do so.
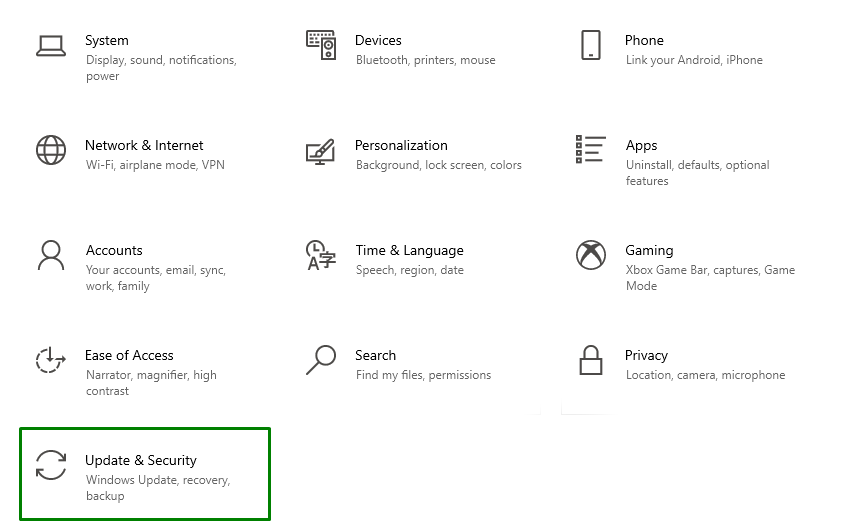
Step 1: Open “Update & Security” Settings
First, switch to “Settings-> Update & Security”:
Step 2: Examine the Available Updates
Next, trigger the highlighted button to initiate a search for the available updates:

The below progress pop-up signifies that the Windows updates will be installed if available:
After doing so, reboot the PC/Laptop and the XHCI USB host controller will likely initiate to function.
Conclusion
To fix the “XHCI USB host controller is not working” issue in Windows 10, run the “Hardware and Devices” troubleshooter, uninstall the “USB xHCI” driver, disable the “USB selective suspend setting”, create and assign a new Registry value, or check for latest Windows Updates. This write-up elaborated on the solutions to cope with the malfunctioned XHCI USB host controller in Windows 10.