This article provides a practical demonstration of the two features of Auto Class of Transformers in Hugging Face.
What is an ImageProcessor?
An ImageProcessor works on the vision models. It is responsible for creating input for the vision models. Such processors can be integrated with multiple technologies such as PyTorch, TensorFlow, etc.
There are two utility functions provided by Image Processors i.e., Image Transformation and ImageProcessingMixin. Let’s look at how we can utilize AutoImageProcessor in Transformer:
How to Work with AutoImageProcessor in Transformers?
Transformer is a crucial library that helps in performing and automating complex NLP tasks. From this library, we can import pipeline functions from the Auto Class.
Let’s explore some steps to use AutoImageProcessor in Transformers:
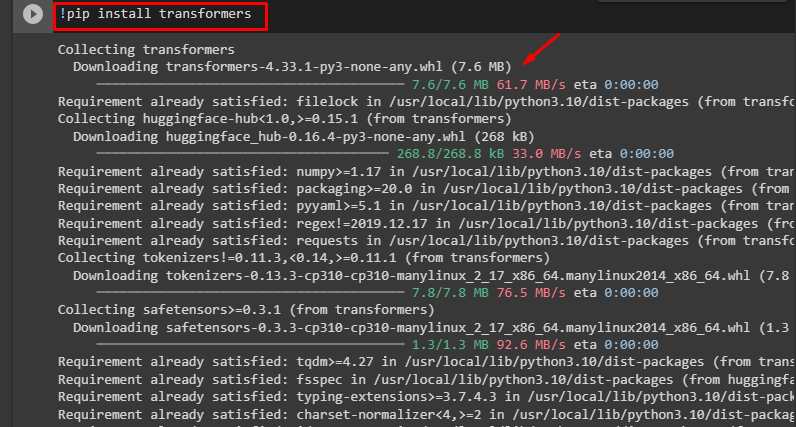
Step 1: Install Transformers
To install the “transformers” library, use the “pip” command as seen in the following command:
Step 2: Install Pillow
Next, we will install the “pillow” library. The AutoImageProcessor works with pillow files or NumPy array images. Therefore, first install the “pillow” library by using the following command:
Step 3: Convert to Pillow
Next, import the Image module. Here, we have copied an image URL from the internet and assigned it to the “url” variable. Similarly, use Image.open() function to open the image and then get the image from the internet using the requests.get() function:
import requests
url = 'http://images.cocodataset.org/val2017/000000039769.jpg'
image = Image.open(requests.get(url, stream=True).raw)
Step 4: Import “AutoImageProcessor” Library
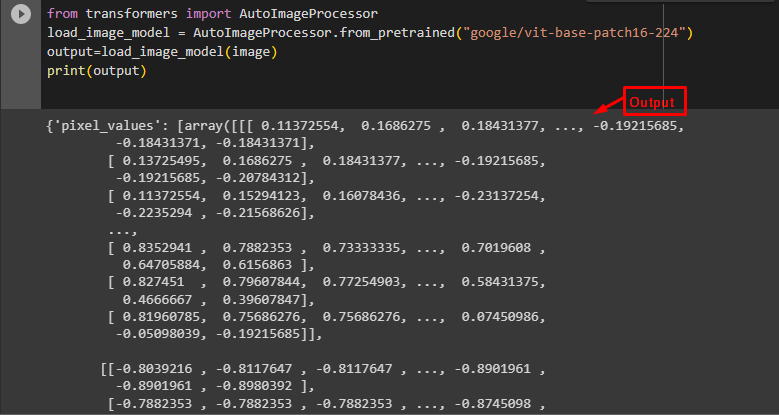
Next, import the AutoImageProcessor library from the “transformers” library using the following command. In the output variable, we have provided the image on which the computation is to be performed. Note that this “image” variable is the same as the one we have:
load_image_model = AutoImageProcessor.from_pretrained("google/vit-base-patch16-224")
output=load_image_model(image)
print(output)
AutoImageProcessor is a component of Image Processor which is used to process the images in the correct format. This will display the information about the image:
The model has been successfully loaded and trained using AutoImageProcessor.
That is all from this guide. The link to the Google Colab is also mentioned.
Conclusion
To work with AutoImageProcessor, import AutoImageProcessor() from the “transformers” library and provide a model, and a pillow image file to it for processing. With Auto Class, users do not need to define separate functions for every computation and import them by installing the “transformers” library. This article has provided a comprehensive guide to getting started with AutoImageProcessor in Transformers.


