This blog will observe several methods to resolve the mentioned error.
How to Fix “Wireless Network Adapter Missing in Windows 10”?
The specified error can be resolved by adopting these techniques:
- Reboot network adapter
- Restart Windows 10
- Install network adapter driver
- Run network adapter troubleshooter
- Perform network reset
- Reset Winsock
- AutoMate WWAN auto-config.
Fix 1: Reboot Network Adapter
First, try to reboot the Wi-Fi network adapter to resolve the specified error. To do so:
- Plug out the power cable from the adapter.
- Wait for 30 seconds, then re-plug the power cable into the adapter.
- Again, wait for a few seconds and check whether this tweak resolved the problem.
Fix 2: Restart Windows 10
If the problem persists, try restarting Windows 10 because restarting Windows 10 helps to restart the stuck processes or apps that may be causing the problem.
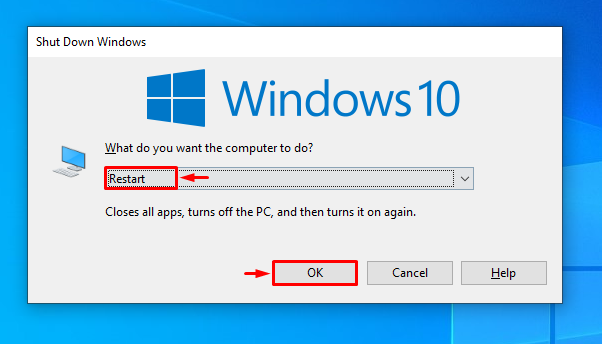
First, open the shut-down Windows pop-up by utilizing the “Alt+F4” keys. Next, select “Restart” from the drop-down list, and press the “OK” button to restart Windows:
Fix 3: Install Network Adapter Driver
Try installing the network driver manually to resolve the missing network adapter problem. For the corresponding purpose:
- Explore the website of the system manufacturer’s website on the other computer and download the supported network adapter for your system. For example, if you have a Dell computer then visit Dell’s website to download the network adapters driver.
- Next, copy the drivers to the USB flash drive and move into the problematic system and install them.
- After finishing the driver’s installation, restart Windows 10 and check whether it resolved the problem or not.
Fix 4: Run Network Adapter Troubleshooter
Network adapter troubleshooting helps to resolve network-related problems. Firstly, it detects the problem and then troubleshoots that problem. In our case let’s give a try to the network troubleshooter to get our solution.
Step 1: Launch Troubleshoot Settings
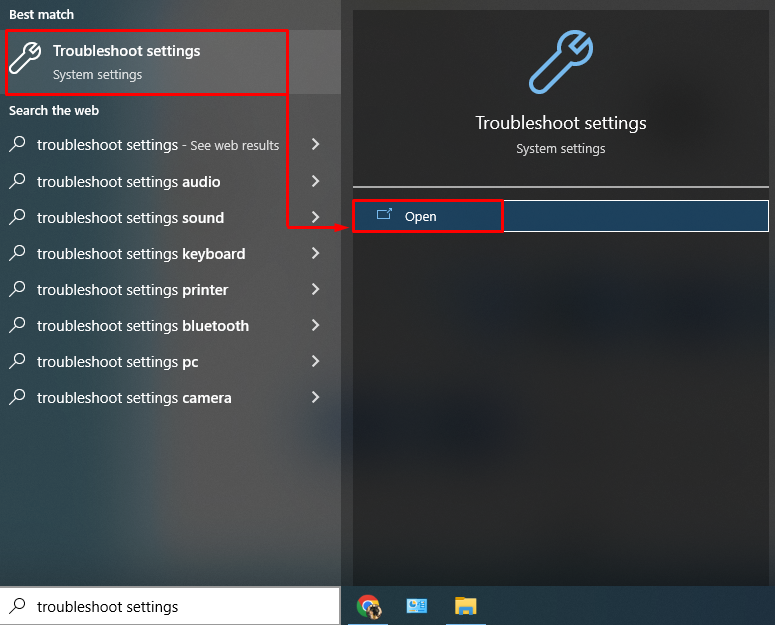
First, search and open “Troubleshoot settings” with the help of the Start menu:
Step 2: Open Additional Troubleshooters
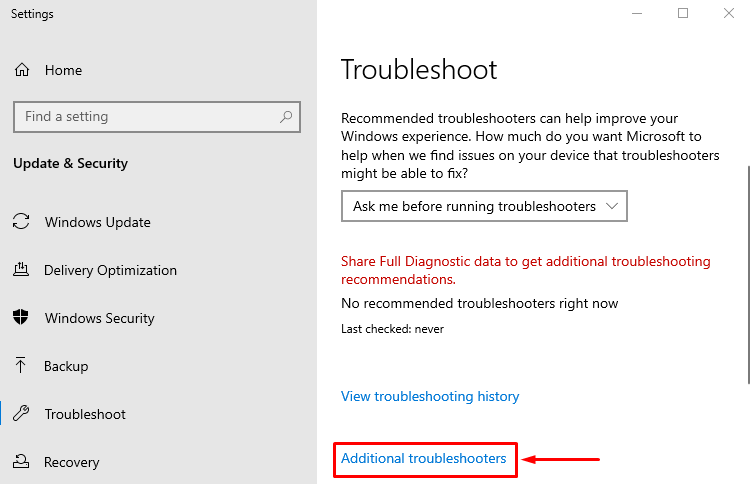
Left-click on the “Additional troubleshooters” option:
Step 3: Run the Troubleshooter
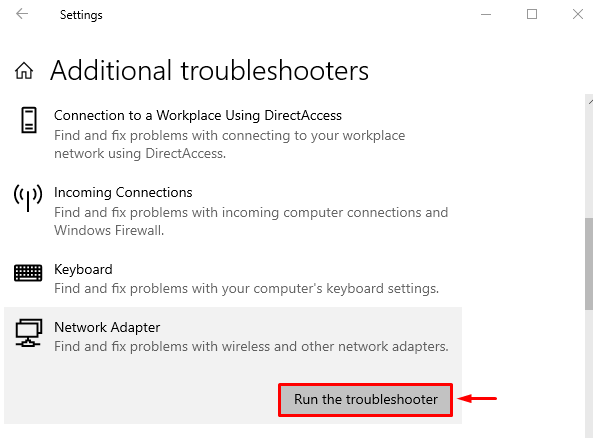
Again, click on the “Run the troubleshooter” located in the “Network Adapter” section:
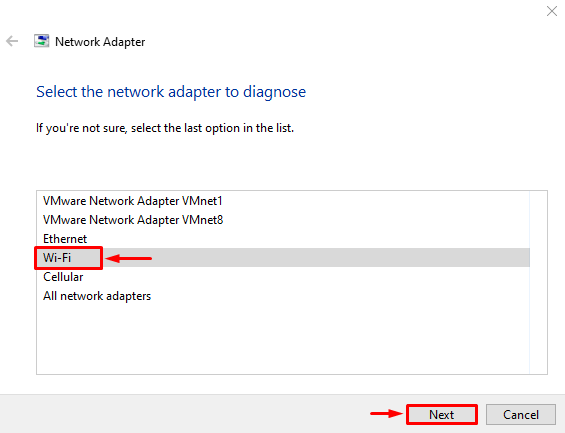
Select “Wi-Fi” from the available network adapters and left-click on the “Next” button:
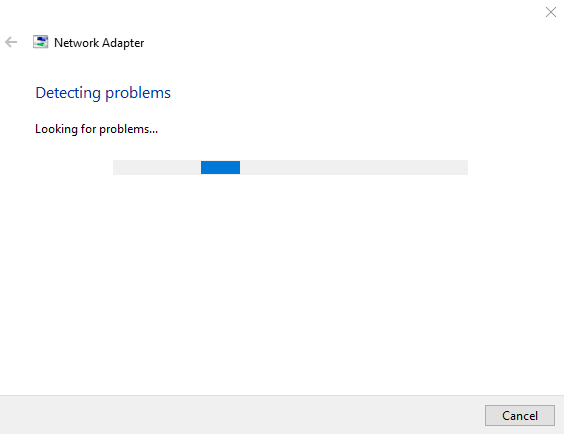
The network troubleshooter has begun troubleshooting the problems:
Restart Windows 10 when network troubleshooting is finished.
Fix 5: Perform Network Reset
Most of the time it is the network settings that are causing the problems to occur, which can be fixed by resetting the network settings.
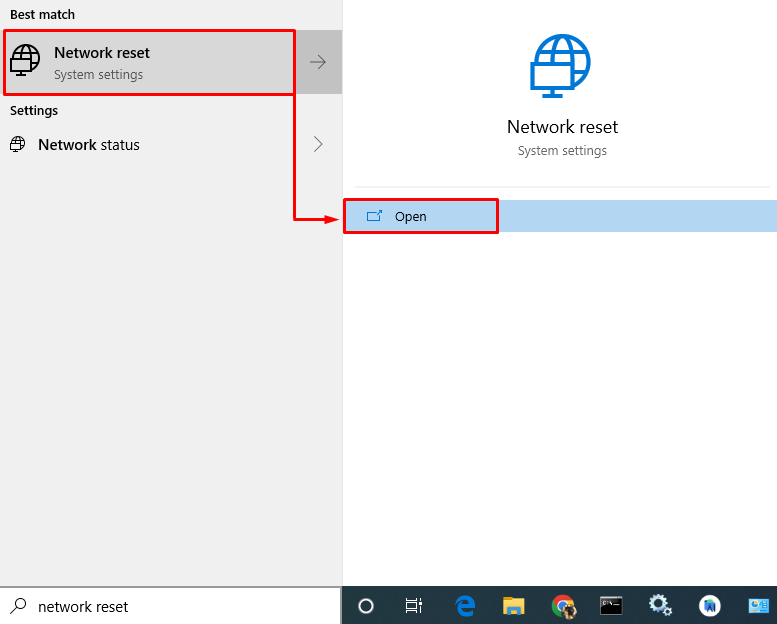
Step 1: Launch Network Reset
First, search and open “Network reset”:
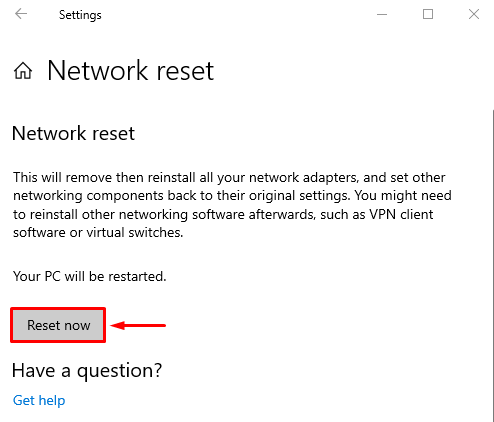
Step 2: Reset Network
Left-click on the “Reset now” button to reset network settings:
Fix 6: Reset Winsock
Winsock is a Windows 10 utility tool that helps to define how a Windows network program can access the network service. The error could occur when its settings are configured incorrectly.
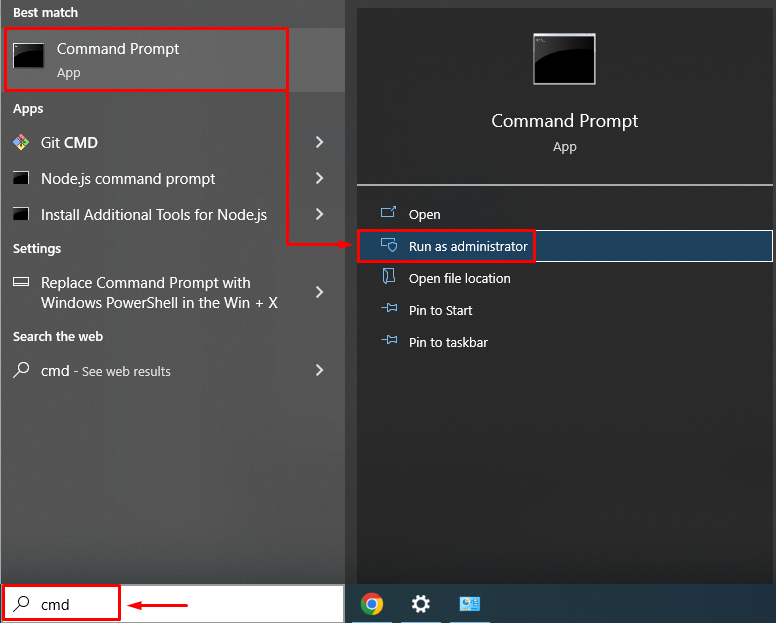
Step 1: Launch CMD
Launch “CMD” from the Windows 10 “Start menu” in the administrator mode:
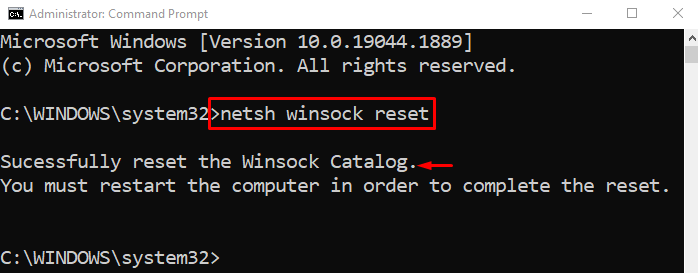
Step 2: Reset Winsock
Now, execute the provided command to reset winsock settings:
Fix 7: AutoMate WWAN AutoConfig
Lastly, if any of the above methods didn’t work out for you, then automate the WWAN service as it manages the connections and mobile broadband, embedded module adapter by auto-configuring the networks.
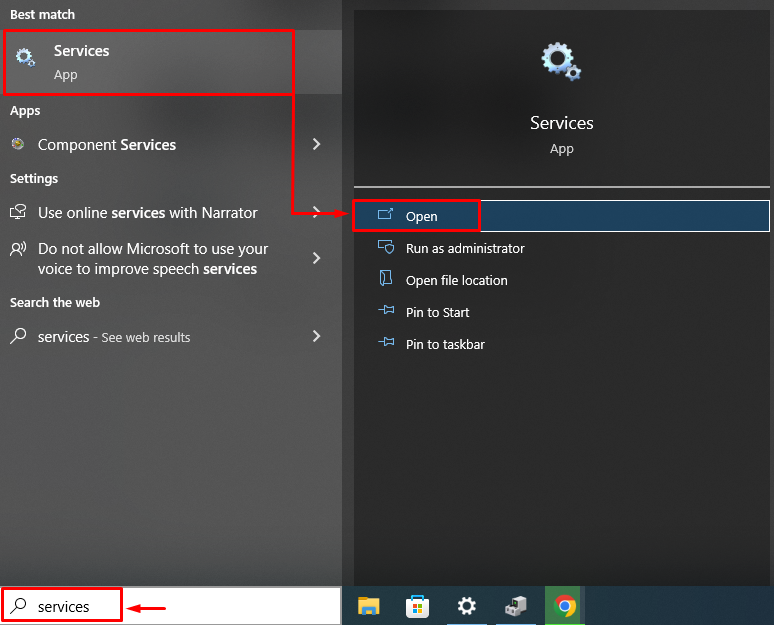
Step 1: Launch Services
First, search and open “Services”:
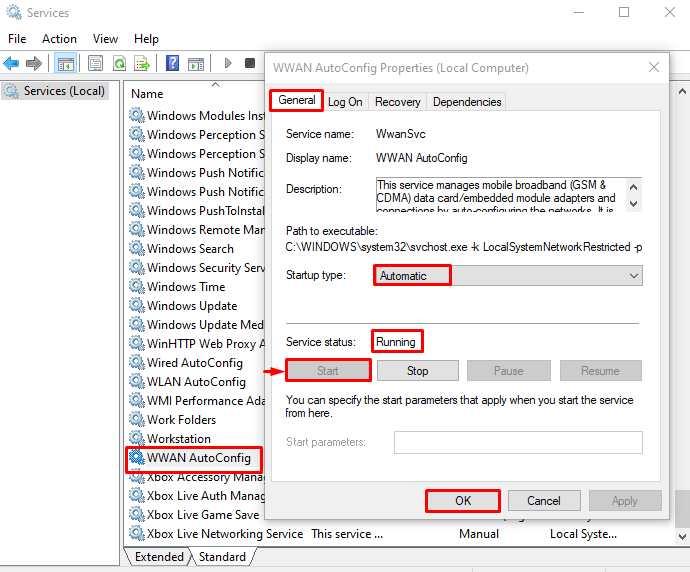
Step 2: Reset WWAN Service
- Find the “WWAN AutoConfig” service in the services list and double-click on it to open its Properties.
- Navigate to the “General” tab, and make sure the service status is in “Running” if it is not, left-click on the “Start” button, set the “Startup type” to “Automatic” and hit the “OK” button to save changes:
Restart Windows 10 after saving the settings and your problem will surely get resolved.
Conclusion
The “Wireless network adapter missing in Windows 10” issue can be resolved using various fixes, which include rebooting the network adapter, restarting Windows 10, installing the network adapter driver, troubleshooting the network adapter, resetting network settings, resetting Winsock, or automating the WWAN autoconfig service. This post has provided all the solutions related to the mentioned issue.