This can be caused by incompatible or faulty Windows updates or some basic problem with the internet connection which can be fixed by running the troubleshooter. Moreover, outdated network adapter drivers can also be a reason behind this error.
In this write-up, we will discuss multiple solutions to fix the discussed Windows error.
How to Fix/Resolve the “Windows is still setting up the class configuration for this device” issue?
To fix the above-discussed error, try the following fixes:
- Network Adapter Resetting
- Network Adapter Reinstallation
- Run Internet Connection Troubleshooter
- Uninstall Recent Updates
Method 1: Network Adapter Resetting
Resetting the network adapter will reinstall all your network adapters. As a result, all network components will be set to default settings.
To reset the network adapter by following the step-by-step instructions provided below.
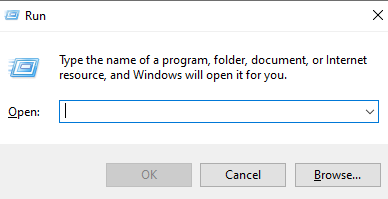
Step 1: Open the Run box
Hit “Windows + R” to launch the Run box:
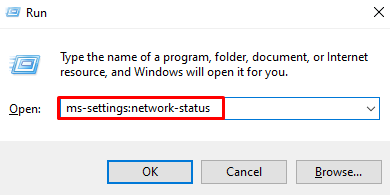
Step 2: See Network Status
Type “ms-settings:network-status” in the Run box and press enter to see the network status window:
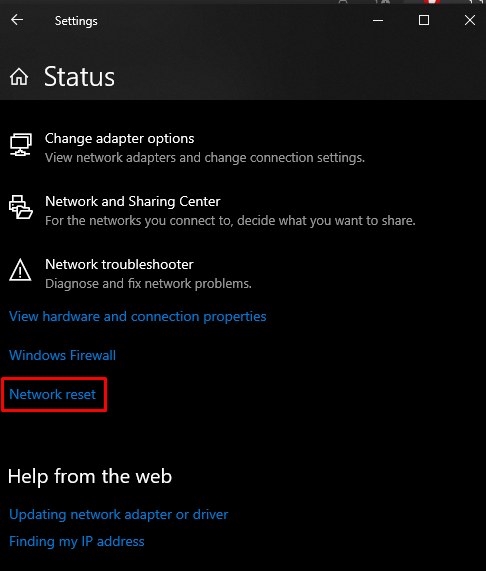
Step 3: Choose “Network reset” Option
Click on the “Network reset” option which is highlighted in the image below:
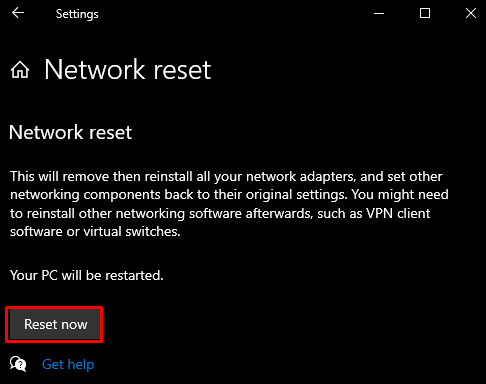
Step 4: Press “Reset now”
Hit the “Reset now” button:
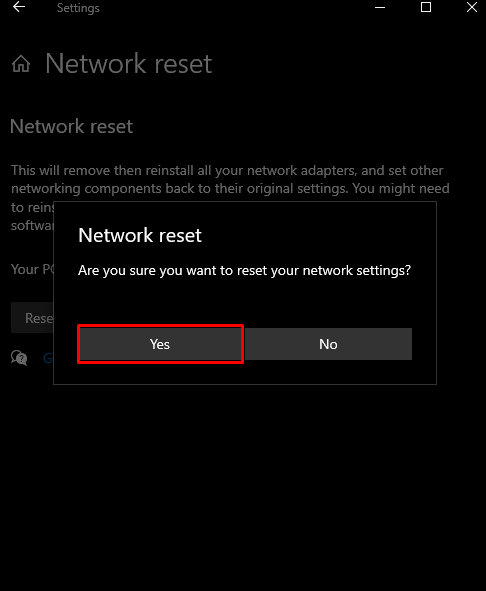
Step 5: Confirmation
Then, confirm the network resetting operation:
Method 2: Network Adapter Reinstallation
Uninstall your network adapter through the Device Manager and then reinstall it with the help of the provided instructions.
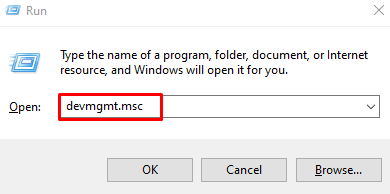
Step 1: Open Device Manager
Write out “devmgmt.msc” in the Run box and hit enter to launch the “Device Manager”:
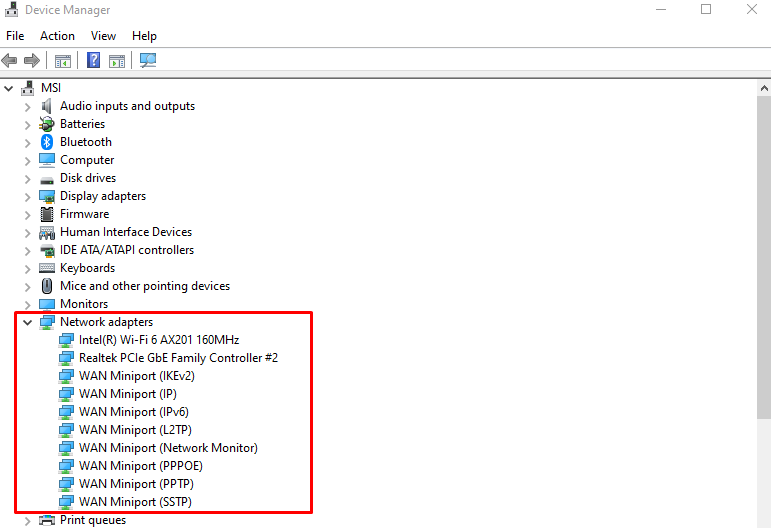
Step 2: View the List of “Network adapters”
Click on “Network adapters” to view the list of installed and configured network adapters:
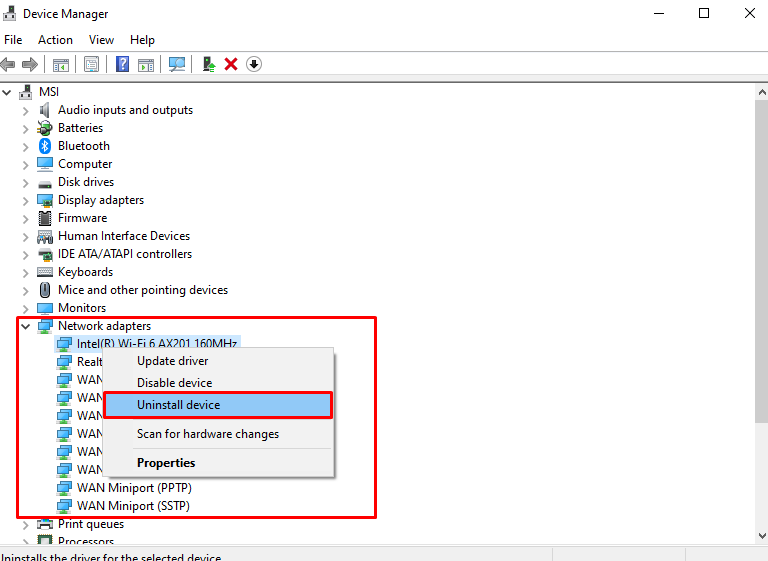
Step 3: Uninstall the Device
Right-click the adapter and hit the “Uninstall device” button:
Step 4: Confirmation
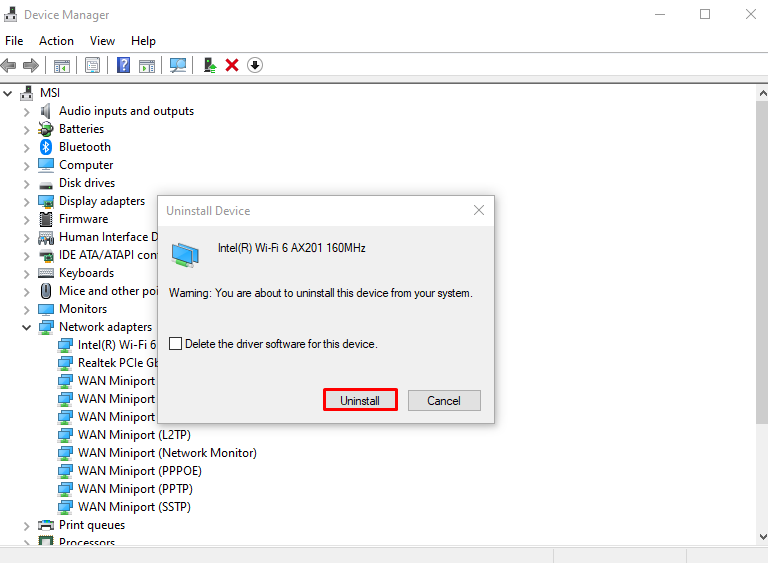
Click on the “Uninstall” button for confirmation:
Restart your system.
Method 3: Run Internet Connection Troubleshooter
Troubleshooter is a built-in tool that comes with Windows to fix basic issues. More specifically, you can run the “Internet Connections” troubleshooter with the help of the given guide.
Step 1: Go to Troubleshooter
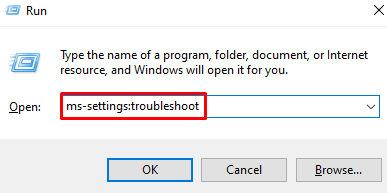
Type “ms-settings:troubleshoot” in the Run box and press enter to open the “Troubleshoot” screen:
Step 2: See all Troubleshooters
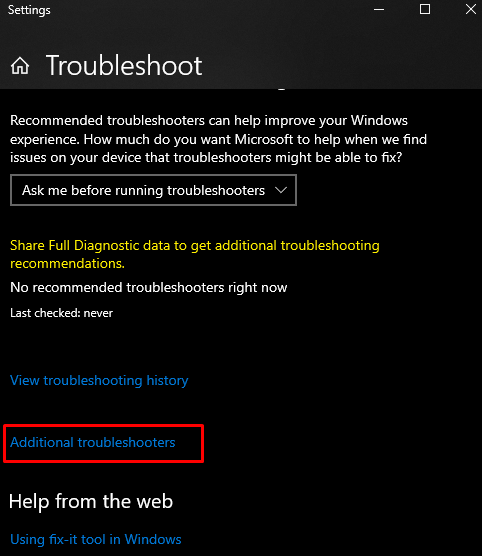
Click on the “Additional troubleshooters” option which is highlighted in the image below to see the list of all the troubleshooters:
Step 3: Select Internet Connections
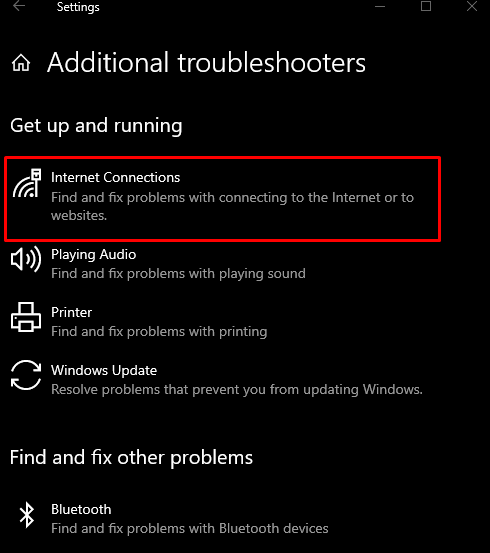
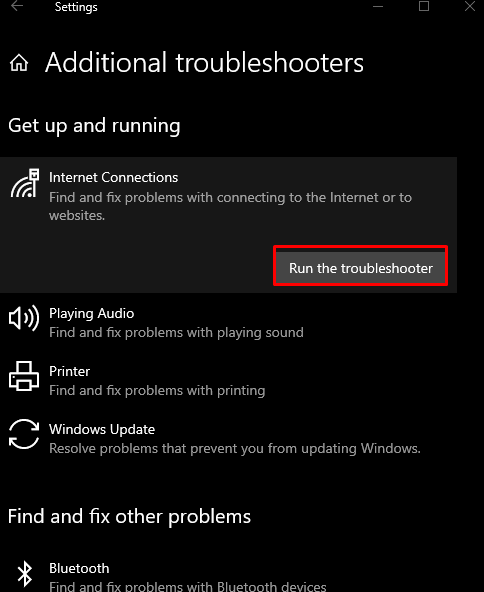
Press the “Internet Connections” option within the “Get up and running” section:
Step 4: Run the Troubleshooter
Click on the below-highlighted button:
Method 4: Uninstall Recent Updates
This issue might be caused by some update that has recently been released by Microsoft for Windows. Uninstall recent updates by following the steps below.
Step 1: See Update History
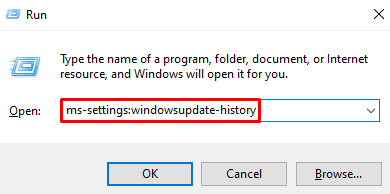
Type “ms-settings:windowsupdate-history” in the Run box and press enter to see the “Windows Update History”:
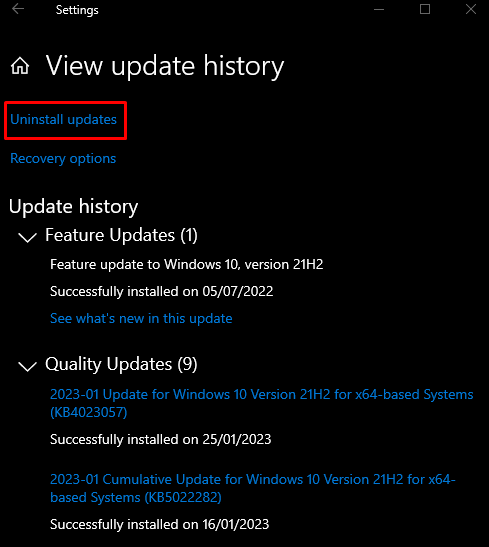
Step 2: Hit Uninstall Updates
Select the “Uninstall updates” button which is highlighted below:
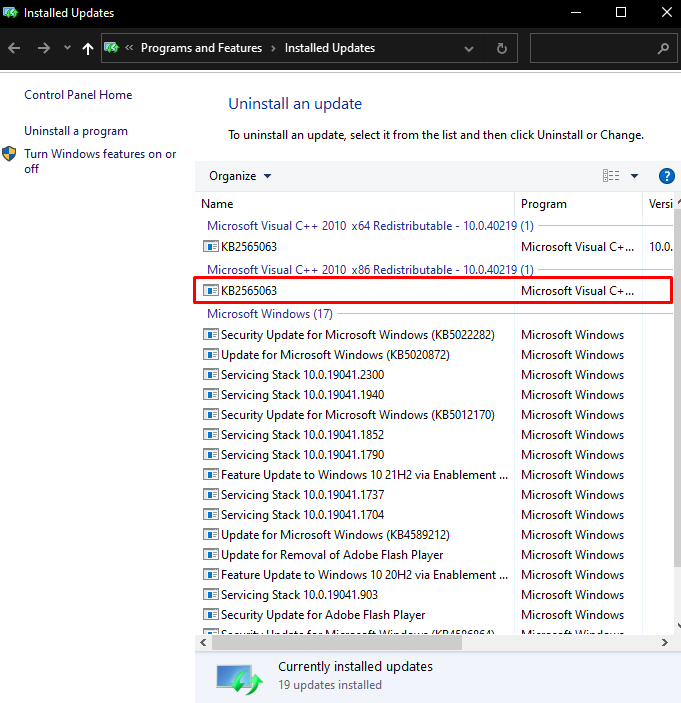
Step 3: Locate the Update
Look for the Windows update that is causing this issue:
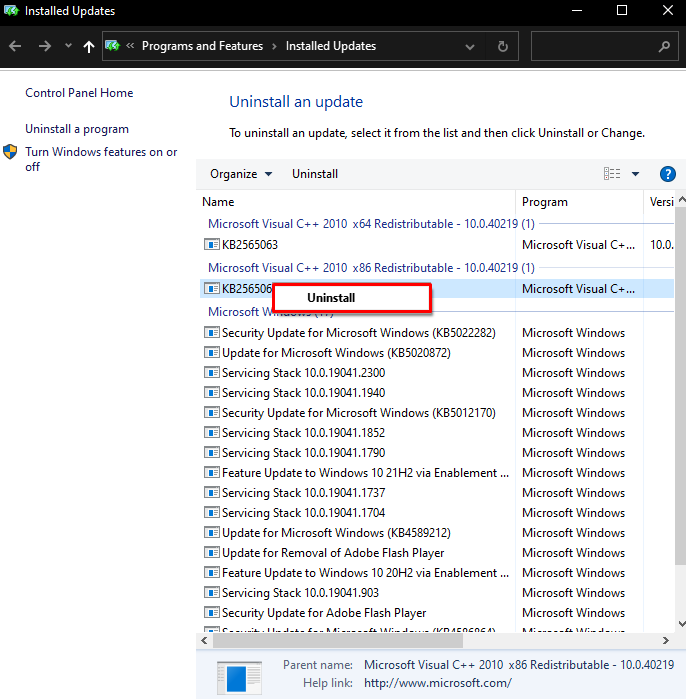
Step 4: Uninstall the Update
Right-click the selected update and hit the “Uninstall” button that shows up:
Lastly, reboot the system and the mentioned issue will get resolved.
Conclusion
The specified Windows class configuration error can be fixed by following different methods. These methods include resetting the network adapter, uninstalling and reinstalling your network adapter, running the internet connection troubleshooter, or uninstalling any recent updates. This post offered several fixes for the mentioned issue.

