The high CPU usage problem can be fixed using various methods. This write-up will discuss the five fixes to resolve the “high CPU usage by Windows problem reporting” service. So, let’s get started.
How to Fix High CPU Usage by Windows Problem Reporting?
There could be various causes for the “high CPU usage by Windows problem reporting” service, such as missing or corrupt system files, corrupt registry key files, or Werfault.exe application errors.
The stated error can be fixed using the below-listed methods:
- Restart the Windows error reporting service
- Disable Windows error reporting service
- Run Windows memory diagnostic tool
- Run SFC scan
- Use the disk cleanup tool
Let’s navigate to the below methods to fix high CPU usage.
Fix 1: Restart the Windows Error Reporting Service
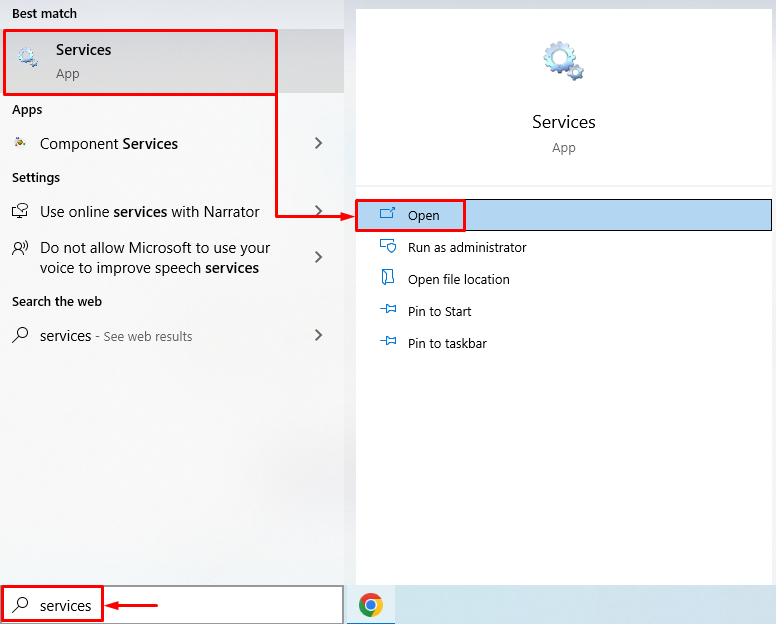
Start with the very basic yet very effective approach, i.e., try restarting the Windows error reporting service to fix the high CPU usage problem. Restarting the service might help to lower CPU usage. To do this, firstly, launch “Services” from the Windows Start menu:
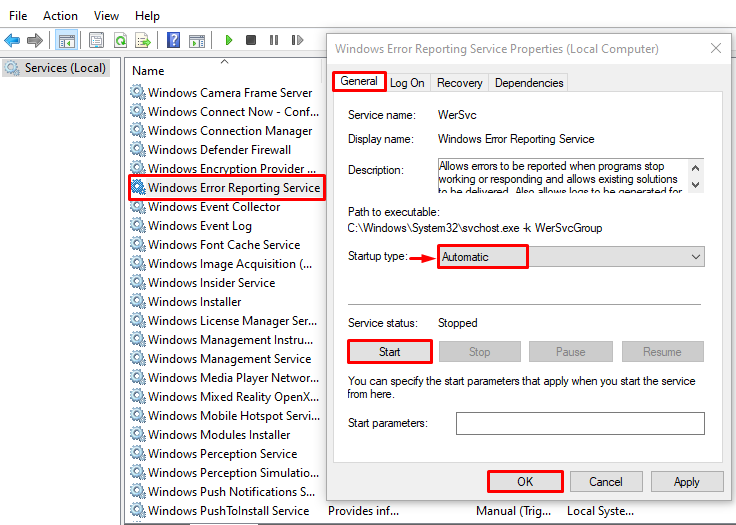
Locate “Windows Error Reporting Service”, right-click on it, and select “Properties”. Switch to the “General” tab and select “Automatic” from the “Startup type” drop-down list. Left click on the “Start” button, and hit the “OK” button:
Restarting the Windows error reporting service might fix the stated issue.
Fix 2: Disable Windows Error Reporting Service
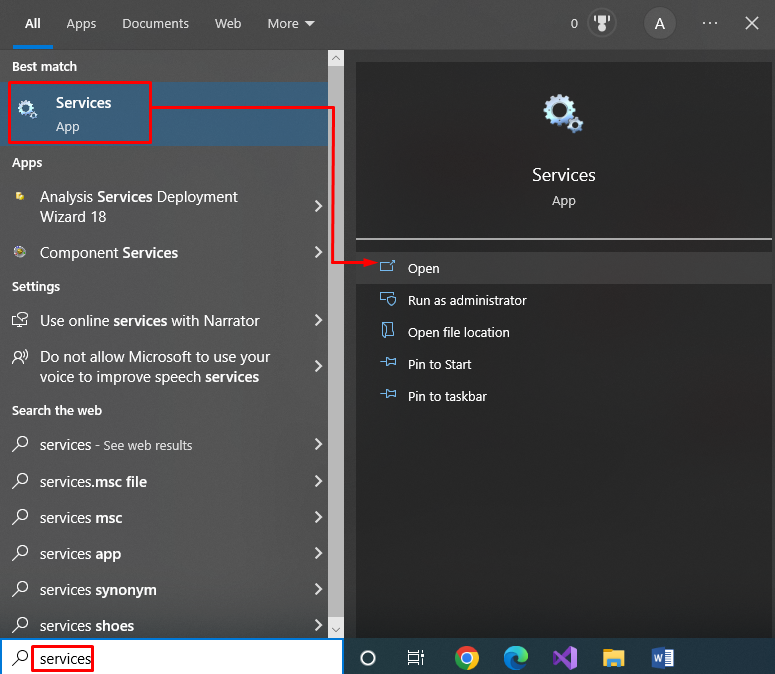
If restarting the “Windows problem reporting service” did not resolve the problem, then try disabling the service. Disabling the service will resolve the problem. To do that, firstly, open “Services” from the Windows Start menu:
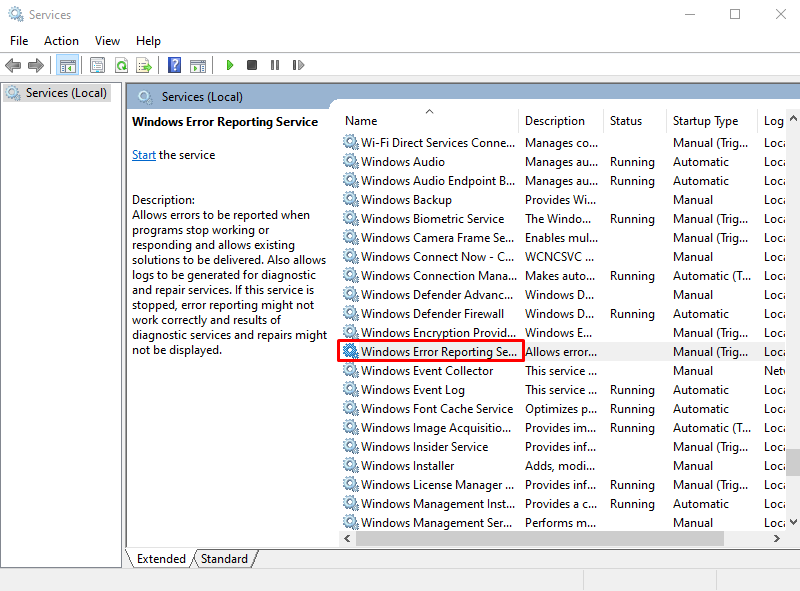
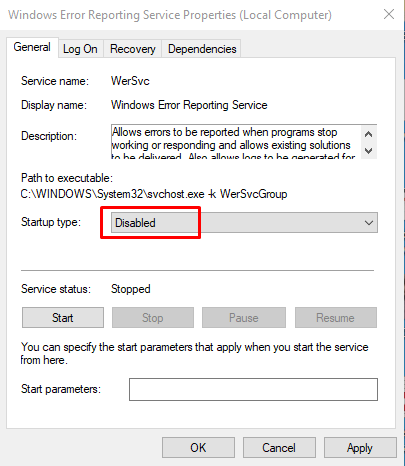
Locate “Windows Error Reporting Service” and double-click on it to open its “Properties”:
Move to the “General” tab, set the “Startup type” to “Disabled”, and hit the “OK” button to disable “Windows Error Reporting Service”:
Clicking on the “OK” button will fix the targeted issue.
Fix 3: Run Windows Memory Diagnostic Tool
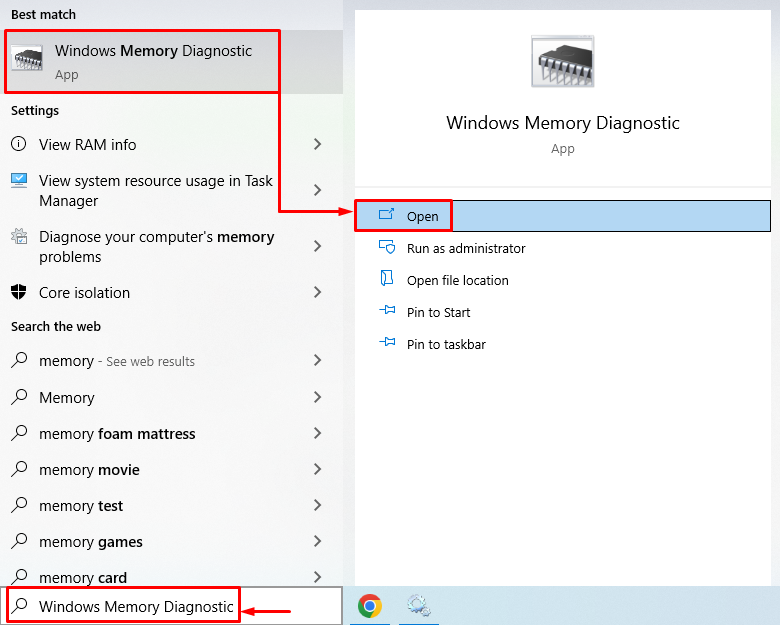
To fix the stated error, we will use Windows memory diagnostic tool. It is used to deal with memory-related errors. To do so, first, launch “Windows Memory Diagnostic” from the Windows Start menu:
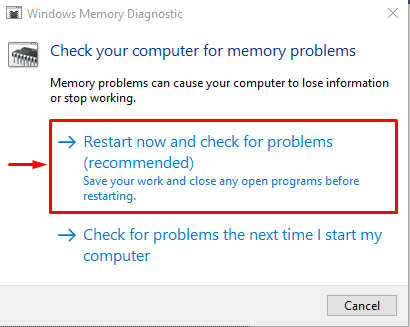
Click on the “Restart now and check for problems (recommended)” to restart Windows. Clicking on the desired option will start the memory diagnostic process:
Successful completion of the “memory diagnostic process” will resolve the stated issue.
Fix 4: Run SFC Scan
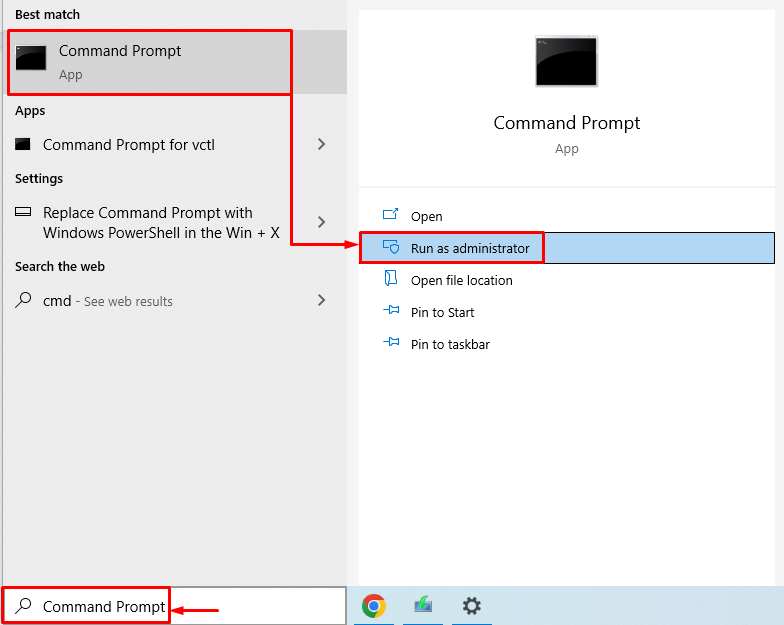
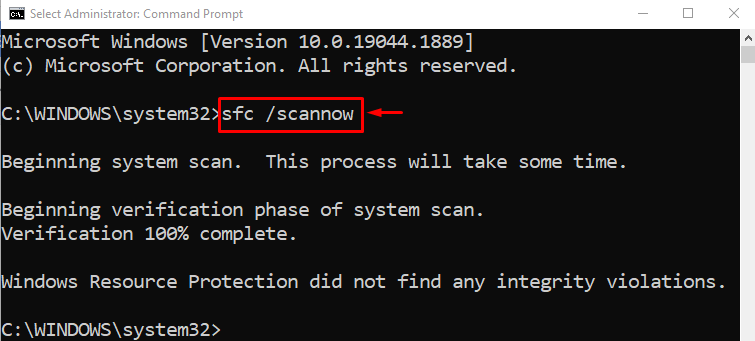
The SFC or system file checker scan is a command line utility tool. It is suitable for finding and repairing corrupt system files. To run the SFC scan, firstly, launch “Command prompt” from the Start menu:
Execute the below command in the terminal to initiate the scan:
The system file checker scan was completed successfully. SFC scan repaired the corrupt and missing system files. Restart Windows and check whether the error is fixed or not.
Fix 5: Use the Disk Cleanup Tool
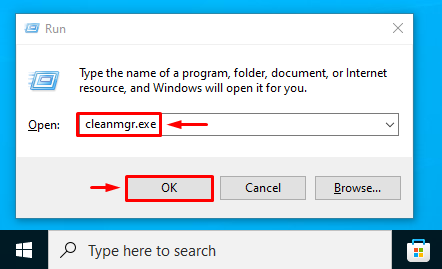
The disk cleanup tool is specially used to rectify disk errors and repair bad sectors on a hard disk. To start disk cleaning, open the “Run” box by pressing the “Windows+R” key. Type “cleanmgr.exe” and hit the “OK” button to launch the “Disk Cleanup” tool:
Select the desired drive and hit the “OK” button:
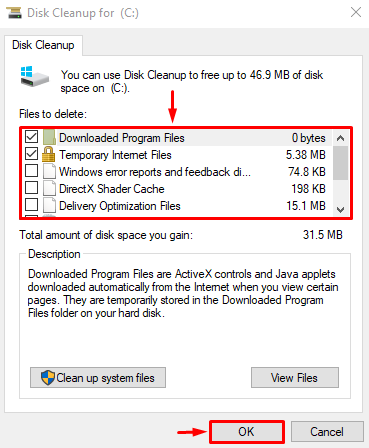
Tick the boxes of the files in the “Files to delete” section and hit the “OK” button to delete:
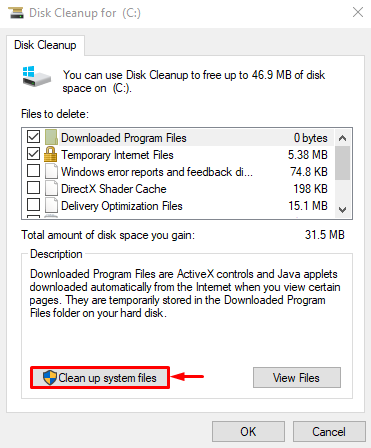
You will see the “Disk Cleanup” window again. Hit the “Clean up system files”:
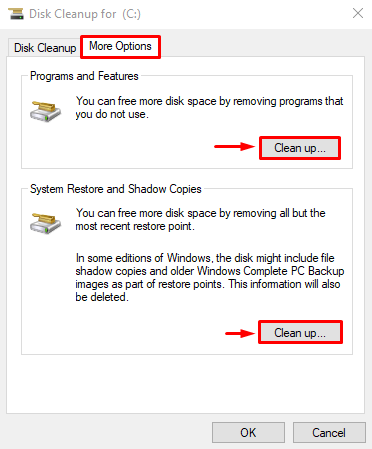
Move to the “More Options” tab. Select “Programs and Features” or “System Restore and Shadow Copies” to clean up the disk accordingly:
After cleaning up the disk, restart Windows and check whether the CPU usage has decreased or not.
Conclusion
The “high CPU usage by the Windows problem reporting” service can be resolved using various methods. For instance, restarting the Windows error reporting service, disabling the error reporting service, running the Windows memory diagnostic tool, running the SFC scan, or using the disk cleanup tool. This blog post has demonstrated several ways to fix the “High CPU Usage” error.

