
Nginx is a high-performance web server that boosts over 40% of the world’s busiest websites. It can execute multiple worker processes where each process can handle a large number of connections at once. The default Nginx settings work well; however, obtaining optimal performance occasionally necessitates some tuning.
With the following directives in Nginx, you can optimize your web server performance by regulating the number of worker processes and handling worker connections.
What are worker_connections in Nginx
The worker_connections are the maximum number of simultaneous connections that each worker process can manage. Although 512 is the default value of the worker_connections in Nginx, most systems still have sufficient resources to accommodate a higher value. The worker_connection value can be determined by the server size and the nature of the traffic. You can also use the testing method for this purpose.
What are worker_processes in Nginx
The worker_processes are used to specify the total number of worker processes to spawn simultaneously. The number of worker_processes in Nginx is set to one by default. Executing one worker process per CPU core works perfectly, and we also recommend you configure it in this way. However, you can increase the value of worker_process in some cases, such as when the worker processes are required to perform a lot of disk I/O.
How to use worker_connections in Nginx
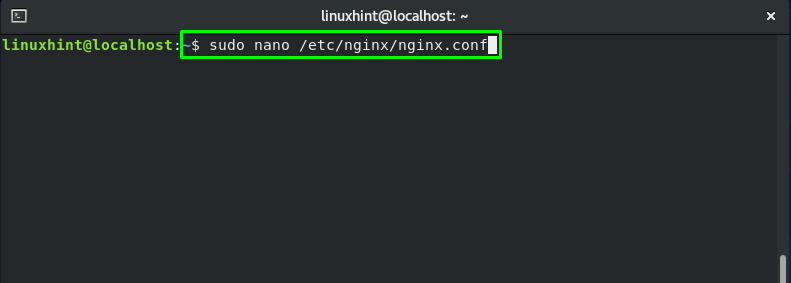
In this section, we will show you how to use worker_connections and set its value in Nginx. For this purpose, open up your terminal by pressing “CTRL+ALT+T” and execute the below-given command in it:
This command will open your Nginx configuration in nano editor:
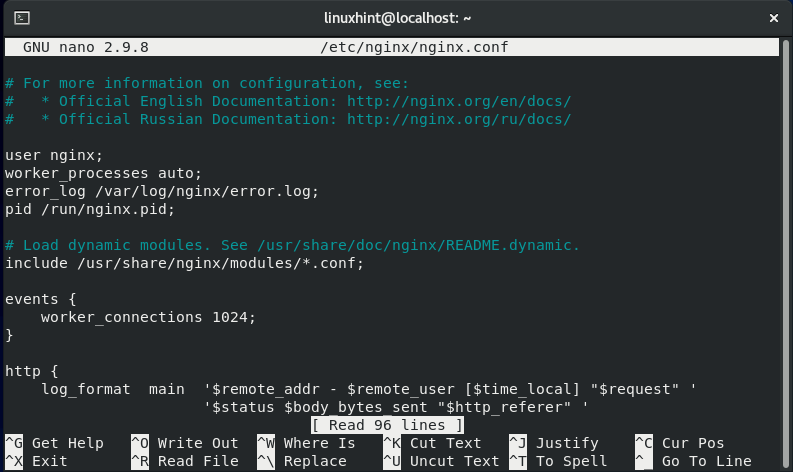
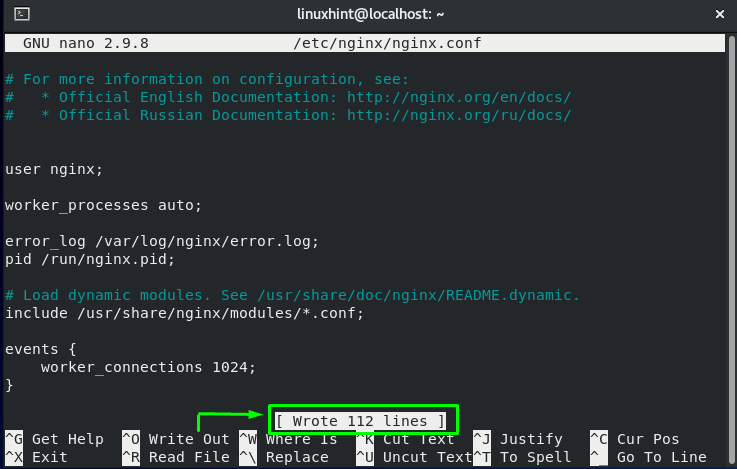
Your Nginx configuration file “/etc/nginx/nginx.conf” will somehow look like this:
In Nginx, the worker_connections directive indicates the number of persons serviced at once by the worker processes. The default value for worker_connections is 768. However, we can maximize the potential of our worker_connections. To do so, we will utilize the ulimit command to see what our system core limits are:
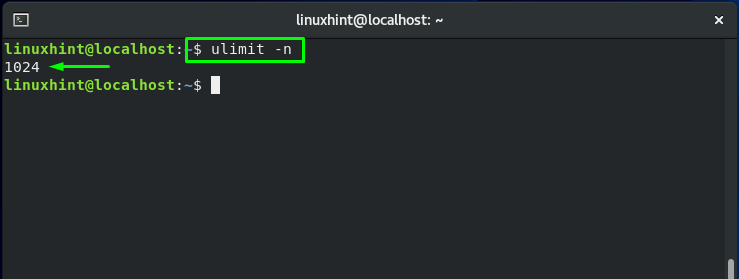
From the above-given output, you can see that the core limits exist as “1024” on our system. Now, we will add our core limit value “1024” as the number of worker_connections in the events block. This is how we can also fix the “worker connections not enough” error:
worker_connections 1024;
}

How to use worker_processes in Nginx
The worker_processes directive is the backbone of the Nginx. Once our virtual server has been connected to the correct port and IP, this directive is accountable for informing how many workers to spawn. As standard settings, you can execute one worker process per core. Setting any value above one will leave with a lot of idle processes on your system.
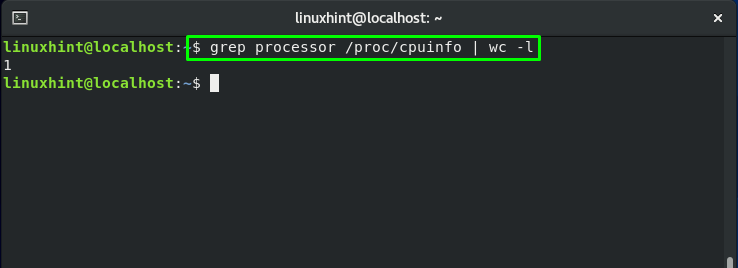
You can check out the number of cores on your system to set the value of worker_processes. If you are utilizing a 512MB machine, then you will have one core to use. However, it is better to confirm the number of cores first and then set the value of worker_processes. To do so, execute the below-given command in your terminal to grep out the cpuinfo:
Now, we will set the value of worker_processes to “1” in our Nginx configuration file:

In Nginx, “auto” is the default value of worker_processes:

To save the changes you have made in the “/etc/nginx/nginx.conf”, press “CTRL+O”:
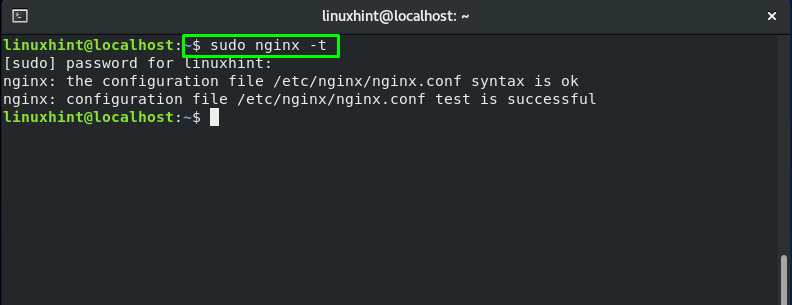
Now, utilize the “nginx” command with the “-t” option to test the configuration file and its syntax:
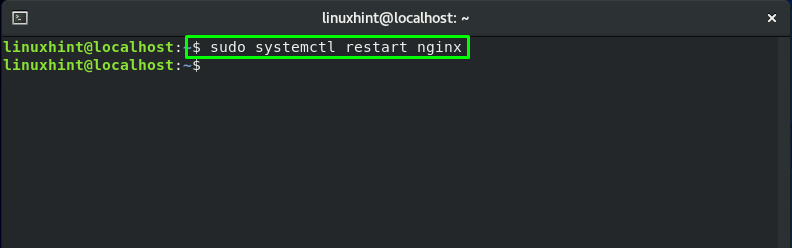
After testing the Nginx configuration file, restart your Nginx service, and you are all ready to go:
Conclusion
In a small amount of time, Nginx became more popular than other available web servers. The significant features that contributed to its success are its stability, performance, and ability to handle web traffic. There exist a lot of Nginx directives that you can tune to optimize it. In this post, you have learned what worker_connections are and how to use worker_connections in Nginx. Moreover, we have also explained Nginx worker_processes and their usage in Nginx.