This blog will discuss the solutions for fixing the VIDEO_TDR_FAILURE (ATIKMPAG.SYS) error in Windows.
How to Fix/Resolve VIDEO_TDR_FAILURE (ATIKMPAG.SYS) Error in Windows 10/8/7?
To fix the VIDEO_TDR_FAILURE (ATIKMPAG.SYS) in Windows 10/8/7 error, try the following solutions:
Method 1: Update Drivers
The developers might have released a new update that fixes the outdated issue. Therefore, update the drivers by following the instructions below.
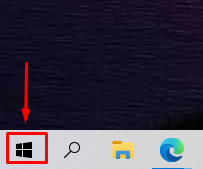
Step 1: Open the Startup Menu
Redirect to the Startup menu by pressing the Windows button:
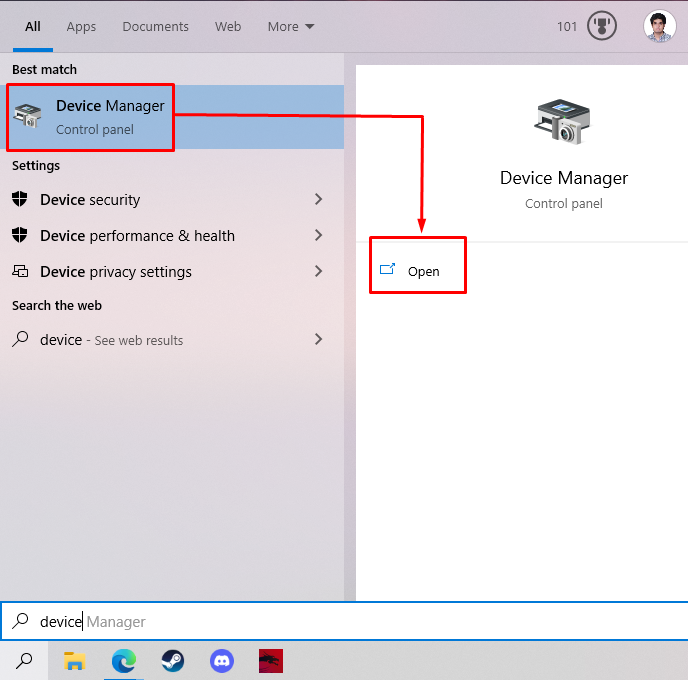
Step 2: Open Device Manager
Write out “Device Manager” in the search bar and hit “Enter”:
Step 3: Locate Display Adapter
Find “Display adapters” in the list:
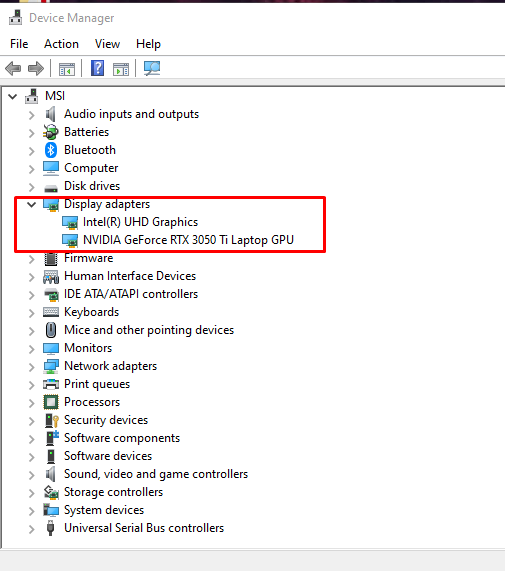
Step 4: Update the Display Adapter
Expand the “Display Adapter” section, select your display driver, and click on “Update”:

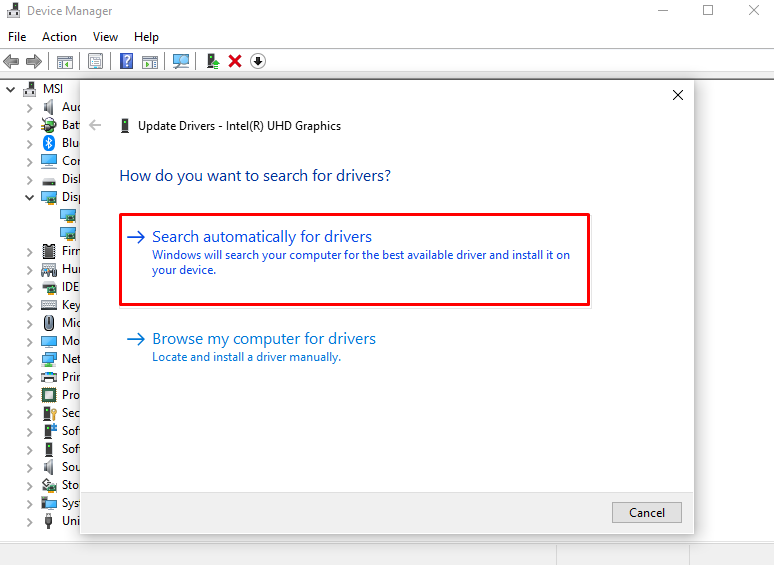
Step 5: Select Driver Update Mode
Select the highlighted option for updating the driver automatically:
Method 2: Replace ATIKMPAG.SYS
Atikmpag is a blue screen error triggered because of the corrupt or faulty graphics driver. In such a situation, replace the old atikmpag.sys with a new one.
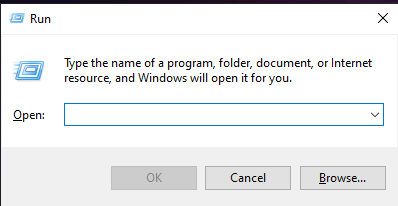
Step 1: Open Run Box
Press the “Window + R” buttons on your keyboard to open the Run Box:
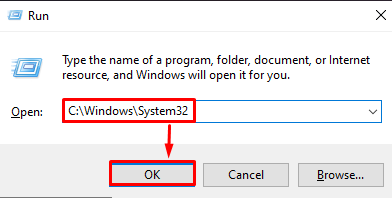
Step 2: Go to the “System32” folder
Type “C:\Windows\System32” in the Run box:
Step 3: Rename File
Locate the “atikmpag.sys” file and rename it to “atikmpag.sys.bak”.
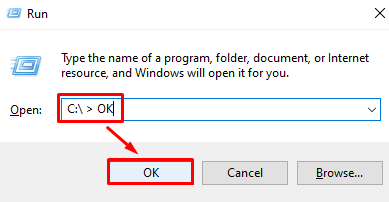
Step 4: Navigate to C:/>OK
Again, open the Run box and write out “C:\ > OK”:
Step 5: Navigate to the ATI folder
Search for the folder name “ATI”. Within that folder, look for the file “atikmpag.sy_”. Now copy the file to the desktop.
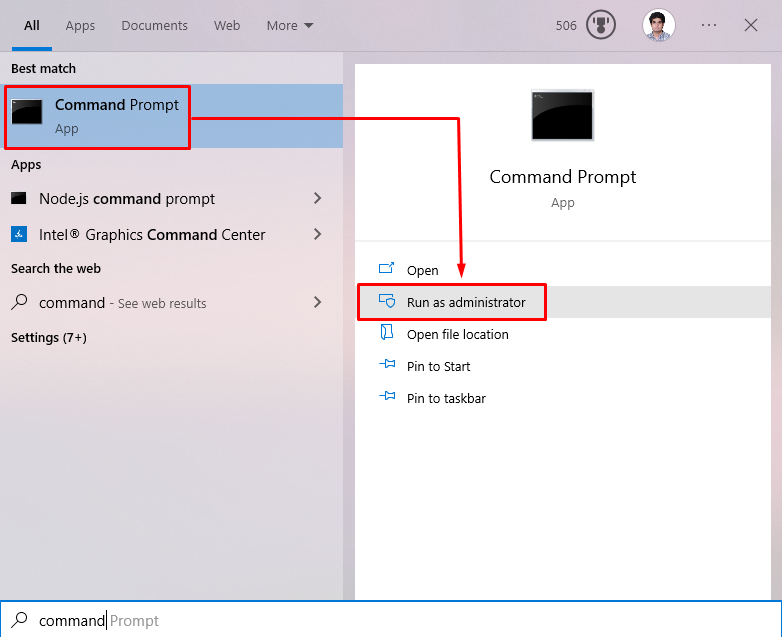
Step 6: Run Command Prompt With Administrative Privileges
Open up “Command Prompt” with the administrative rights:
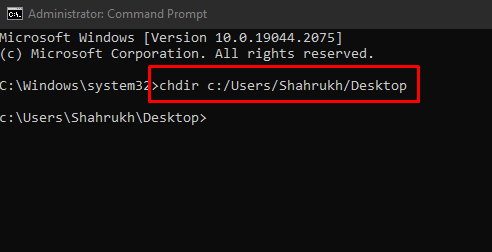
Step 7: Change the Directory to Desktop
Run the “chdir” command to change the current directory to “Desktop”:
Step 8: Expand “atikmdag.sy”
Run the following command in the terminal for expanding the “atikmdag.sy”:

Then, copy the sys file from the desktop and paste it to “C:\Windows\System32” and restart the computer.
Method 3: Configure Display Settings
Your display settings might not have been set according to the hardware you are using. In such a situation, configure the display settings with the help of the provided instructions.
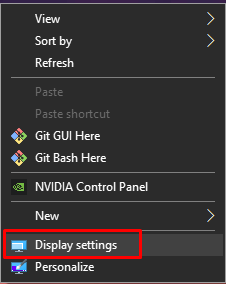
Step 1: Go to Display Settings
Right-click on your Desktop and click on the “Display settings” option:
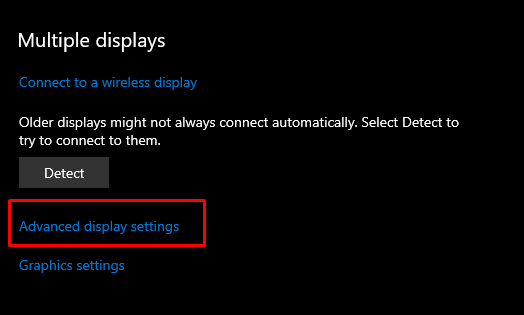
Step 2: Choose “Advanced display settings”
Locate the “Advanced display settings” option on your screen and click on it:
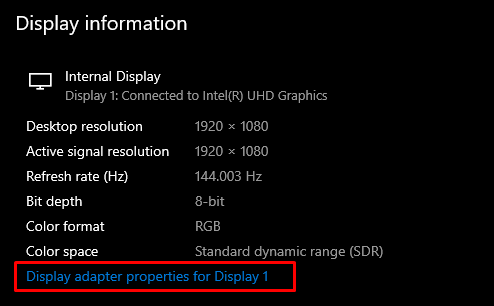
Step 3: Go to Properties
Click on “Display Adapter Properties for Display 1” to open the properties of the display you are using:
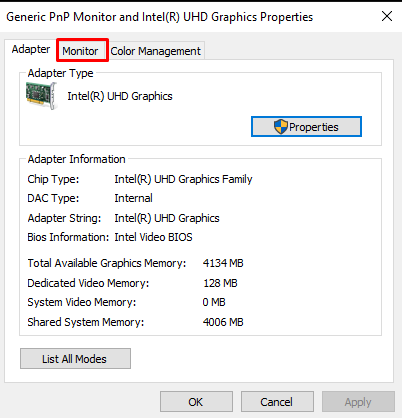
Step 4: Switch to the “Monitor” Tab
Navigate to the “Monitor” tab for further processing:
Step 5: Change the Refresh Rate
Lower the “Refresh rate” of your screen and click on the “OK” button:
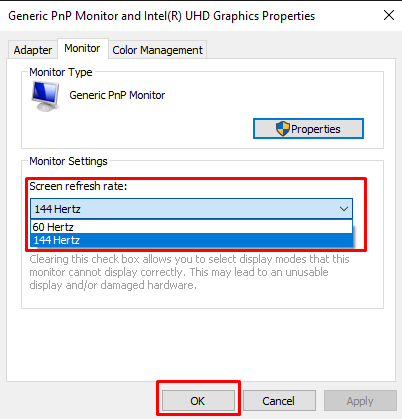
As a result, the stated VIDEO_TDR_FAILURE error will get fixed.
Conclusion
VIDEO_TDR_FAILURE (ATIKMPAG.SYS) error in Windows 10/8/7 can be fixed using various methods. These methods include updating drivers, replacing ATIKMPAG.SYS, reinstalling graphics drivers, or changing display settings. This blog offered solutions related to fixing the VIDEO_TDR_FAILURE error.