This write-up will overview various methods to fix the Video Stuttering issue.
How to Resolve Video Stuttering Problem?
The mentioned issue can be resolved by adopting these methods:
- Update graphics driver
- Reset power plan settings
- Scan for hardware changes
- Change the number of processors
- Update Windows
Let’s begin the quest to find the solution to the above issue.
Fix 1: Update Graphics Driver
Make sure that the updated graphics driver is installed. Otherwise, Windows can catch up with issues like video stuttering.
To update the graphics driver, follow the stepwise instructions given below.
Step 1: Open Device Manager
In the first step, search and launch “Device Manager” with the help of the Windows Start menu:

Step 2: Update the Driver
Look for the “Display adapters” section and extend its drop-down list. Right-click on the graphics driver and trigger “Update driver”:
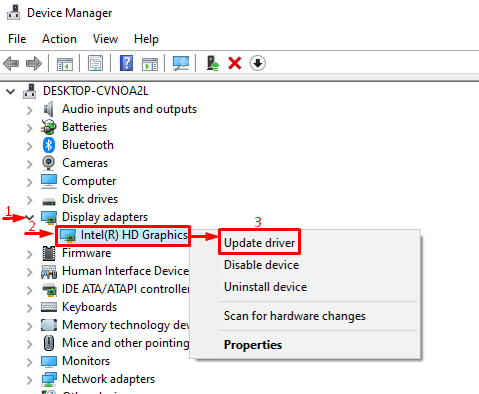
Click on the highlighted option:

As a result, the device manager will update the driver if the updates are available.
Fix 2: Reset Power Plan Settings
Power settings are directly linked with system performance. If the power settings are configured to save the power, then the Windows performance will be compromised. More specifically, the “Video stuttering” issue is related to performance. So, resetting the power plan can fix it.
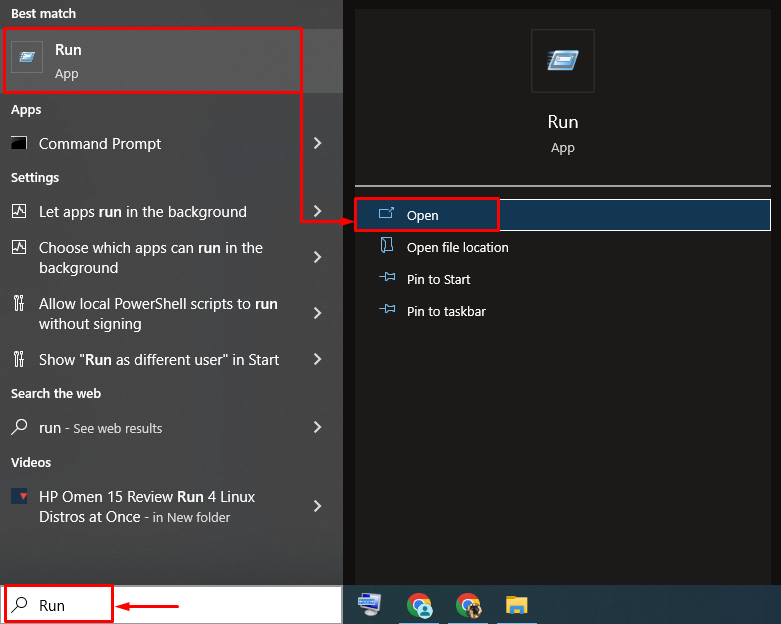
Step 1: Launch Run
Open “Run” via the Start menu:
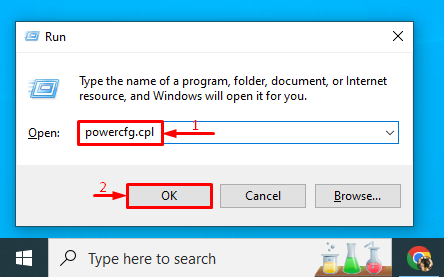
Step 2: Launch Power Options
Type “powercfg.cpl” in the Run box and hit the “OK” button to open power options:
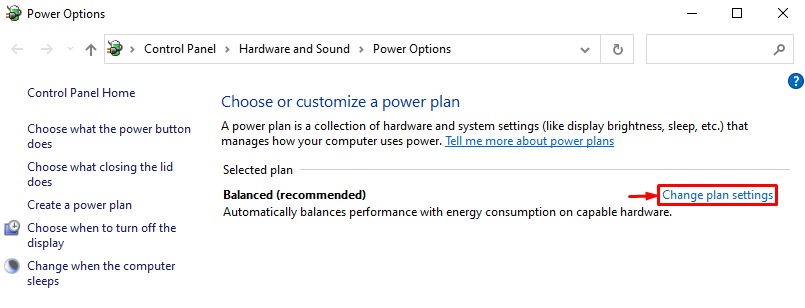
Select the “Change plan settings” option:
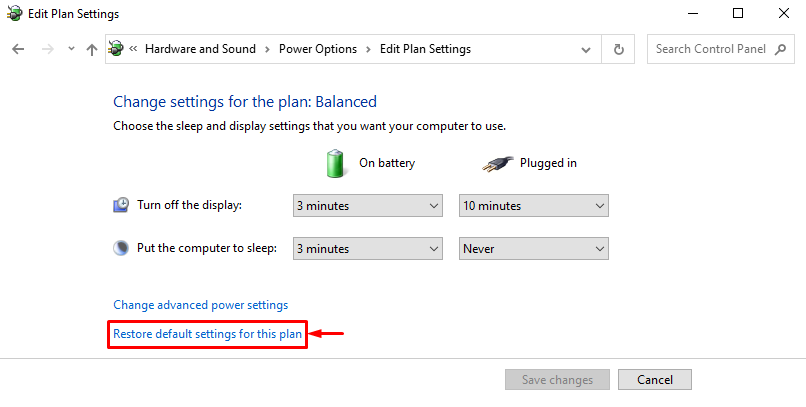
Step 3: Reset Power Plan
Trigger the “Restore defaults settings for this plan” option:
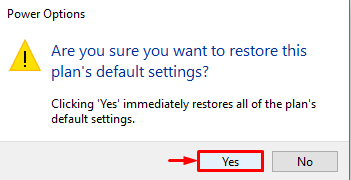
Hit the “Yes” button to reset the power plan:
The power plan has been reset successfully.
Fix 3: Scan for Hardware Changes
The “Video stuttering” issue can be rectified by scanning the hardware to check for changes.
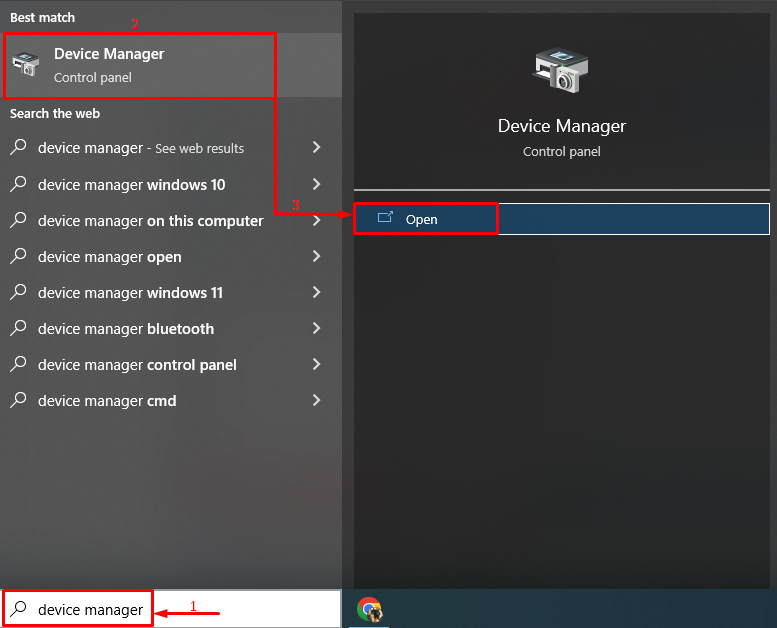
Step 1: Open Device Manager
First, search and open “Device Manager” with the help of the Windows Start menu:
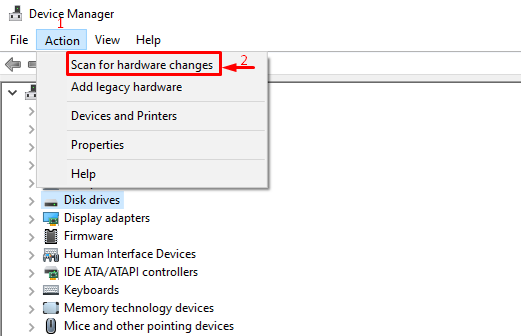
Step 2: Scan for Hardware Changes
Hit the “Action” menu and trigger “Scan for hardware changes”:
Fix 4: Change the Number of Processors
Another fix that is worth applying is to change the number of processors.
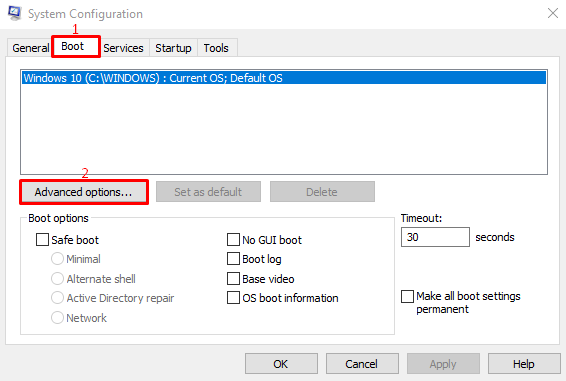
Step 1: Launch System Configuration
First of all, open “System Configuration” from the Windows Start menu:

Step 2: Launch Boot Advanced Options
Navigate to the “Boot” tab and select “Advanced options”:
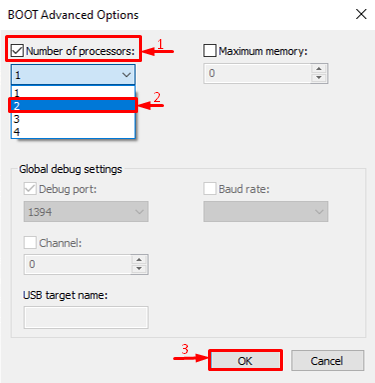
Step 3: Change the Number of Processors
Mark the “Number of processors” checkbox, select the number of processors, and hit the “OK” button:
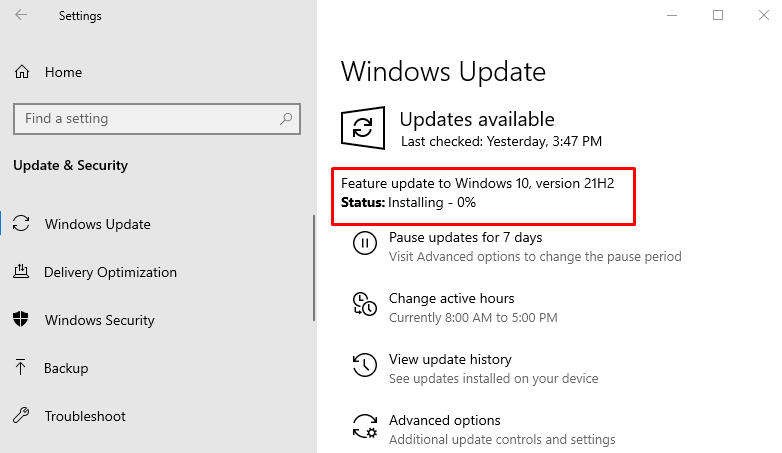
Fix 5: Update Windows
Finally, if the above methods fail to fix the stated problem, then updating Windows will surely fix it. For that purpose, go through procedure.
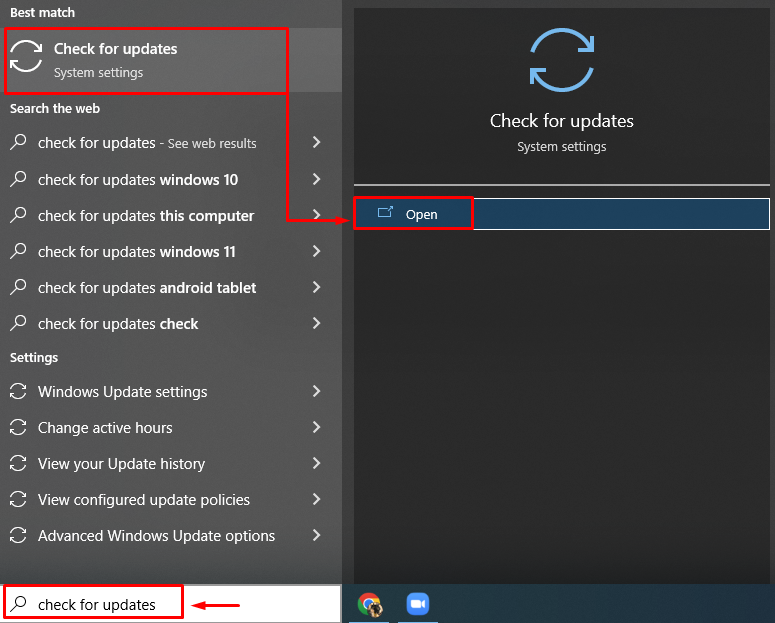
Step 1: Open Windows Update Settings
First of all, open “Check for updates” via the Windows Start menu:
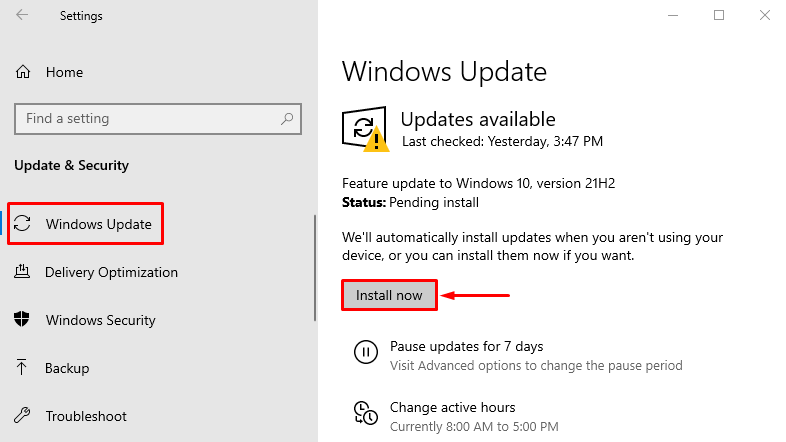
Step 2: Update Windows
Navigate to the “Windows Update” section and hit the “Install now”:
Windows has now started to update:
After updating Windows, reboot Windows and re-check if the stated issue got fixed or not.
Conclusion
The “Video stuttering” issue in Windows can be resolved by adopting several methods, which include updating the graphics driver, resetting power plan settings, scanning hardware for changes, changing the number of processors, or updating Windows. This particular write-up has provided various approaches to rectify the stated issue.