Make sure you have Latex and its texmaker installed and already configured on your Ubuntu Linux system. So, let’s take a look now.
Let’s get started with the start of Ubuntu’s terminal console via the “Ctrl+Alt+T” shortcut. After that, your terminal will be quickly opened. Let’s start by opening the “texmaker” of Latex to do some tasks.
For this, write “texmaker” in the query area and press the Enter button from your keyboard. It will start the texmaker in a few seconds.

The below-shown texmaker of Latex will be opened on your Ubuntu’s terminal screen. Within this application, you can see the option “File” in the taskbar. Tap on it to create a new file and name this file “test.tex” with the “tex” extension.
Example 01: Using \vert Command
Now, the texmaker will open up the “test.tex” file text area for you to make some code with “\” signs. Firstly, you need to start this code with “\documentclass{article}” to declare that we have been creating an article-type document.
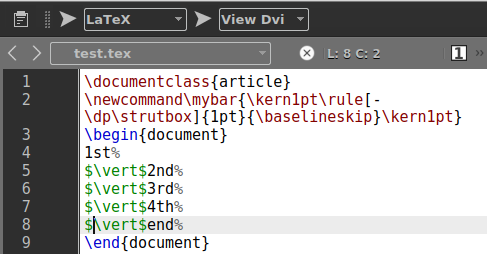
The 2nd line is optional i.e. you can remove it if you don’t want to use it. The document will be started from the “begin” tag using the “\” sign. We have added a text “1st” in the 4th line followed by the “%” character. The “%” character is used to specify a line tag within it and create a vertical line using the “\vert” tag.
Add the “$” sign before and after the “\vert” command to specify a single line. A text has been added again. The same process has been repeated 4 times to add a total of 4 vertical lines. The “\vert” will add up the vertical lines of normal size.
In the end, the document has been ended using the “\end” tag with the “document” keyword in the curly brackets. Now, tap on the “arrow” sign before the “Latex” drop-down list from the taskbar to execute this code. After that, select the “View Dvi” from the side and tap on the “arrow” sign before it.
\newcommand\mybar{\kern1pt\rule[-\dp\strutbox]{1pt}{\baselineskip}\kern1pt}
\begin{document}
1st%
$\vert$%2nd%
$\vert$%3rd%
$\vert$%4th%
$\vert$%end%
\end{document}
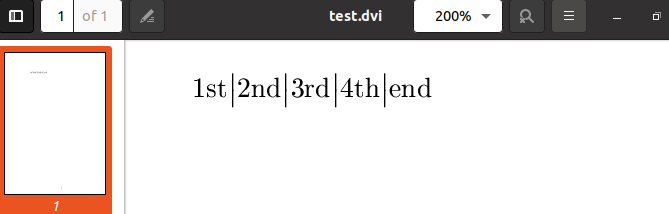
The below-following Dvi test Latex file will be opened. You can see that the 4th vertical lines of quite a normal size have been created within some texts i.e., 1st, 2nd, 3rd, 4th, and end.

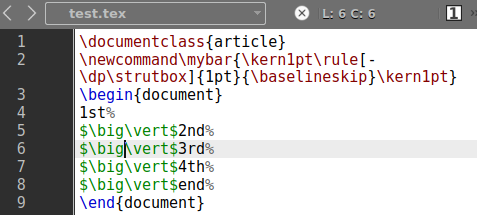
Let’s change the size of the vertical line by adding the “\big” tag before the “\vert” tag in the texmaker application. So, go to the code area once again and add the “\big” tag before the “\vert” tag.
Overall code will remain the same to avoid any issues. Let’s run this code by tapping on the “arrow” sign before the “Latex” drop-down list held at the top of the text area. After the code compilation in Latex, open the executed file within “Dvi” format using the next “arrow”.
\newcommand\mybar{\kern1pt\rule[-\dp\strutbox]{1pt}{\baselineskip}\kern1pt}
\begin{document}
1st%
$\big\vert$%2nd%
$\big\vert$%3rd%
$\big\vert$%4th%
$\big\vert$%end%
\end{document}
The below-shown file output in DVI format will be opened. You can see the size of vertical lines has been a little bigger than the previous one outputted by the along “\vert” tag.
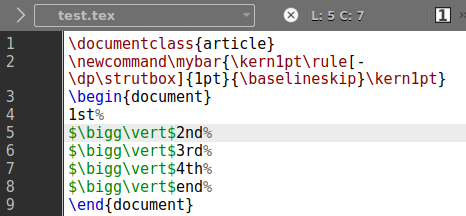
To make the size of vertical lines bigger, you have to update your code once again. Go to the texmaker code area and replace the “\big” tag with the “\bigg” tag i.e. one character change. Save and execute your code within Latex using the “arrow” icon before the Latex dropdown list on the upper area of texmaker.
After that, tap on the arrow sign held in front of the “Latex” drop-down list to open the file in DVI format and see the updates.
\newcommand\mybar{\kern1pt\rule[-\dp\strutbox]{1pt}{\baselineskip}\kern1pt}
\begin{document}
1st%
$\bigg\vert$%2nd%
$\bigg\vert$%3rd%
$\bigg\vert$%4th%
$\bigg\vert$%end%
\end{document}
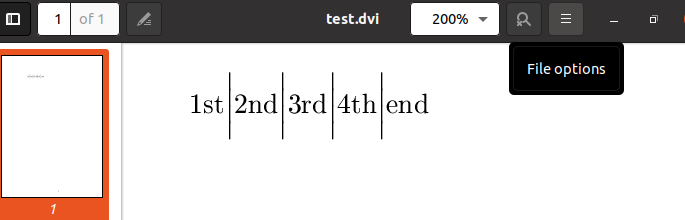
The below-shown screen for file “test.tex” will be opened in the DVI format. You can see that the size of vertical lines has been immensely increased.
Example 02: Using \textbar Command
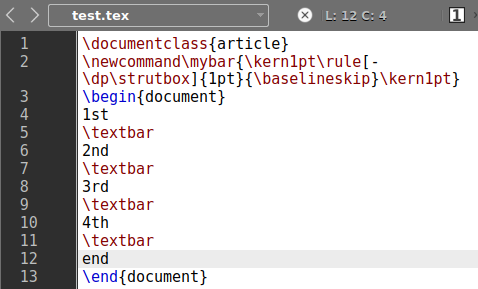
There are other tags available in Latex to add vertical lines in your technical documents. For example, the “\textbar” tag can also do the same as the “\vert” tag did before. The use of the “text bar” tag is shown in the below Latex file. Execute the Latex file and open it in DVI.
\newcommand\mybar{\kern1pt\rule[-\dp\strutbox]{1pt}{\baselineskip}\kern1pt}
\begin{document}
1st
\textbar
2nd
\textbar
3rd
\textbar
4th
\textbar
end
\end{document}
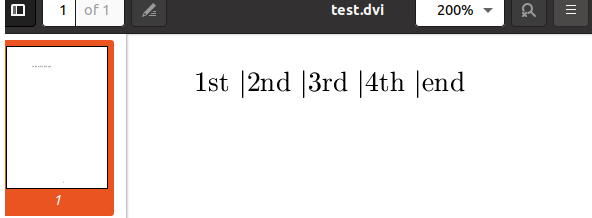
The output for this command shows the vertical lines.
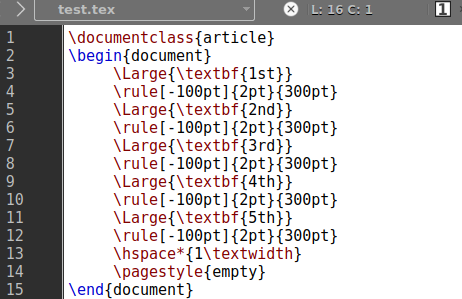
Example 03: Using \rule Command
The “\rule” command can also be utilized for the same purpose but with more specifications. The [100pt] is the distance of vertical lines from the file header and footer. {2pt} is the line thickness while {500pt} is the line length. Execute this code to see the result.
\begin{document}
\Large{\textbf{1st}}
\rule[-100pt]{2pt}{300pt}
\Large{\textbf{2nd}}
\rule[-100pt]{2pt}{300pt}
\Large{\textbf{3rd}}
\rule[-100pt]{2pt}{300pt}
\Large{\textbf{4th}}
\rule[-100pt]{2pt}{300pt}
\Large{\textbf{5th}}
\rule[-100pt]{2pt}{300pt}
\hspace*{1\textwidth}
\pagestyle{empty}
\end{document}
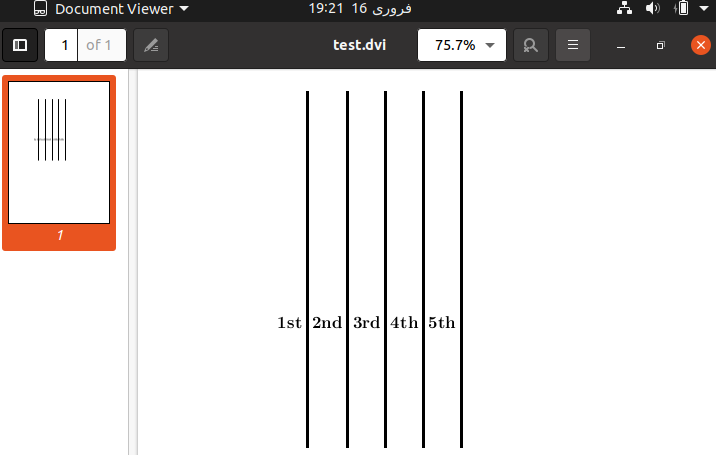
After running the Latex code we have got the beautiful output below. It is showing 5 great long vertical lines on our DVI format “test latex” file.
Conclusion
This was all about using Latex to create vertical lines in some technical files on the Linux system. We have discussed three of the different Latex commands in the code to create vertical lines of different sizes on the latex documents i.e., \vert command, \rule command, and \textbar command. For better visibility and appearance, we suggest our users use the \rule command in the Latex document code in its editor.