How To Change Figure Size in LaTeX
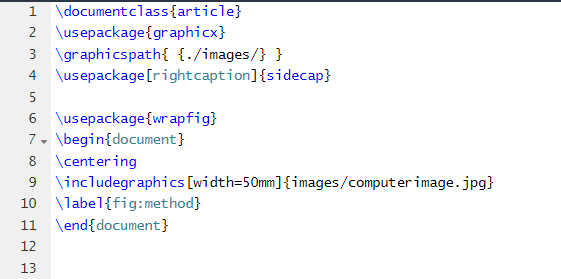
First, let’s start with the basic example of inserting an image in a LaTeX document, and here is the following source code:
\usepackage{graphicx}
\graphicspath{ {./images/} }
\usepackage[rightcaption]{sidecap}
\usepackage{wrapfig}
\begin{document}
\centering
\includegraphics[width=50mm]{images/computerimage.jpg}
\label{fig:method}
\end{document}
Output

Note: If you don’t know how to insert an image in LaTeX, please visit our website to check out LaTeX-related tutorials.
As you can see in the previous source code, we have used \includegraphics[width=50mm] code to change the image size. Let’s resize the image from 50 mm to 100 mm.
\usepackage{graphicx}
\graphicspath{ {./images/} }
\usepackage[rightcaption]{sidecap}
\usepackage{wrapfig}
\begin{document}
\centering
\includegraphics[width=100mm]{images/computerimage.jpg}
\label{fig:method}
\end{document}

Output
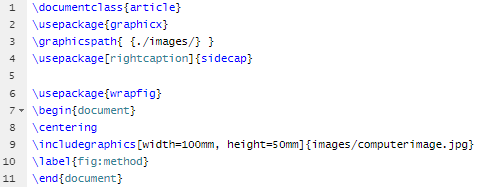
If you want to change the width and height of the image, please use the following source code:
\usepackage{graphicx}
\graphicspath{ {./images/} }
\usepackage[rightcaption]{sidecap}
\usepackage{wrapfig}
\begin{document}
\centering
\includegraphics[width=100mm, height=50mm]{images/computerimage.jpg}
\label{fig:method}
\end{document}
Output

Similarly, you can scale the images rather than changing the width and height, and here is the following basic source code:
\usepackage{graphicx}
\graphicspath{ {./images/} }
\usepackage[rightcaption]{sidecap}
\usepackage{wrapfig}
\begin{document}
\centering
\includegraphics[scale= 0.25]{images/computerimage.jpg}
\label{fig:method}
\end{document}

Output

You can also change the angle of the image while resizing it in the document.
\usepackage{graphicx}
\graphicspath{ {./images/} }
\usepackage[rightcaption]{sidecap}
\usepackage{wrapfig}
\begin{document}
\centering
\includegraphics[scale= 0.25, angle= 57]{images/computerimage.jpg}
\label{fig:method}
\end{document}

Output

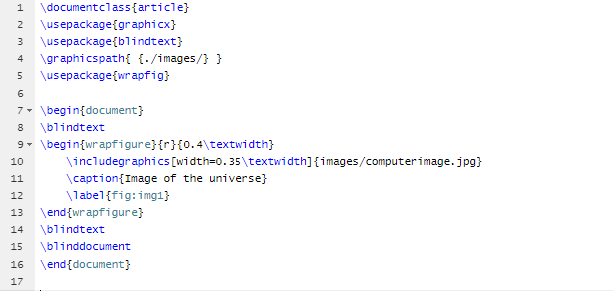
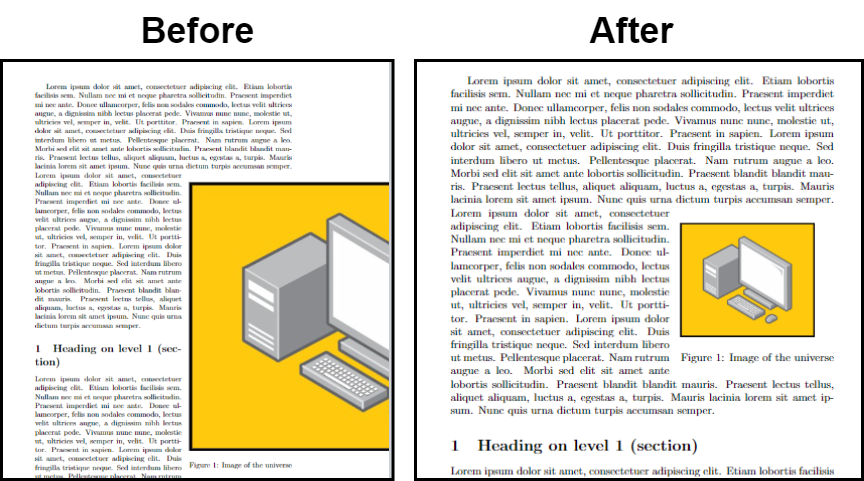
Now, let’s resize the image and wrap the text with it in the document. For example, if you want to resize an image by width=0.35, so please use the following source code:
\usepackage{graphicx}
\usepackage{blindtext}
\graphicspath{ {./images/} }
\usepackage{wrapfig}
\begin{document}
\blindtext
\begin{wrapfigure}{r}{0.4\textwidth}
\includegraphics[width=0.35\textwidth]{images/computerimage.jpg}
\caption{Image of the universe}
\label{fig:img1}
\end{wrapfigure}
\blindtext
\blinddocument
\end{document}
Output
Conclusion
Resizing an image can help you to fit the images in the text and wrap them up accordingly. We have used different examples to describe various methods to change the figure size in LaTeX. If you want to know more about LaTeX, please check our official website.