NVIDIA Canvas AI is a software that is used to generate realistic landscape images just by drawing simple brush strokes using artificial intelligence. NVIDIA Canvas AI is still in beta at the time of this writing. A stable version of the NVIDIA Canvas AI app might be released by the time you read this article.
In another article, we showed you how to install the NVIDIA Canvas AI on Windows 10/11. In this article, we will show you how to use the NVIDIA Canvas AI app to generate the landscape images using AI.
Topic of Contents:
- Creating a New Landscape File in NVIDIA Canvas AI
- Explaining the NVIDIA Canvas AI User Interface
- The NVIDIA Canvas AI Materials
- The NVIDIA Canvas AI Styles
- Importing Custom Styles to NVIDIA Canvas AI
- Managing Layers in NVIDIA Canvas AI
- Using NVIDIA Canvas AI to Generate a Landscape Image
- Saving the NVIDIA Canvas AI File
- Exporting the Canvas AI-Generated Landscape Image
- Other Landscape Images that We Generated
- Conclusion
Creating a New Landscape File in NVIDIA Canvas AI
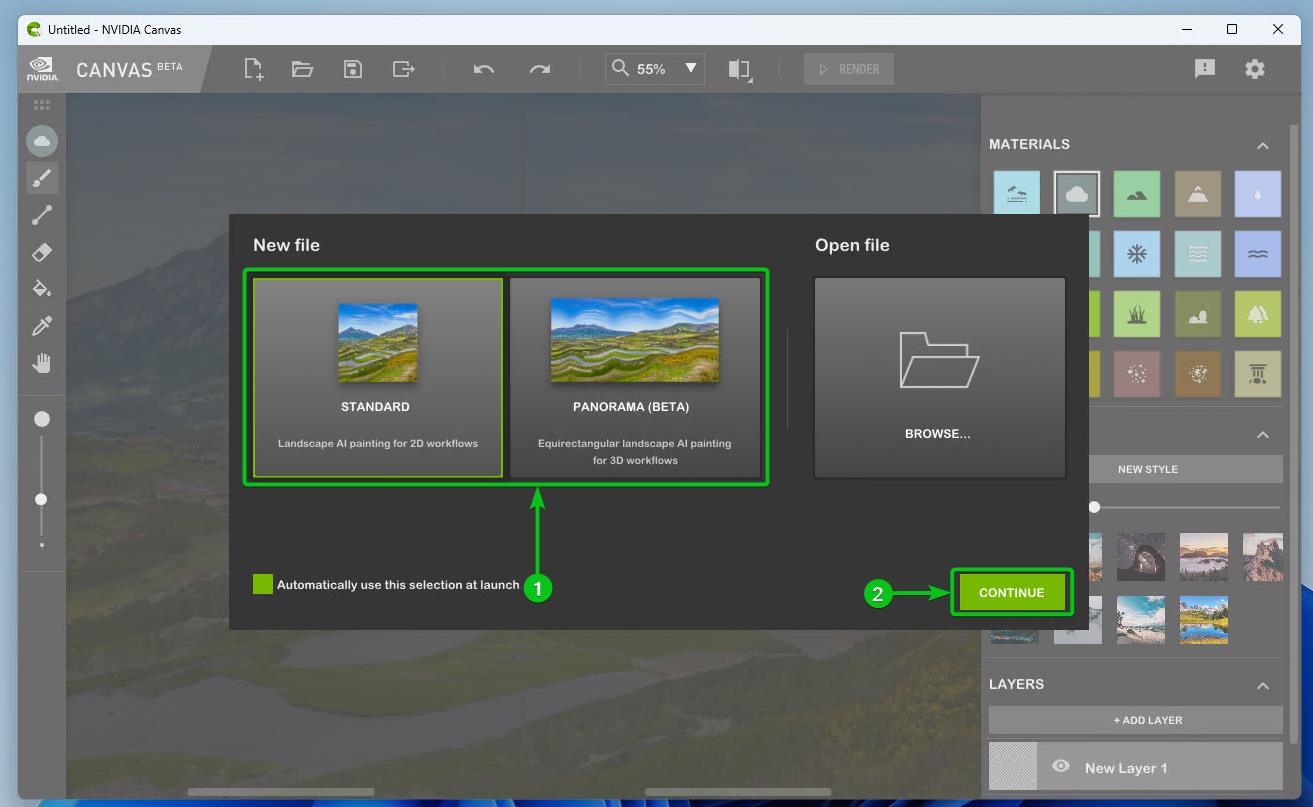
To create a new landscape image file in NVIDIA Canvas AI, open the NVIDIA Canvas AI app, select the type of landscape image that you want to create from the “New file” section[1], and click on “CONTINUE”[2].
Currently, you can create the following types of images:
STANDARD: If you want to generate a 2D landscape image, select this option. You need an NVIDIA RTX GPU with at least 4 GB of VRAM to generate a STANDARD 2D landscape image using the NVIDIA Canvas AI.
PANORAMA (BETA): If you want to generate a 3D landscape image, select this option. You need an NVIDIA RTX GPU with at least 6 GB of VRAM to generate a PANORAMA 3D landscape image using the NVIDIA Canvas AI. This feature is still in beta. This feature might be stable by the time you read this article.
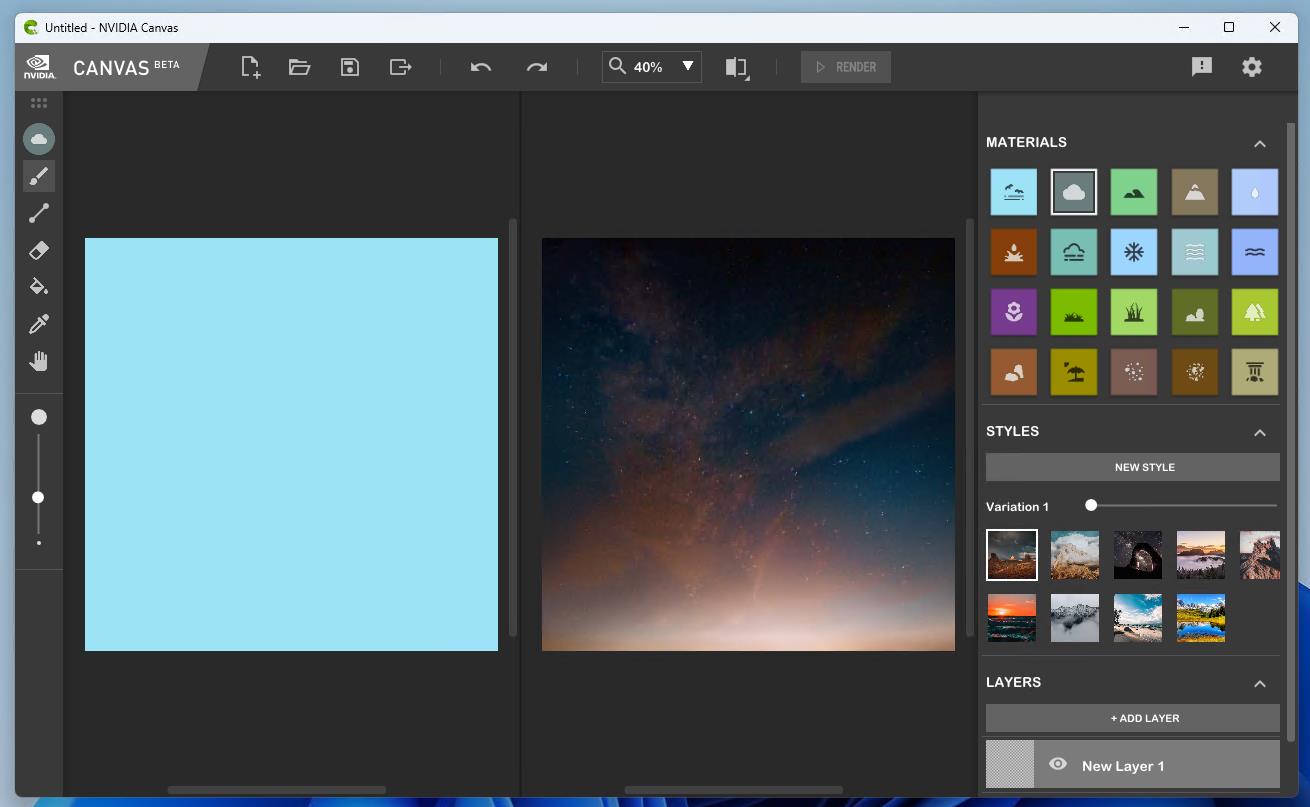
A new NVIDIA Canvas AI landscape image file should be created. In the next sections, we will show you how to use the NVIDIA Canvas AI app to generate landscape images simply by drawing brush strokes on the canvas.
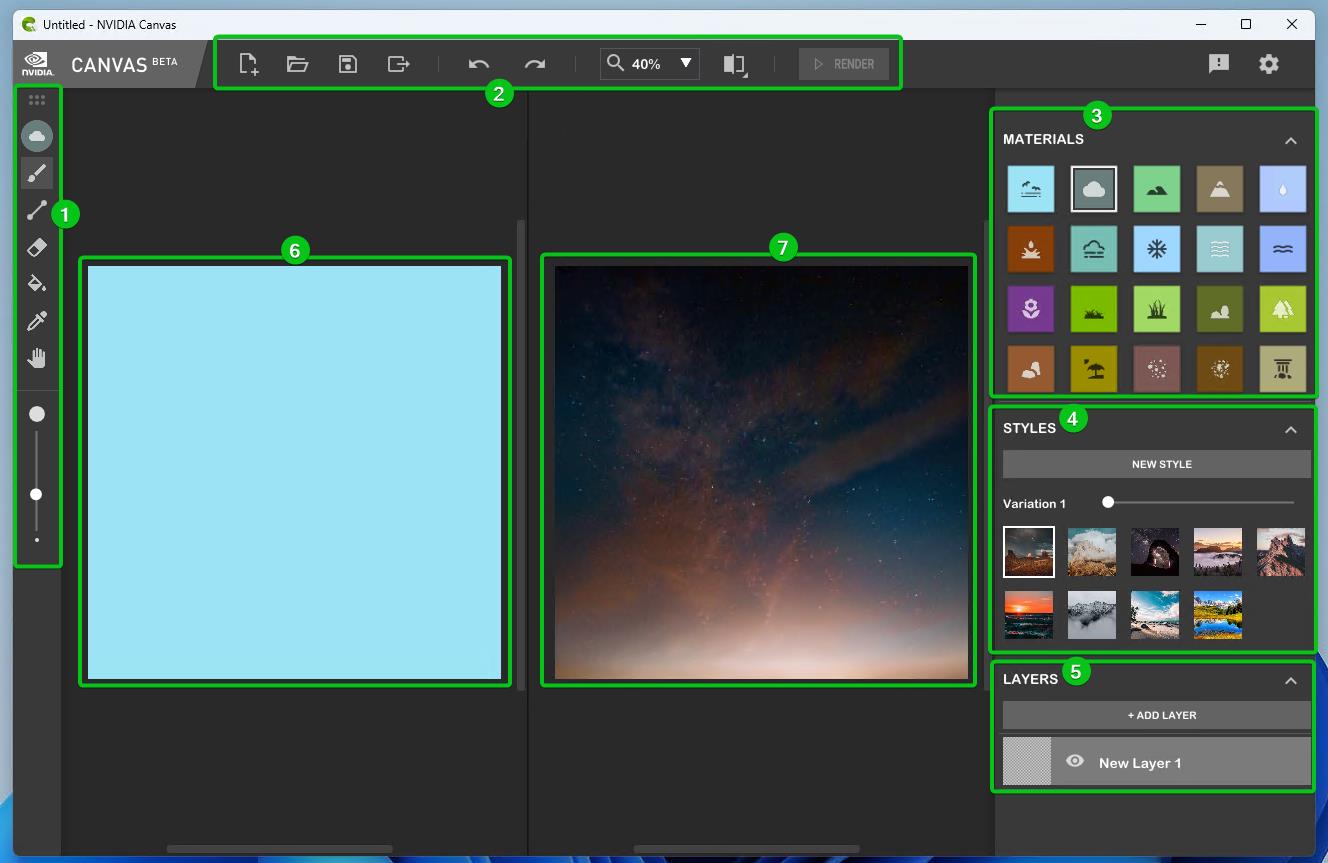
Explaining the NVIDIA Canvas AI User Interface
On the left side of the NVIDIA Canvas AI, we have the toolbox that you can use to draw on the canvas[1]. On the top, you have the options to create a new file, open a Canvas AI file, save files, undo/redo the changes, zoom in/out of the canvas, and so on[2]. On the right side, you have the “Materials” pallete[3], “Styles and Variation” panel[4], and “Layers” panel[5].
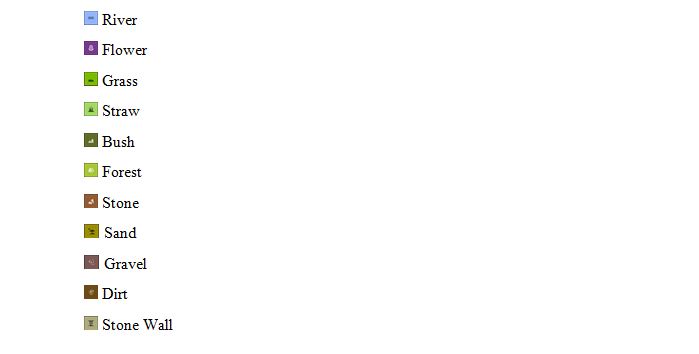
The NVIDIA Canvas AI Materials
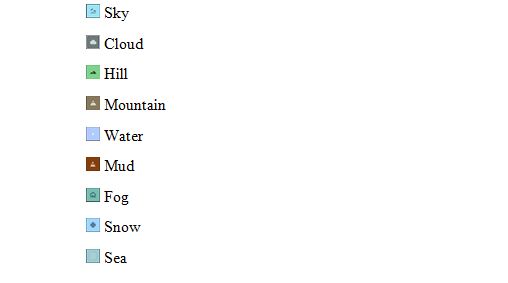
NVIDIA Canvas AI processes the Style image, creates textures of the objects (i.e. Tree, Water, Mud, Sand) that are found in the image, and maps them to the “Materials”. You select these materials and draw on the canvas to generate new images using NVIDIA Canvas AI.
At the time of this writing, the following materials are available on NVIDIA Canvas AI:
The NVIDIA Canvas AI Styles
The NVIDIA Canvas AI styles are like themes. You can apply any one of them to the drawn brush strokes to generate different types of landscape images.
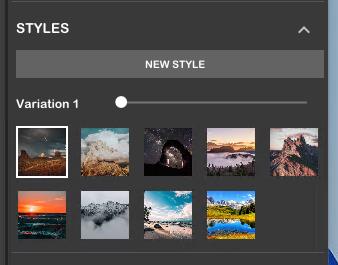
At the time of this writing, Canvas AI generates 10 variations of landscape images from the brush strokes using the selected style.
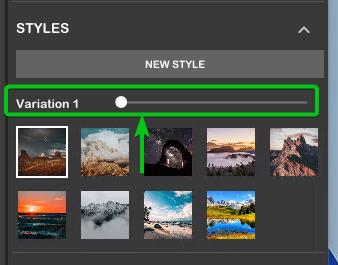
You can move the “Variation” slider to see each variation of the generated landscape image of your selected style.
Importing the Custom Styles to NVIDIA Canvas AI
You can upload new images to the NVIDIA Canvas AI app to create new styles. At the time of this writing, you can upload only the JPEG images that have the “.jpg” file extension (not .jpeg even though “.jpg and “.jpeg” are considered identical image files) on NVIDIA Canvas AI to create new styles.
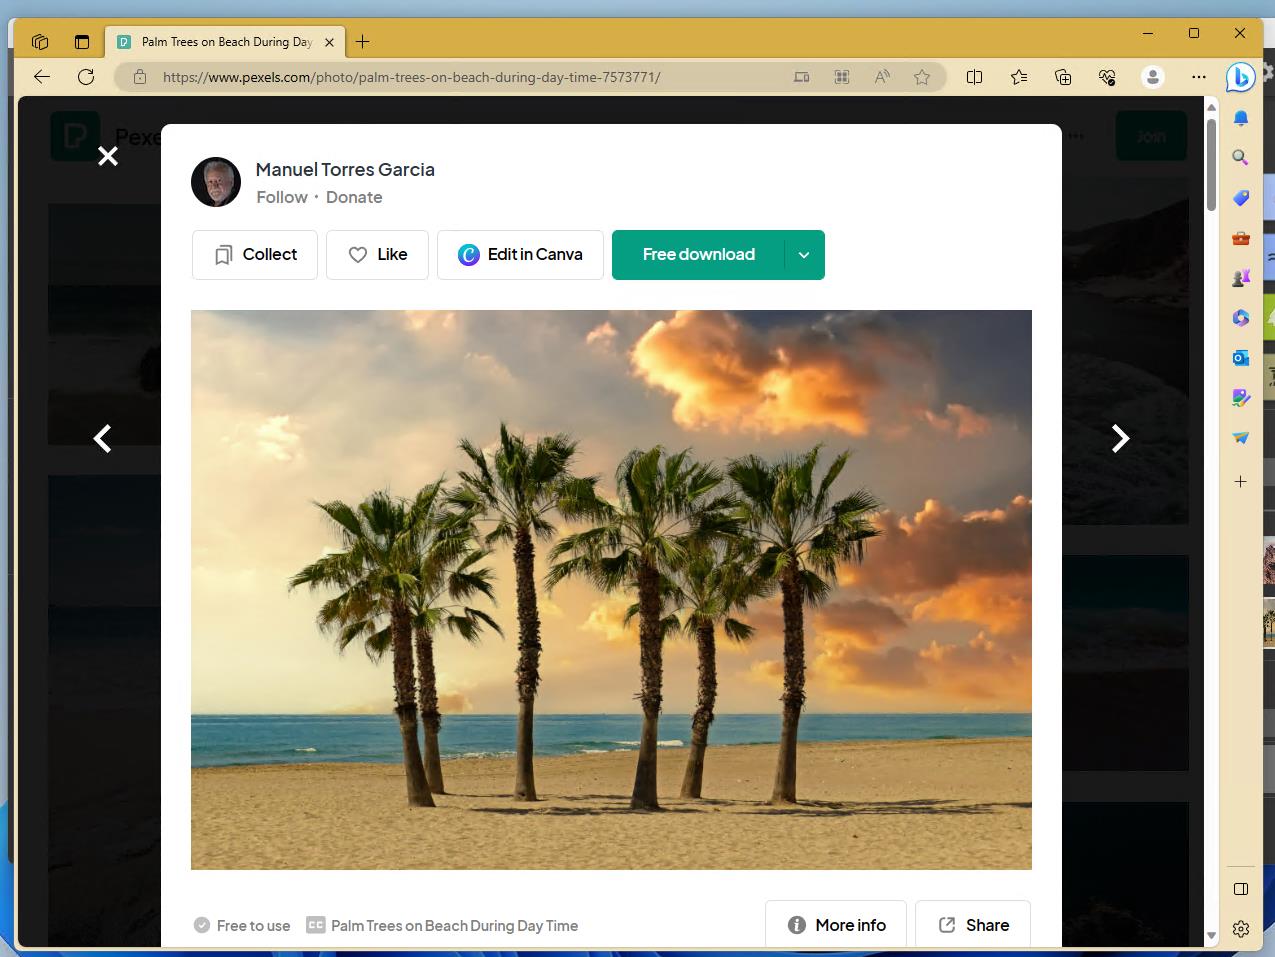
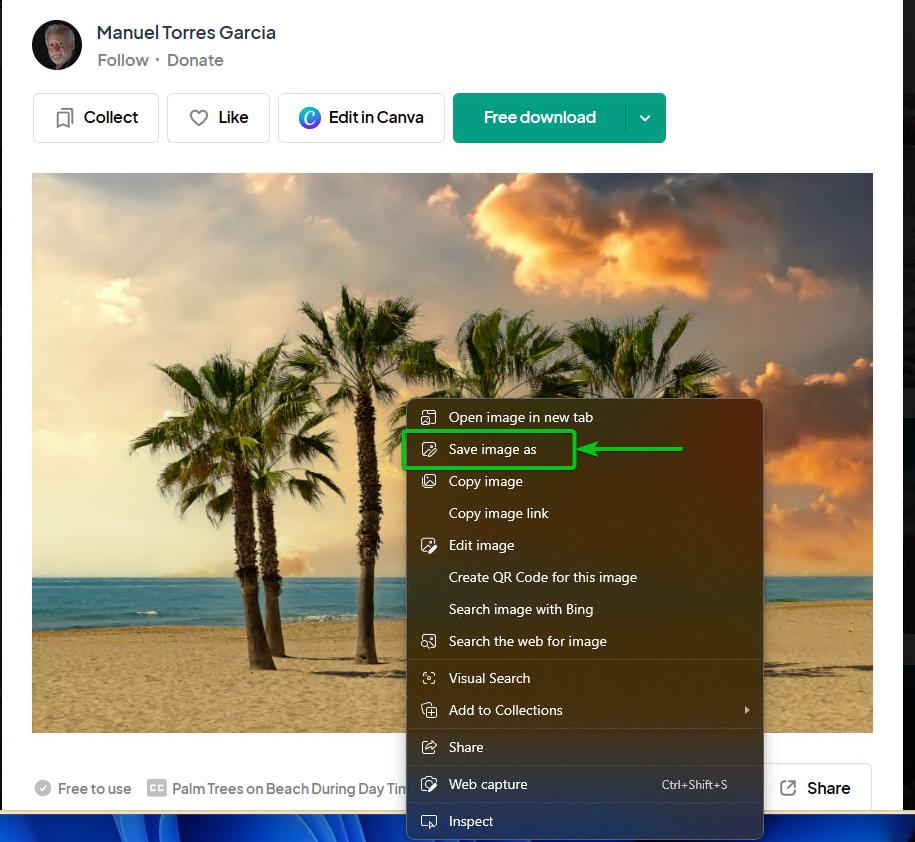
For the demonstration, we use the Palm Trees on Beach During Day Time • Free Stock Photo (pexels.com) image as you can see in the following screenshot:
Usually, you can right-click (RMB) on the image and click on “Save image as” (or similar options depending on the web browser that you’re using) to save the image from the web to your computer.
Type in a name for the image file (must end with “.jpg”)[1] and click on “Save”[2].
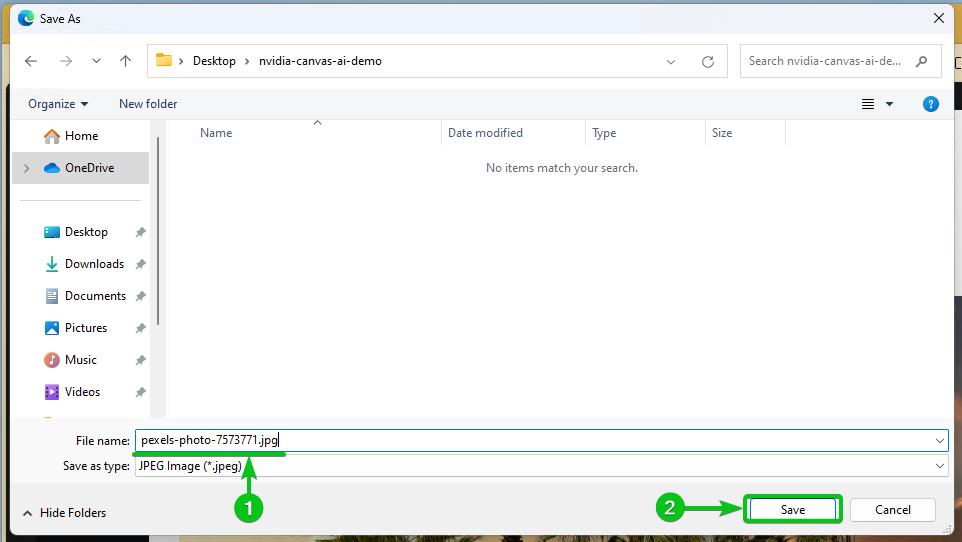
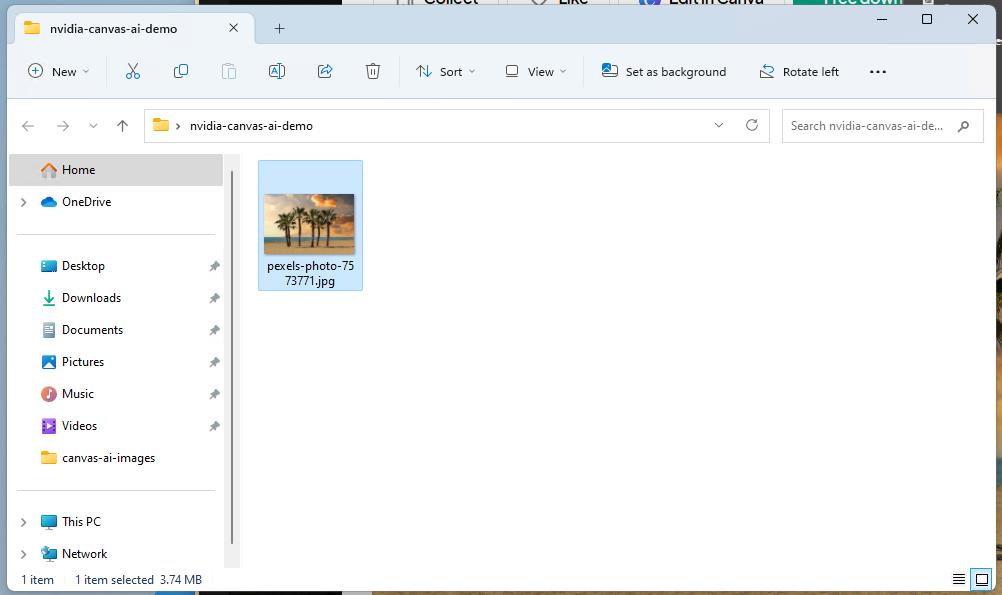
Your desired image should be saved on your computer.
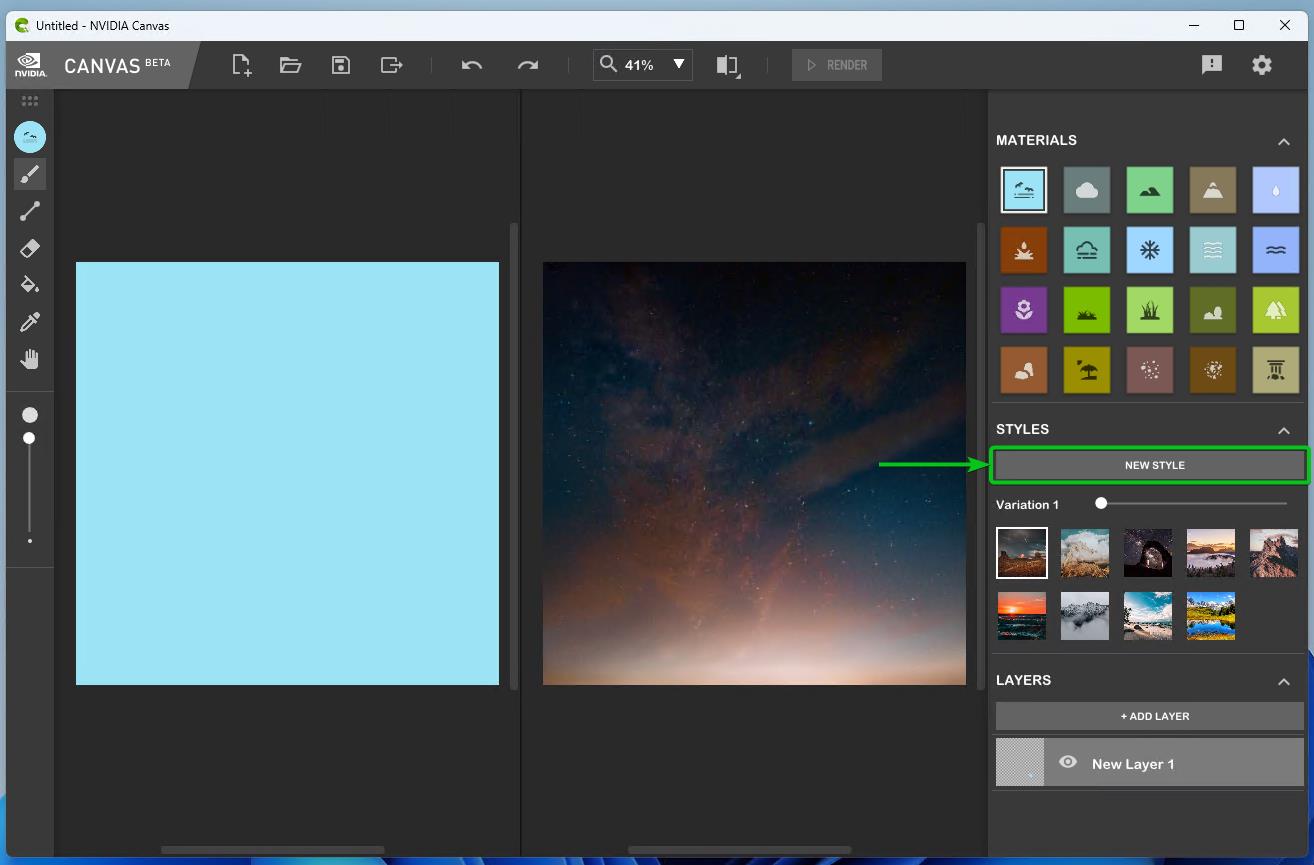
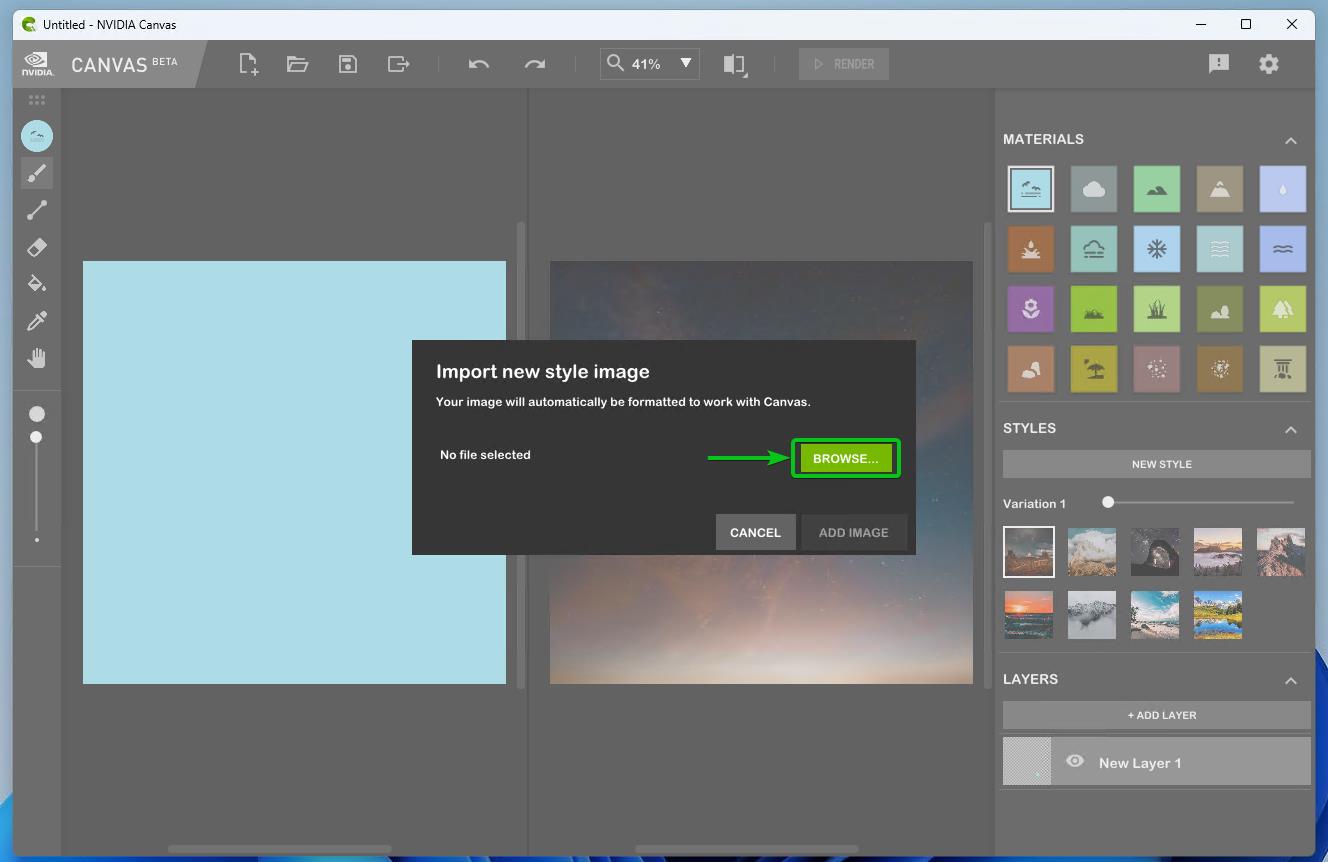
To add the downloaded JPEG image file as a new style on NVIDIA Canvas AI, click on “NEW STYLE” from the “STYLES” section.
Click on “BROWSE”.
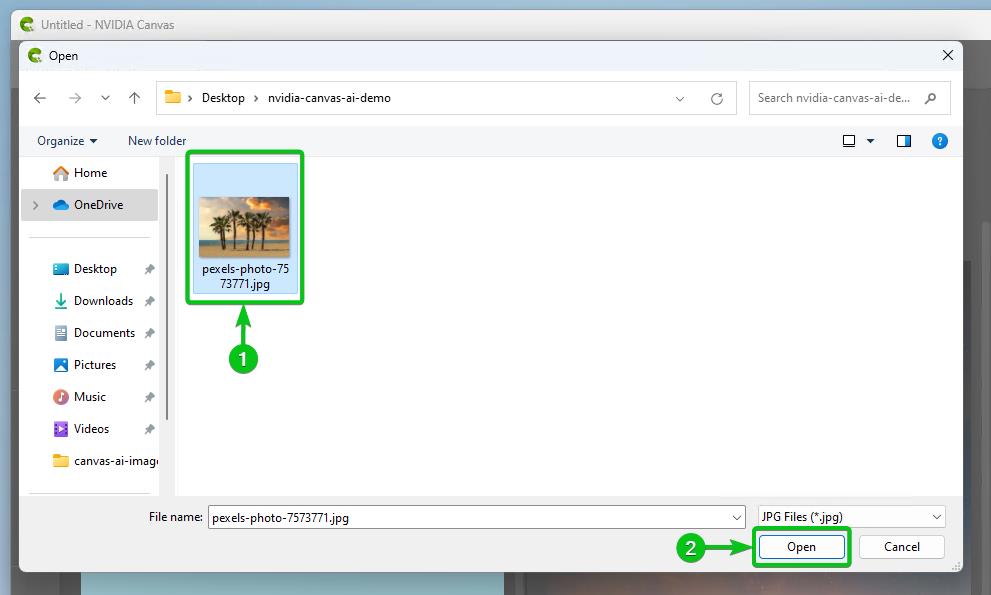
Select the JPEG image that you want to add to NVIDIA Canvas AI as a new style[1] and click on “Open”[2].
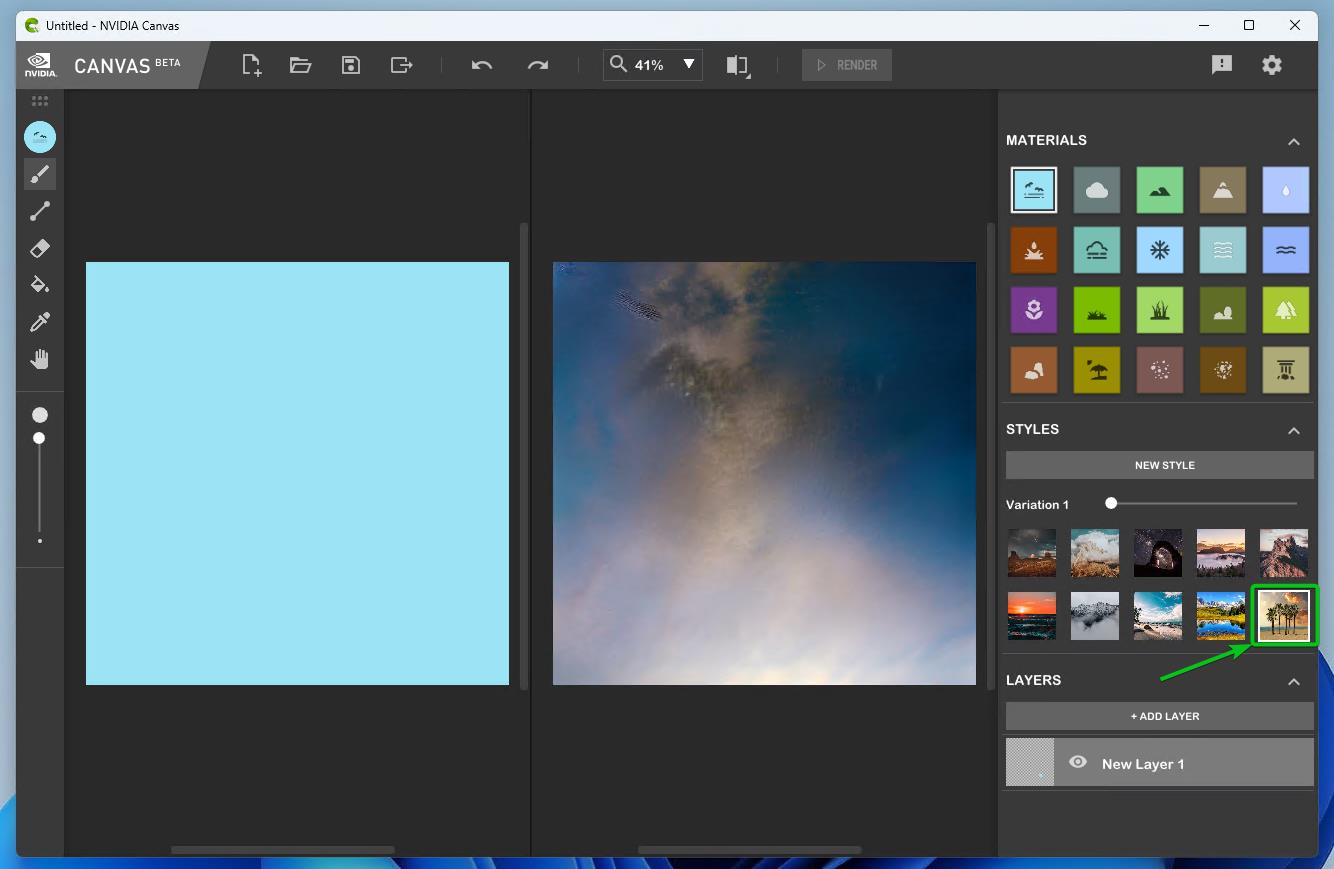
Click on “ADD IMAGE”.

Your desired JPEG image should be added to the styles of NVIDIA Canvas AI.
You can click on the newly added style to apply it to the canvas.
Managing the Layers in NVIDIA Canvas AI
Using layers will help you isolate the brush strokes of different materials and will help you manage the different parts of your landscape image easily.
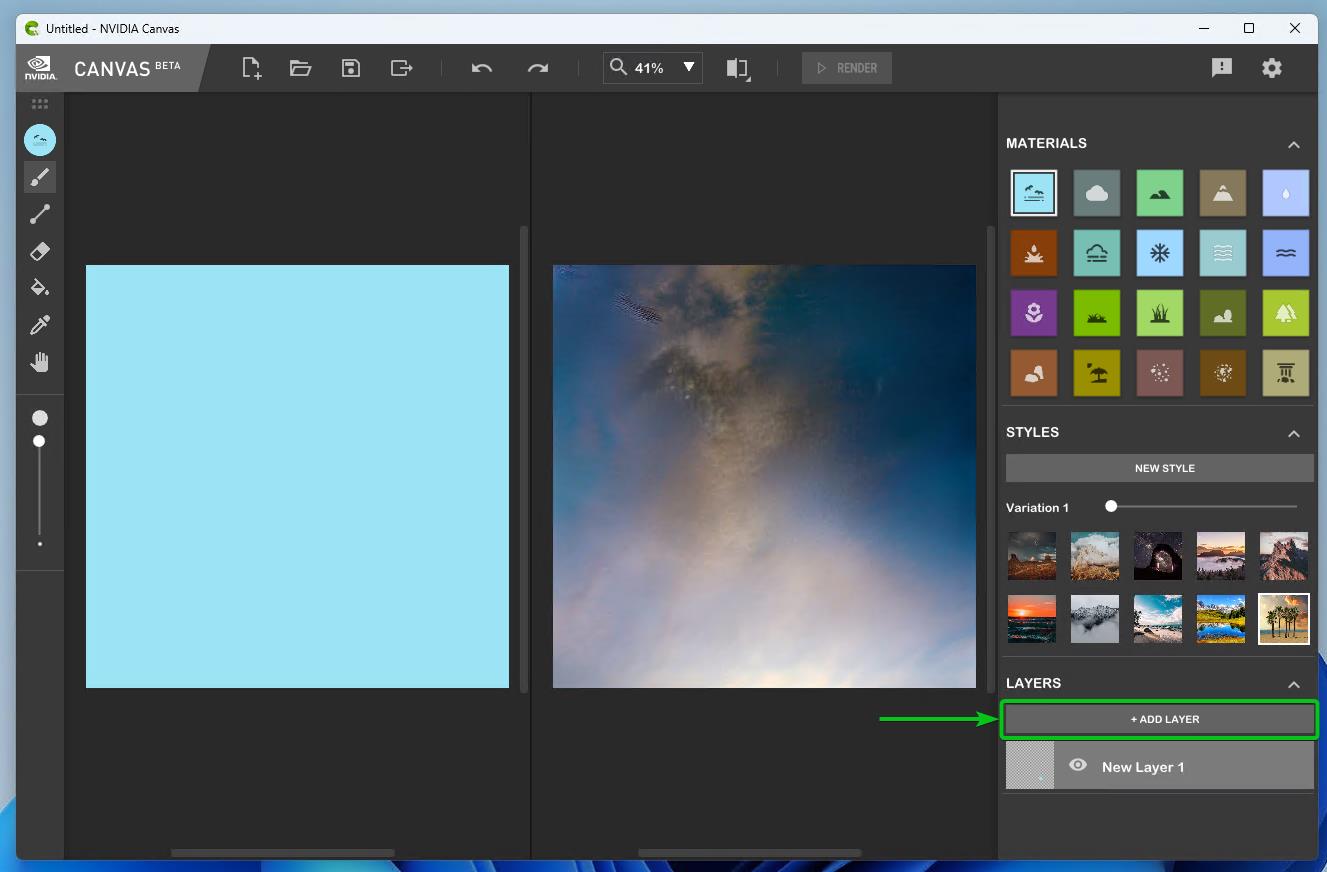
To create a new layer, click on “ADD LAYER” from the bottom-right corner of NVIDIA Canvas AI or press the <Ctrl> + <Shift> + N shortcut keys.
A new layer should be created.
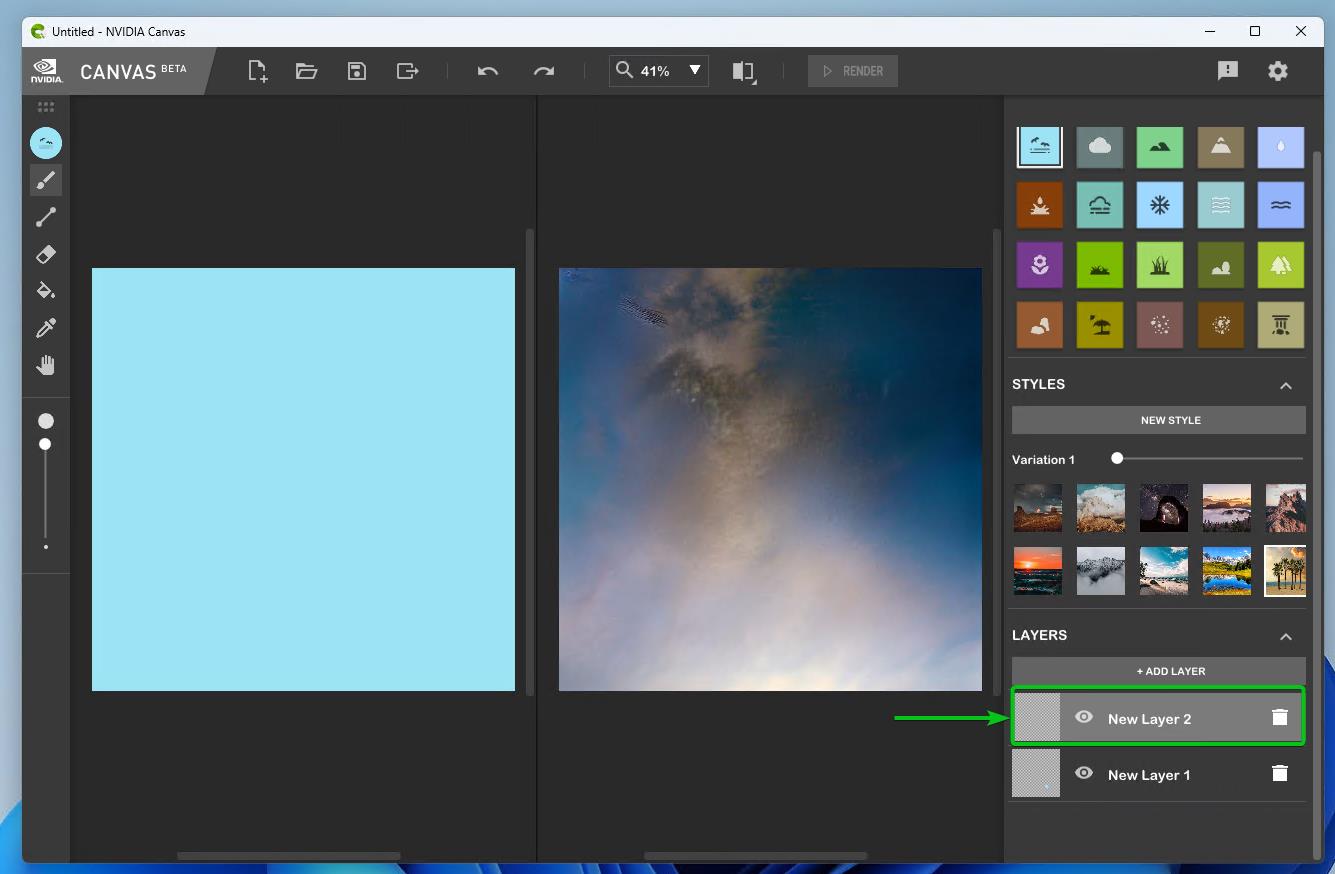
To remove a layer, click on the “Bin” icon [1].
To toggle on/off the visibility of a layer, click on the “Eye” icon [2].

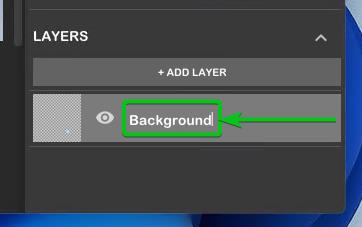
To rename a layer, click on the layer name and you will be able to change it. Once you renamed a layer, press <Enter> to save the changes. Otherwise, the layer name will not be changed which seems like a bug which is not unusual as NVIDIA Canvas AI is still in beta. If it is a bug, NVIDIA Canvas AI will fix this at some point.
Using NVIDIA Canvas AI to Generate a Landscape Image
In this section, we will show you how to generate a landscape image using the NVIDIA Canvas AI.
First, we select the “Sea material” [1], select the “Sea layer”[2], and fill up the top portion of the canvas with the brush tool[3]. The preview will be displayed on the right side of the canvas.

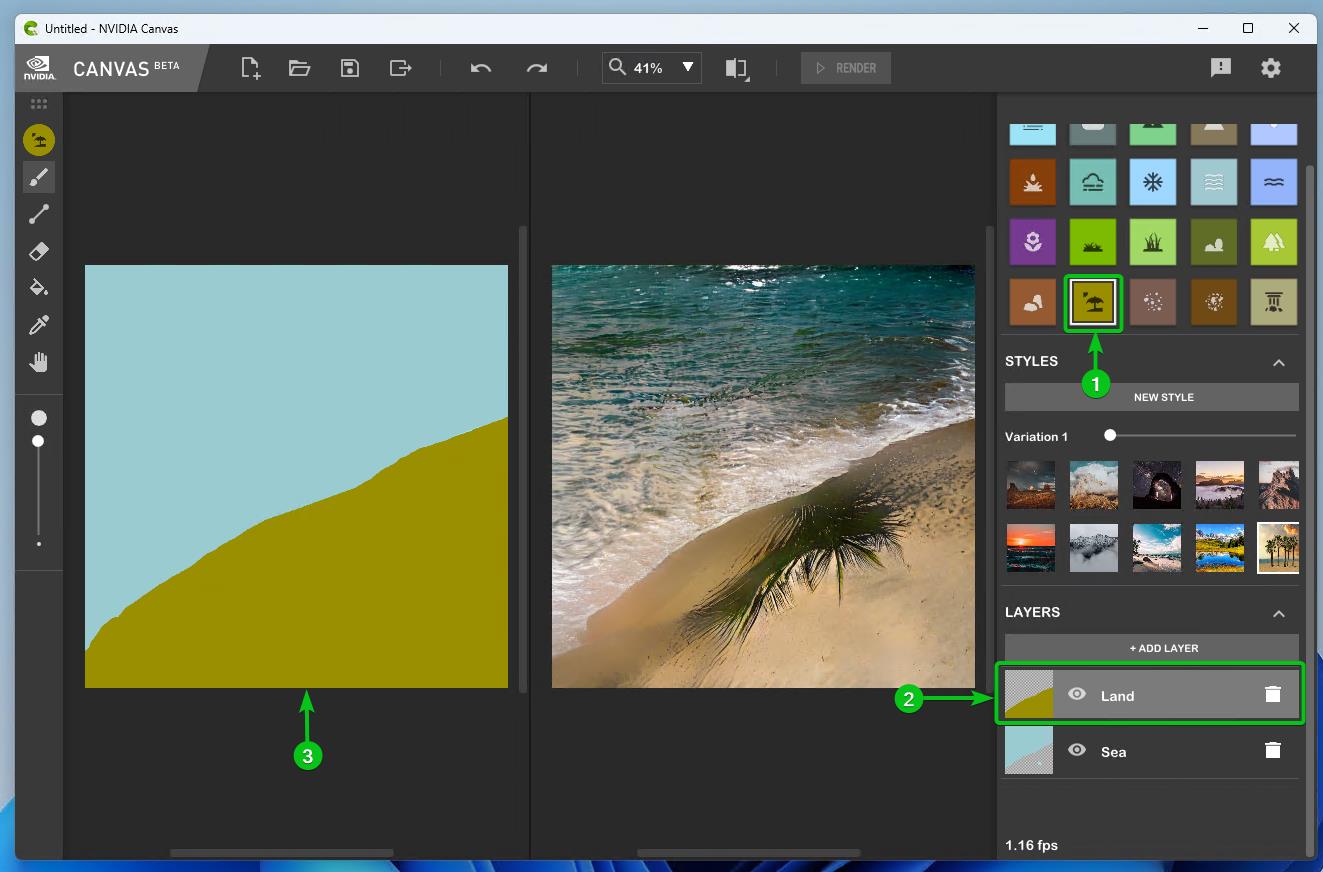
We create a “Land layer”1], select the “Sand material” [2], and draw an area of sand on the canvas[3].
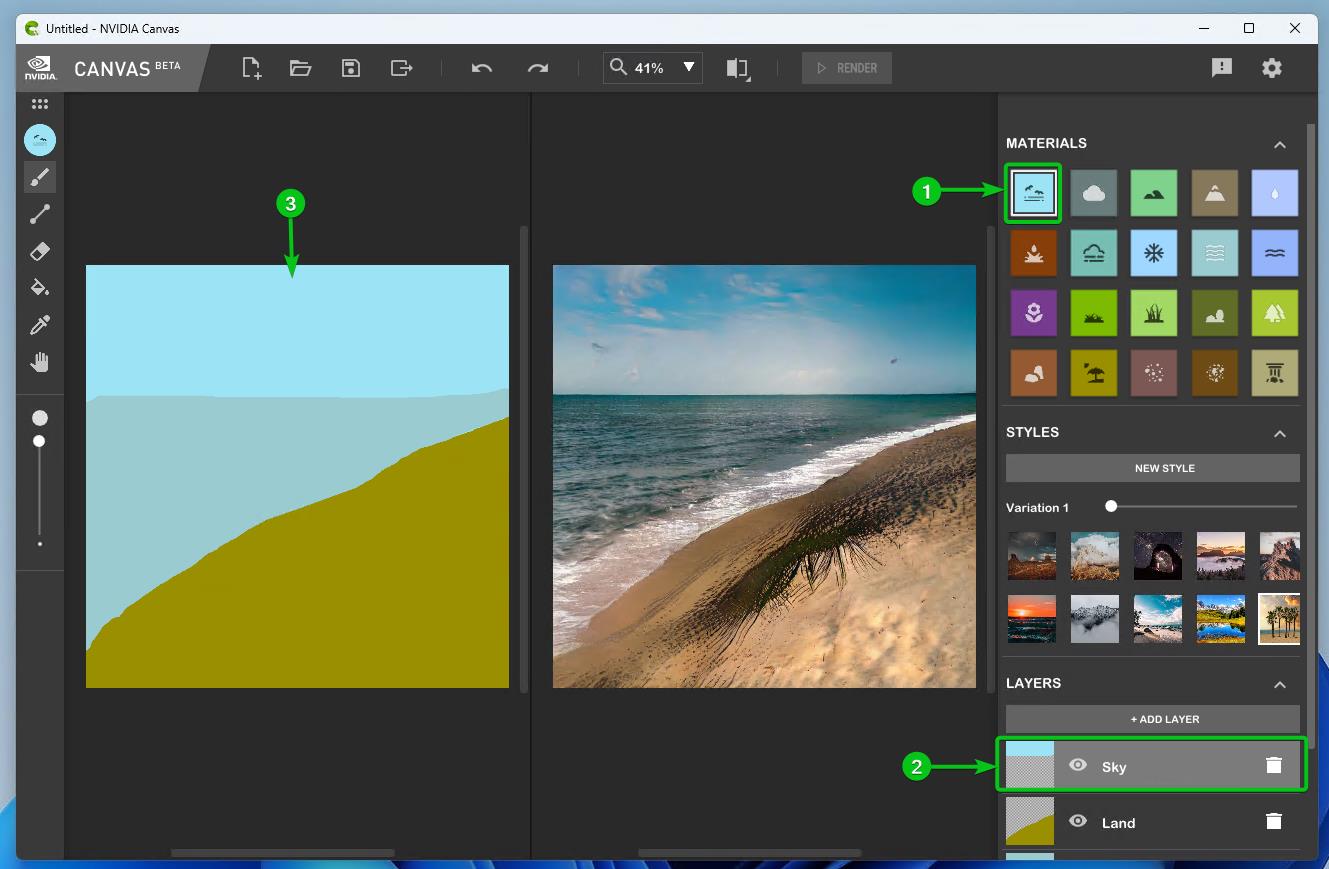
In the same way, we draw the sky at the top of the canvas.
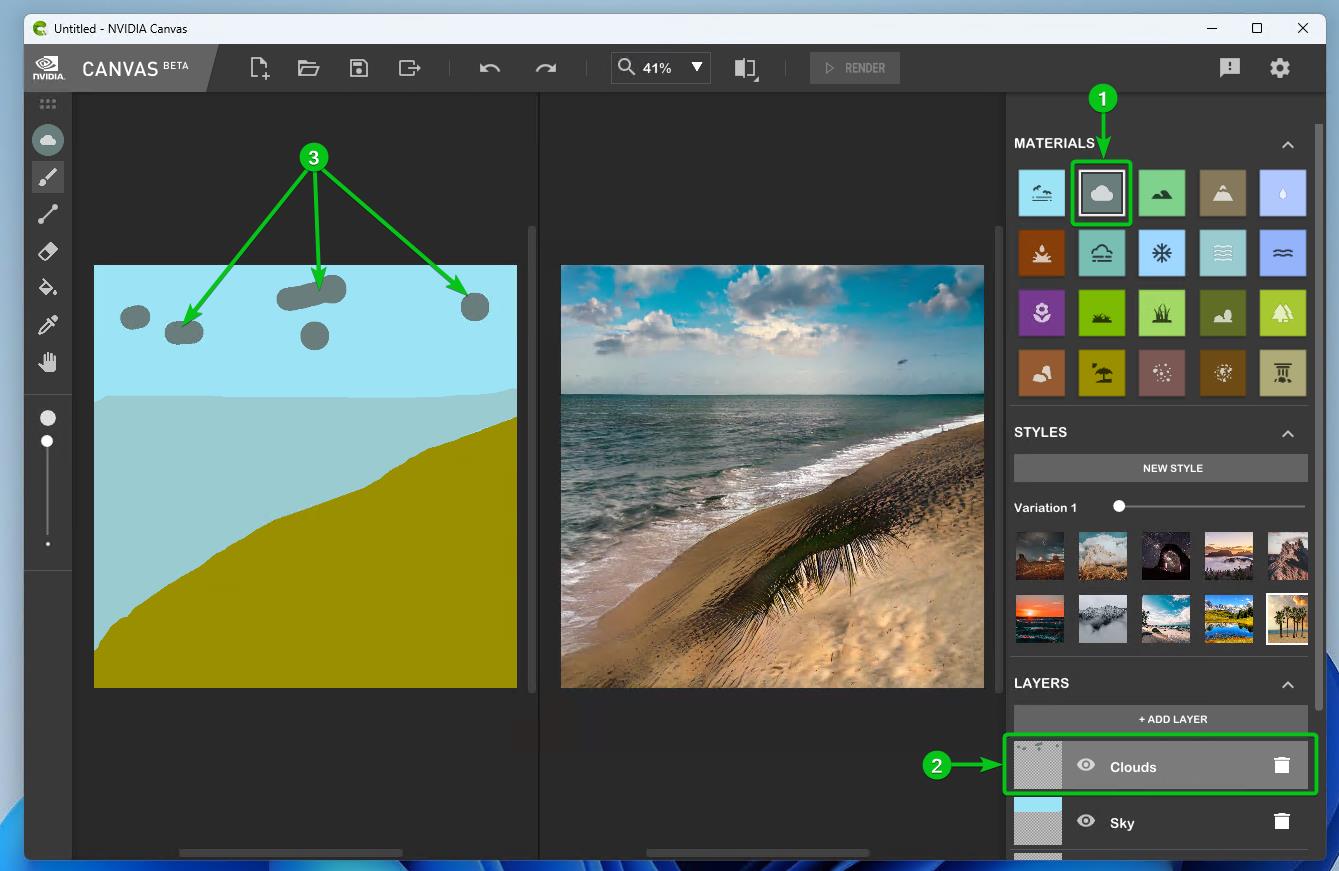
We draw some clouds in the sky.
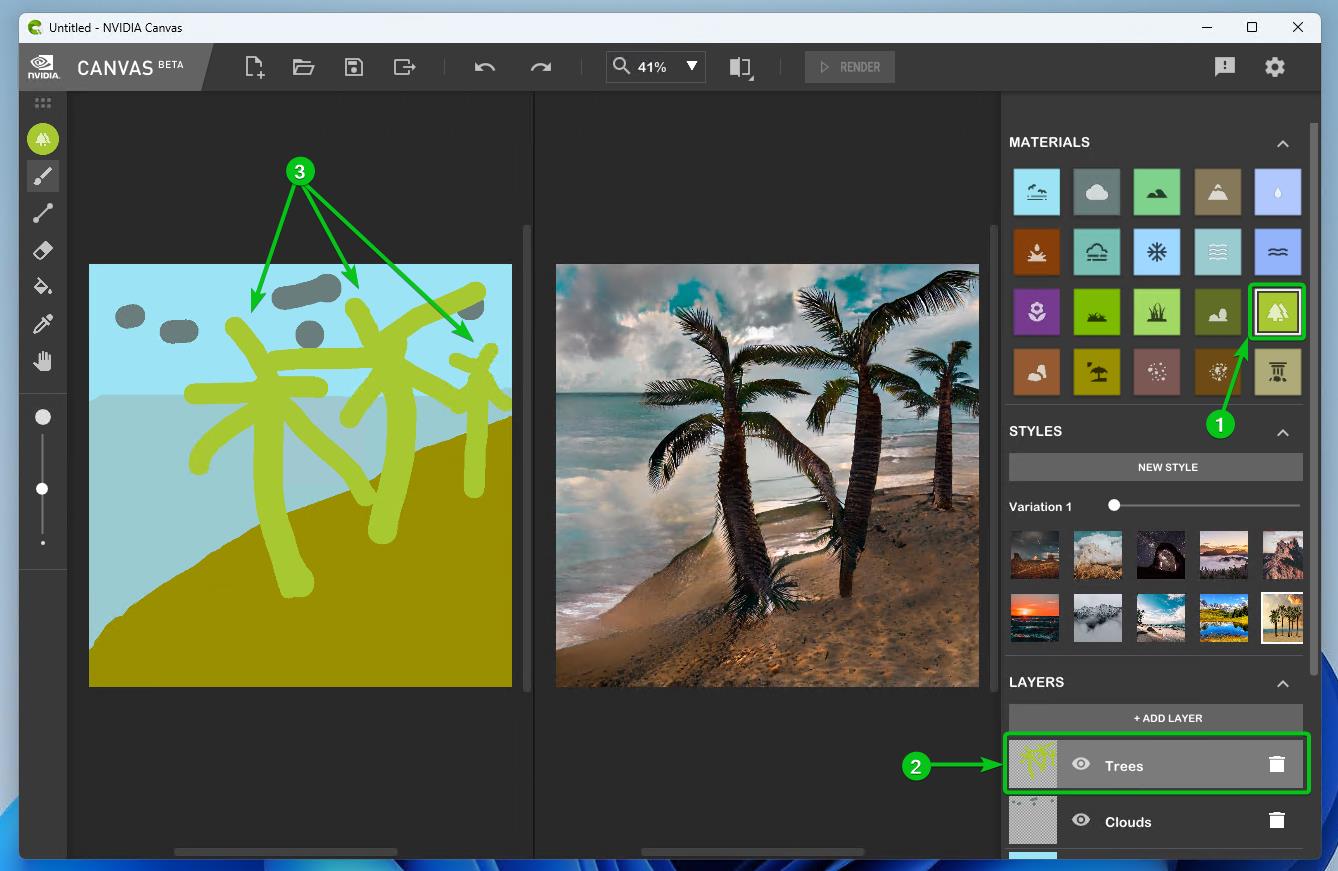
We also draw some trees on the canvas. The generated image looks good at this point.
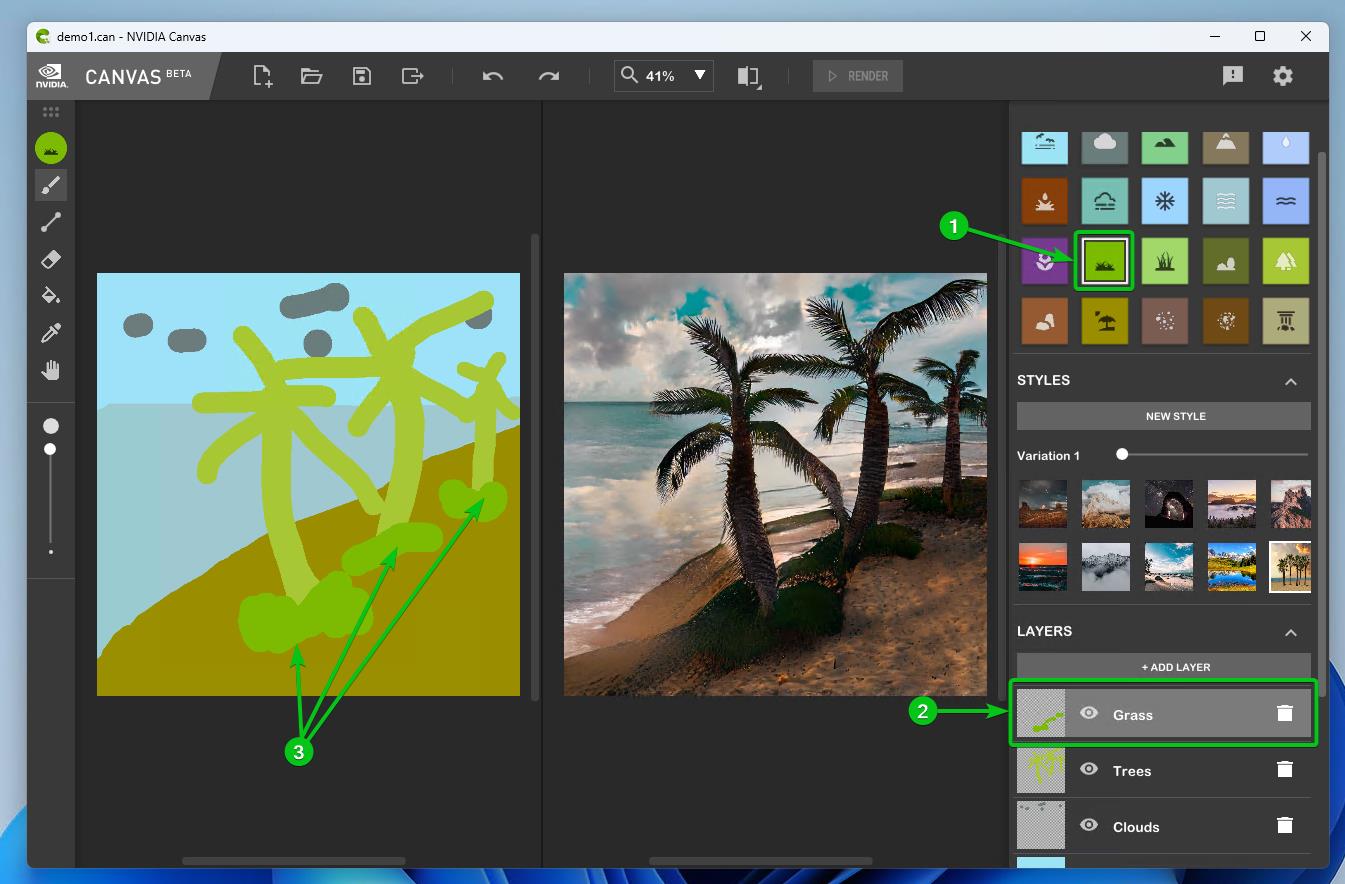
We add some grass below the tree.
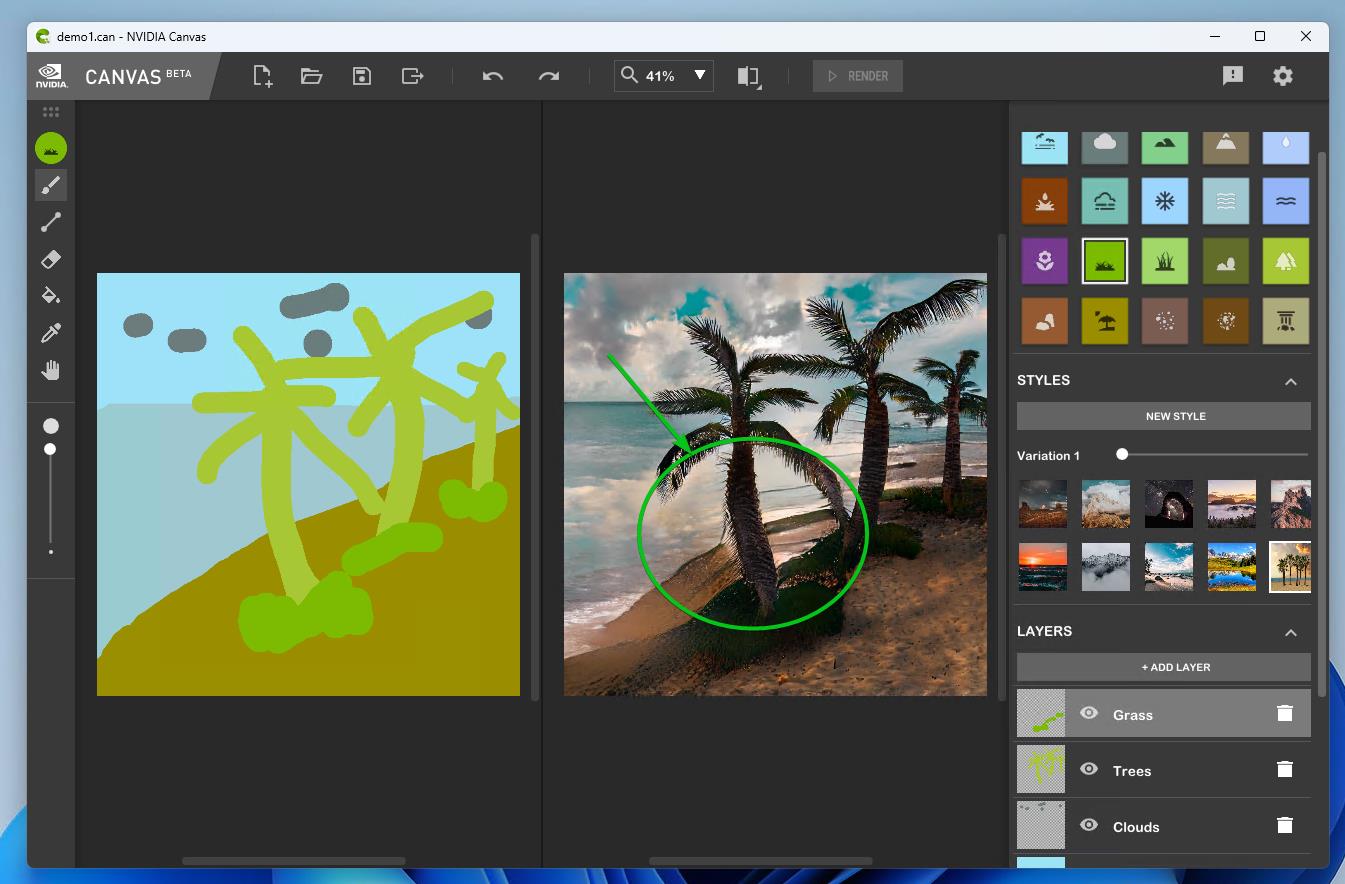
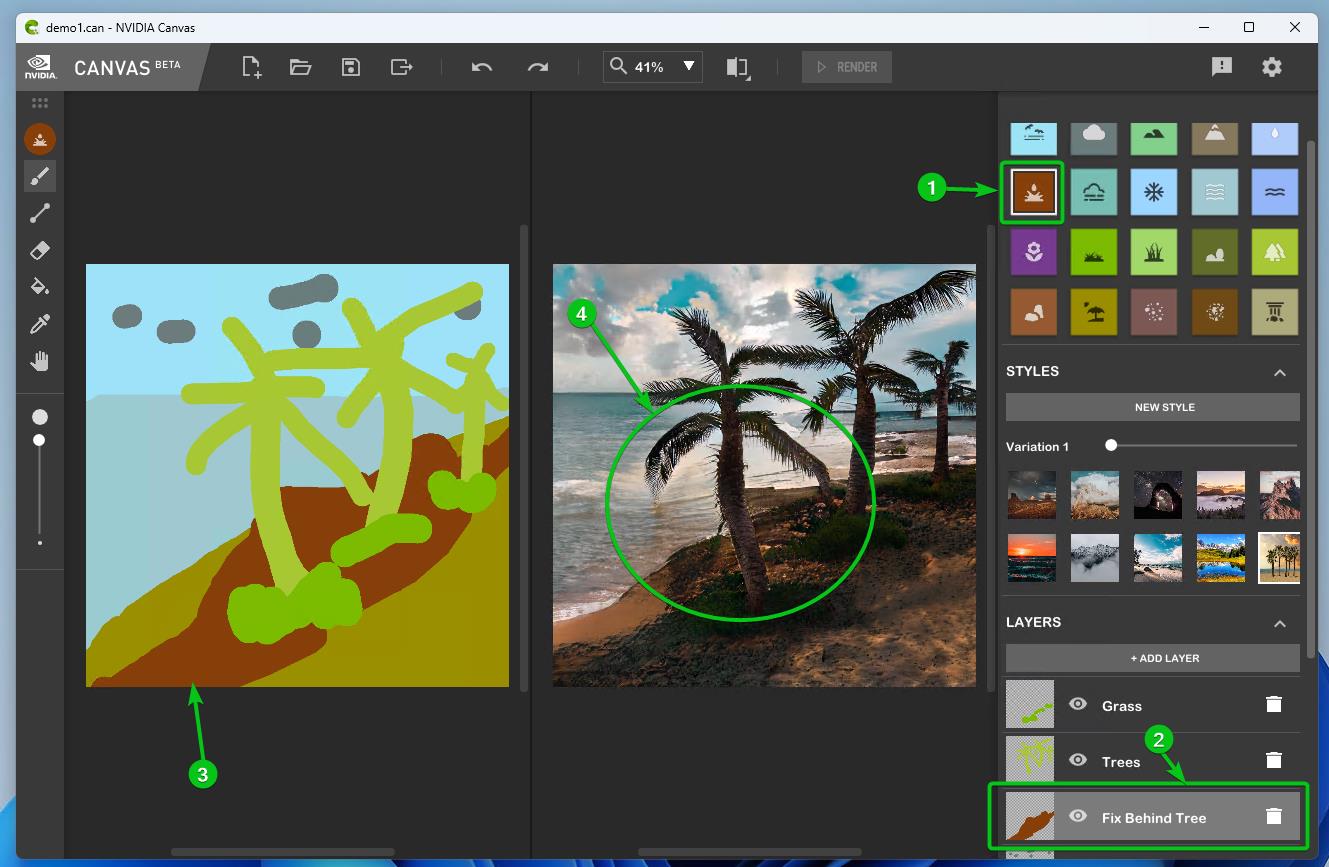
The bottom of one of the coconut trees looks bad.
We add some mud below the trees and grass to fix that. It looks a bit better than before.
Once you drew your landscape image, you can use the variation slider to check all the variations of the landscape image that Canvas AI generated for your selected style.
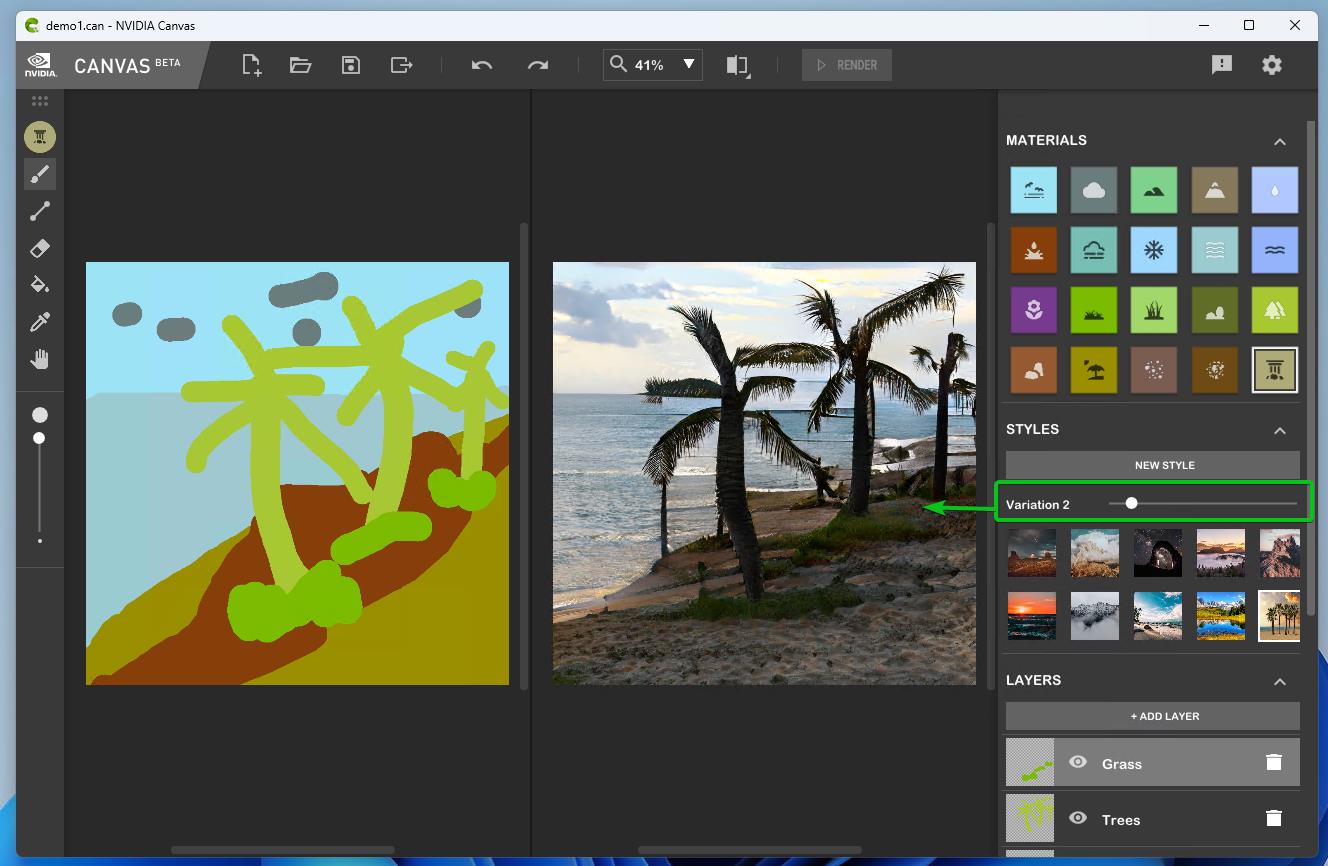
In our case, variation 10 looks the best.

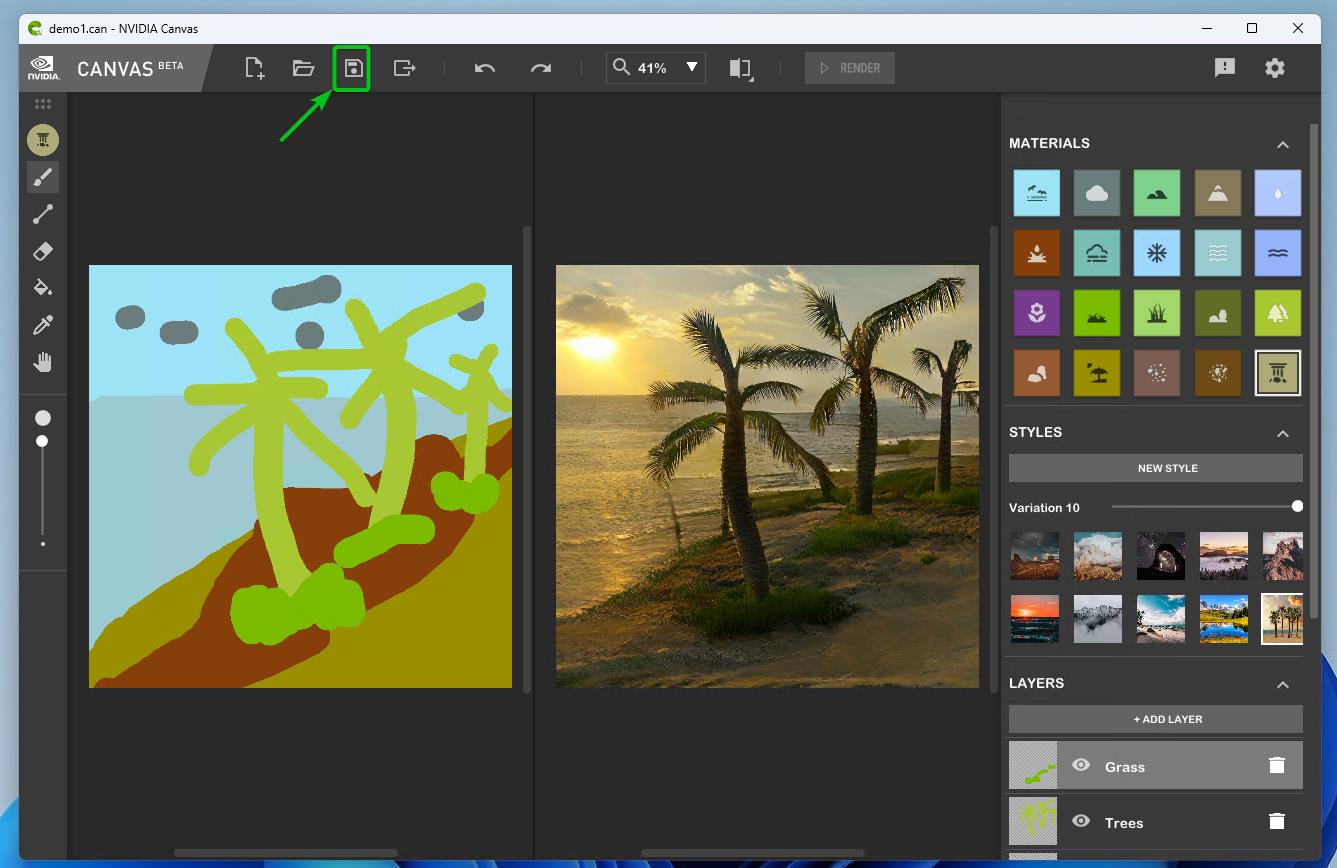
Saving the NVIDIA Canvas AI File
Once you’re done, you can click on the “save” icon as marked in the following screenshot to save your work:
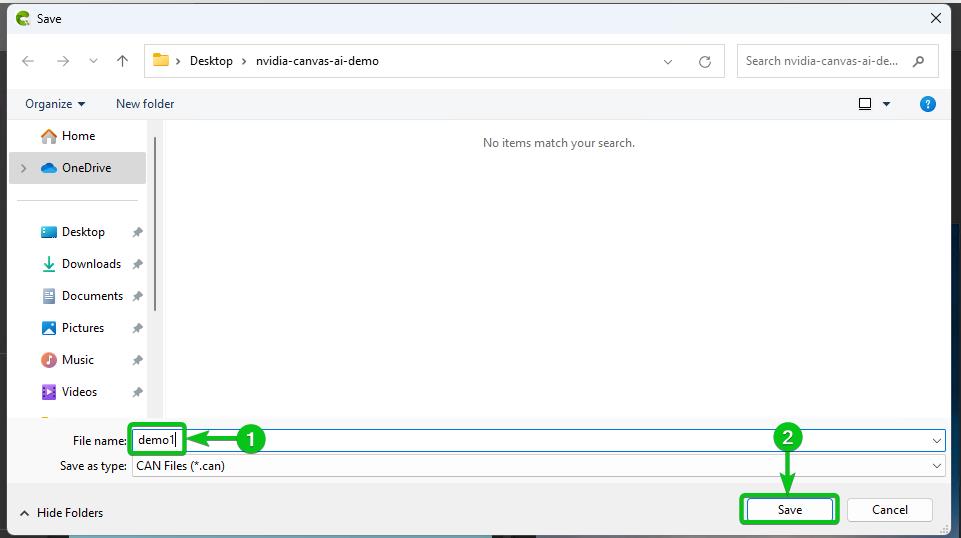
You will be asked to save the Canvas AI file on your computer. Select a location where you want to save the file, type in a name for the file[1], and click on “Save”[2].
Exporting the Canvas AI-Generated Landscape Image
To export the NVIDIA Canvas AI-generated landscape image, click on as marked in the following screenshot:

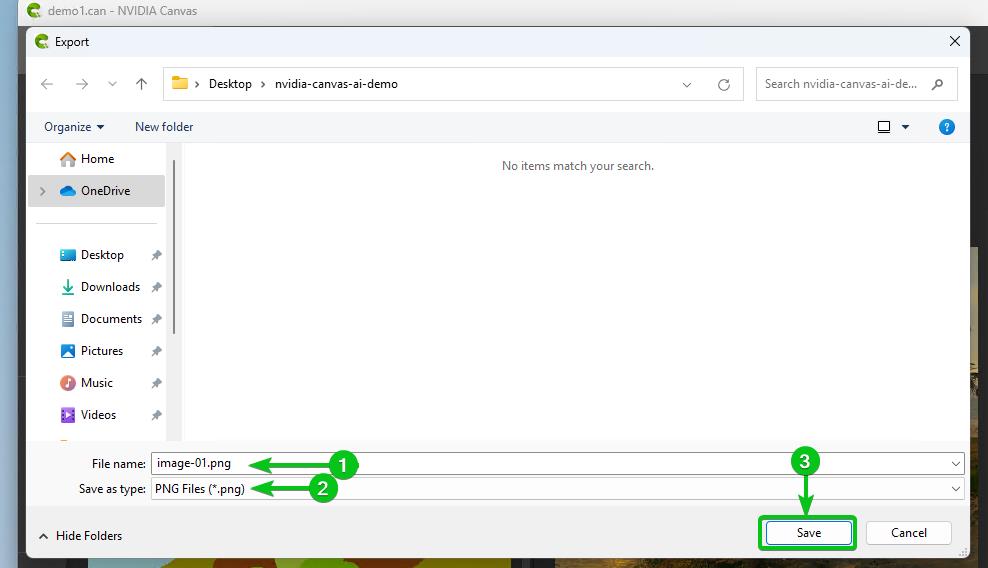
Select a folder where you want to export the Canvas AI image, type in a name for the file[1], select the export type from the dropdown menu[2], and click on “Save”[3].
At the time of this writing, the NVIDIA Canvas AI can export the generated landscape image in the following formats:
Exr: This file format has the “.exr” extension. This is a professional-grade image format. Blender, Adobe Photoshop, Adobe After Effects, DaVinci Resolve, and many other software can open the Exr files.
PSD: This file format has the “.psd” extension. If you want to import the generated image on Adobe Photoshop and other image editing software, select this format.
PNG: This file format has the “.png” extension. Any image editor can open this type of file. Select this option unless you have specific requirements.
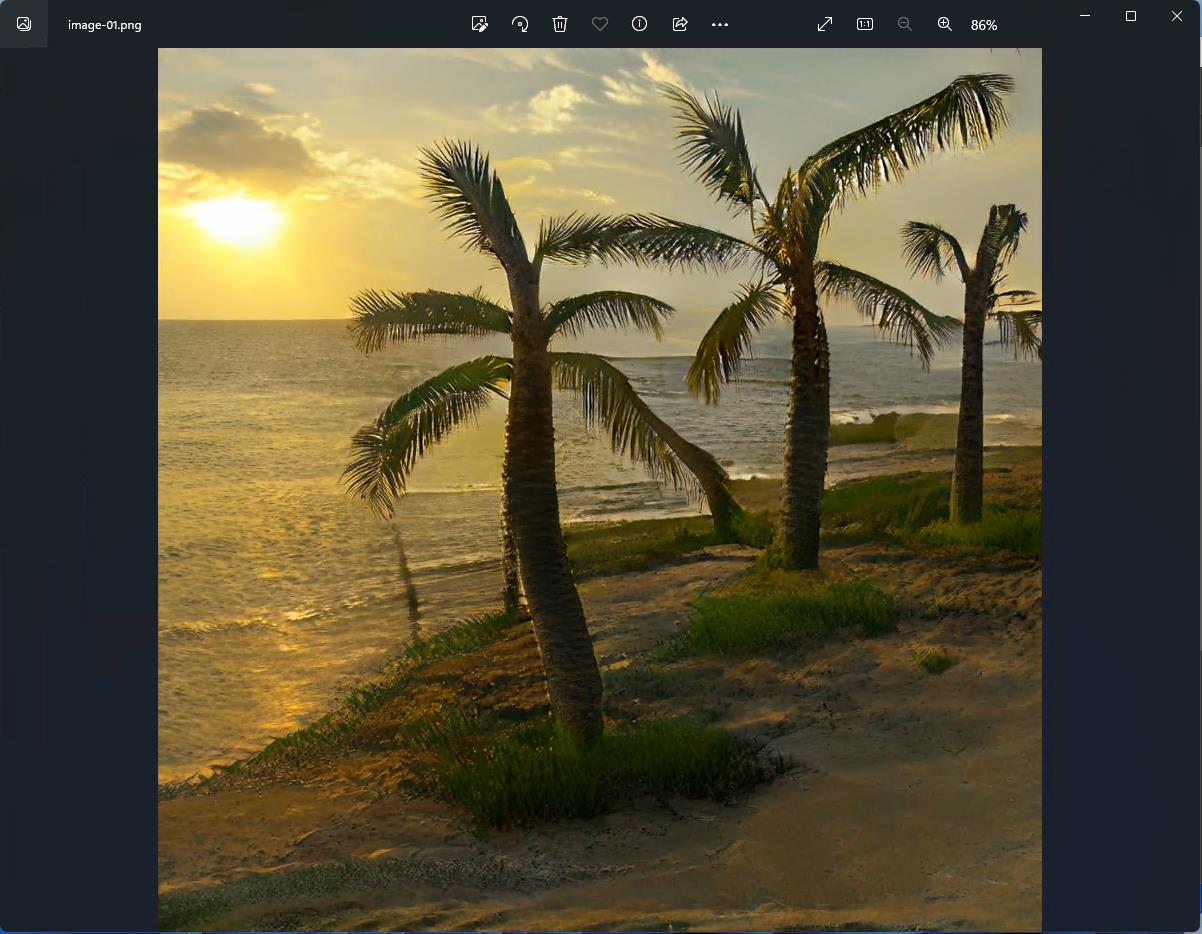
The generated landscape image should be exported. We open it with the default Image Viewer app of Windows 11 as you can see in the following screenshot:
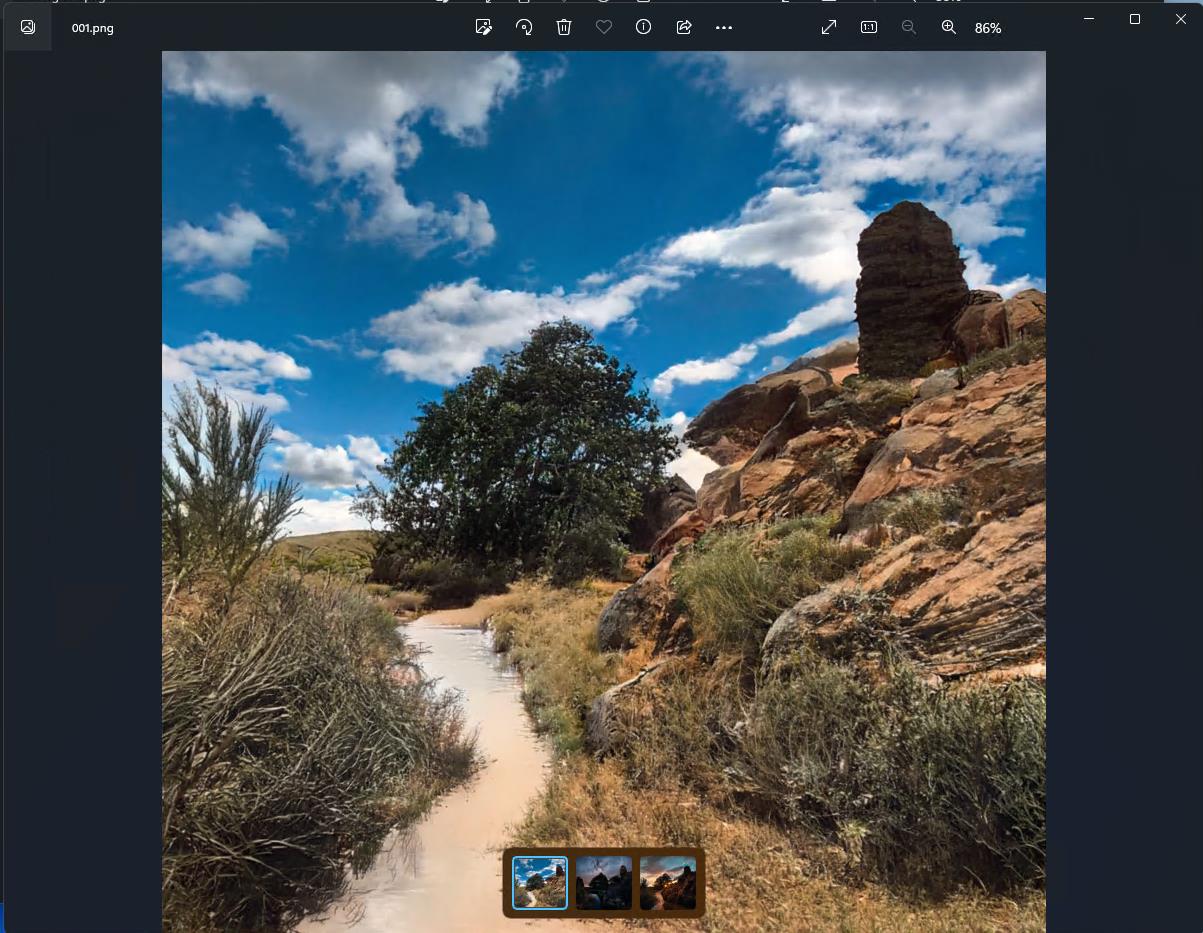
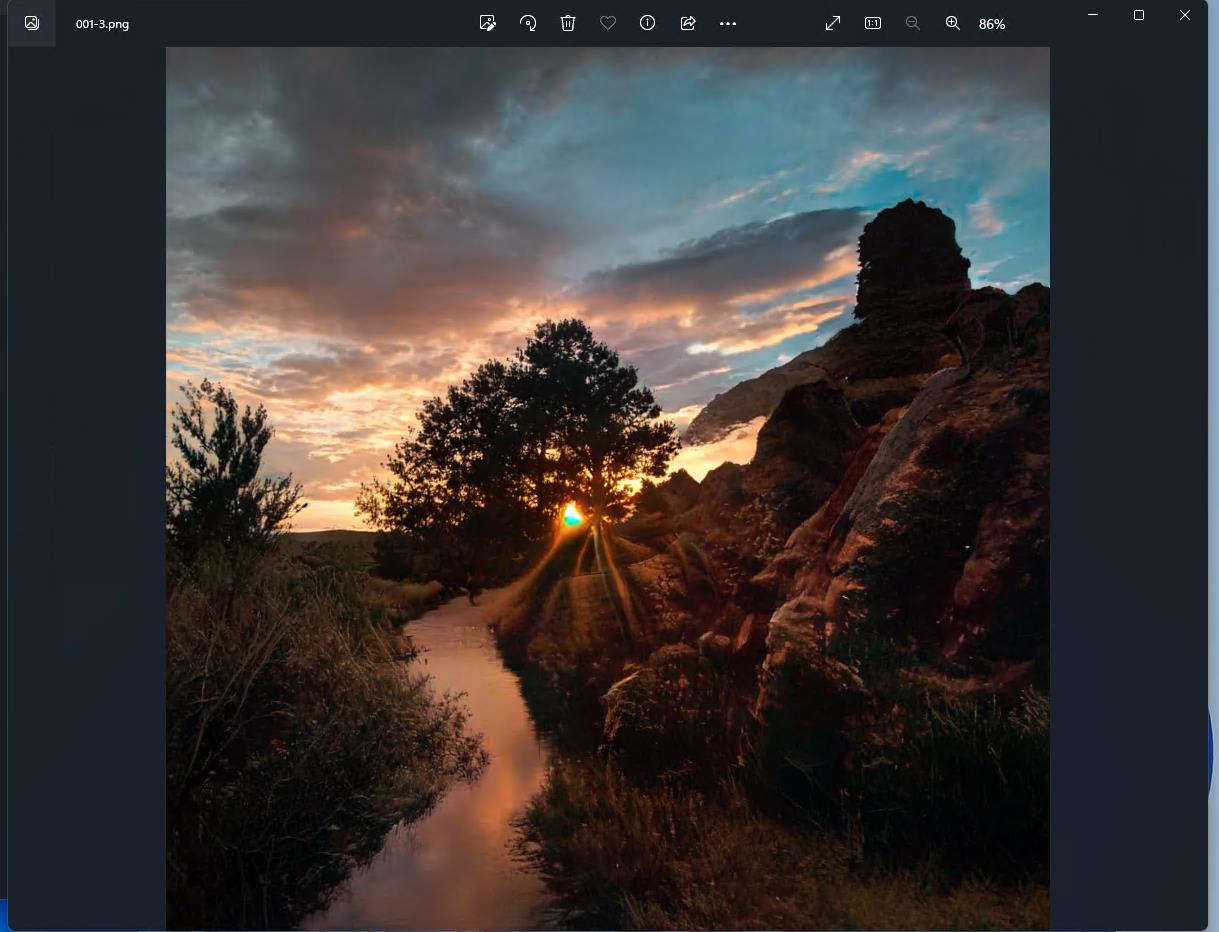
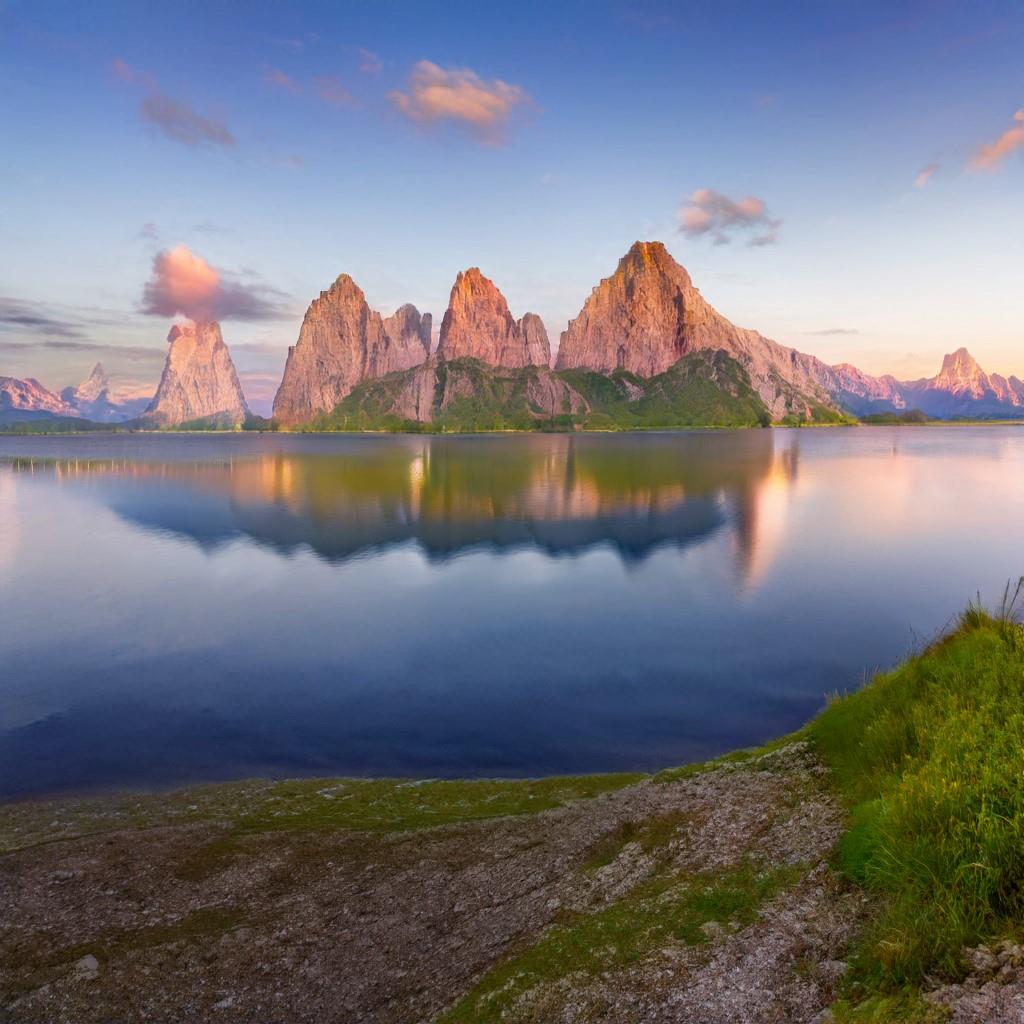
Other Landscape Images that We Generated
We generated some other landscape images using the NVIDIA Canvas AI. We are showing them to you just so you have an idea of what the NVIDIA Canvas AI can do. The possibilities are limitless. Once you get the hang of NVIDIA Canvas AI, you will be able to generate amazing realistic landscape images using the NVIDIA Canvas AI.

Conclusion
In this article, we explained the user interface and the available tools on the NVIDIA Canvas AI. We showed you the available NVIDIA Canvas AI materials and styles as well as how to add/import the new styles to NVIDIA Canvas AI. We also showed you how to manage the NVIDIA Canvas AI layers, save/export the Canvas AI files, and the basics of using the NVIDIA Canvas AI to generate the landscape images and some landscape images that we generated using the NVIDIA Canvas AI app.