Midjourney is a well-liked AI-powered tool that is utilized to generate user-defined images and designs with the help of natural language known as Prompt. Users can also customize the process of image generation through a few parameters and one such parameter is “–q”. This parameter is known as the Quality parameter that is used to manage image quality.
In this article, we will demonstrate how to use the “–q” command in Midjourney.
What is the “–q” Option in Midjourney?
The “–q” parameter is also known as the Quality command that helps the user manage the image quality. The image quality relies on how much time is taken to generate an image. Higher quality and deep detailing images will require more time.
However, the default quality value is “1” but users can adjust it according to their will such as “0.25”, “0.5”, or “1”.
How to Use the “–q” in Midjourney?
In Midjourney, the image is basically generated through the “/imagine” command. To set the quality of the image that is being generated, pass the “–q” parameter along with the command.
For a proper demonstration, check out the listed steps.
Step 1: Launch Discord
First, launch the Discord application from the Windows “Startup” menu:
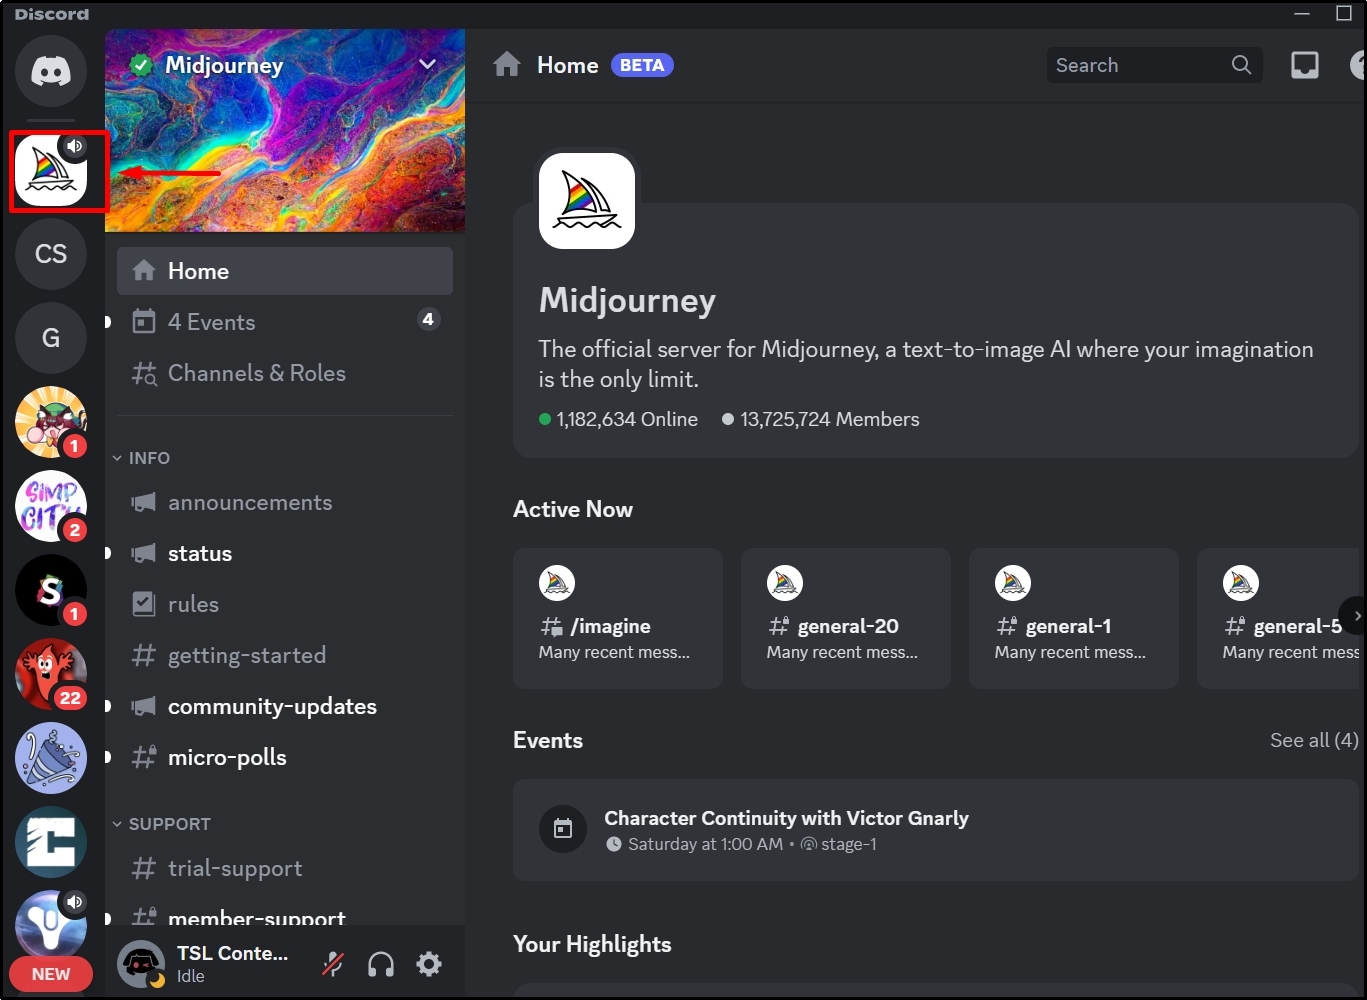
Step 2: Open the Midjourney Server
Open the Midjourney server by hitting the below-pointed icon from the left sidebar:
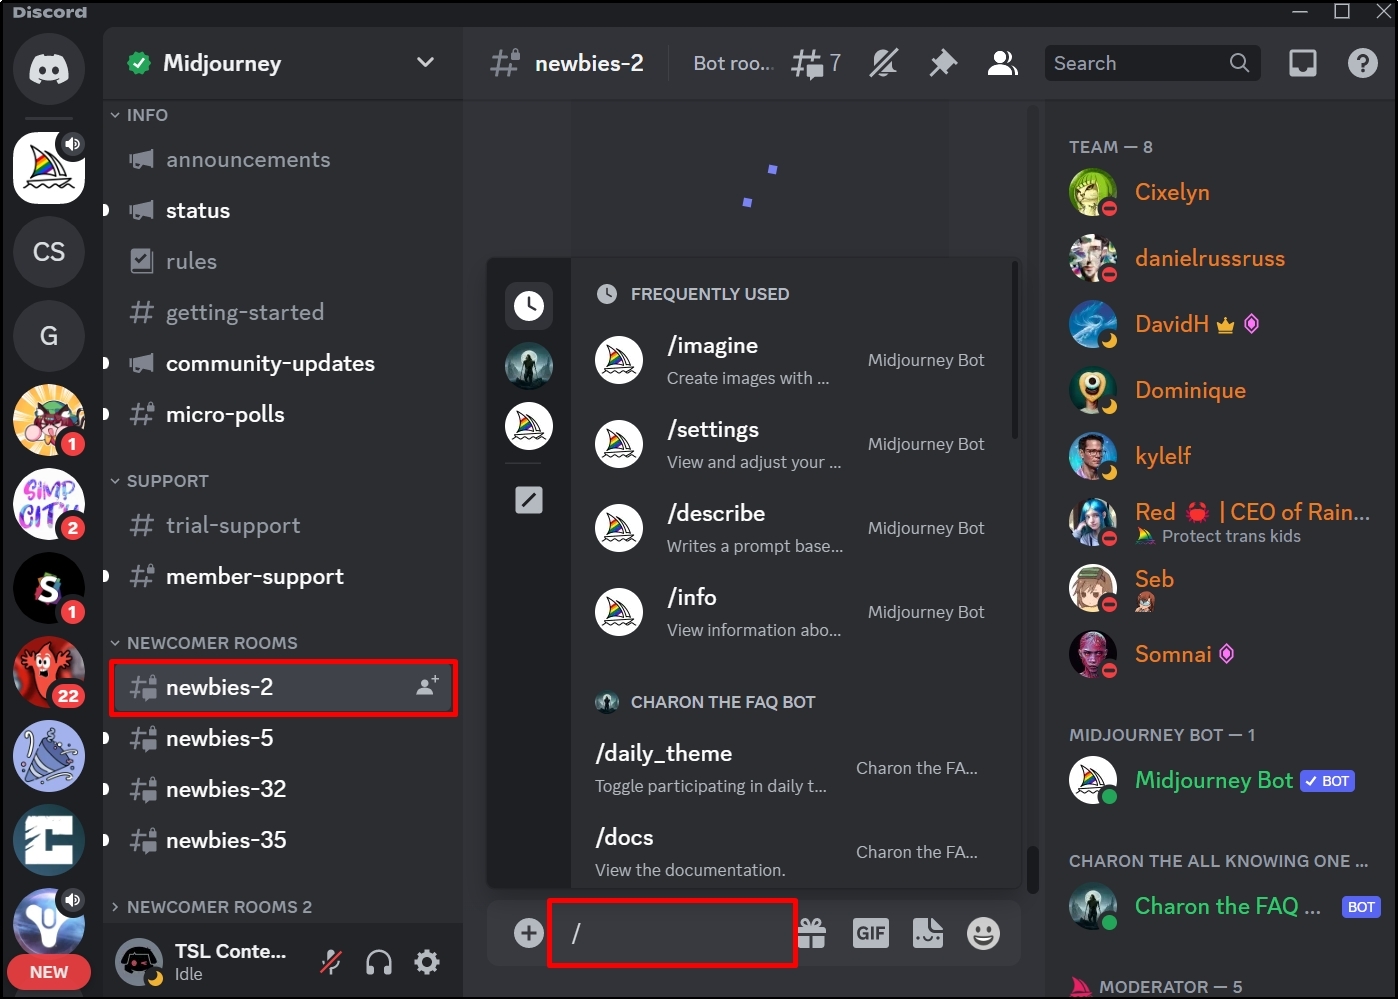
Step 3: Join Server Channel
In the next step, open the “newbies-2” channel from the “NEWCOMER ROOMS” drop down channel list. Type the forward slash “/” in the text channel to view all Midjourney commands and supported bots:
Step 4: Generate the Image With Quality Value “0.25”
Next, select the “Midjourney” bot from the appeared box and choose the “/imagine” command to generate the image:

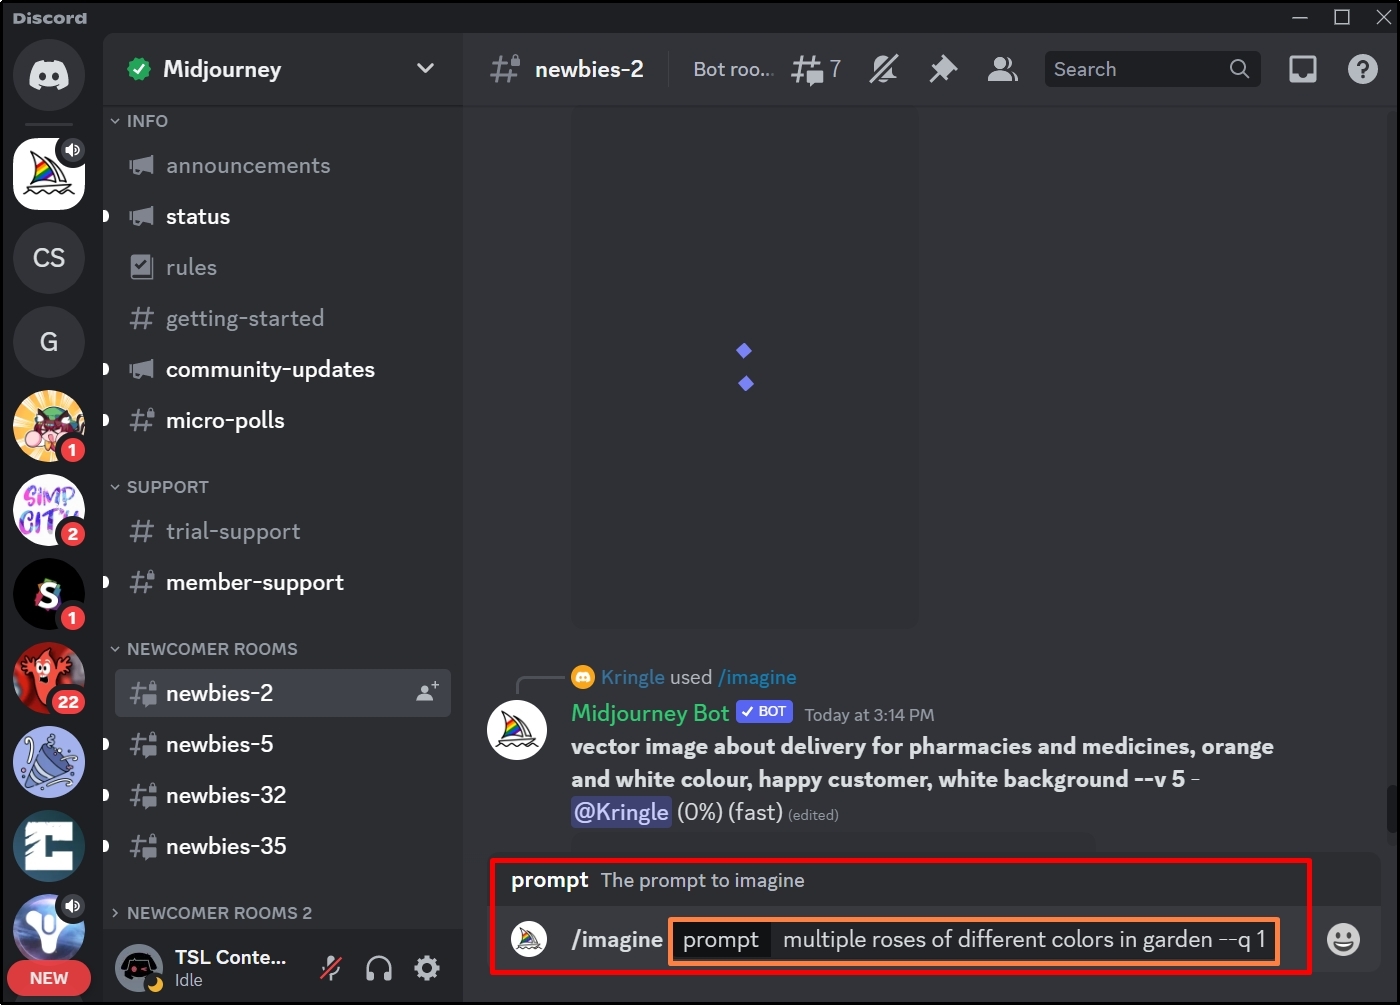
After that, it will ask you to enter a suitable prompt to generate the image. Provide the prompt and also pass the “–q” parameter along with the “0.25” value to generate the image:
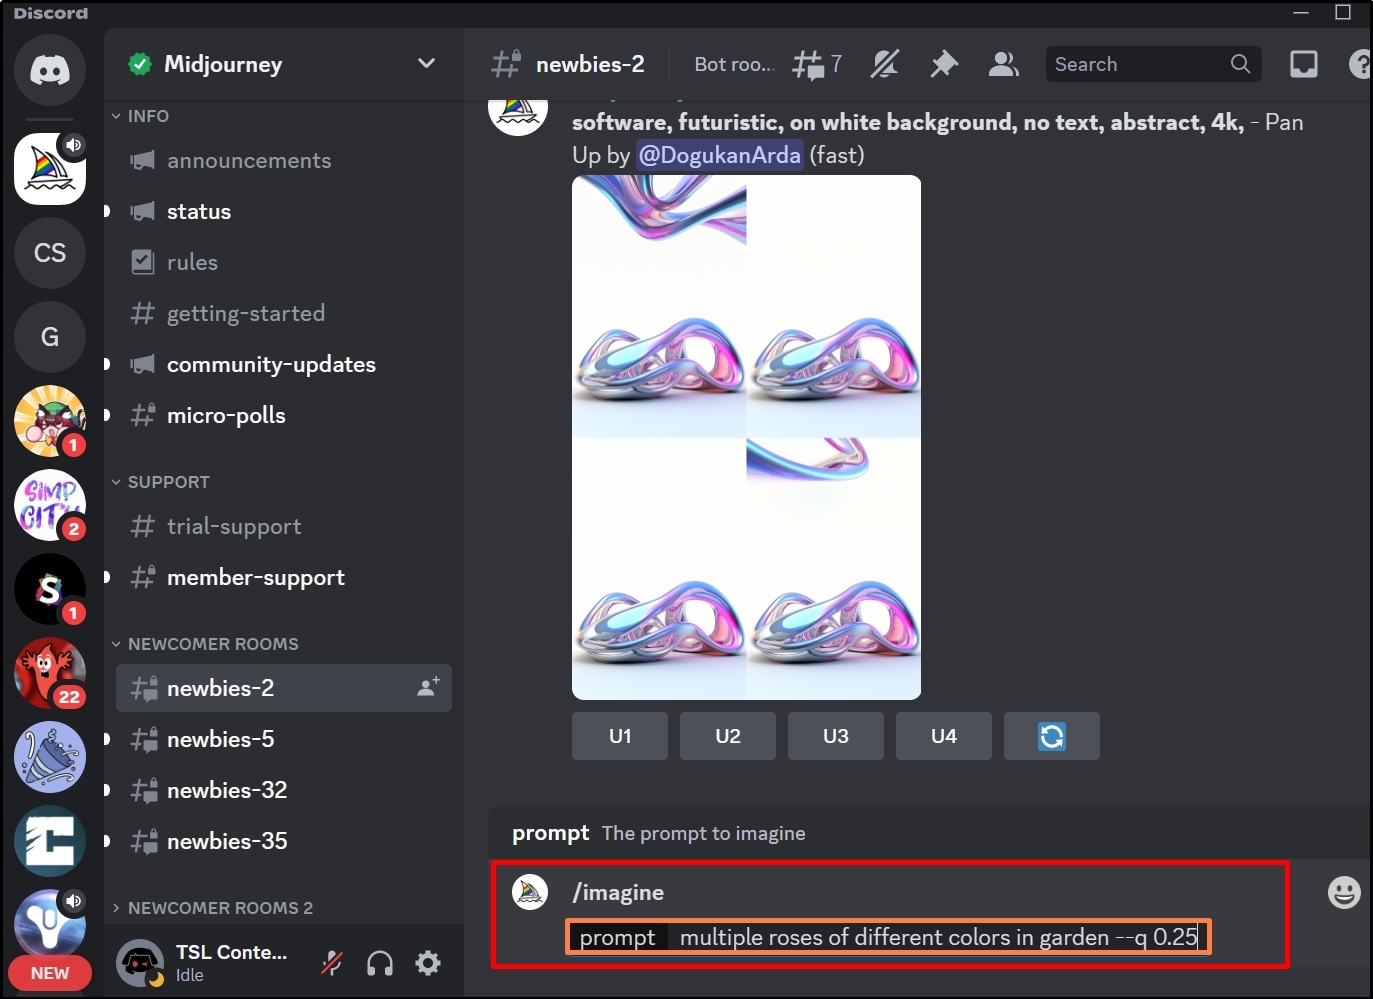
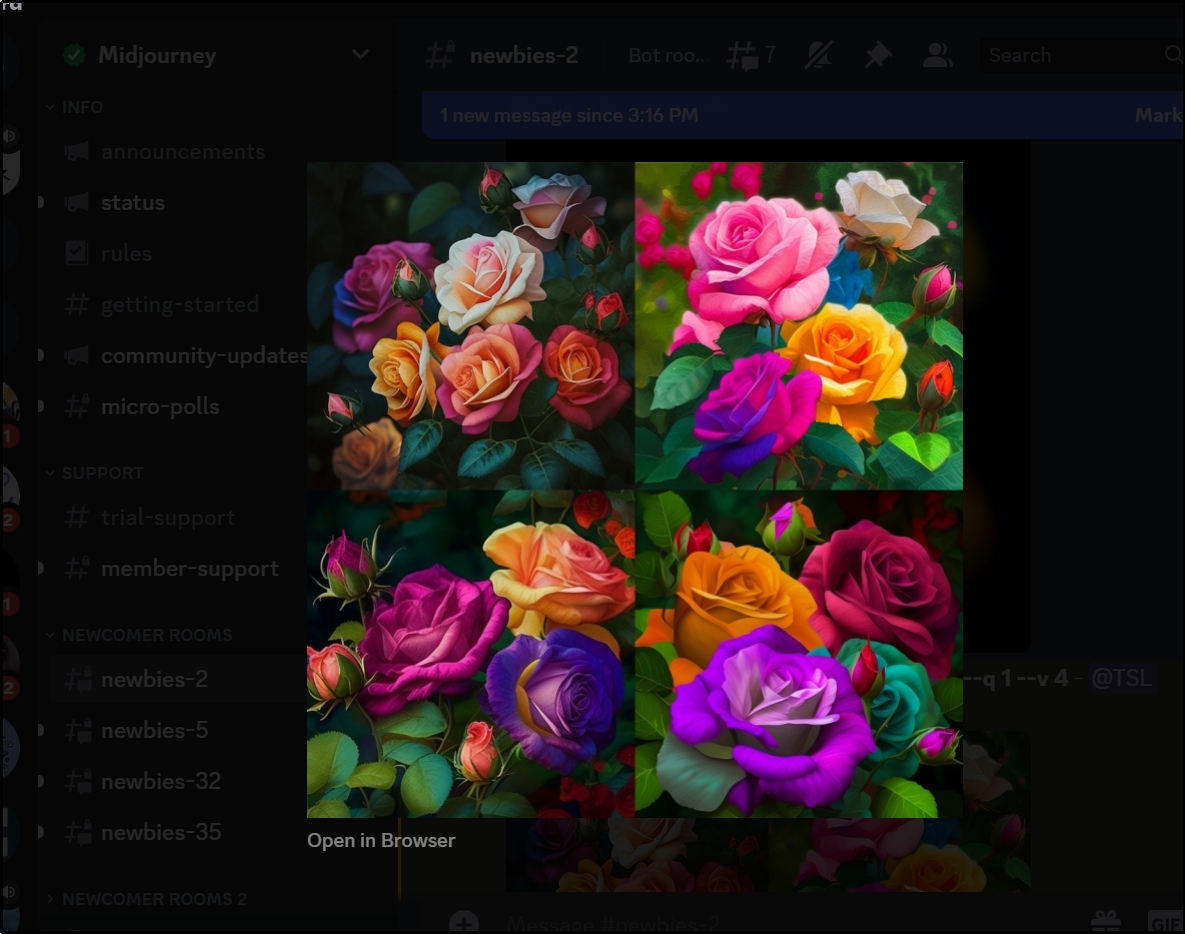
The image will be generated in less time and have small details. For instance, we have generated images of rose flowers of different colors:
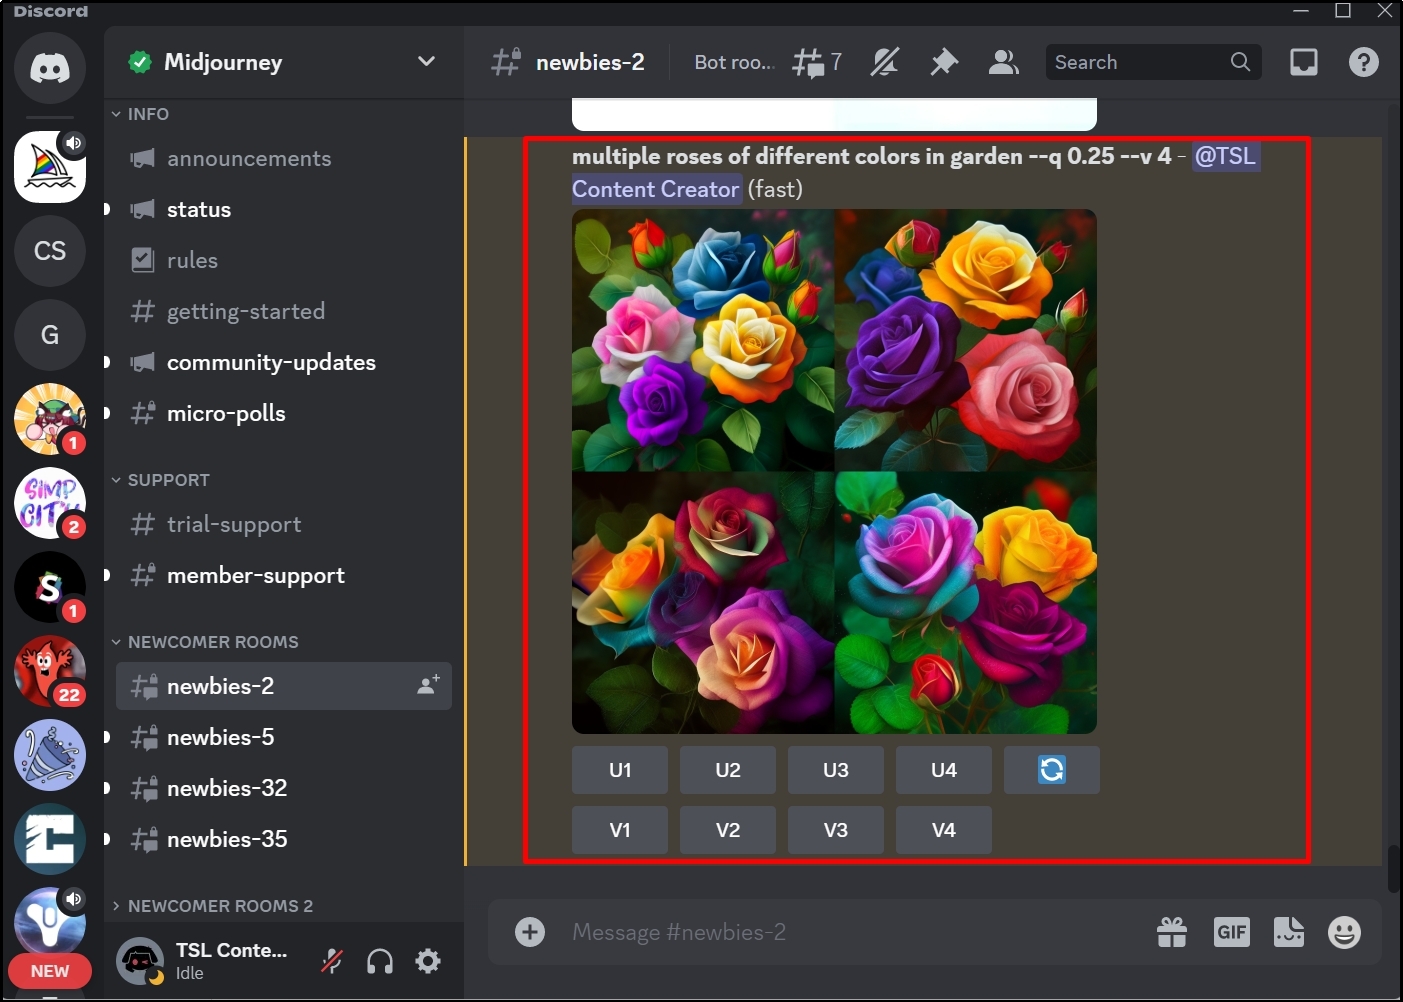
Here, you can see this image contains small detailing and generated in very less time:
Step 5: Generate the Image With Quality Value “1”
For comparison, let’s generate another image with “–q” value “1”. For this purpose, again utilize the “/imagine” command, pass the prompt to generate an image, and use the “–q” option along with the value “1”. Now, press Enter to execute the command:
Here, you can see Midjourney has generated new image with more details:
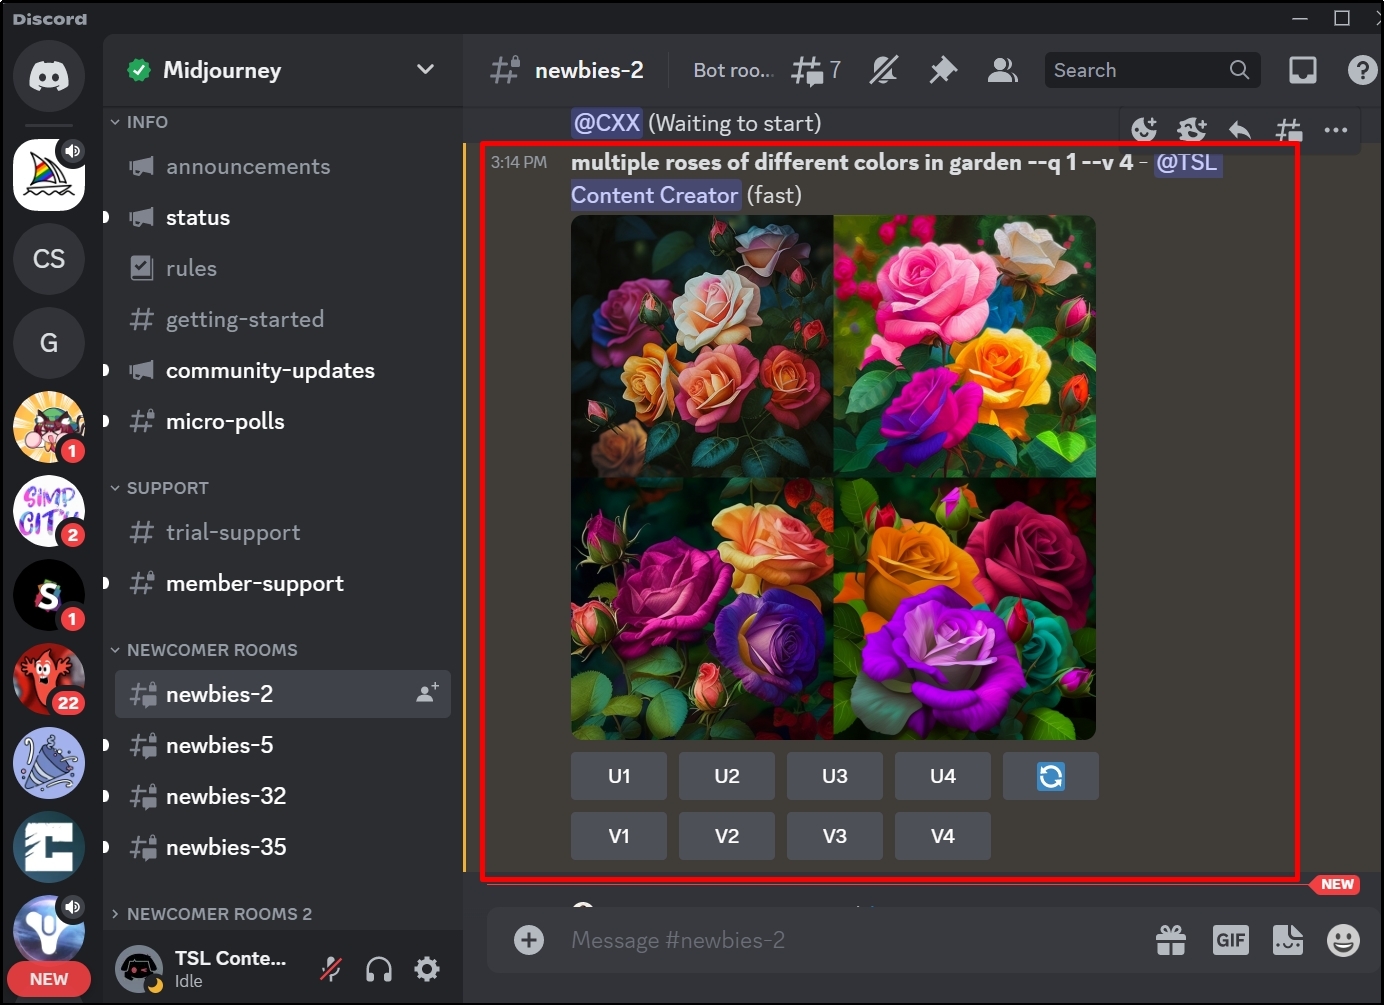
The below output shows the clear difference between the image generated by quality values “0.25” and “1”:
Conclusion
The “–q” command is utilized to set the quality of the image that is being generated by Midjourney. Users can set the value of the “–q” parameter as “0.25”, “0.5”, and “1”. The higher value will generate high-quality and more detailed images and require more time. To use the “–q” option, utilize the “/imagine” command, pass the prompt to generate an image, and use the “–q” option along with the value. This blog has illustrated how to use the “–q” command in Midjourney.