
Prerequisites:
Before practicing the script of this tutorial, you have to complete the following tasks.
A. Install the Django version 3+ on Ubuntu 20+ (preferably)
B. Create a Django project
C. Run the Django server to check the server is working correctly or not.
Setup a Django app:
A. Run the following command to create a Django app named databaseapp.
B. Run the following command to create the user for accessing the Django database. If you have completed the user before, then you don’t need to run the command.
C. Add the app name in the INSTALLED_APP part of the settings.py file.
…..
'validationapp'
]
D. Create a folder named templates inside the databaseapp folder and set the template’s location of the app in the TEMPLATES part of the settings.py file.
{
….
'DIRS': ['/home/fahmida/django_pro/databaseapp/templates'],
….
},
]
Design model with default and null attributes:
Modify the models.py file with the following script to create a table named products that will contain four fields without the id field. These names, price, manufacturing_date, and expire_date. The value of the null attribute is set to True for all fields. The value of the blank attribute is set to True for all fields also. This means the user can keep the fields blank before submitting the form that will use this model. The default attribute value is set for the price, manufacturing_date, and expire_date.
models.py
from django.db import models
# Create class to define the structure of Teachers table
class Product(models.Model):
name = models.CharField(max_length=50, null=True, blank=True)
price = models.IntegerField(null=True, default=’’, blank=True)
manufacturing_date = models.DateField(null=True, default='0000-00-00', blank=True)
expire_date = models.DateField(null=True, default='0000-00-00', blank=True)
Run the following migration commands to create the necessary migration files and the SQLite database’s database table.
$ python3 manage.py migrate
Data insertion using Django Administration Dashboard:
Modify the content of the admin.py file with the following script to register the model in the database.
admin.py
Modify the urls.py file with the following script to define the path to open the Django Administrative Dashboard.
urls.py
from django.contrib import admin
# Import path module
from django.urls import path
# Define path for customer and admin
urlpatterns = [
path('admin/', admin.site.urls)
]
Now, run the Django server and go to the Django Administrative Dashboard by using the following URL.
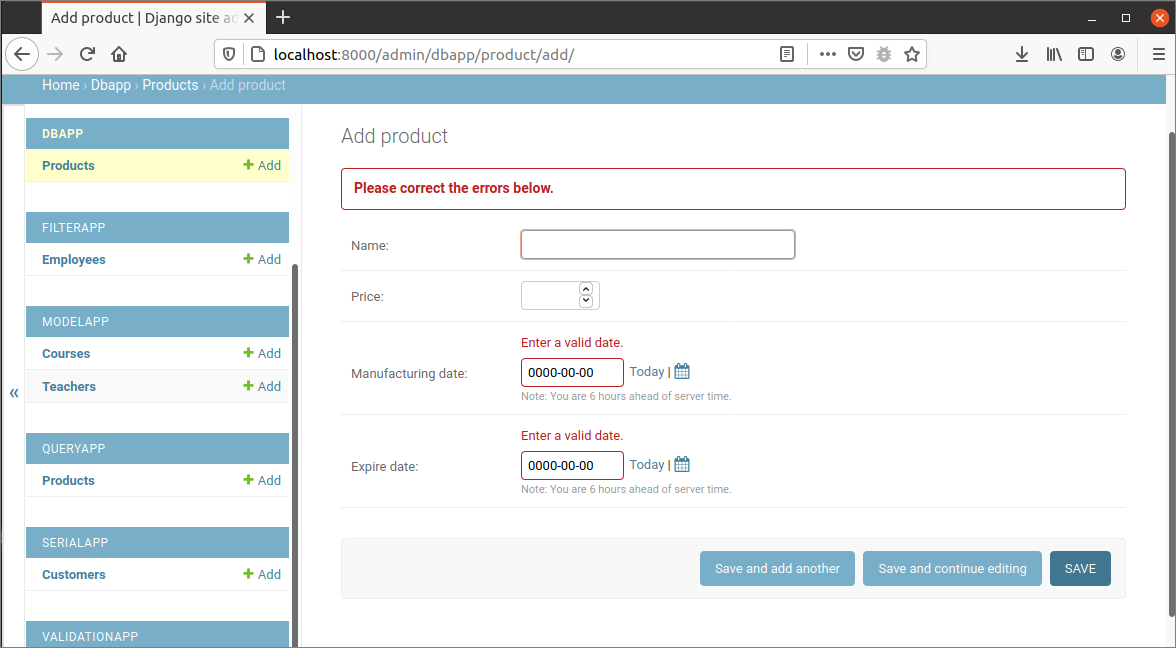
open the product entry form by clicking Add product. If the user submits the form without inserting data, then the following output will appear in the browser. Here, two date fields are showing errors because the default value of the date field is not in a valid format.
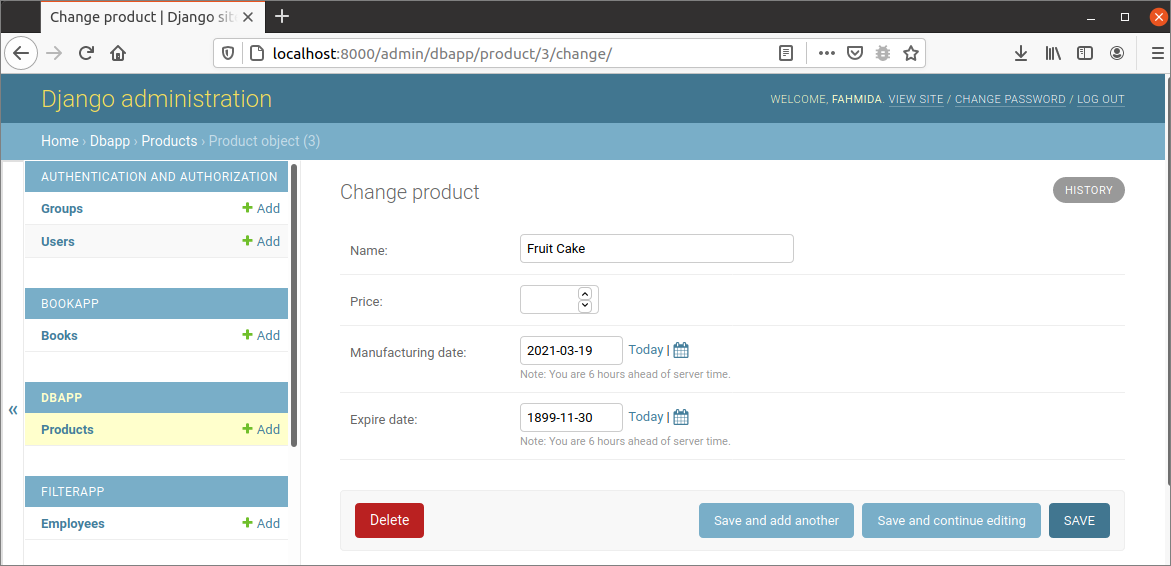
The following output will appear after adding the valid date data. Here, the price field is blank for using the default attribute.
Data insertion using the template:
The way of inserting data into the products table using HTML form has been shown in this section. Here, the form elements will be generated based on the model that is created previously.
forms.py
from django import forms
# Import Customer model
from dbapp.models import Product
# Define the class for the customer form
class ProductForm(forms.ModelForm):
class Meta:
model = Product
fields = '__all__'
Create the HTML file named product.html inside the templates folder of the app with the following script. The form data will be submitted when the user will click on the Save button.
product.html
Modify the views.py file with the following script to insert data into the products table after validating the form. AddProduct() function is defined in the script to check the form is submitted or not, and if the form is submitted, then it will check the form data are valid or invalid. If is_valid() function returns true, then the data will be inserted into the products table, and a success message will be displayed in the browser.
views.py
from django.http.response import HttpResponse
# Import render module
from django.shortcuts import render
# Import ProductForm
from dbapp.forms import ProductForm
# Define function to add product entry
def AddProduct(request):
if request.method == "POST":
form = ProductForm(request.POST)
# If the form data are valid or not
if form.is_valid():
try:
# Save the form data into the database
form.save()
# Define the message for the user
data = ['<p>The Product added.</p>']
# Return the response
return HttpResponse(data)
except:
pass
else:
# Define the form object
form = ProductForm()
# Show the product entry form
return render(request, 'product.html', {'form': form})
Modify the urls.py file with the following script to define the path to call the view function.
urls.py
from django.contrib import admin
# Import path module
from django.urls import path
# Import view
from dbapp import views
# Define path for customer and admin
urlpatterns = [
path('', views.AddProduct),
path('admin/', admin.site.urls)
]
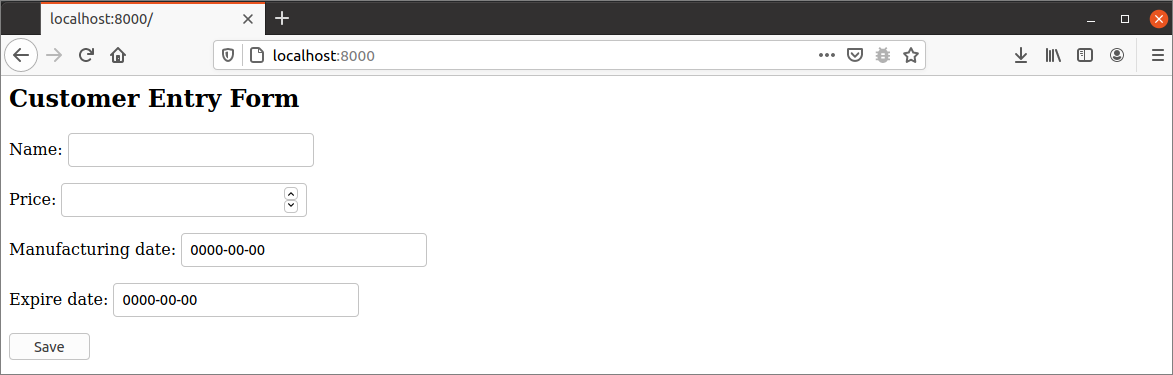
Now, run the Django server and open the base URL in the browser.
http://localhist:8000/
The following form will appear.
The following ValueError will appear if the user submits the form without adding any data in the form. Here, the price field is an integer that can’t be the empty string.

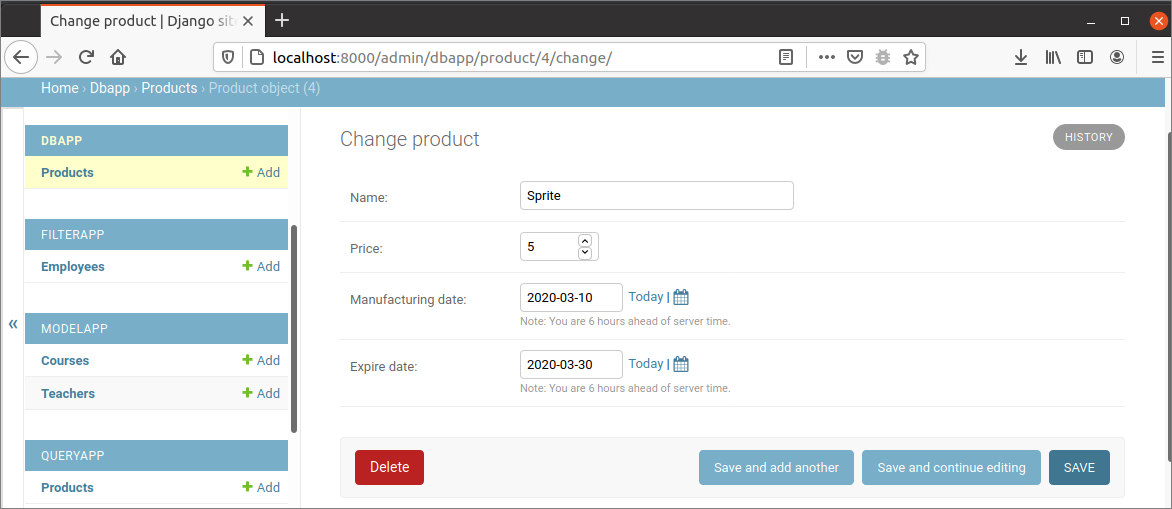
If the user enters the valid data like the form below and presses the Save button, a new product record will be inserted into the database.

The following image will appear if you open the newly inserted record from the Django Dashboard.
Conclusion:
A model has been designed by using null, and default attributes in this tutorial. Next, the ways of inserting data in these fields in the back-end and the front-end have shown here to help the reader know the uses of default and null attributes in the Django database.