However, while coding or installing some modules in Python, the user may encounter the errors “pip command not found” on Mac and Linux and “pip is not recognized as the internal or external command” on Windows.
This blog will demonstrate the fixes to resolve the “pip not found” error using the following outline:
Fix the “pip command not found” on Windows
Sometimes, the “pip is not recognized as an internal or external” command error occurs on Windows as shown below. This is due to various causes such as if pip is not properly installed, if pip is not added to the Windows Path variable or older version of pip is running on Windows:

To fix the stated error, the user can try the following solutions:
Solution 1: Install pip Properly on the System
If pip is not installed with Python installation, then the user can face the stated error. To fix the error, launch the Python installer, customize the Python installation option, and install the Python and pip on the system. For demonstration, go through the below steps.
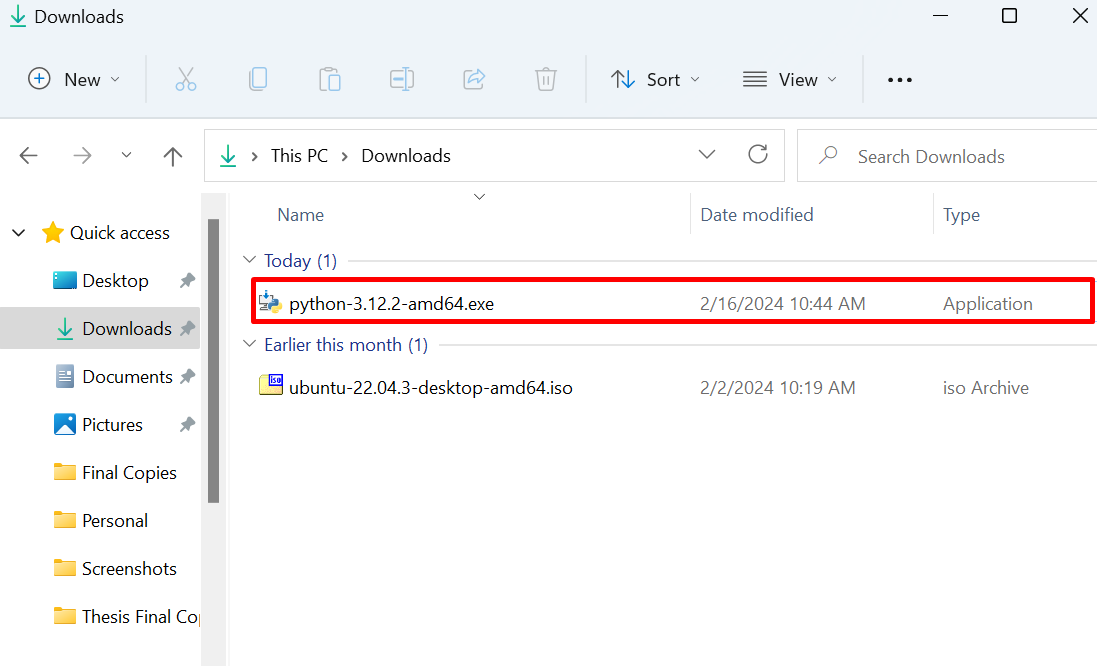
Step 1: Launch Python Installer
Open the Python’s website and download the Python installer. After that, navigate to the “Downloads” folder and run the installer:
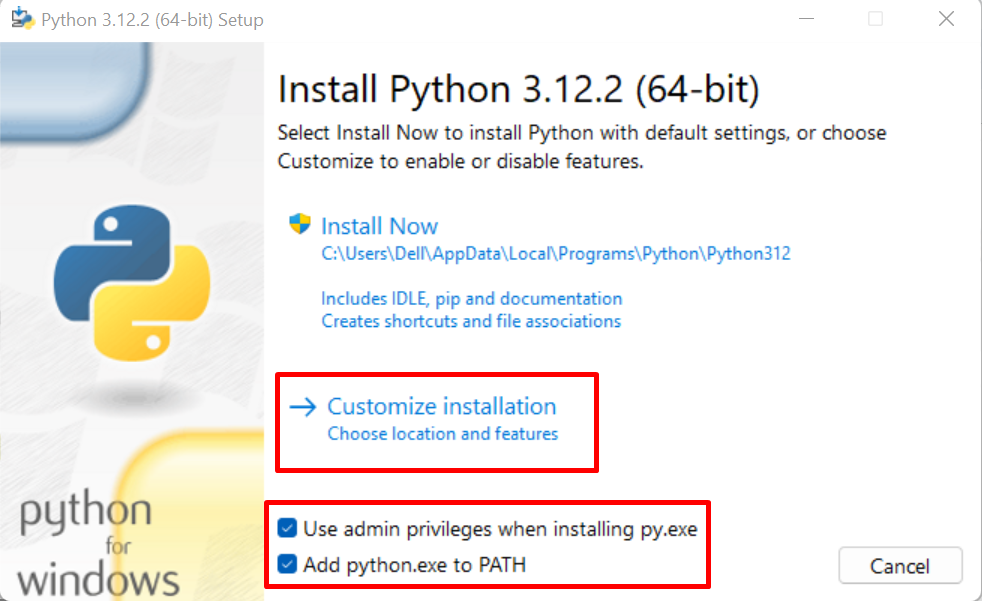
Step 2: Customize Python Installation
Now, mark the below-pointed checkboxes to install Python with administrative privileges and add the Python to Windows PATH. Next, to install pip along with Python installation, click on the “Customize installation” option:
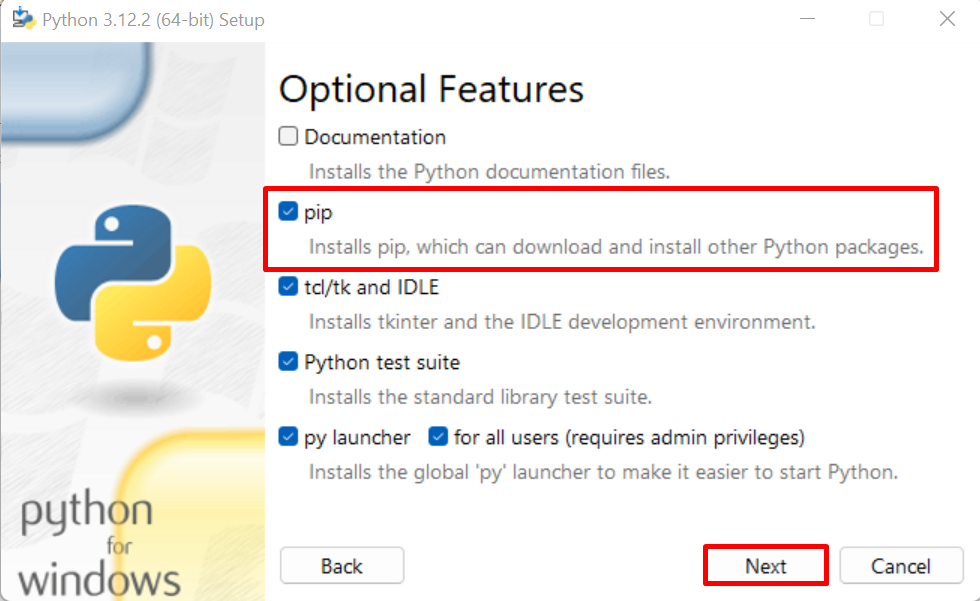
Step 3: Install pip
In the next step, mark the “pip” checkbox to install pip and press the “Next” button:
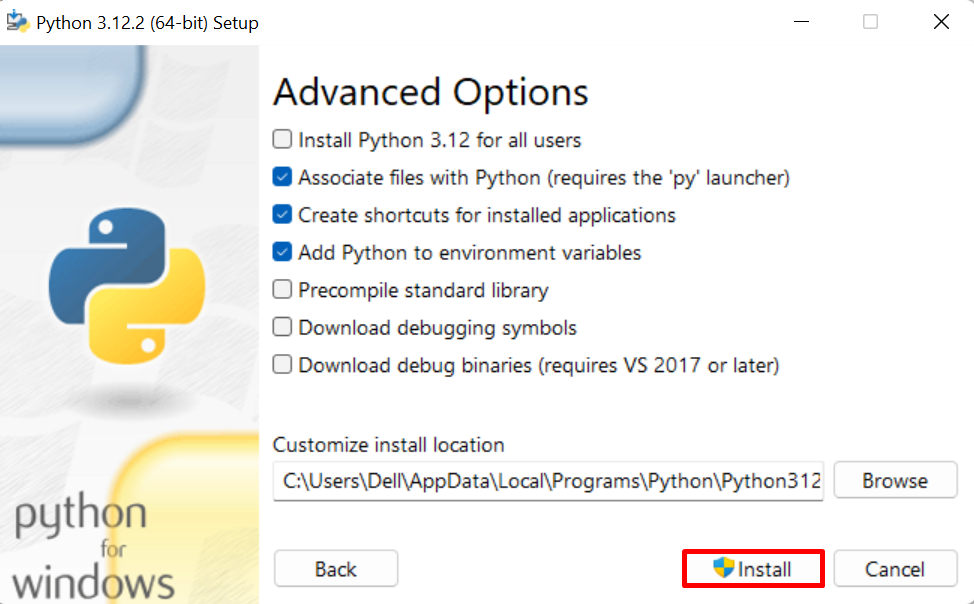
Now, continue with the default marked option and install the pip and Python on Windows using the “Install” button:
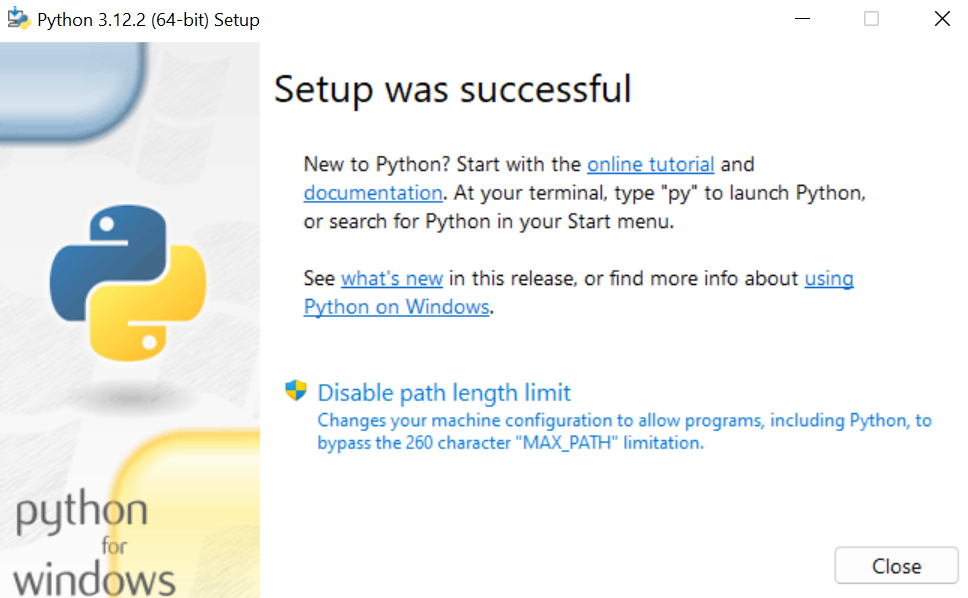
After successful installation, close the installer window using the “Close” button:
Step 4: Launch Command Prompt
Next, launch the Command Prompt Windows terminal via the Start menu:

Step 5: Use pip Command
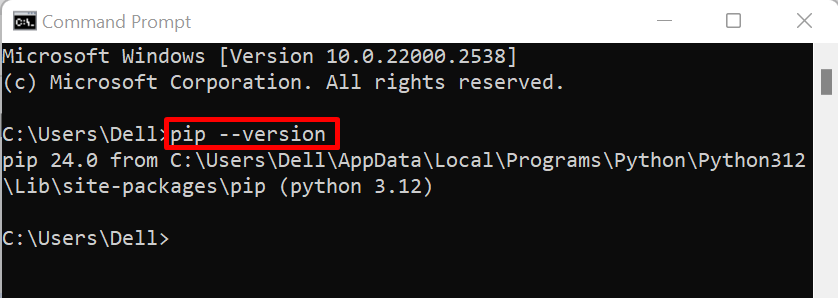
Use the pip command to check if the “pip” is working or not:
Here, we have found the pip version by running the “pip –version” command:
In order to use the “pip” command to install the package, run the “pip install <pack-name>” command:
The output shows that we have effectively installed the “pandas” package and successfully resolved the “pip is not recognized as internal” command error:

Solution 2: Upgrade PIP
Sometimes older versions of a pip cannot work properly and generate the error “pip command not found”. The python3 version uses “pip3” for package management and “python 2” uses “pip”. First, try to use pip or pip3 for package installation. If this does not work well this means the pip is outdated and does not support the required module or package and will show an error.
To fix the stated error, try to upgrade the pip using the given command:

After upgrading the pip, try to install the package using the pip and check if the error is fixed or not.
Solution 3: Set Environment Variable
Sometimes, while pip and python are installed, pip is not added to Windows Path automatically. Due to this, the pip command is not accessible from the command line and the user encounters the error “pip is not recognized”. To fix the given error, add the pip installation directory to the Windows path variable using the following steps:
Step 1: Navigate to Python Installation Directory
By default, Python is installed in the “C:\Users\<User-name>\AppData\Local\Programs\Python\Python<version>” directory. Navigate to the Python’s installation directory and open the “Scripts” folder:
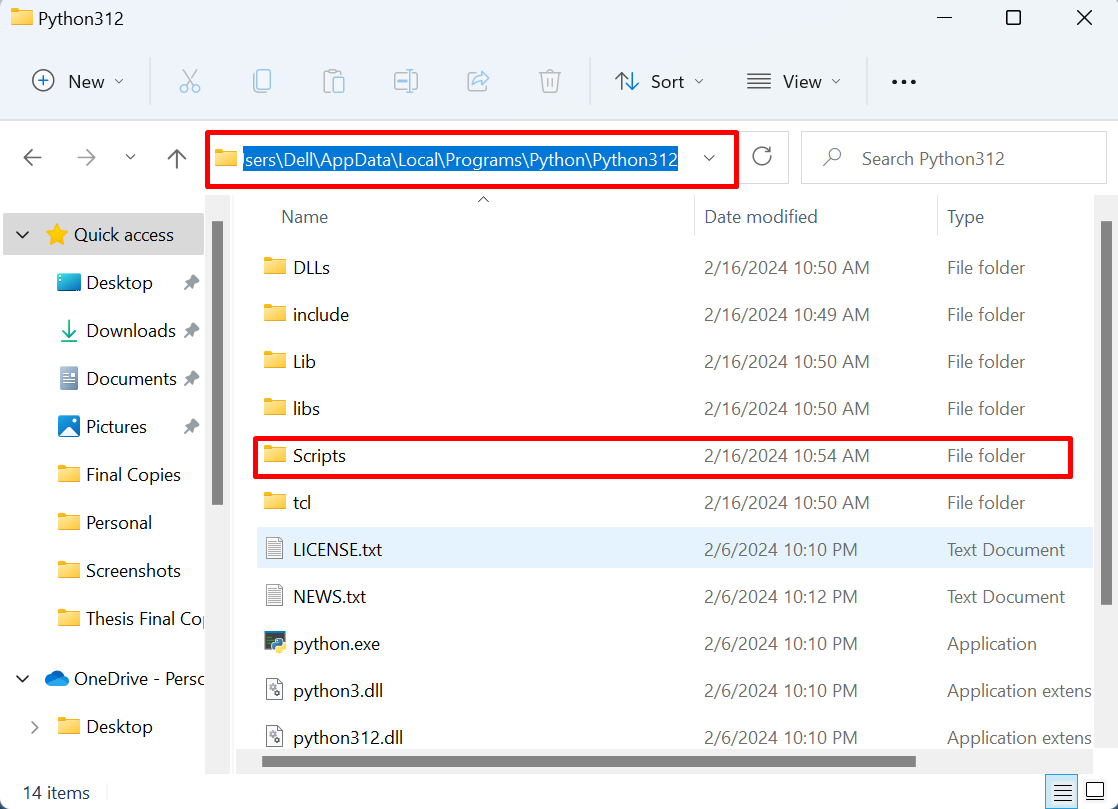
In the “Scripts” directory, the user can find “pip” executable files. Now, copy the path of the “Scripts” directory from the Address bar:

Step 2: Launch Environment Variable
Open the Environment variable settings by searching it in the Windows Start menu:
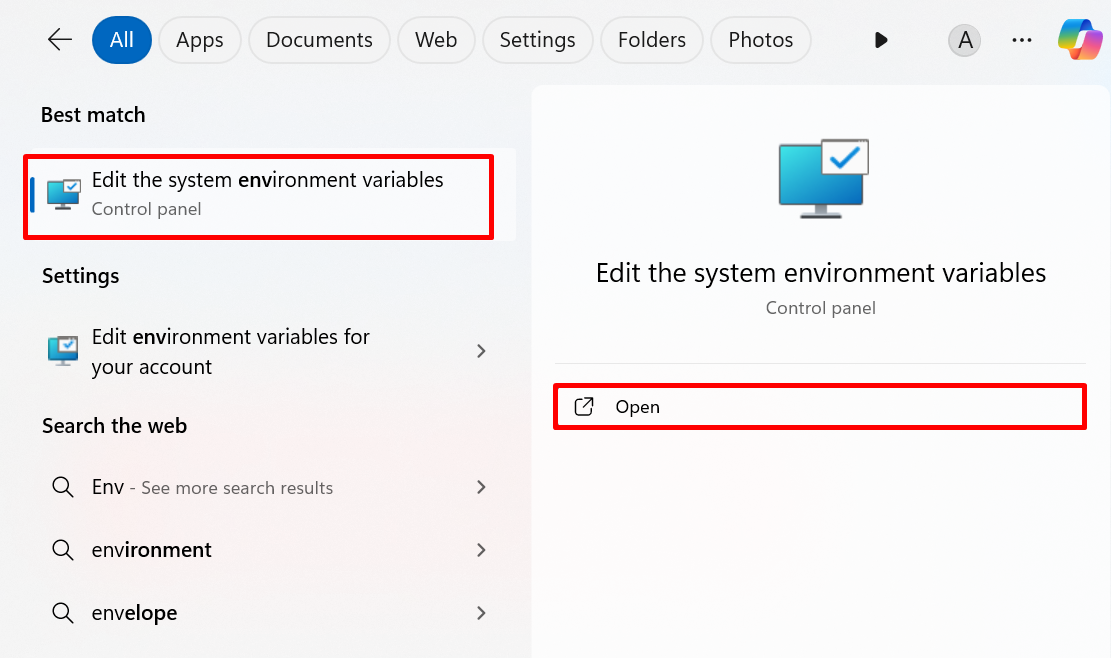
Next, press the “Environment Variables” button to launch the settings:

Step 3: Add pip to Windows Path
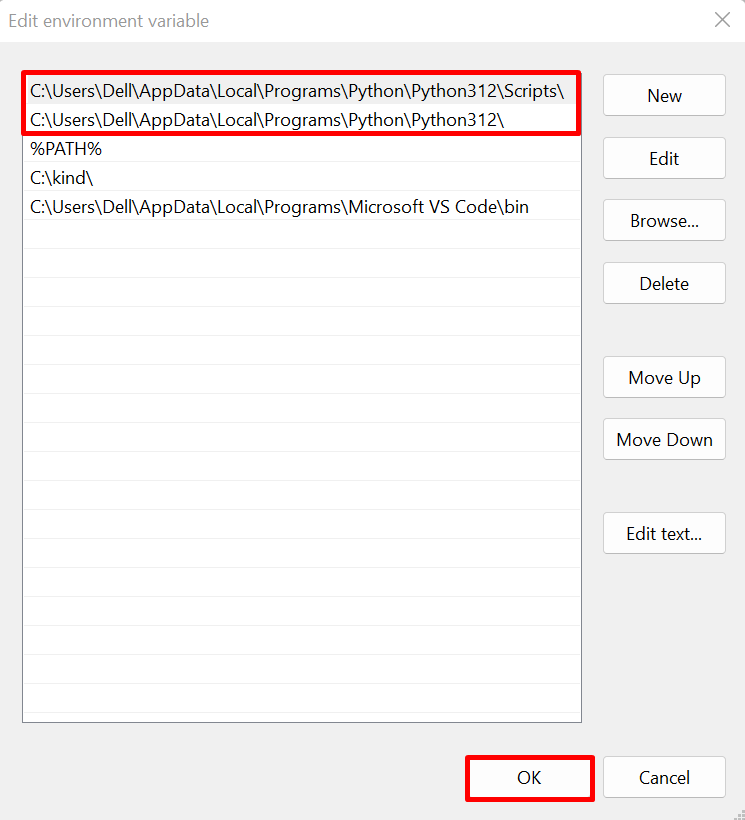
Open the “Path” option from the “User variables” list. For this purpose, first select “Path” and then press the “Edit” button:

Here, you can see our system already added the Python and pip in the Windows Path variable. To add the copied path in the Windows “Path” variable, press the “New” button, paste the pip installation path “C:\Users\<user-name>\AppData\Local\Programs\Python\Python<version-no>\Scripts” and press the “OK” button:
Step 4: Use pip Command
After adding the “pip” to Windows Path, relaunch the Command Prompt terminal, and use the pip command to install the package or module and check if the stated issue is fixed or not:
For demonstration, we have installed Python’s pandas library using pip command:

The above output shows that we have fixed the “pip command not recognized” error on Windows.
Fix pip command not found on Linux
Pip is a widely used method on Linux to install Python packages and modules from PyPI. But sometimes, the user faces the “command ‘pip’ not found” error as encountered below. This is due to the pip is not installed on the Linux, pip being outdated, or pip is not added to environmental settings:

To fix the stated issue, go through the following solutions.
Let’s discuss the above-mentioned solutions one by one in detail.
Solution 1: Install pip on Linux
If pip is not properly installed on Linux, the user can get the “pip not found” command error. To avoid the stated issue, try to install pip on Linux using the following procedure.
Step 1: Update the Linux Source Repository
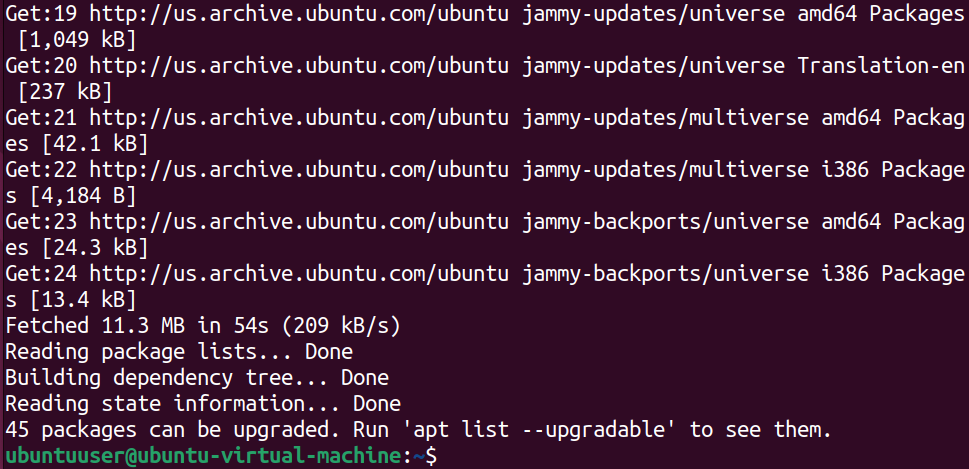
First, launch the Linux terminal using the “CTRL+ALT+T” key. Then, update the Ubuntu repository using the “apt update” command with sudo user rights:

Step 2: Install pip
Next, install the “pip” Python package manager using the given command. The “-y” option will permit the process to use extra disk space:
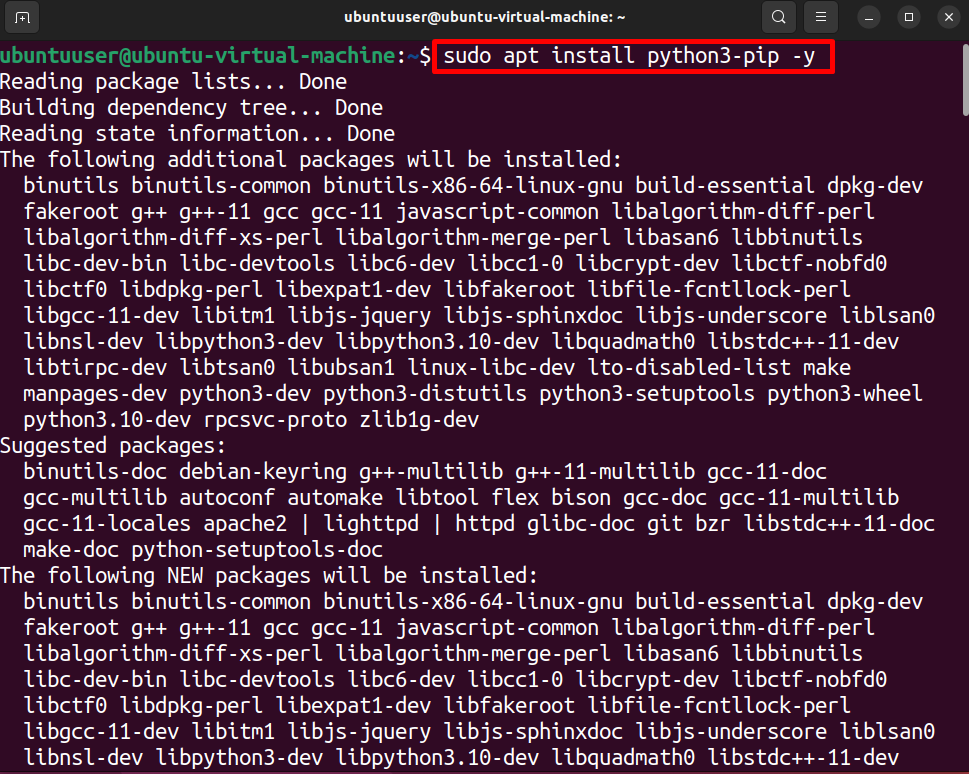
Here, you can see pip is installed on Ubuntu (Linux Distro):

Step 3: Verification
For confirmation, run the “pip” command to check its version:
Here, you can see we have effectively installed “pip 22.0.2” on Linux and fixed the “pip not found” error:

Solution 2: Upgrade pip
On Latest Linux distribution releases, Python3 is used and it uses “pip3” for package management. If the user has python3 on the system, the “pip” command may not work. However, the python version 2 uses “pip”.
First, try to run pip3 or pip command to install packages/modules. If both commands do not work well, then try to upgrade the pip version as the older version may not support the required or latest Python packages and shows the error “pip not found”.
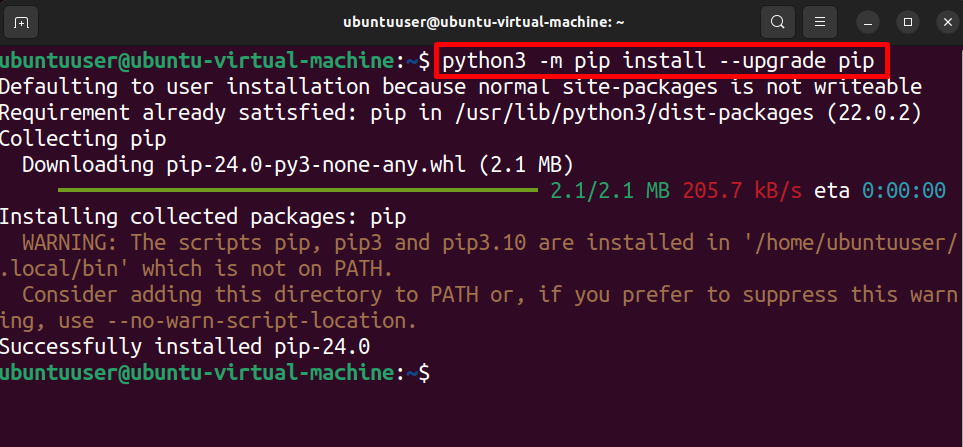
To upgrade the pip in Ubuntu, run the below command:
This will upgrade the pip package and can fixed the stated issue:
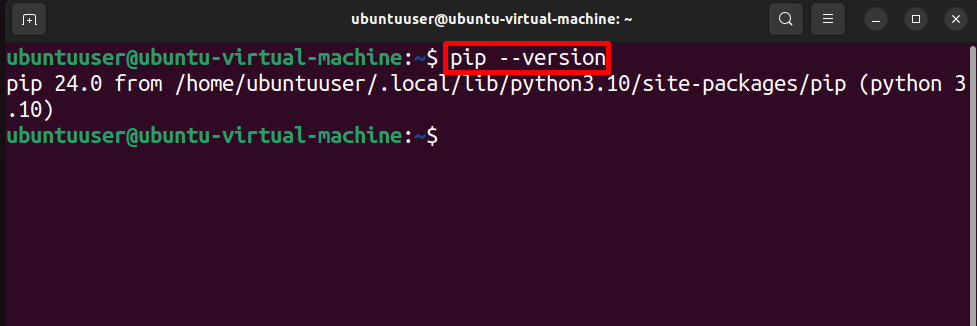
For confirmation, again run the “pip” command to check its version. Here, you can see we have effectively run the “pip” command on Ubuntu:
Solution 3: Add Pip to Environment Settings
If pip is properly installed on the system and has the latest version but still shows the error “pip command not found”. This means, the pip command may not be recognized by the Linux system and pip is not added in environment settings.
To fix the given problem, add the pip to the environment settings using the following demonstration.
Step 1: Check pip Installation Location
First, check where the “pip.exe” and “pip3.exe” files exist. For this purpose, run the “which pip” command. This will show the pip installation directory:

Step 2: Add the pip to Path Environment Settings
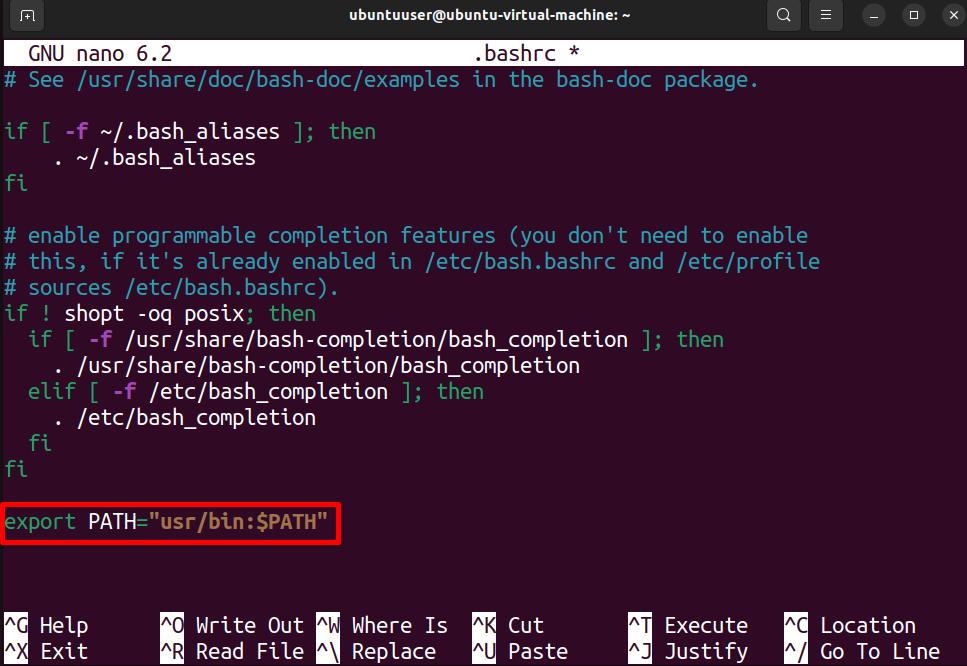
The “.bashrc” is a hidden file of Linux that is utilized to set the shell environment variables. To add the “pip” to Linux environment settings, export the “pip” installation path in the “.bashrc” file. For this purpose, first, open the file using the below command:

Next, add the below snippet at the end of the “.bashrc” file to export the “pip” installation path to environment settings:
After making changes, press the “CTRL+S” to save the modifications and “CTRL+X” to exit the nano text editor:
Step 3: Verification
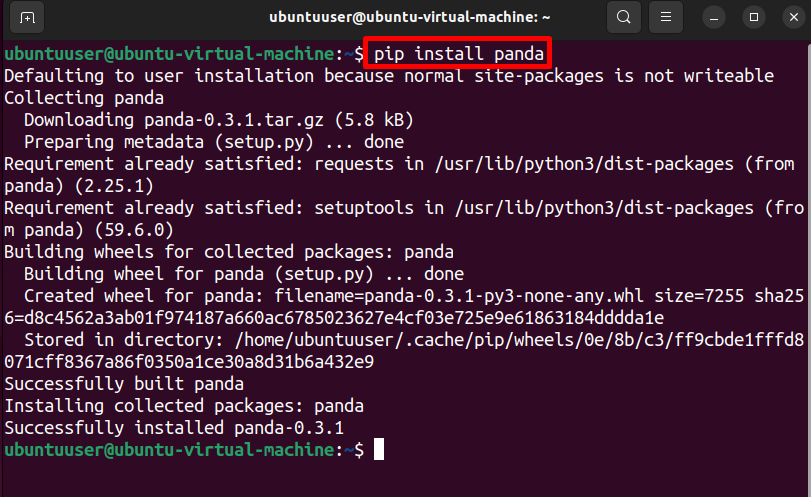
For verification, try to install some Python modules and check if the error is fixed or not:
The below result indicates that we have effectively installed “panda” library using pip:
We have elaborated on solutions to fix “pip command not found” error on Windows and Linux.
Conclusion
To fix the “pip command not found” error, try to reinstall the “pip” Python package manager, or upgrade the pip using the “python -m pip install –upgrade pip” command on Windows and “python3 -m pip install –upgrade pip” command in Linux. The other possible solution to fix the stated error is to add the pip to Windows or Linux environment settings. This will make pip accessible to Windows or Linux terminals. This post has demonstrated the fixes to resolve the “pip command not found” error on both Windows and Linux OS.