In this article, I will show you c So, let’s get started.
Checking Installed Memory Before Upgrade:
Before you upgrade the memory of your NAS, you can check the amount of memory you’ve already installed on your NAS.
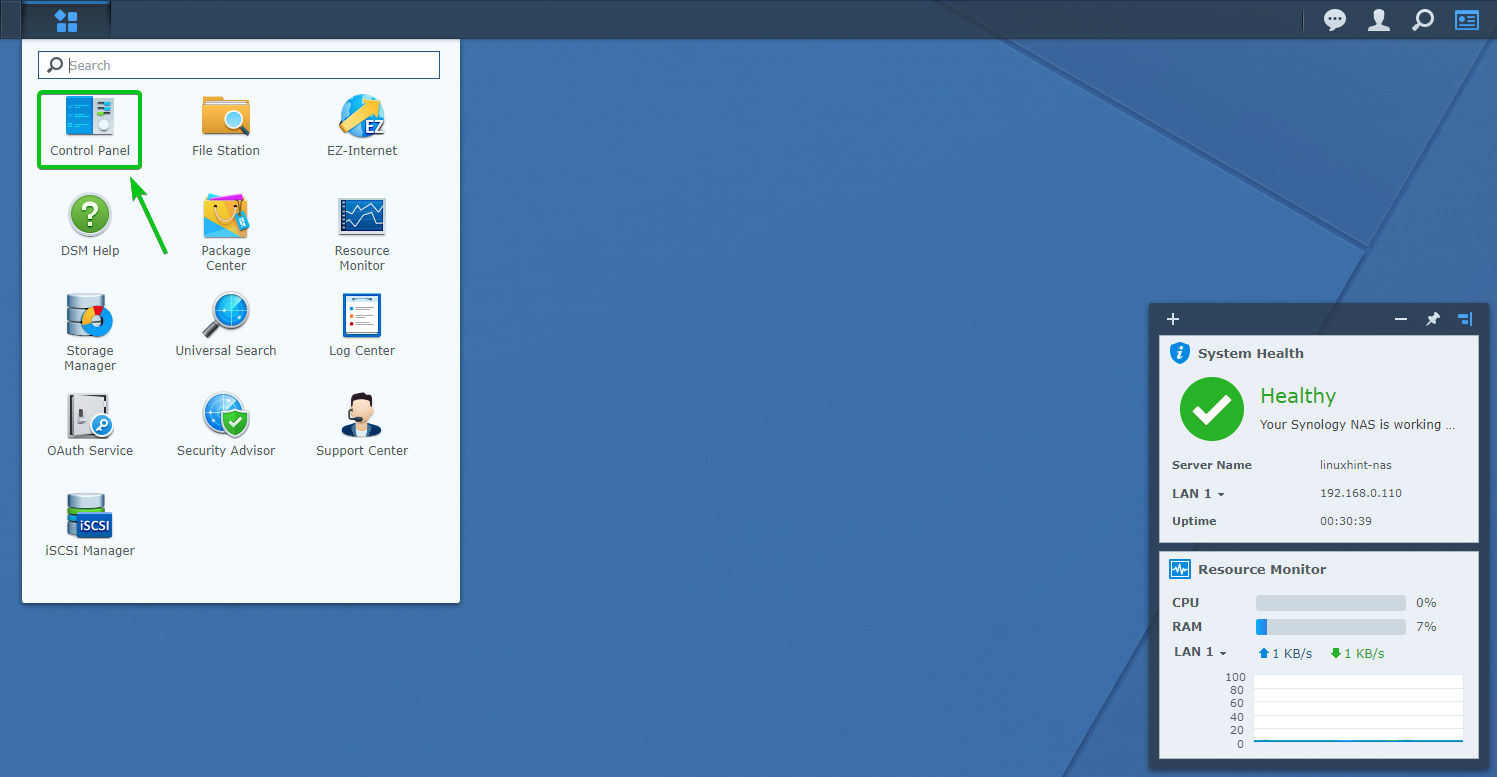
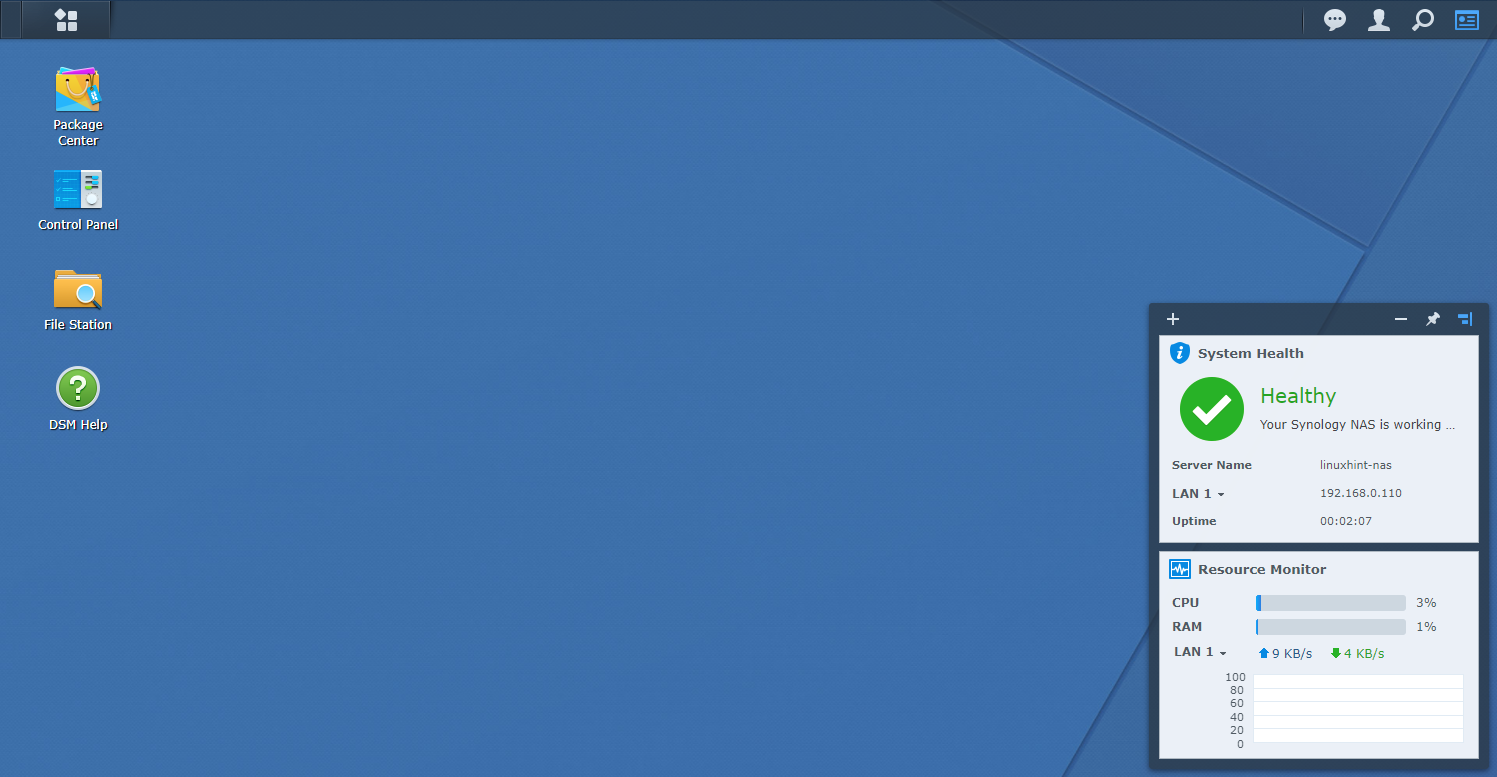
To check the memory, you’ve already installed on your NAS, open the Control Panel app from the Main Menu of Synology Web GUI, as shown in the screenshot below.
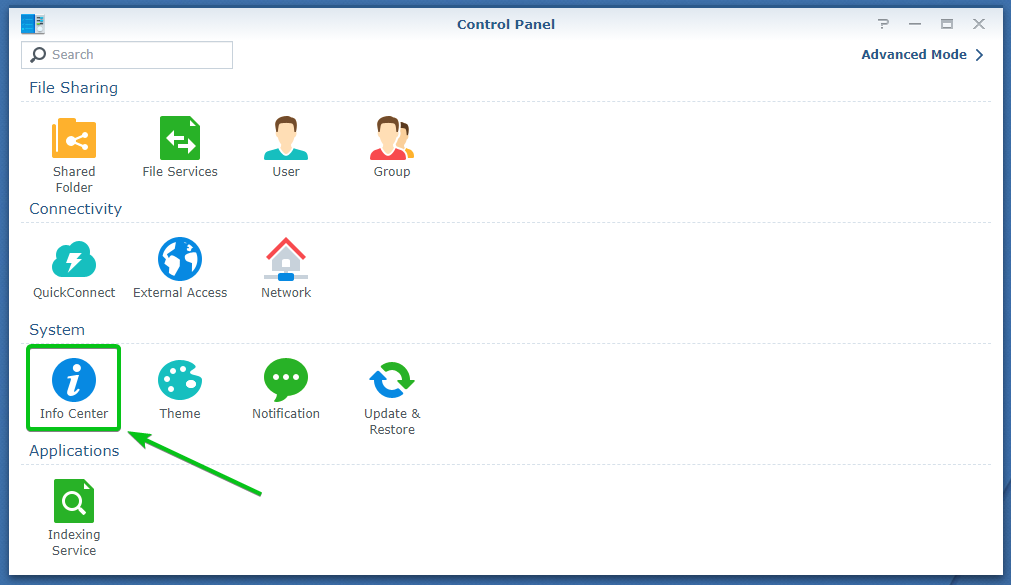
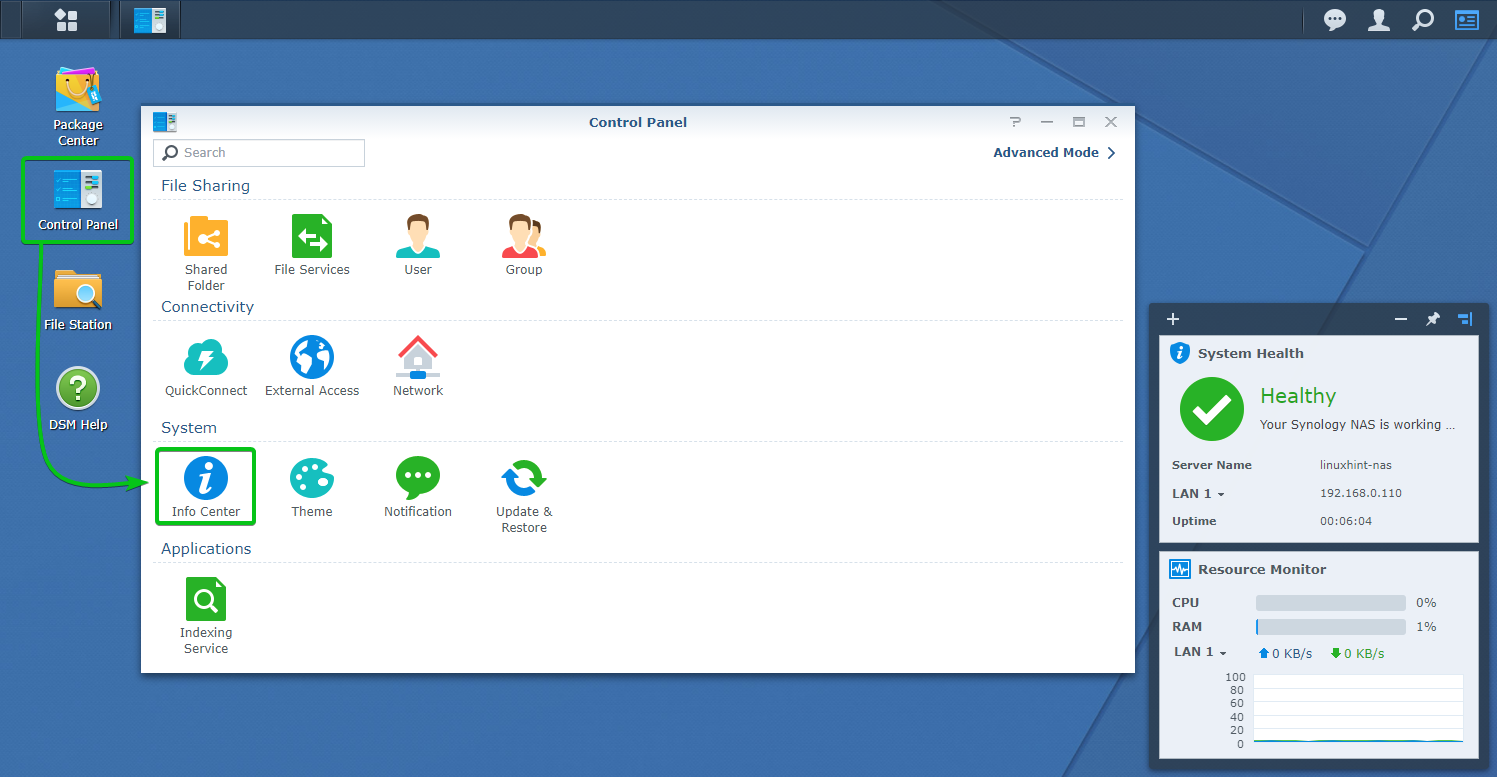
Click on Info Center, as shown in the screenshot below.
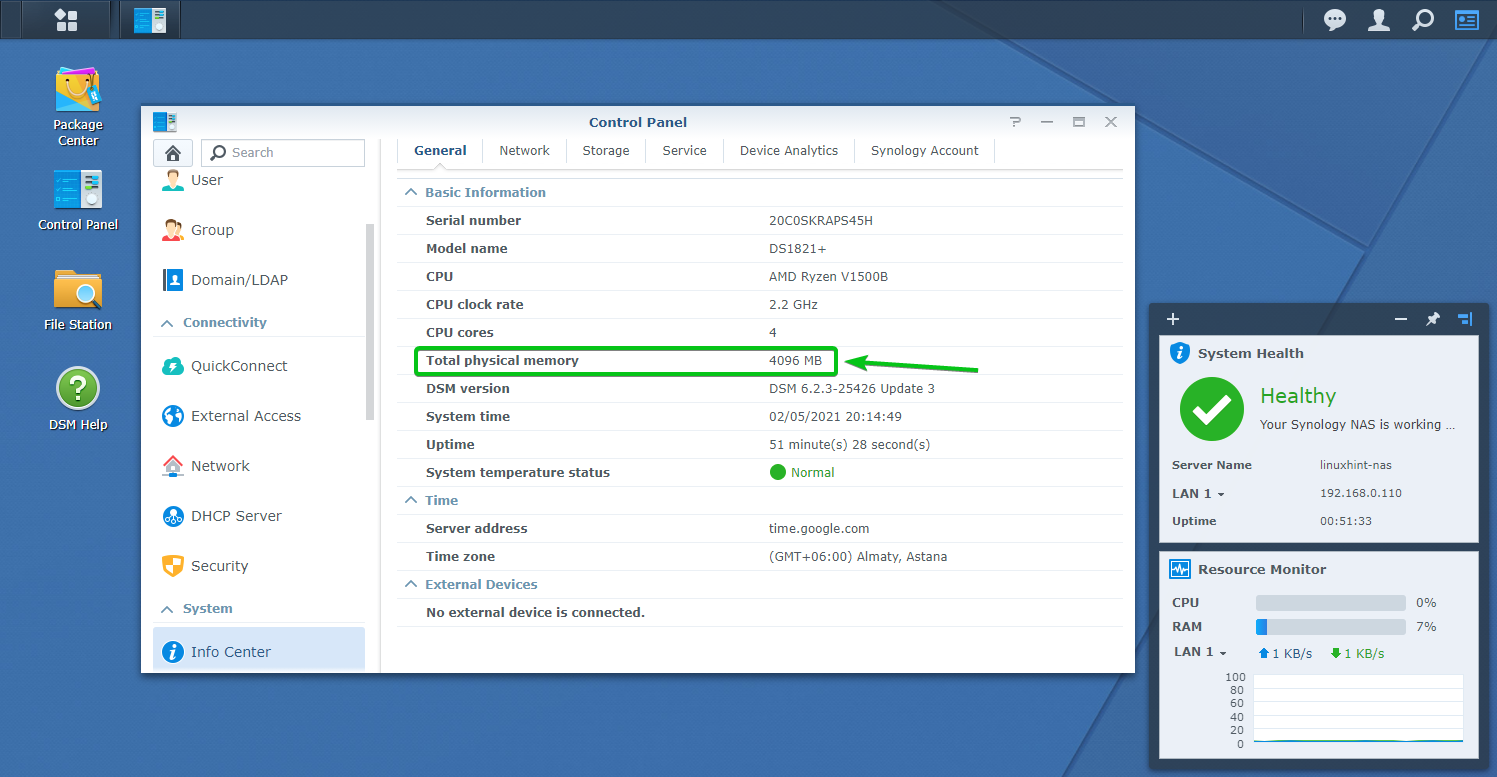
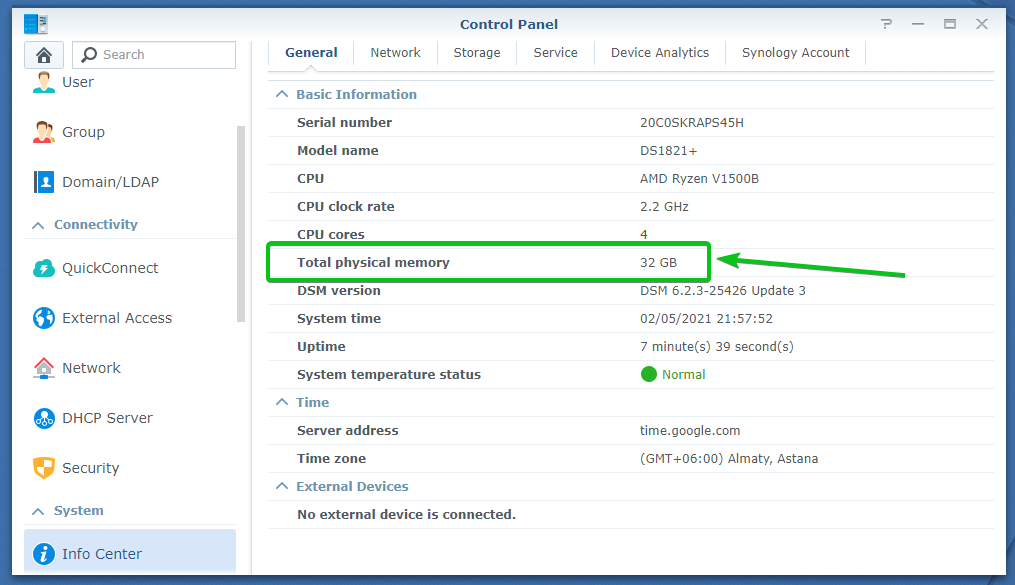
As you can see, 4096 MB or 4 GB of memory is installed on my Synology NAS model DS1821+.
Shutting Down the NAS:
Before you can open up the NAS to remove the old memory and install new ones, you must shut down the NAS and unplug the power cable and the RJ45 cables from the NAS. This is to ensure that there is no power on any of the components of the Synology NAS and avoid any short-circuits as a result. Short-circuits are harmful to electronics components and may permanently damage your NAS.
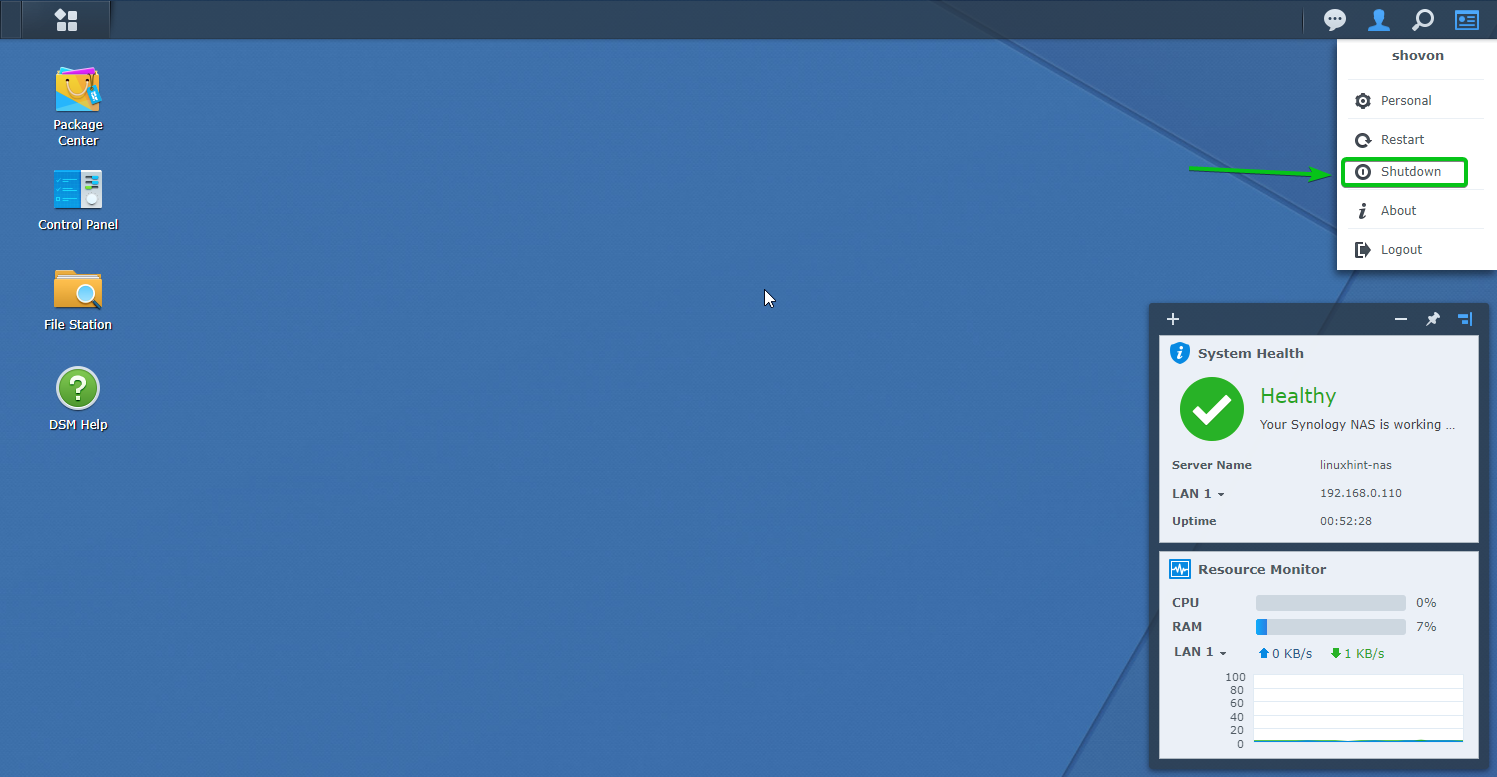
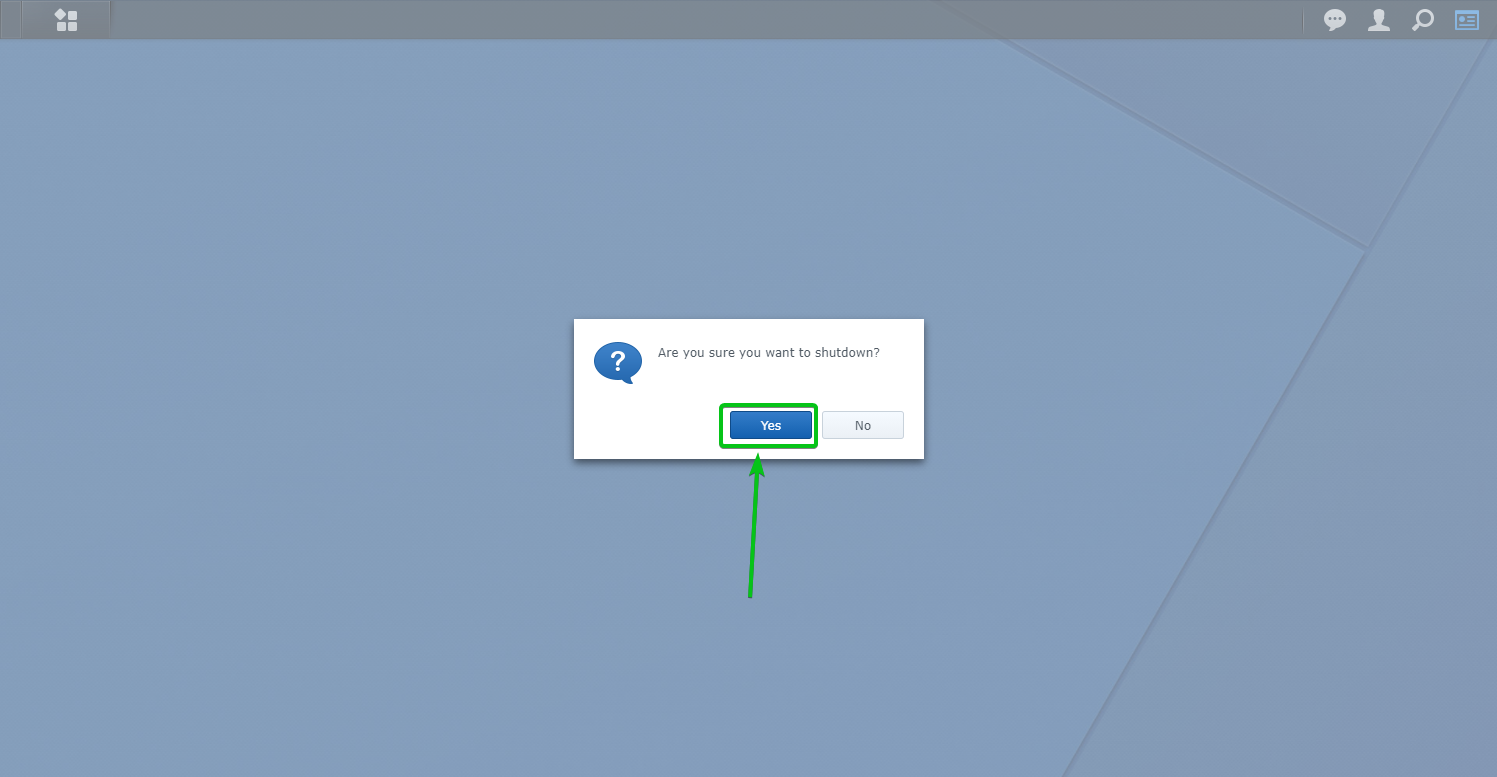
You can shut down the NAS from the Synology Web GUI. To do that, click on the user icon from the Synology Web GUI panel’s top-right corner and click on Shutdown, as shown in the screenshot below.
Click on Yes to confirm the shutdown operation.
The Synology NAS should be powered off in a few minutes.

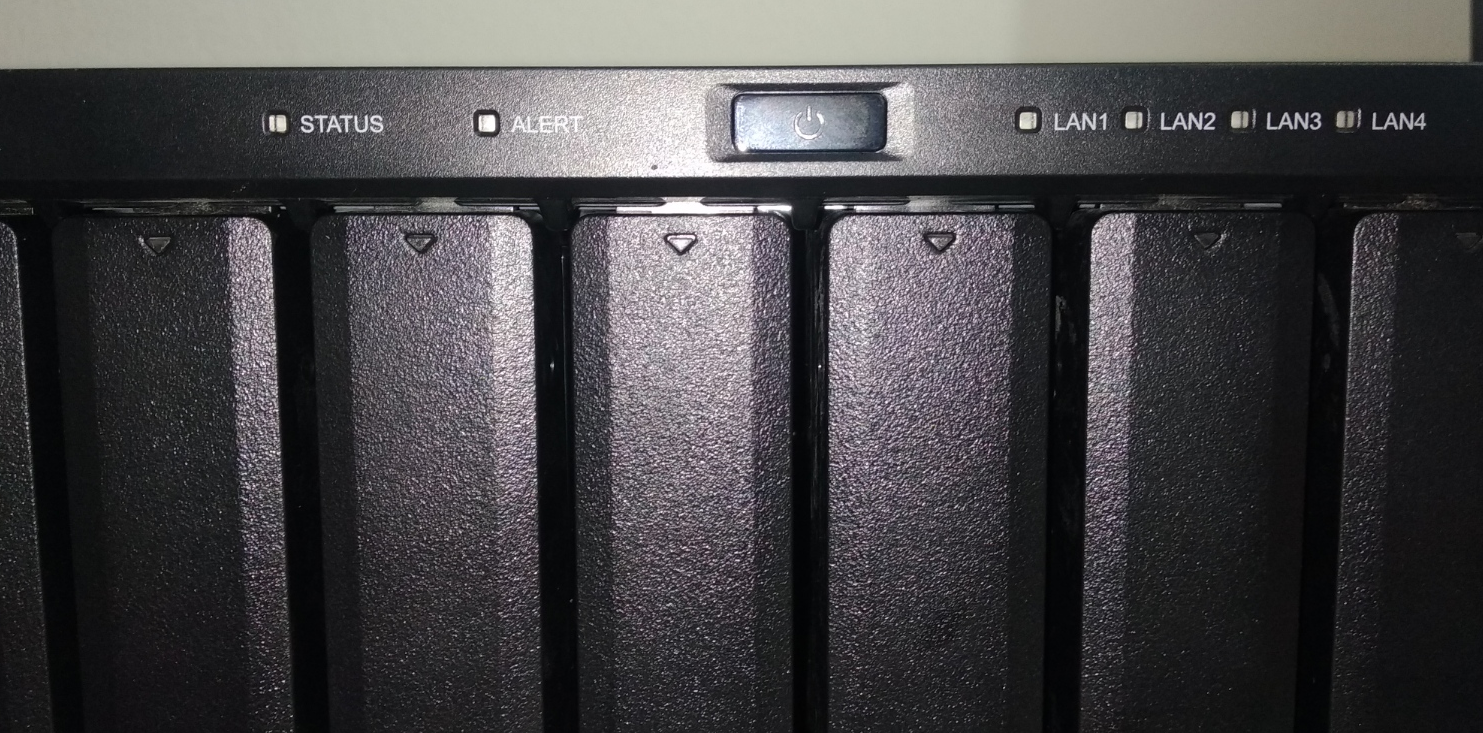
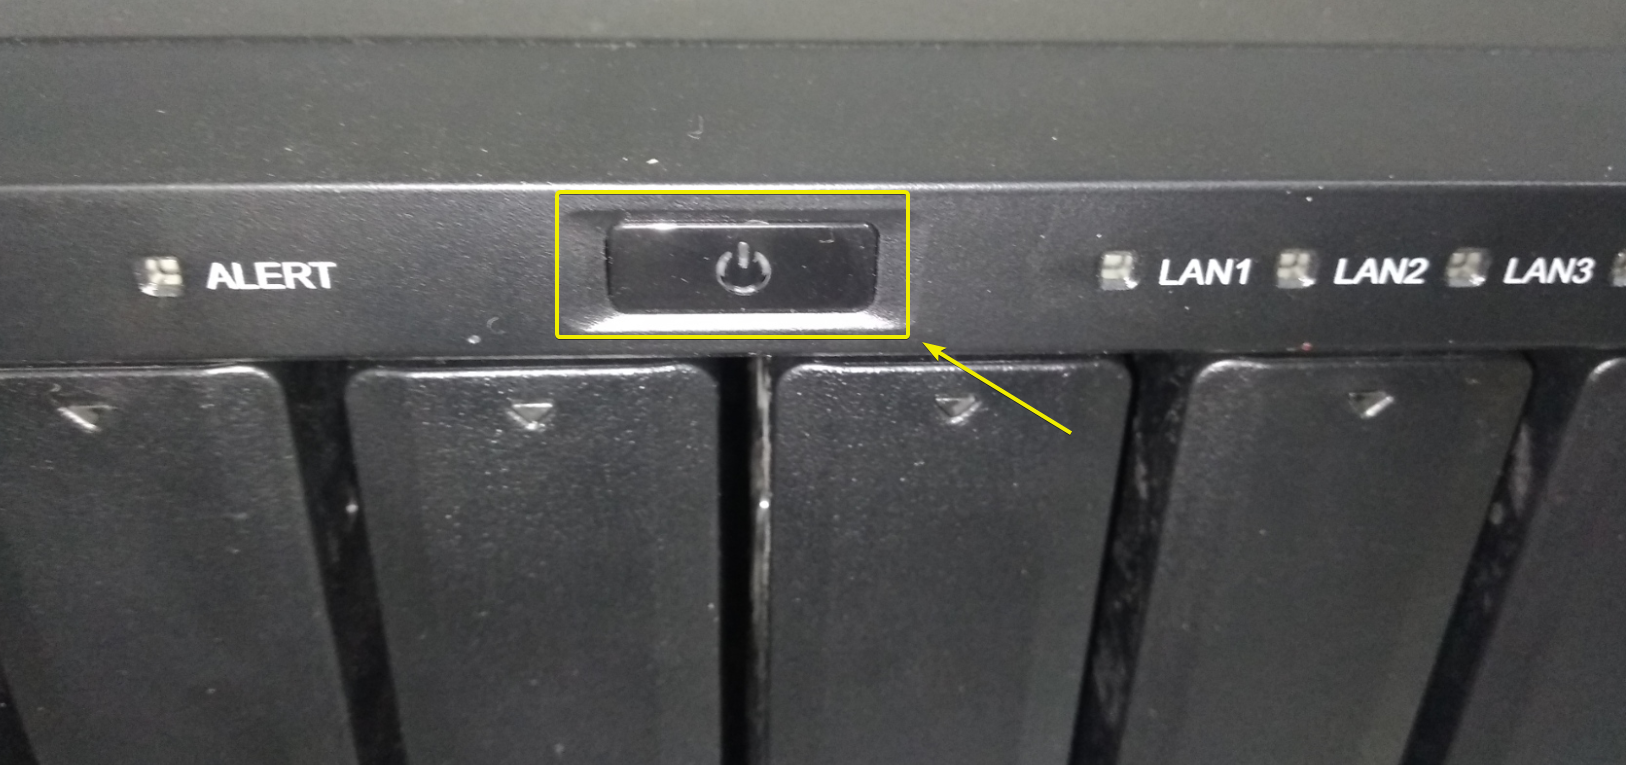
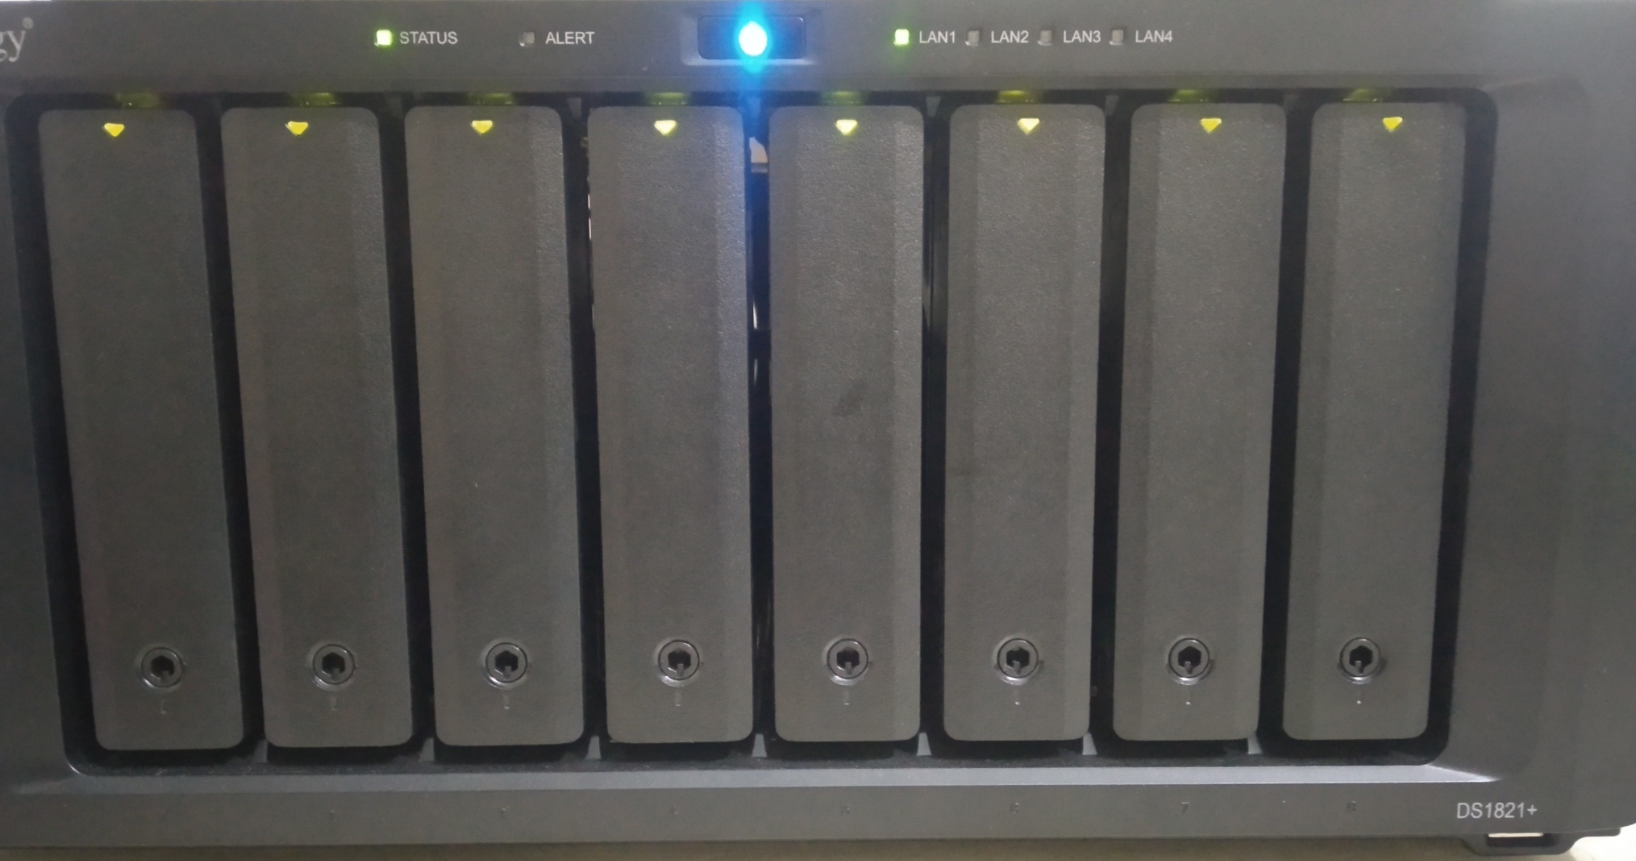
Once the NAS is powered off, all the status LEDs and the power button LED should be off.
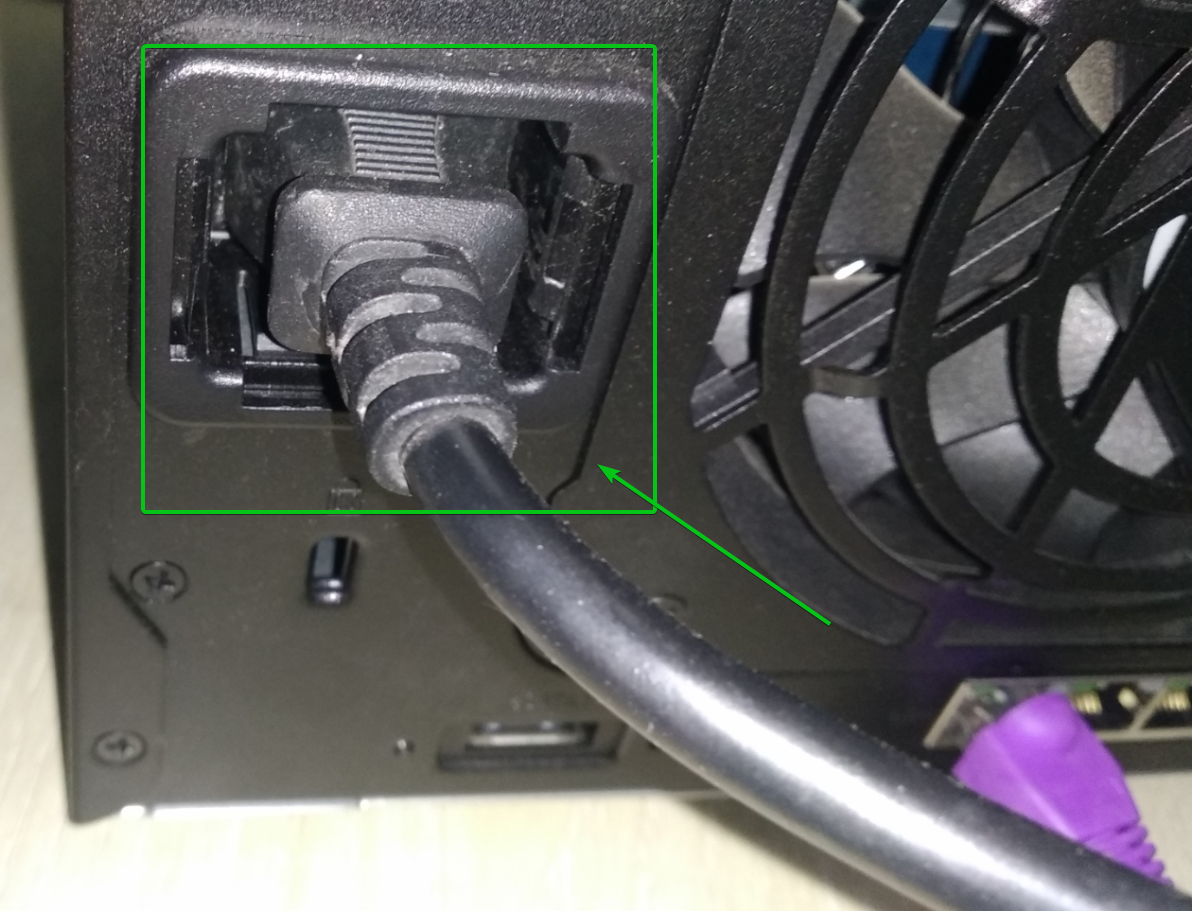
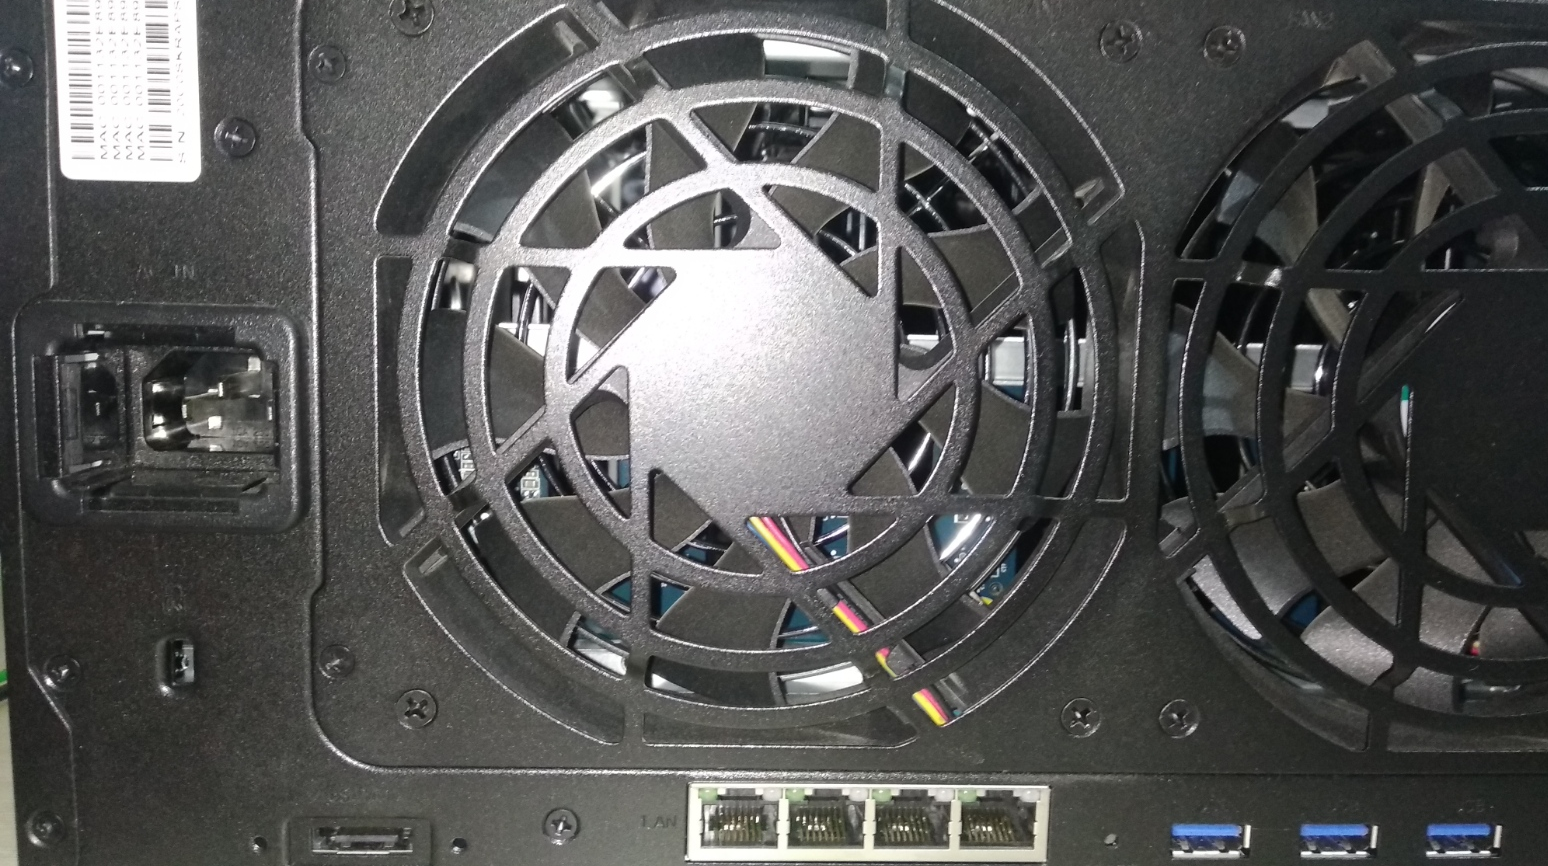
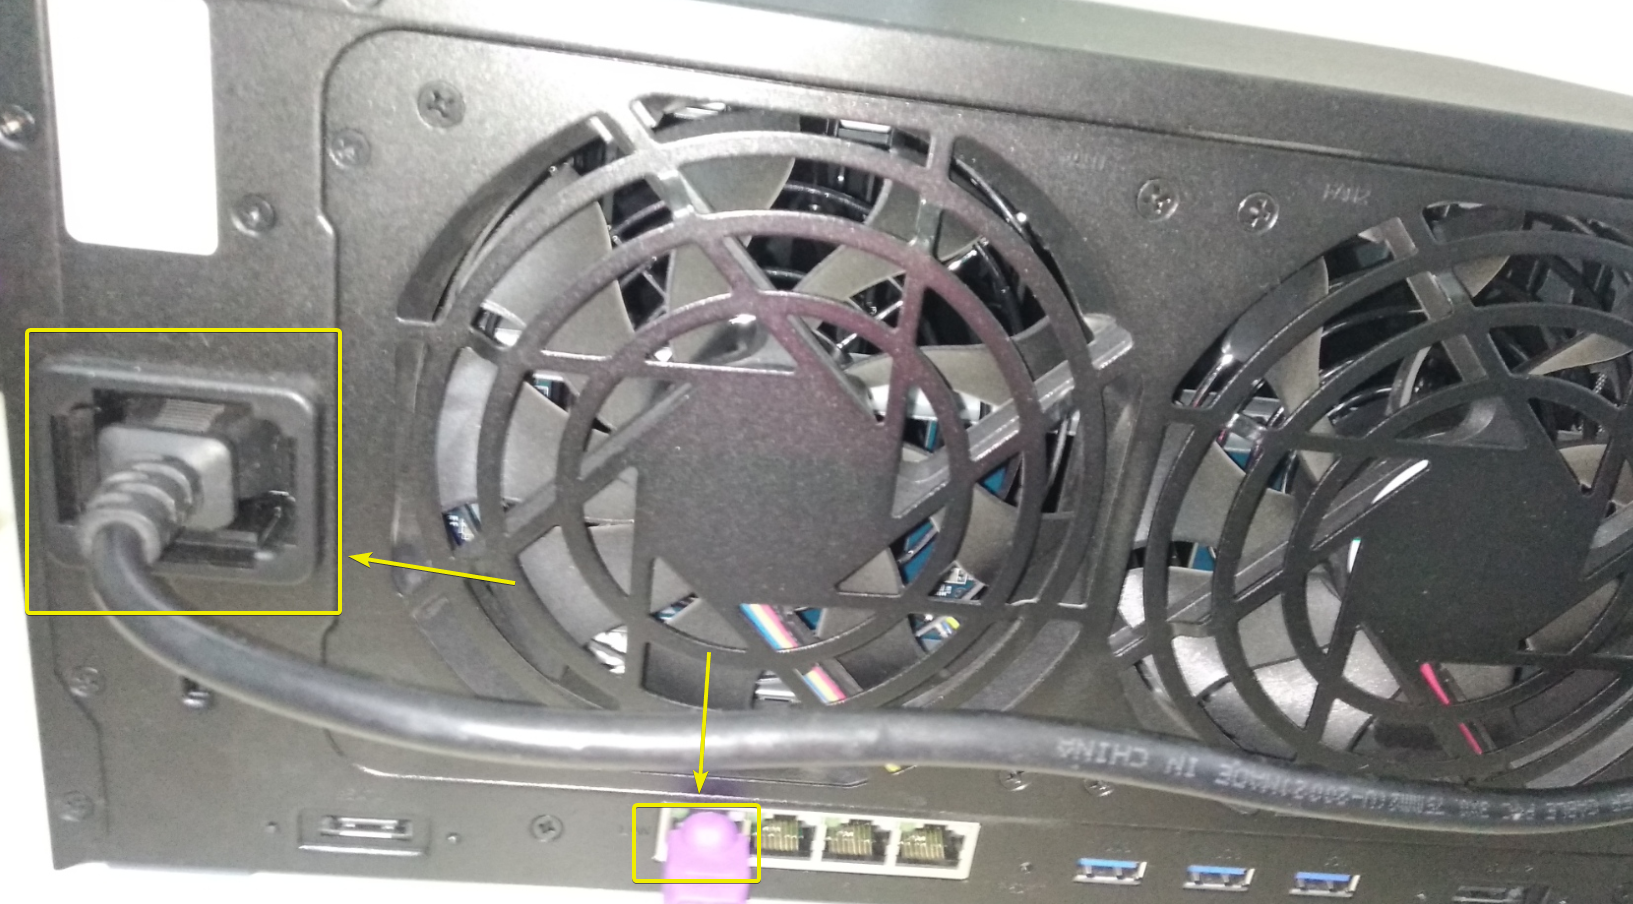
Now, remove the power cable from the rear/back of the NAS.
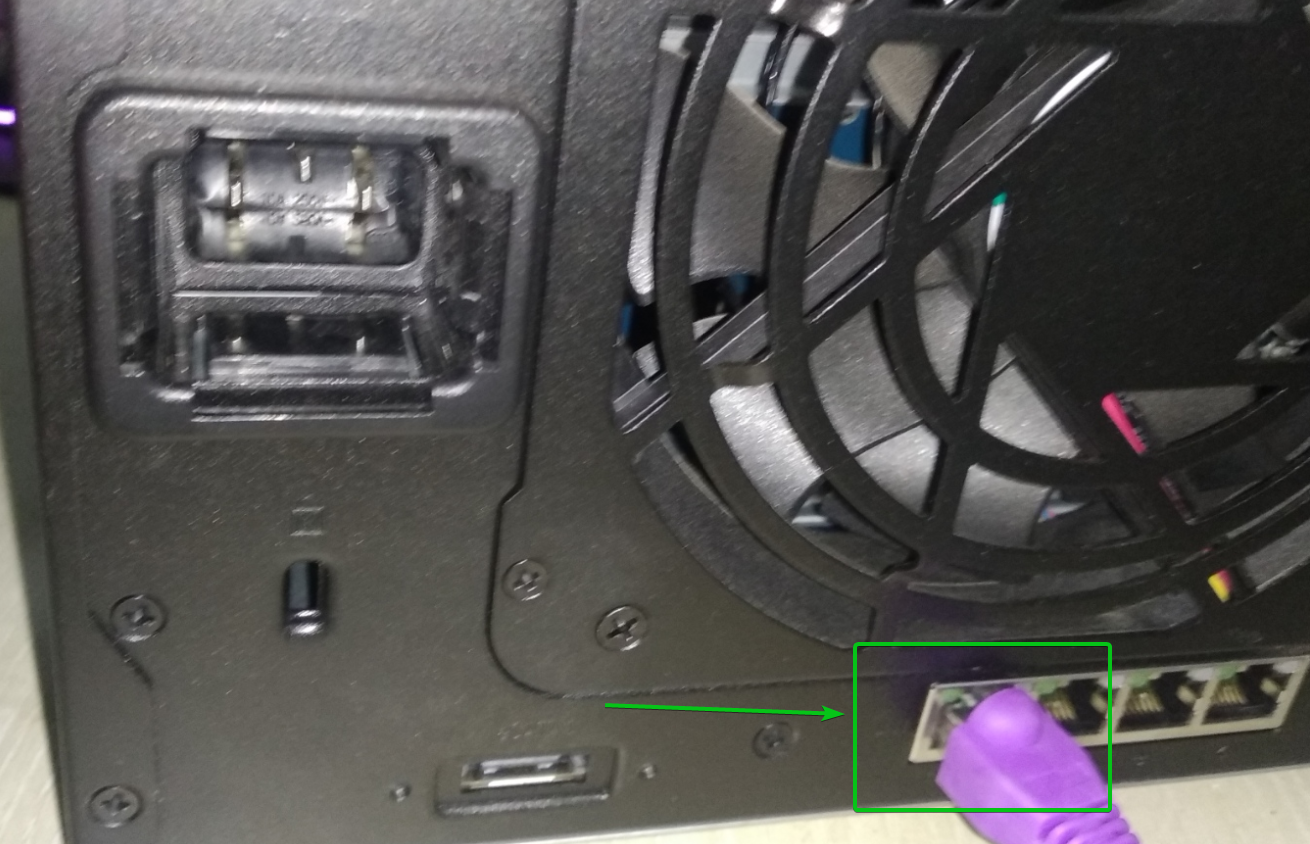
Also, remove all the RJ-45 cables from the rear/back of the NAS.
Once all the cables are removed from your Synology NAS, you can open it up and upgrade the memory of your Synology NAS.
Upgrading Memory of the NAS:
You can buy Synology compatible memory from Synology and install it on your NAS. Make sure to buy the correct type (i.e., DDR3, DDR4) of memory in the correct form factor (i.e., UDIMM, RDIMM, SODIMM) for your Synology NAS. You can read the product specification page or product datasheet of your NAS model to see what type of memory you need to buy for your NAS.
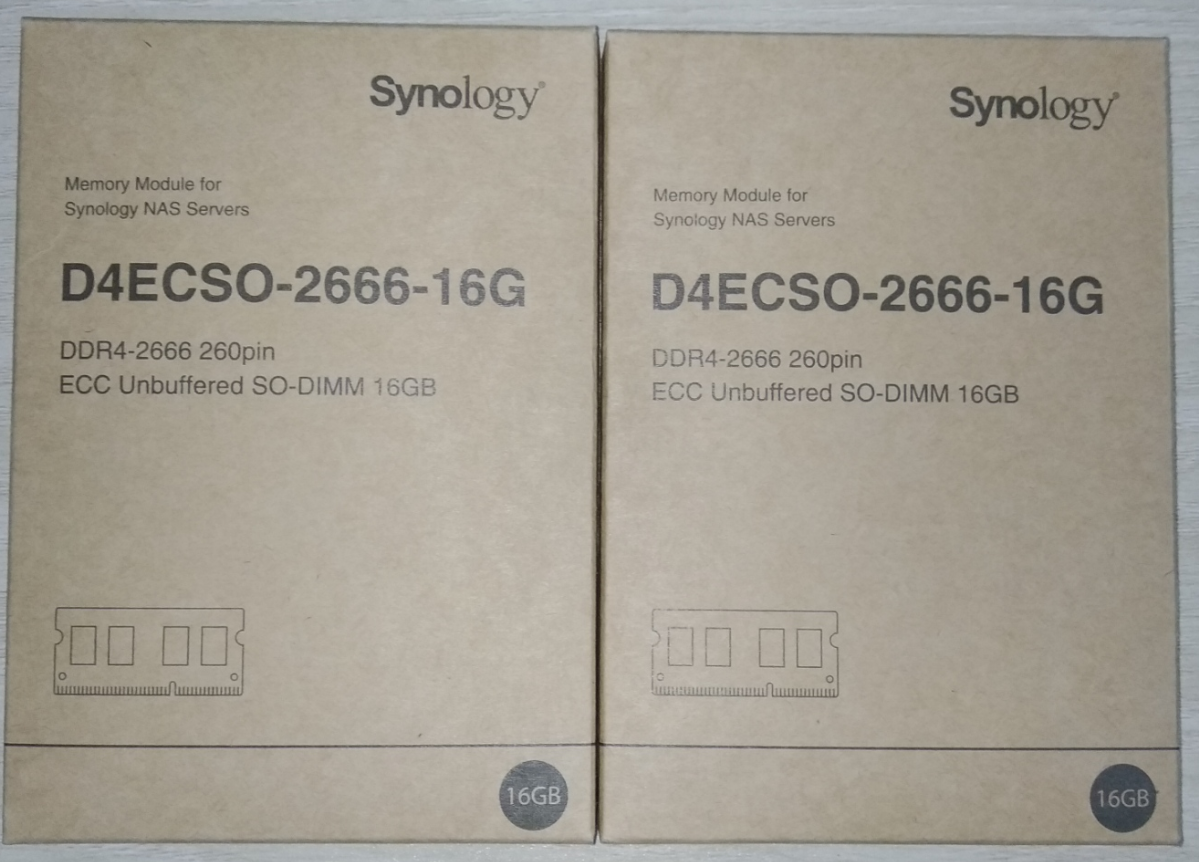
The Synology NAS model I have is DS1821+, and it supports DDR4 SO-DIMM ECC memory. Synology has sent me 2 of the 16 GB DDR4 SO-DIMM 2666 MHz memory modules for review. In this article, I will use them to upgrade the memory of the Synology NAS model DS1821+.
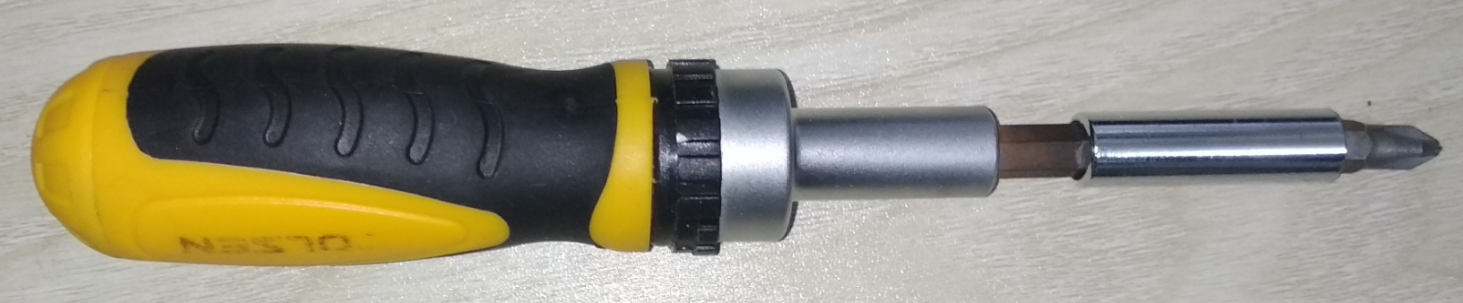
To upgrade the memory, you need a PH-2 screwdriver.
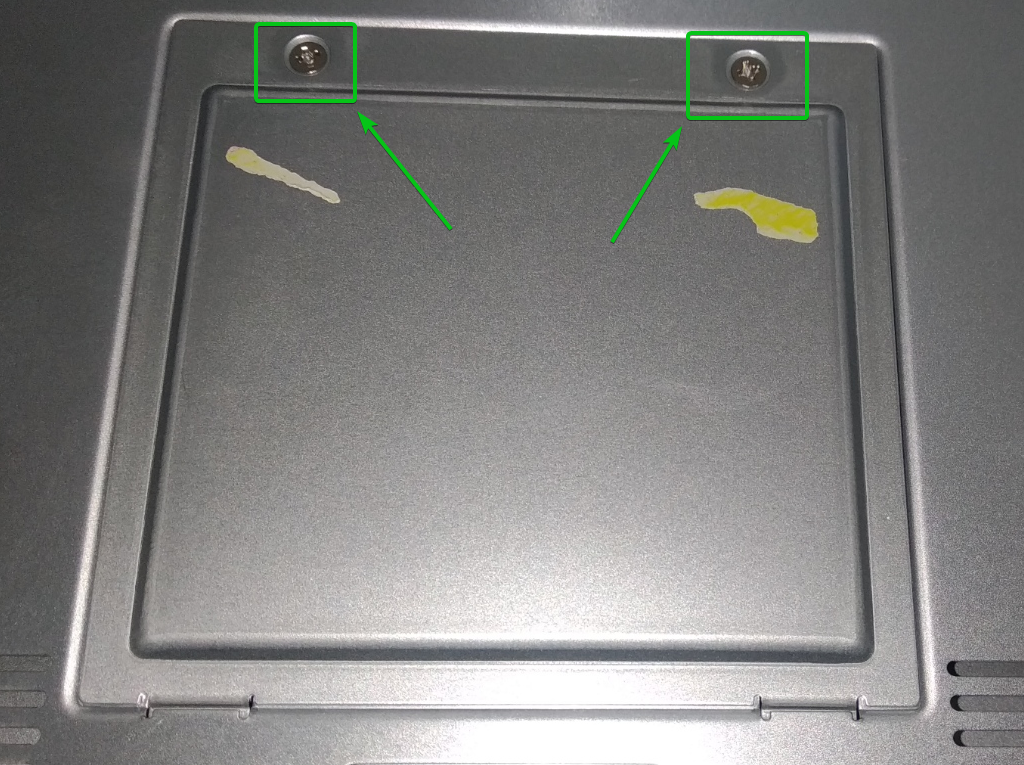
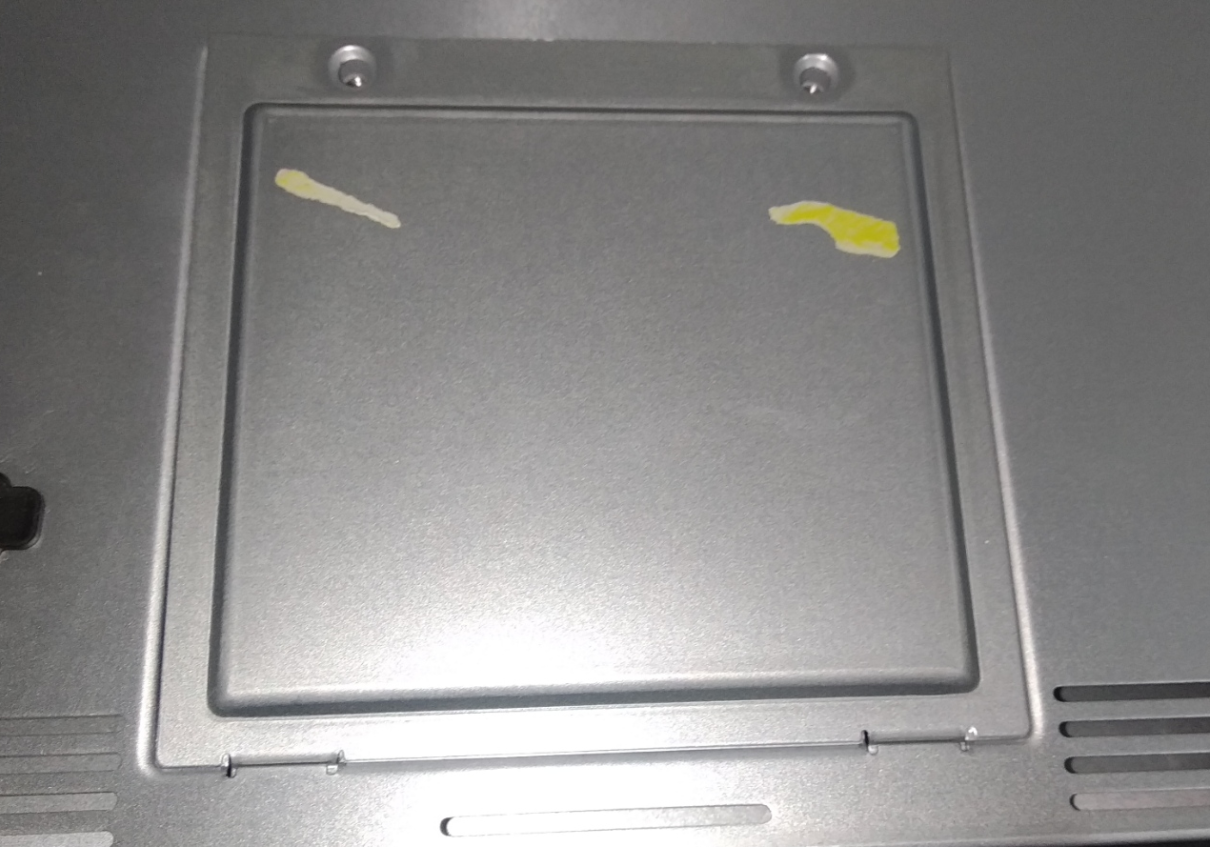
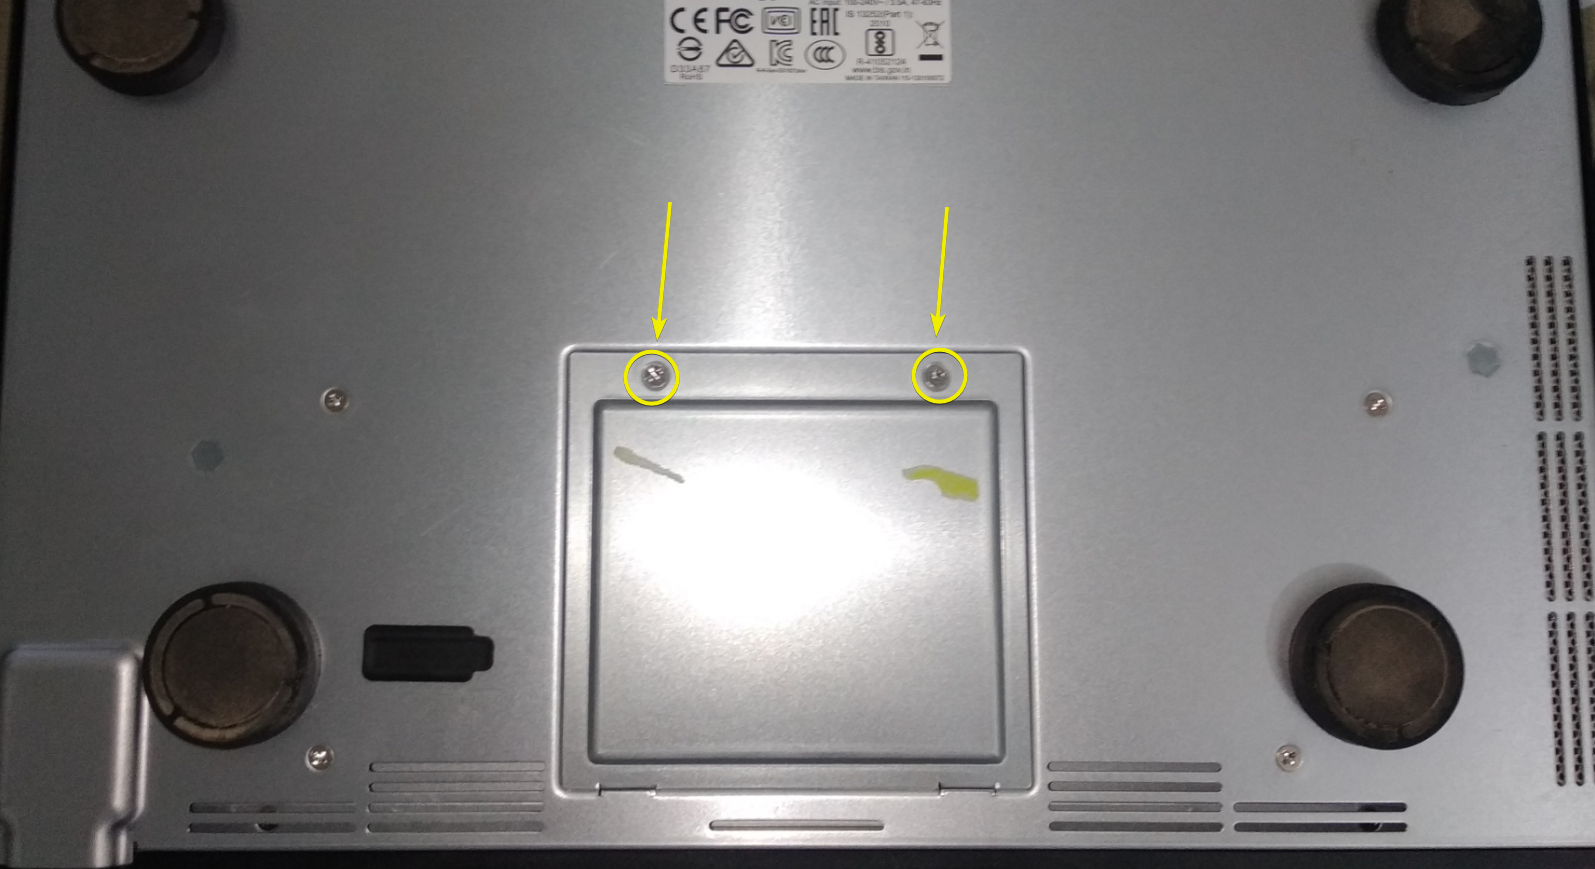
First, flip your NAS, and you should find a cover, as you can see in the screenshot below.
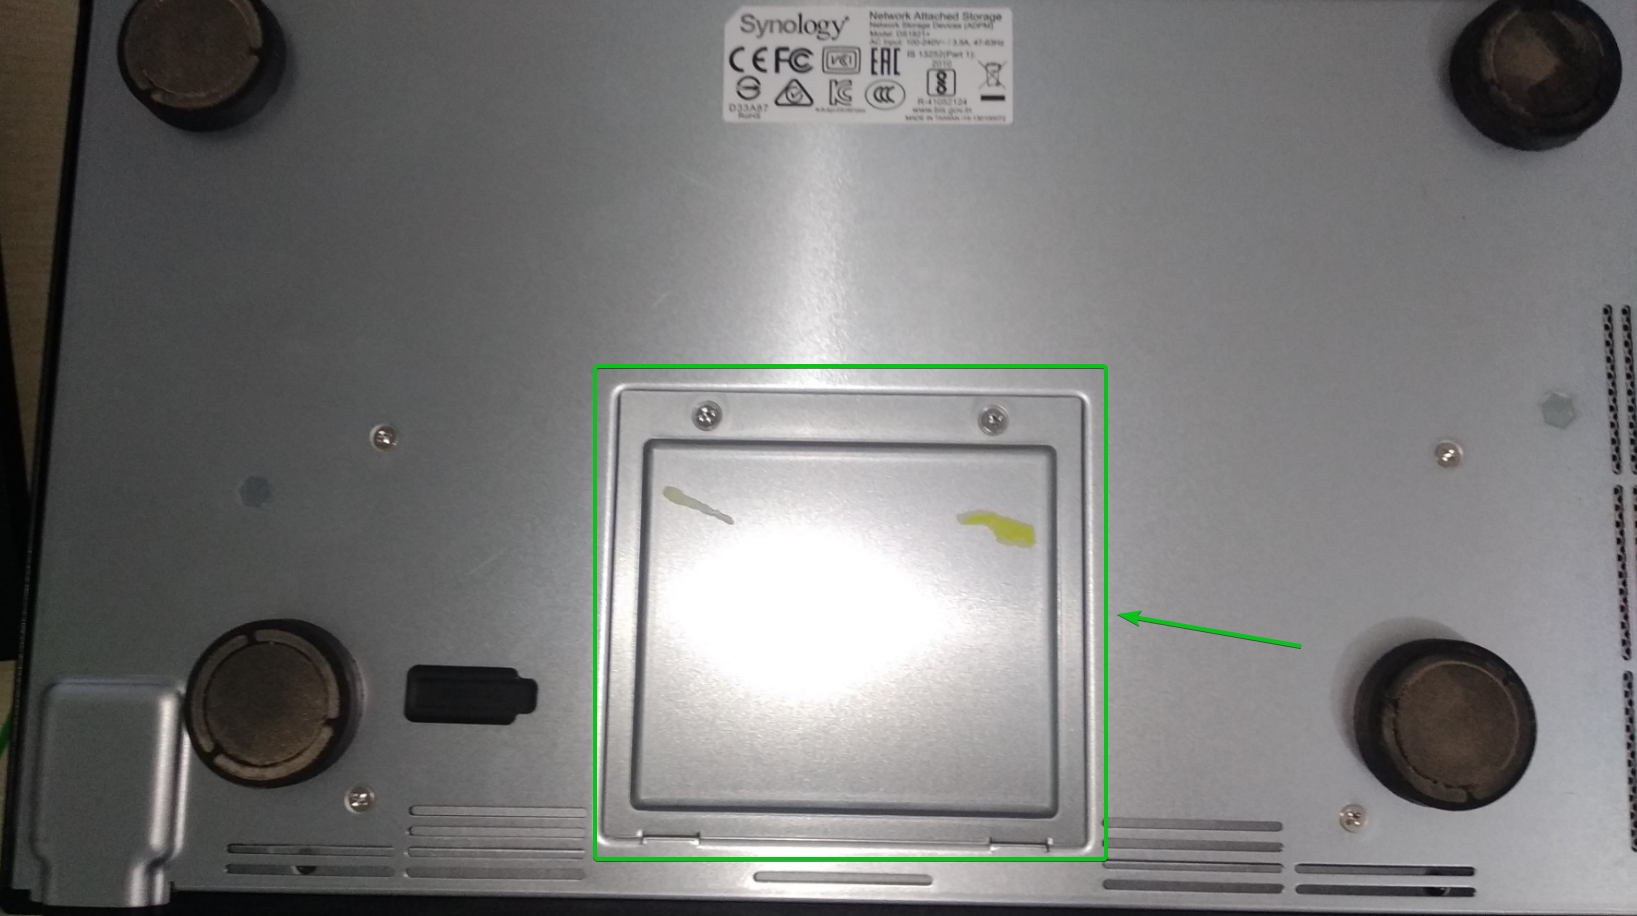
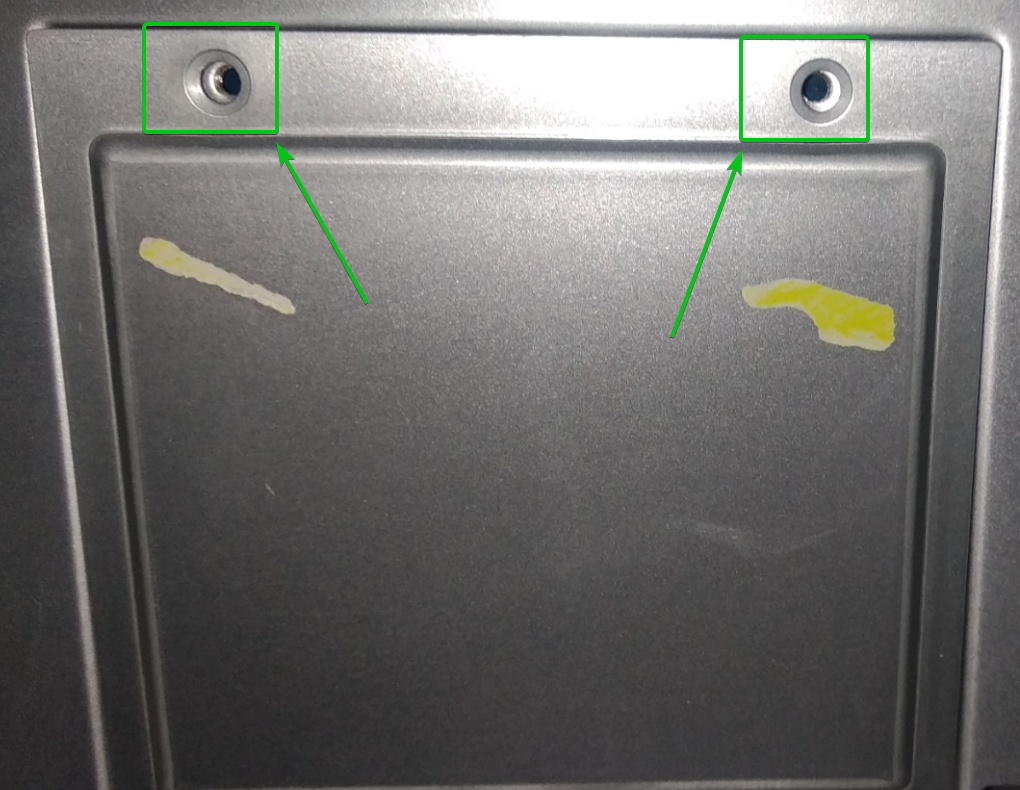
Open the screws from the cover using a PH-2 screwdriver.
Once the screws are opened, pull the cover from your NAS.
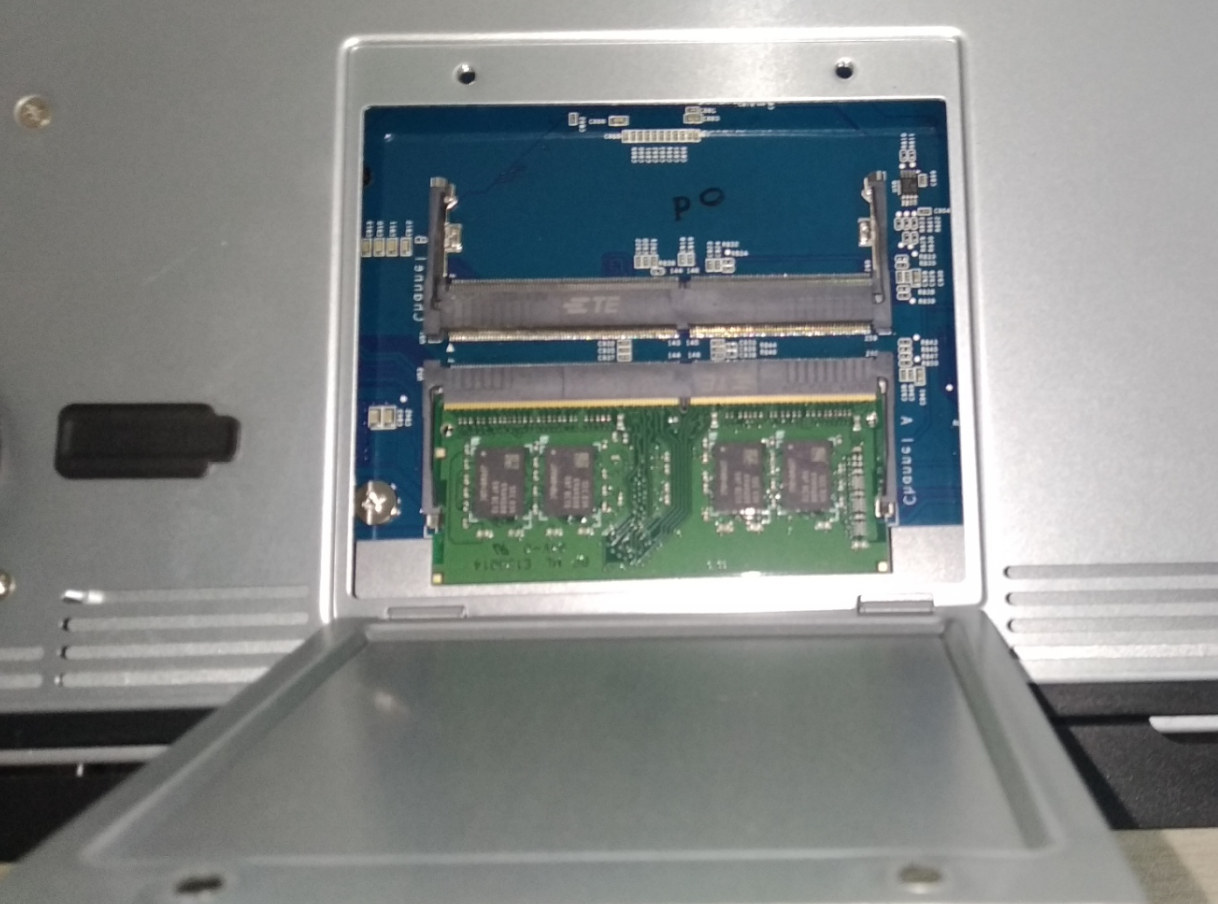
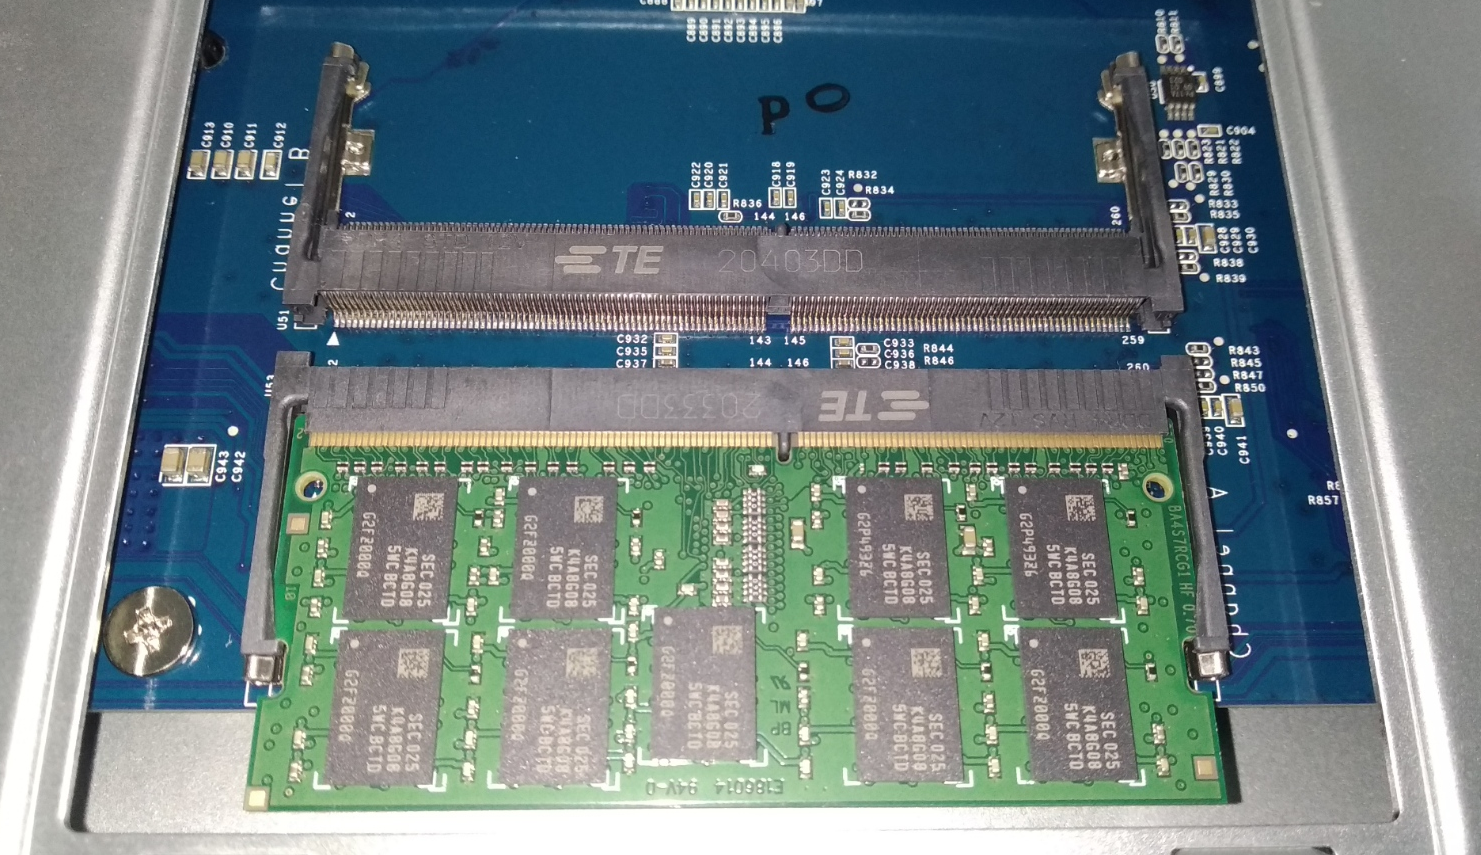
You should see the memory module that is/are already installed on your Synology NAS.
To remove the memory module that is already installed, gently push the levers on both sides of the memory module outward at the same time.
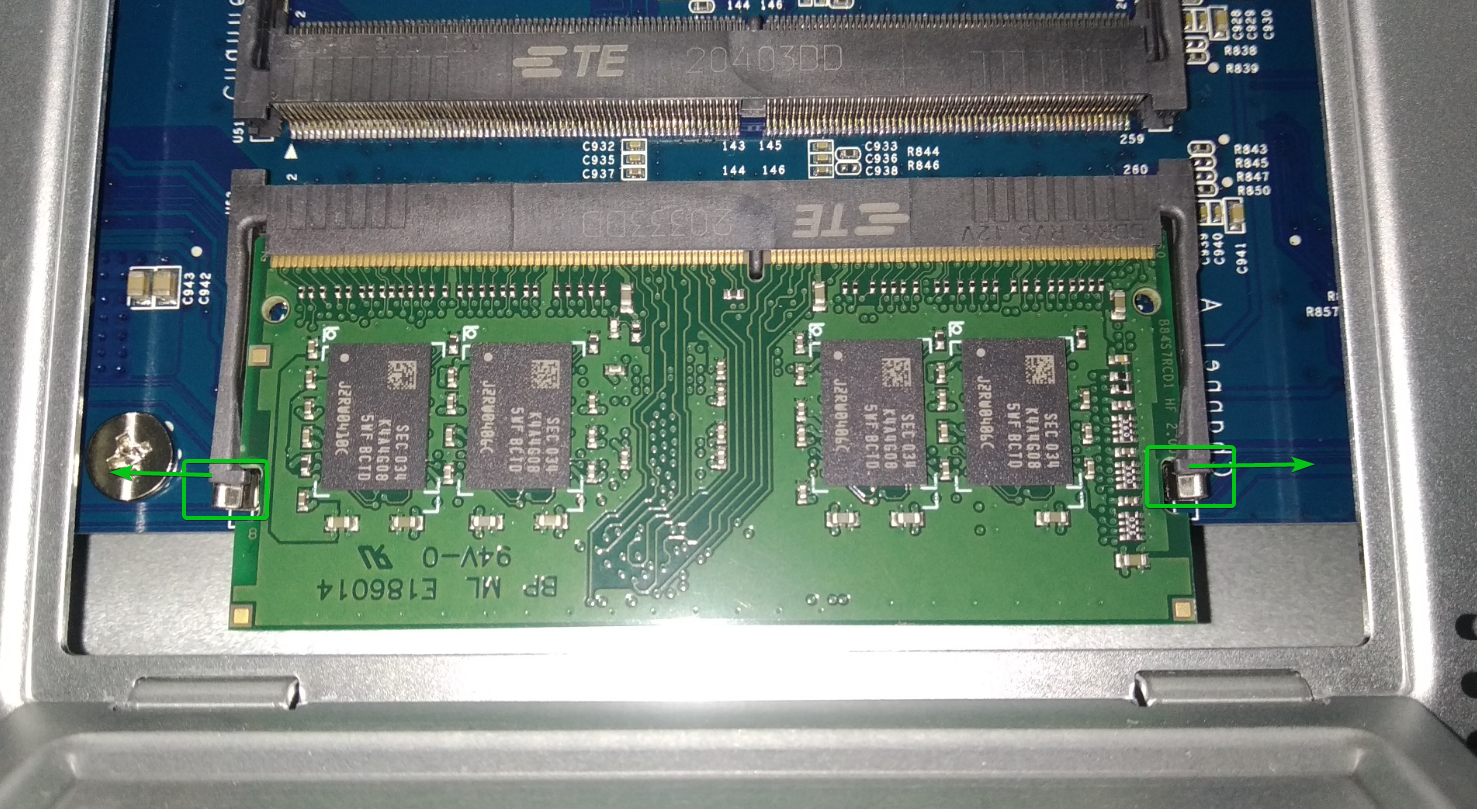
The memory module should be released from the slot.
Now, hold the edges of the memory module and gently pull it out of the slot.
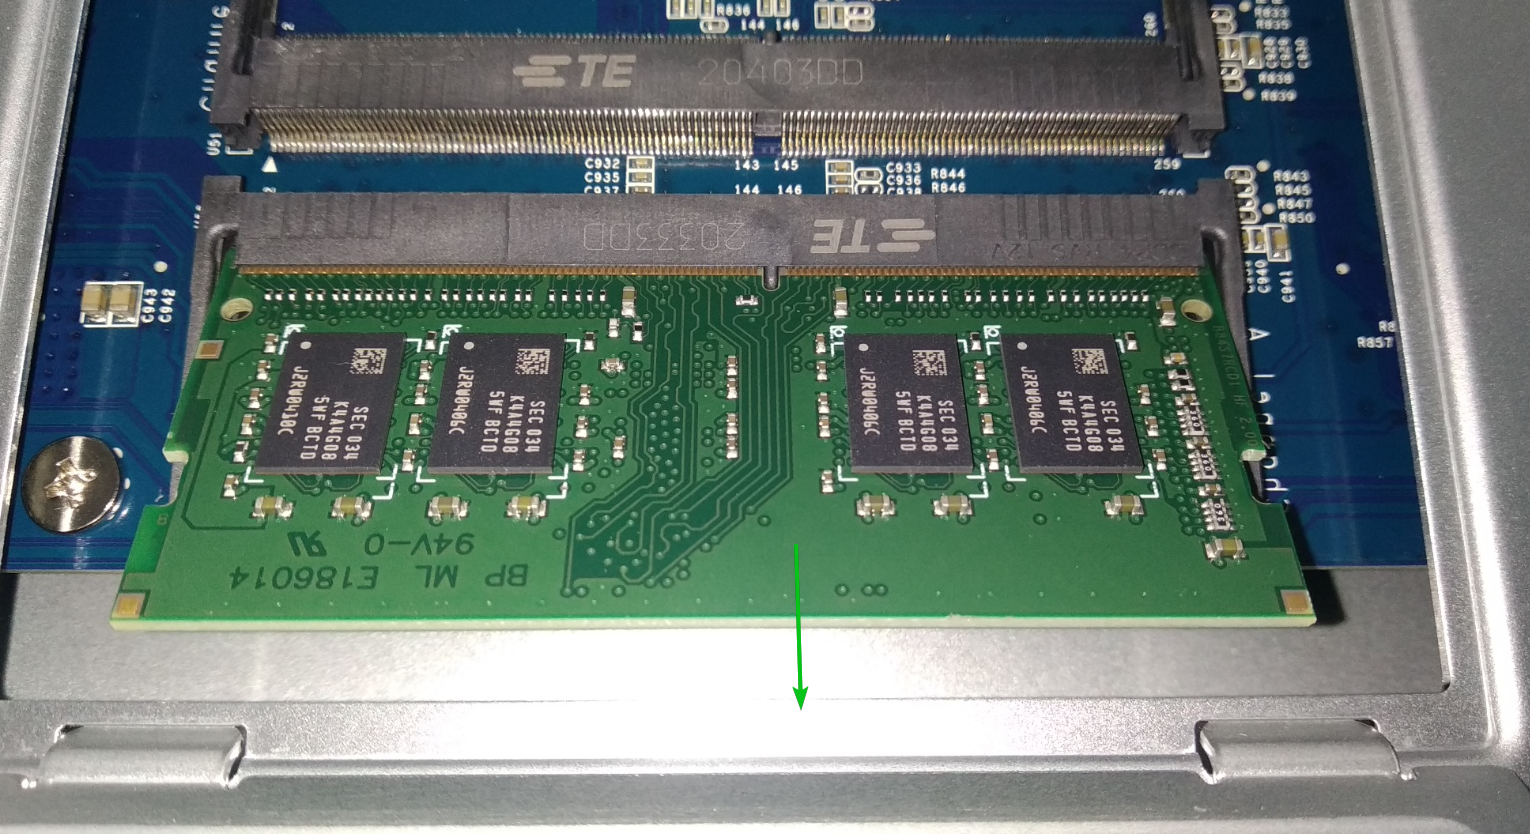
The memory module should be removed from the slot.
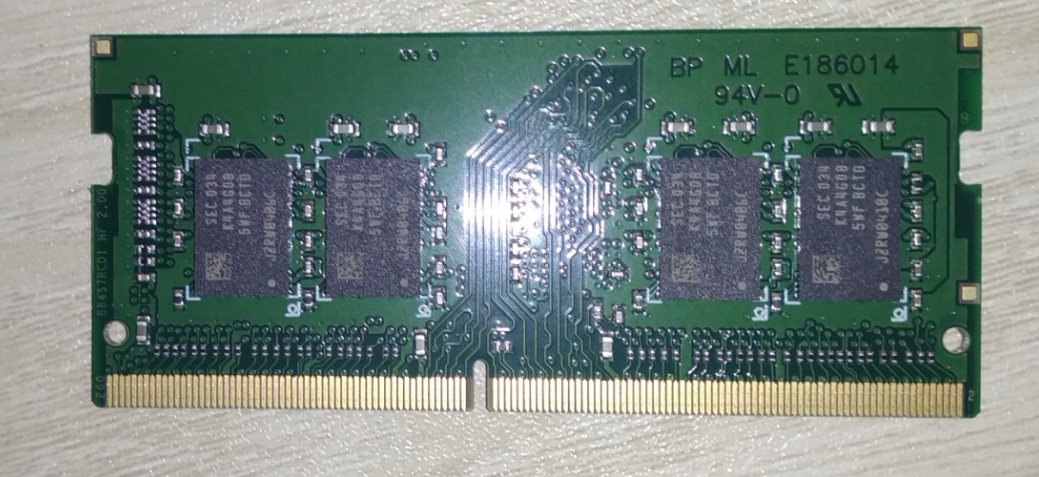
Now, I am going to install 2 of the 16 GB DDR4 SODIMM memory modules on the memory slots of the NAS.

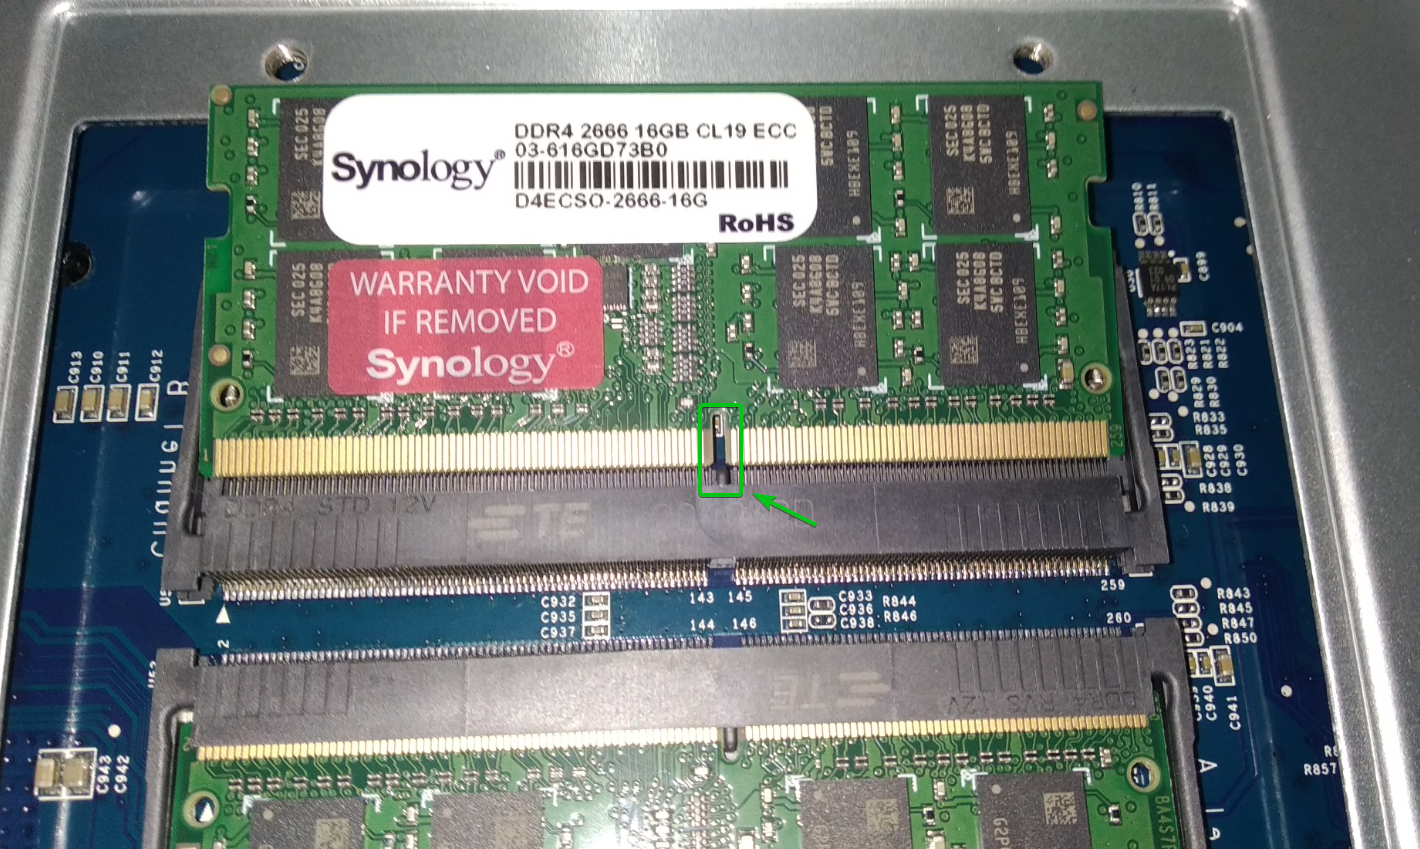
Align the empty slot’s notch with the gap between the gold connectors of the memory module and gently push the memory module into the slot.
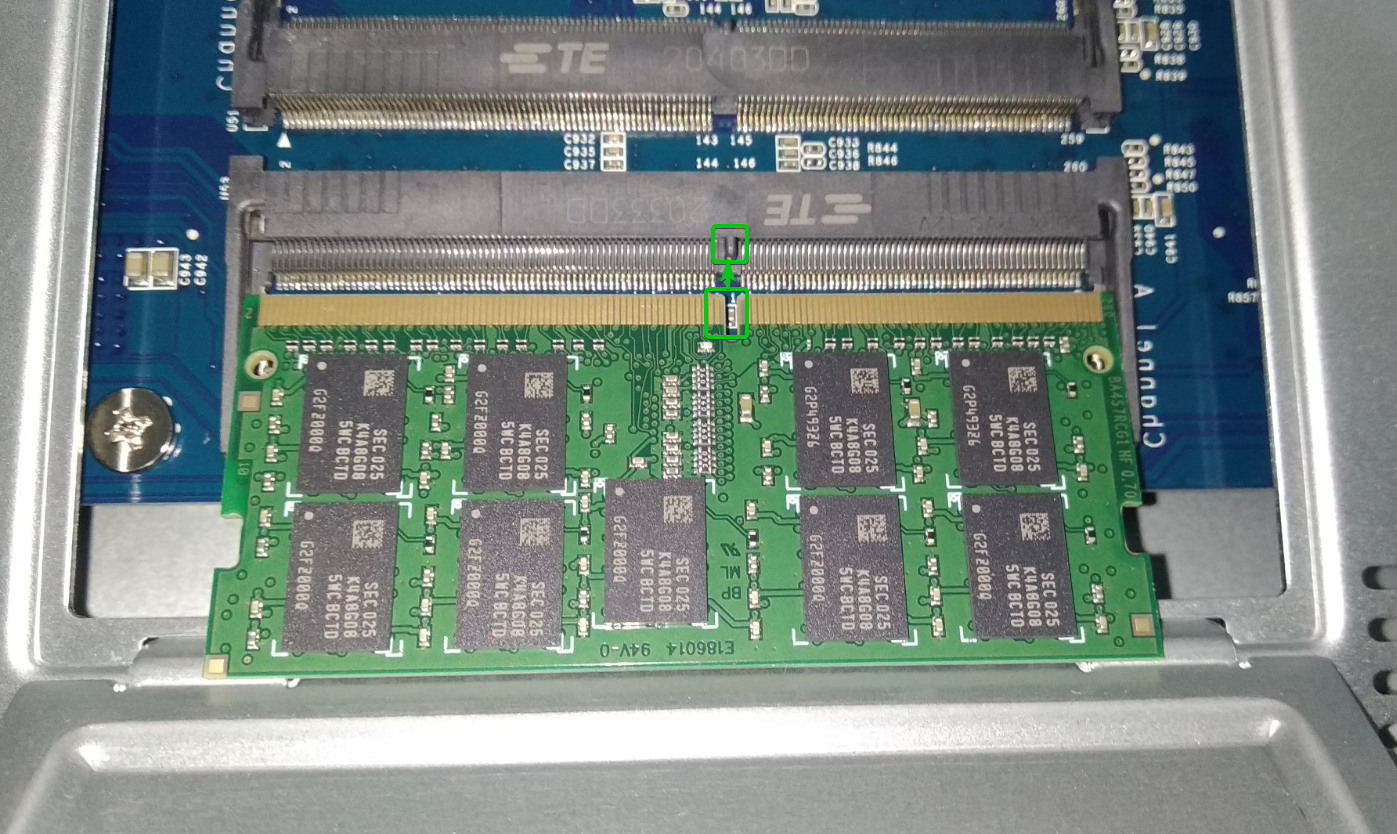
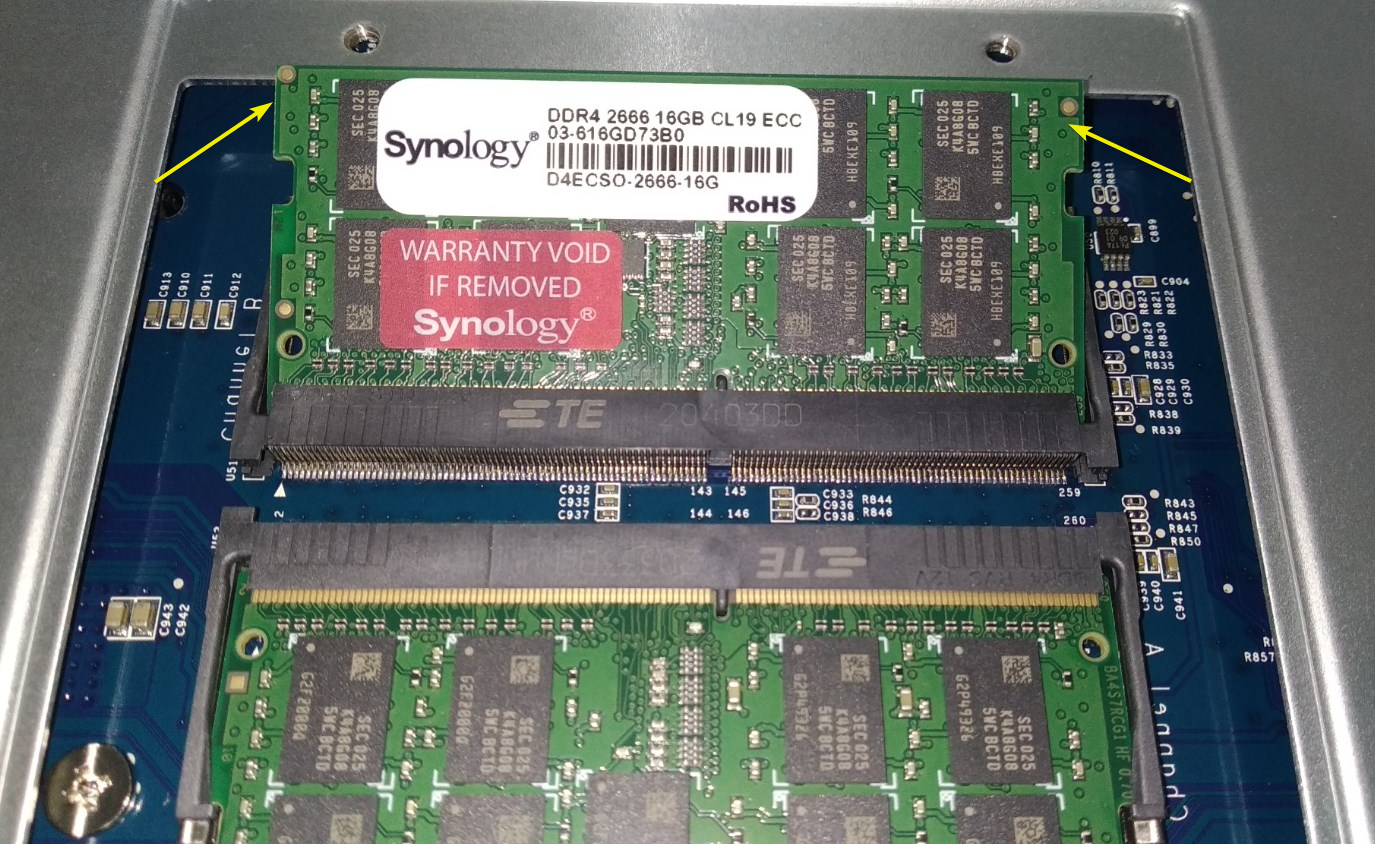
Once the memory module is in the slot, gently push the memory module downward till you hear a click. The memory module should be locked in the slot.
The memory module should be installed on the slot.
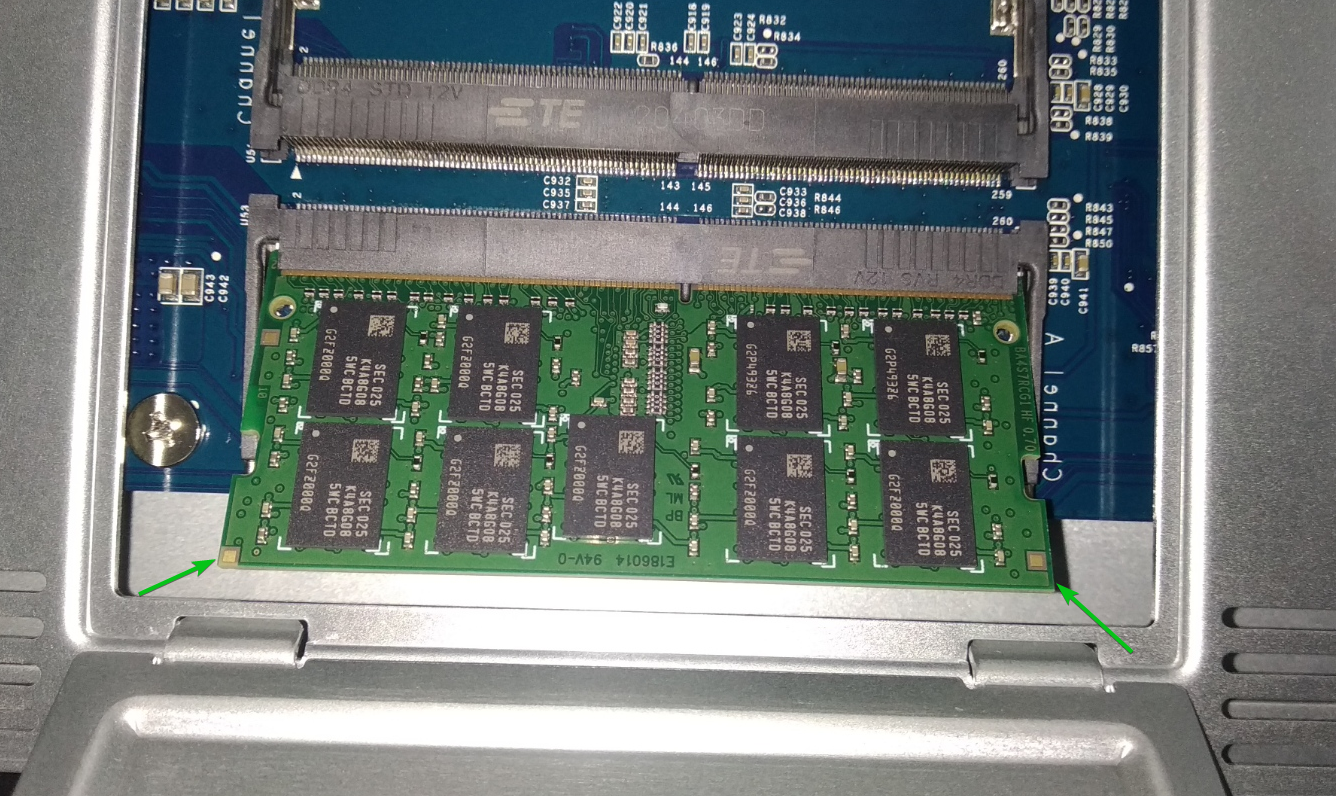
Similarly, align the notch of the other empty slot with the gap between the gold connectors of the memory module and gently push the memory module into the slot.
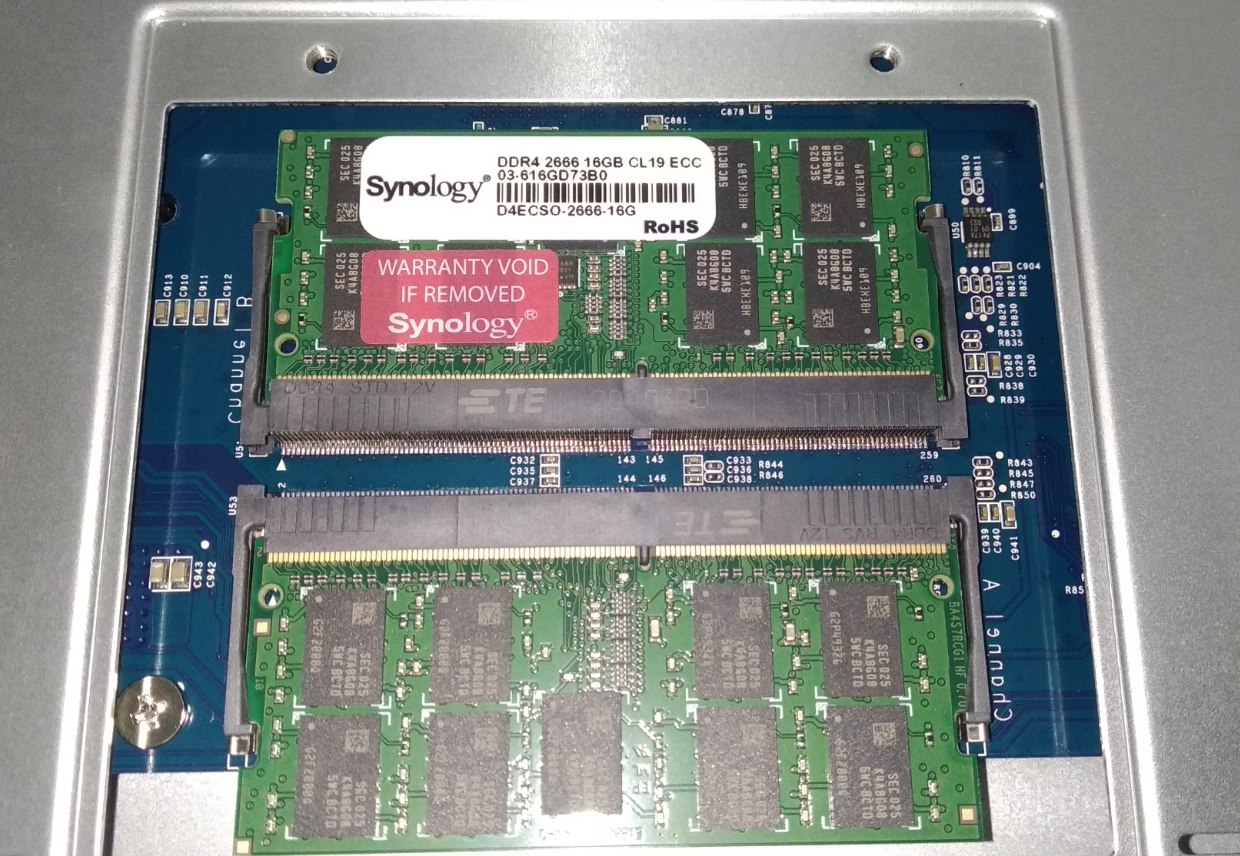
Once the memory module is in the slot, gently push the memory module downward till you hear a click. The memory module should be locked in the slot.
Both the memory modules should be installed at this point.
Now, put the cover on the memory slots.
Tighten the screws in the cover using a PH-2 screwdriver.
Now, connect the power cable and the RJ-45 cables to your NAS.
Once all the cables are plugged in, press the power button to power on the NAS.
After a few minutes, the NAS should be ready to connect.
Checking Installed Memory After Upgrade:
Once you have upgraded the memory of your NAS, visit the Synology Web GUI from your favorite web browser.
Go to Info Center from the Control Panel app.
As you can see, the memory is upgraded successfully from 4 GB to 32 GB.
Conclusion:
In this article, I have shown you how to check the amount of memory you have already installed on your Synology NAS from the Synology Web GUI. I have also shown you how to access the memory slots of your Synology NAS model DS1821+. I have shown you how to remove memory modules from your Synology NAS model DS1821+ and install new memory modules as well.