This article will discuss the methods to upgrade git on Windows.
How to Upgrade git on Windows?
To upgrade the git on Windows, you can uninstall the current version and install the latest version by following the second section of this article. However, you can also easily update the git version by using Command Prompt. So follow up the below-provided step to upgrade git on Windows.
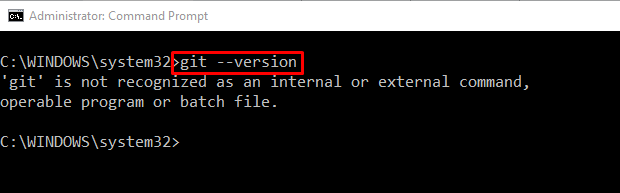
Step 1: Open Command Prompt
Firstly, type “Command Prompt” in the “Startup” menu and open the Windows Command Prompt:

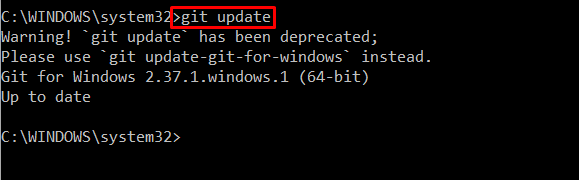
Step 2: Update git
Use the below-provided command on Command Prompt to update git:
You can also utilize the “update-git-for-windows” command to update git:
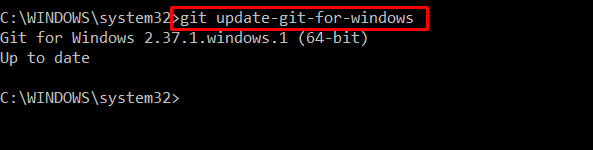
We have an up-to-date git version “2.37.1” on Windows. Let’s check out the method to upgrade git on Windows by installing the latest version.
How to Install git Latest Version on Windows?
To install the latest version of git on Windows, check out the following steps.
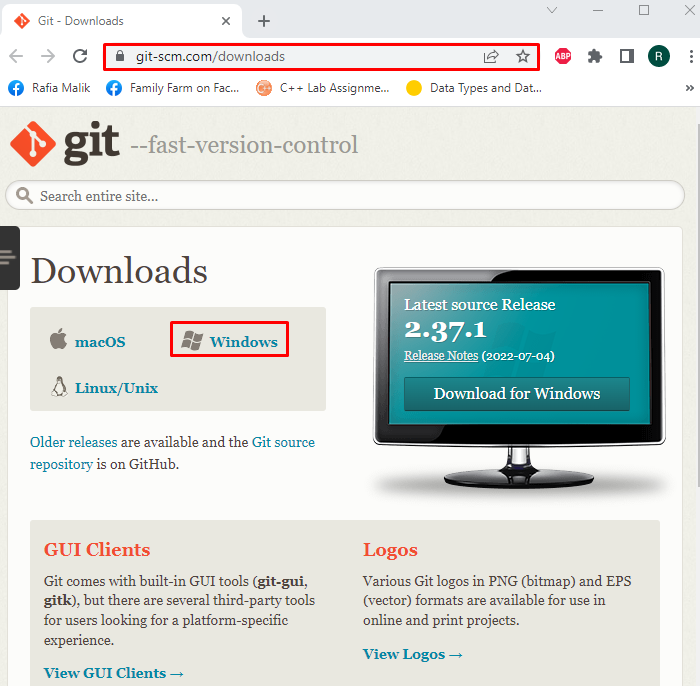
Step 1: Download git Setup File
Firstly, navigate to the provided link for downloading the git setup file. Select the “Windows” option from the “Downloads” menu:
Press the “Click here to download” script to download the latest version of git. You can also download Windows “Standalone” or “Portable” installer:

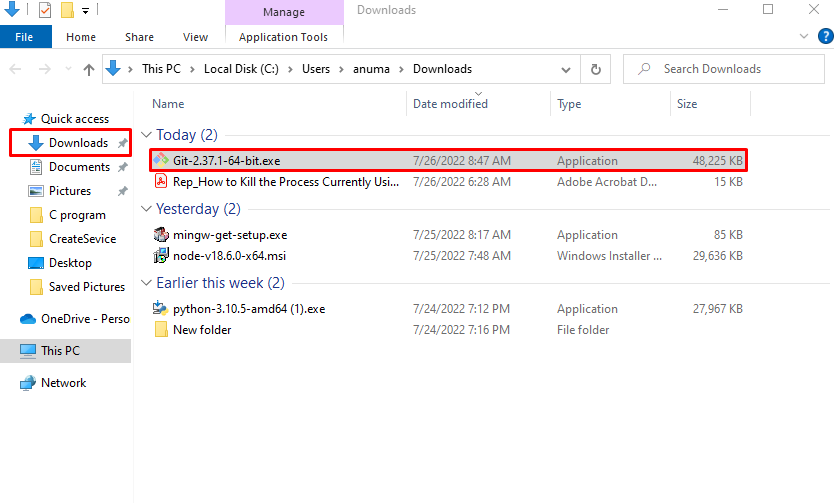
Step 2: Execute git Setup File
From the “Downloads” directory, select and double click the git setup file to run the git installer:
Step 3: Install git
After executing the git setup file, the “Git 2.37.1 Setup” wizard will appear on the Windows screen. Hit the “Next” button to install git on Windows:

Select the location where git will be installed and click on the “Next” button:

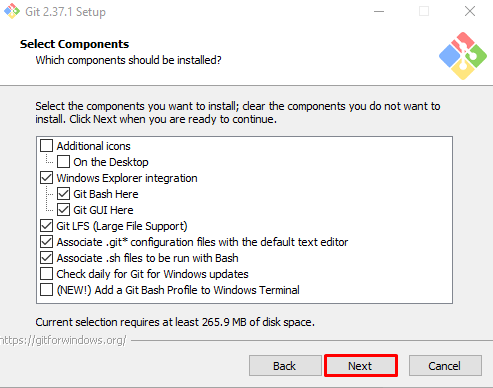
Choose the additional components according to your requirements and install them along with git:
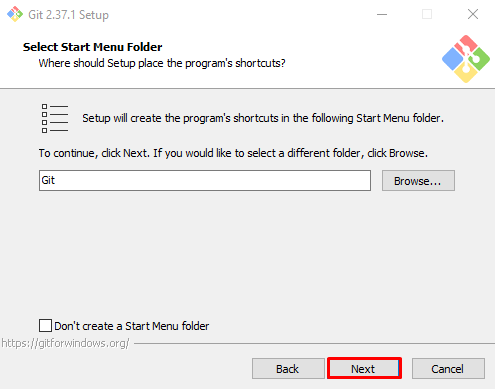
Select the Start Menu Folder and press the “Next” button:
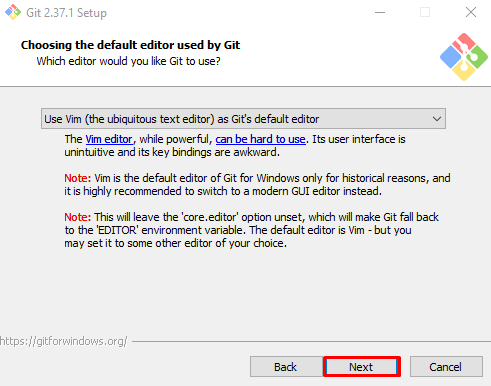
Select the editor on which you want to use git or go with the default option and hit the “Next” button:
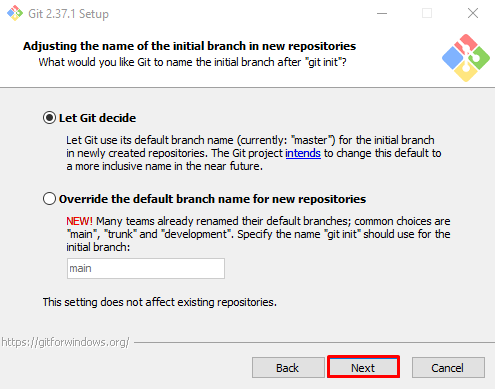
Continue with the default selected option and press the “Next” button:
Set up the PATH environment variable with the help of the provided options, and click on the “Next” button:

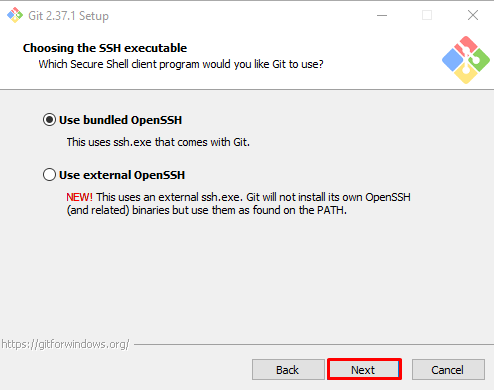
Mark the “Use bundled OpenSSH” radio button and press the “Next” button:
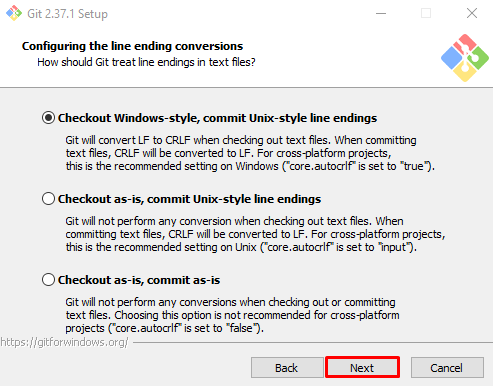
Go with the default selected checkbox for configuring the line ending conversions and press the “Next” button:
Mark the “Default(fast-forward or merge)” radio button and click “Next”:

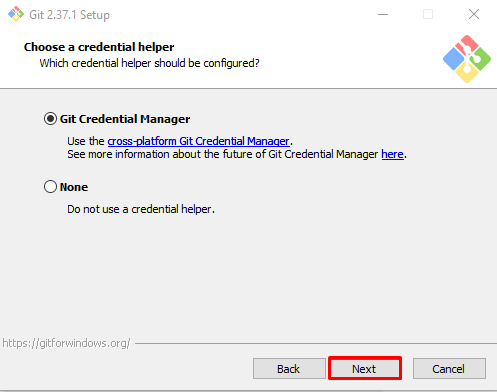
Choose the “Git Credential Manager” or go with the “None” option and hit the “Next” button:
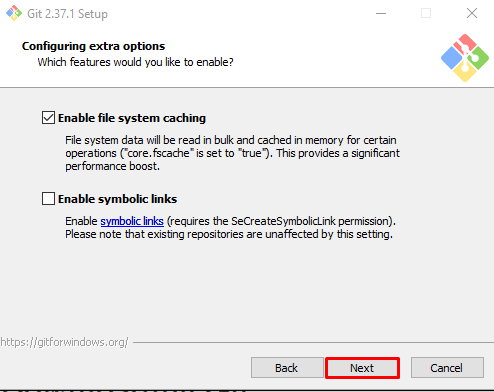
Enable the file system caching and press the “Next” button:
Go with the default selected experimental options and click on the “Install” button to start git installation:

Wait for a few minutes while the setup installs git on your Windows:

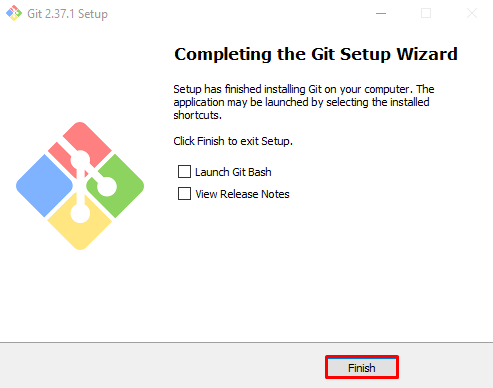
When the git installation gets completed, hit the “Finish” button:
Step 4: Verify git Installation
Verify the git installation by checking out its version on Command Prompt:
The given output indicates that we have successfully installed the git version “2.37.1.windows.1” on our system:

Have a look at the procedure of uninstalling git from Windows.
How to Uninstall git From Windows?
To uninstall git from Windows, follow the below-listed steps.
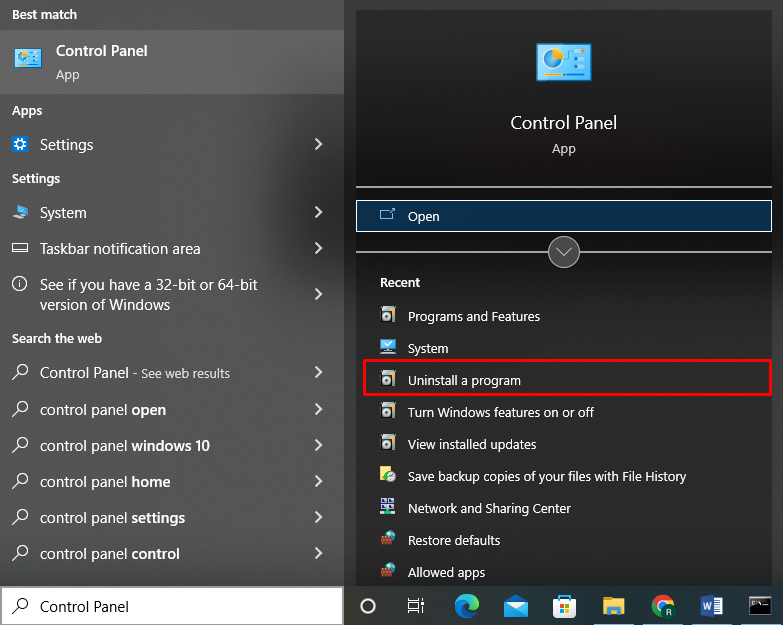
Step 1: Open Control Panel
Type “Control Panel” in the “Startup” menu and open the Control Panel:
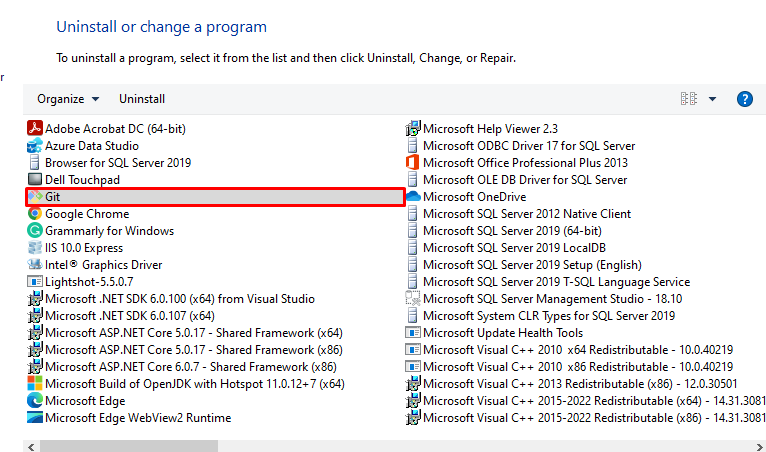
Step 2: Find git Installer
Find and select git from the listed programs:
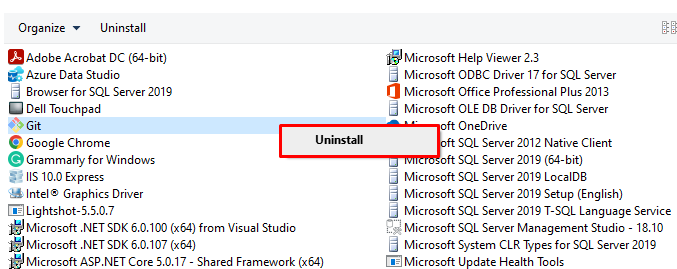
Step 3: Uninstall git
Right-click on the “Git” and press the “Uninstall” button:
Upon doing so, an alert message will appear on the screen and ask for confirmation. Press the “Yes” button to uninstall git from Windows:

Let’s verify the git uninstallation by checking out its version in the Command Prompt:
We have compiled the methods to install, update, and uninstall git from Windows.
Conclusion
To update git on Windows, the first possible way is to uninstall the current git version from Windows and install the latest version. However, you can also use Command Prompt to update git on Windows by executing the “git update-git-for-windows” command. We have offered the methods used to install, update, and uninstall git on Windows.