There are various commands in SQLite to perform different tasks like creating tables, modifications of data, and deletion of tables. In this follow-up, we will discuss the UPDATE statement and its works in SQLite.
What is UPDATE statement in SQLite
The UPDATE statement in SQLite is used to modify the values of one or more columns of an existing row, in a table. Using this statement, we can update more than one column/row at the same time, but it must be a part of the same table.
The general syntax of using UPDATE statement in SQLite is as:
The explanation of this general syntax is as:
- Use the statement “UPDATE” to modify the table
- Replace the “table_name” with the name of a table in which modifications are to be made
- Use the “SET” statement and replace the “column_name” with the name of a column in which modifications are to be made
- Put the sign of equal “=” and assign the new value which you want to insert
- Use the “WHERE” statement and replace an expression with a certain condition which helps the SQLite to modify the specified changes
- “[,…]” is showing that we can edit different columns of the same table
Example of UPDATE command in SQLite: Let us understand this with an example, first, we will use the command to show the tables already present in the database as:

Among the tables, displayed as a result of executed command, we select LinuxHint_employees and display the table by using the command:
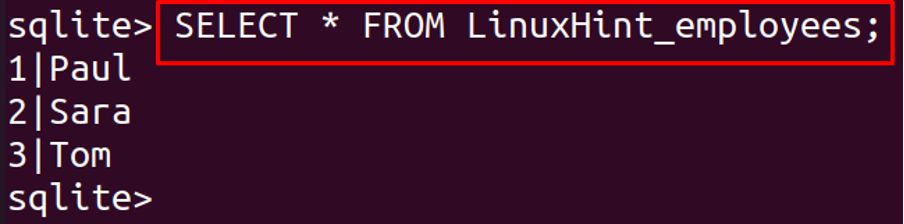
Now we want to modify the name, Tom with John, so for this purpose, we will use the “UPDATE” statement by using the expression employees_id=3; which means to change the value where employee_id is 3 as:

To validate the changes, execute the following command to display the contents of a table, LinuxHint as:

From the above output, we can see the name “Tom” has been replaced by the new value “John” using the UPDATE statement.
UPDATE multiple columns in SQLite: Now we will edit two columns at the same time using the UPDATE statement. First, we will display the contents of the “employees_data” table as:
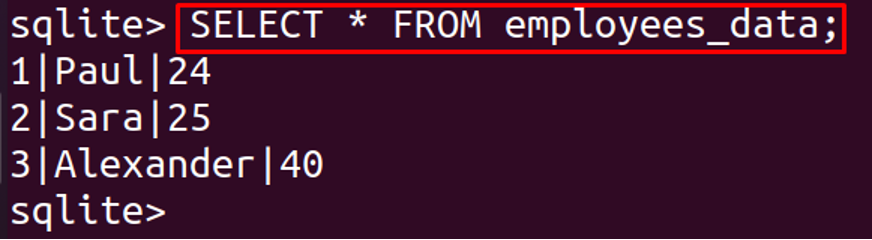
We will edit the name “Paul” with the new name “John” and his age 24 with new age 38 using the UPDATE statement as:

To confirm the changes, execute the following command and display the table, employees_data as:
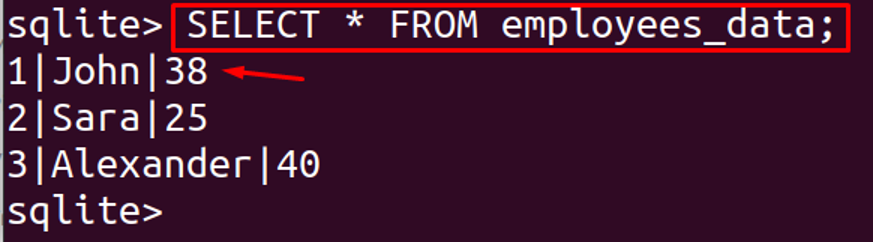
We can see that we modified the two columns at the same time by using a single command of the UPDATE statement.
UPDATE all rows in SQLite: Similarly, we can edit more than two columns of the same row by using an UPDATE statement. We can also update all the rows without using the “WHERE” clause, for example, we want to update the age of all employees present in the table, named, employees_data, by 32, execute the command:

For the confirmation of the changes, run the following command:
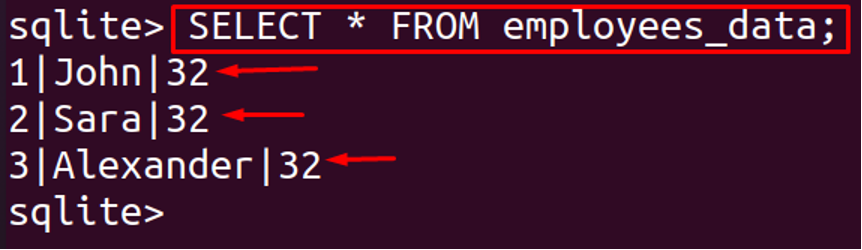
We can see the age of all the rows has changed by 32.
Conclusion
Modifying a database is a usual task for the developers and for that UPDATE query is used. Updating in SQLite is a technique by which we can change the data of the existing table. In this follow-up, we have discussed the UPDATE statement of SQLite in detail. We explained the general syntax of SQLite and also the working of the update statement in SQLite examples. We modified the data of one column, multiple columns, and all the rows of the table by applying conditions.