In this post, we will elaborate to you on how to disable real-time protection on Windows 10.
How to Turn Off Real Time Protection in Windows 10?
Real-time protection prevents the Windows system from malware attacks and stops them from being installed on Windows. In this section, the first method follows the “Windows Settings” (GUI), and the second method follows the “PowerShell” command (CLI) to turn off real-time protection.
Let’s practice these methods one by one:
Method 1: Using the Windows Setting for Turning Off Real-Time Protection
Microsoft defender built-in program in windows is used to defend the system against malware and viruses. To turn off real-time protection on Windows from settings, use the provided guideline.
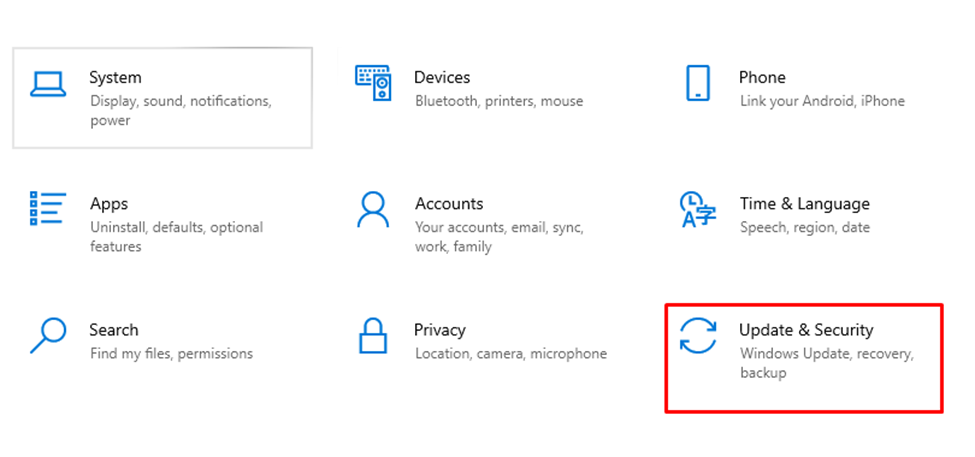
Step 1: Open Windows Settings
Press the “Windows + I” key to open the settings and click on “Update and Security” settings:
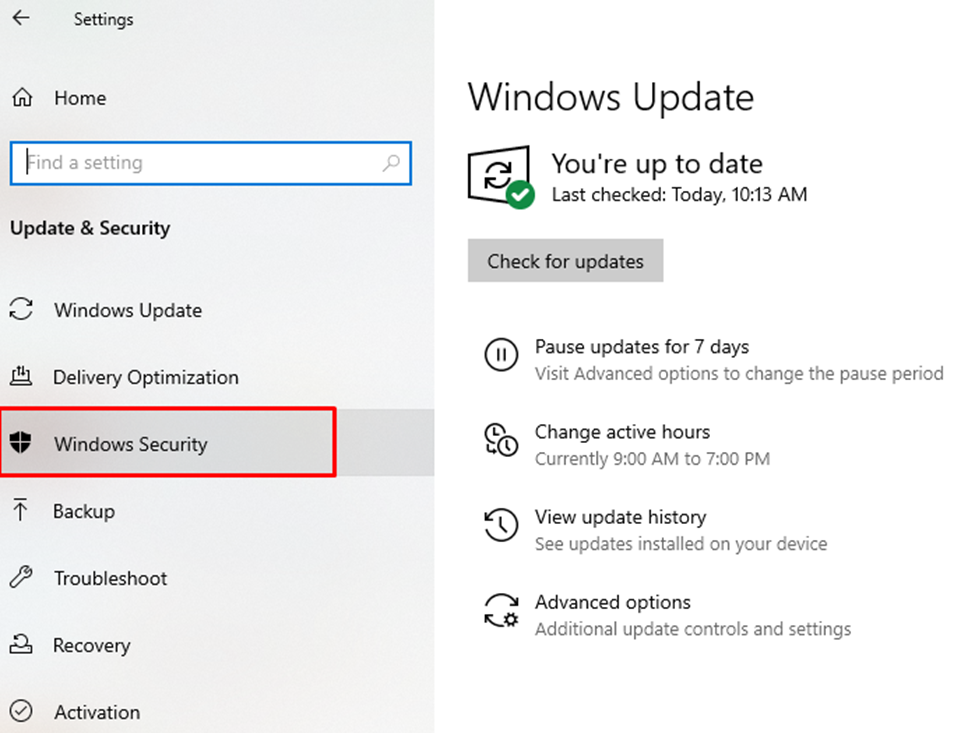
Step 2: Navigate Windows Security
From the left “Update & Security” panel, click on “Windows Security” settings:
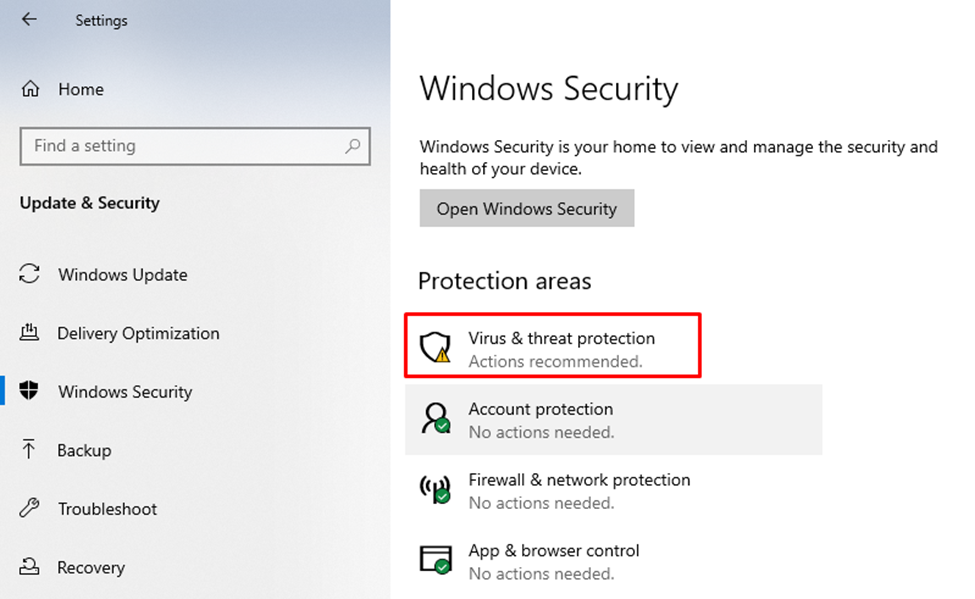
Step 3: Open the Viruses and Threat Settings
The Window Security setting panel displays on the screen. Now, select the “Virus and threat protection” option:
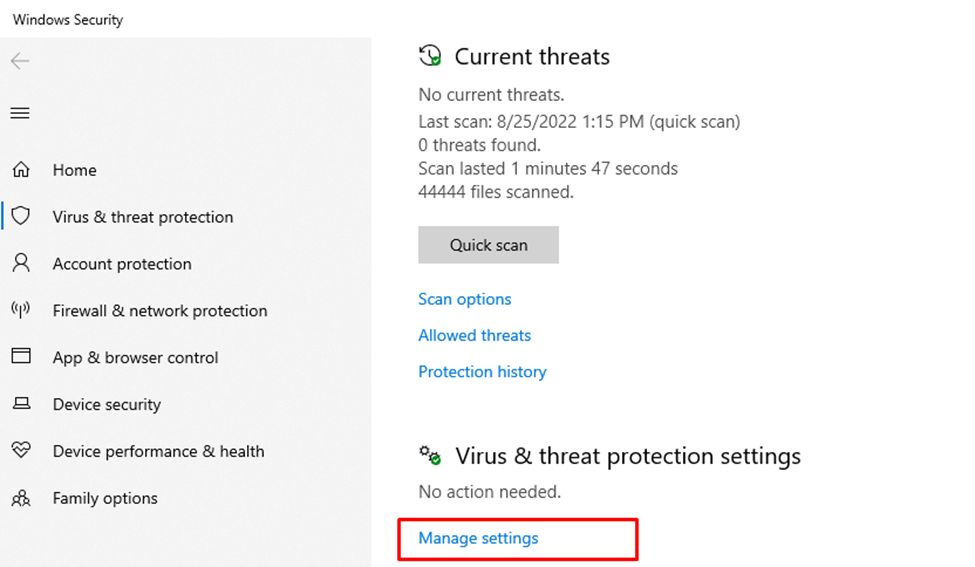
After that, from the “Current threats” panel, open the “Manage settings” option:
Step 5: Turn off Real Time Protection
Turn the toggle off under the “Real-time protection” settings from the “Virus & threat protection settings” panel:
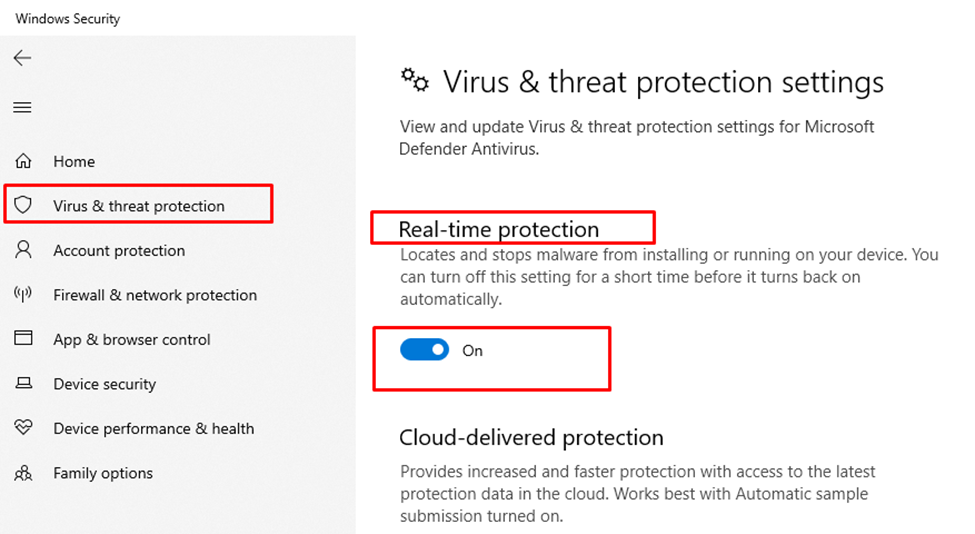
After doing so, the real-time protection will be turned off on your system.
Method 2: Using PowerShell for Turning Off Real-Time Protection
PowerShell is a Windows command line application used to do various Windows tasks using the commands. Here, PowerShell will be used to turn off the real-time protection. To do so, take a look at the provided steps.
Step 1: Open Windows PowerShell
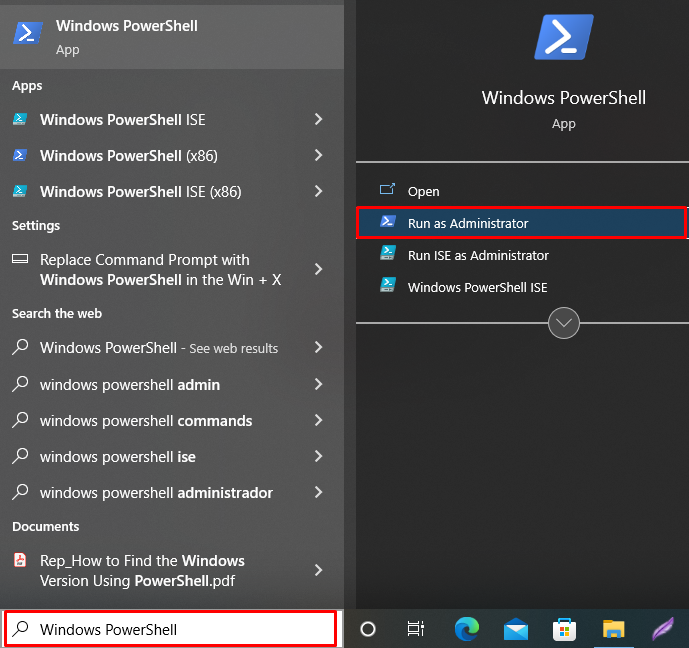
Type Windows PowerShell in the “Start” menu and run the PowerShell as an administrator:
Step 2: Turn Off Real Time Protection
Type the provided command to turn-off system’s real time protection:
The “Set-MpPreference” is used for Windows defender settings and the flag “DisableRealtimeMonitoring” refers to the read time protection. To disable it, you need to pass the “$true” value to this flag. After this the protection will be disabled:
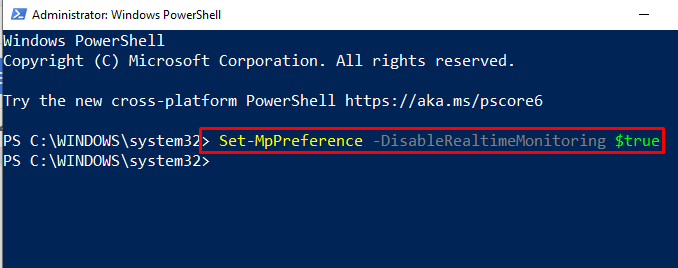
The above output indicates that we have successfully disabled or turned off real-time protection.
Conclusion
The real-time protection scans the installation files as well as protects the system from viruses. The real-time protection can be disabled using Windows Settings or PowerShell. From settings, navigate to the “Manage Settings” in the “Virus & threat protection” and toggle off the real-time protection option. In Windows PowerShell, execute the “Set-MpPreference -DisableRealtimeMonitoring $true” command to turn off the real-time protection in windows 10. This post has demonstrated the possible methods to turn off real-time protection in Windows 10.